Table of Contents
Ever dreamt of a dessert that's both elegant and easy? Look no further than the magical world of puff pastry dessert recipes with cream cheese. These aren't your grandma's complicated pastries; we're talking simple, yet utterly delicious treats that anyone can whip up. Whether you're a seasoned baker or just starting out, you'll find that combining the light, flaky texture of puff pastry with the rich, tangy flavor of cream cheese is a match made in dessert heaven. This article is your guide to mastering this delightful combo. First, we'll show you the basic recipe, a solid foundation for any puff pastry enthusiast. Then, we'll explore exciting variations, from fruity delights to decadent indulgences. We'll also share our top tips for achieving the perfect bake, and finally, we will cover how to store and serve these goodies. Ready to transform your kitchen into a pastry paradise? Let's get baking!
Easy Puff Pastry with Cream Cheese: The Base Recipe
Easy Puff Pastry with Cream Cheese: The Base Recipe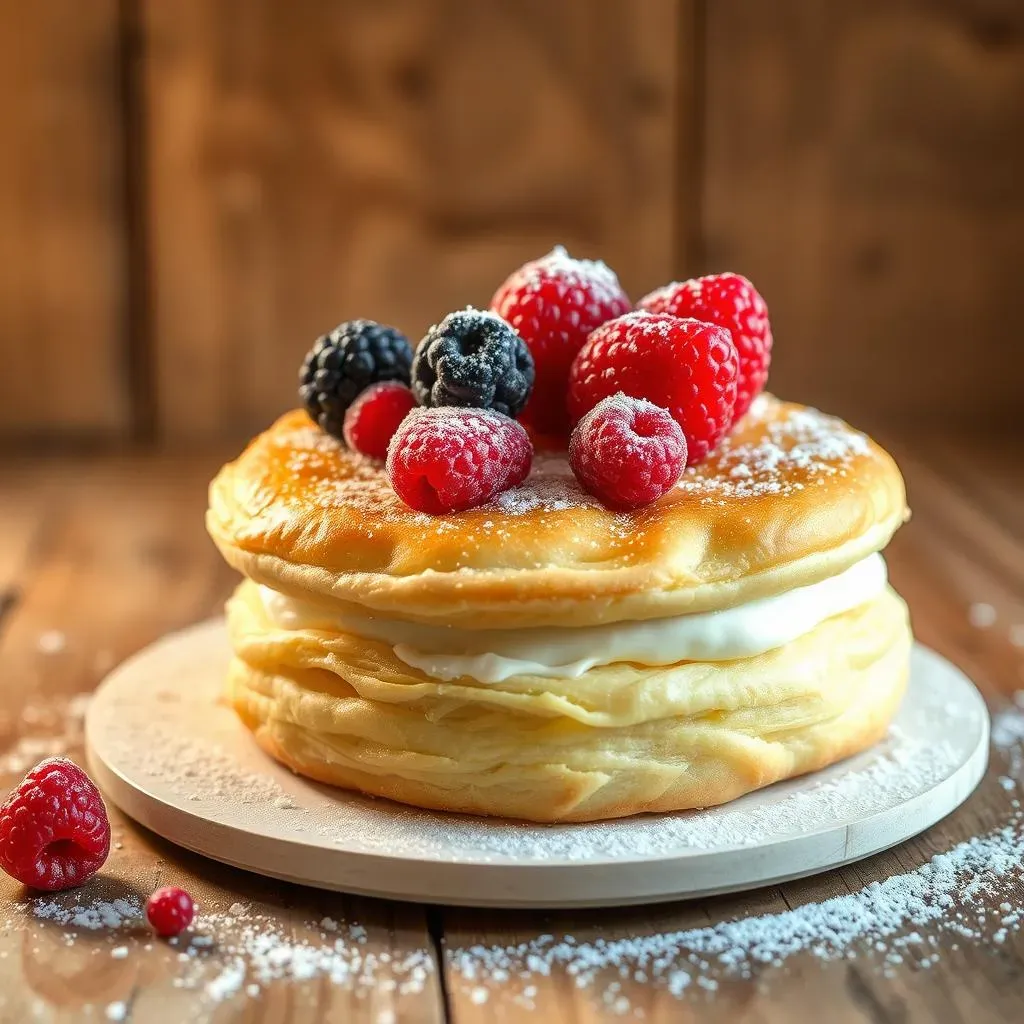
Okay, let's get down to the nitty-gritty, the heart of all things delicious: the base recipe. We're not trying to overcomplicate things; this is all about ease and flavor. First, grab some store-bought puff pastry. Yes, the stuff in the freezer section. Don’t feel bad about it, we are all about shortcuts that still deliver amazing results. You'll also need cream cheese, the full-fat kind, because why not? Plus a bit of sugar to sweeten things up, an egg yolk for richness, a splash of lemon juice to add a little zing, and some vanilla extract for that classic bakery aroma. That's it! This combo is the magic behind those dreamy, flaky pastries you see in bakeries. Don't worry if you are not a pro, this is seriously foolproof.
Ingredient | Quantity | Why It's Important |
|---|---|---|
Puff Pastry | 1 sheet | The flaky base |
Cream Cheese | 8 oz | The creamy filling |
Granulated Sugar | 1/4 cup | Sweetness |
Egg Yolk | 1 | Richness and binding |
Lemon Juice | 1 tsp | Zing and brightness |
Vanilla Extract | 1 tsp | Flavor boost |
Variations on the Cream Cheese Puff Pastry Theme
Variations on the Cream Cheese Puff Pastry Theme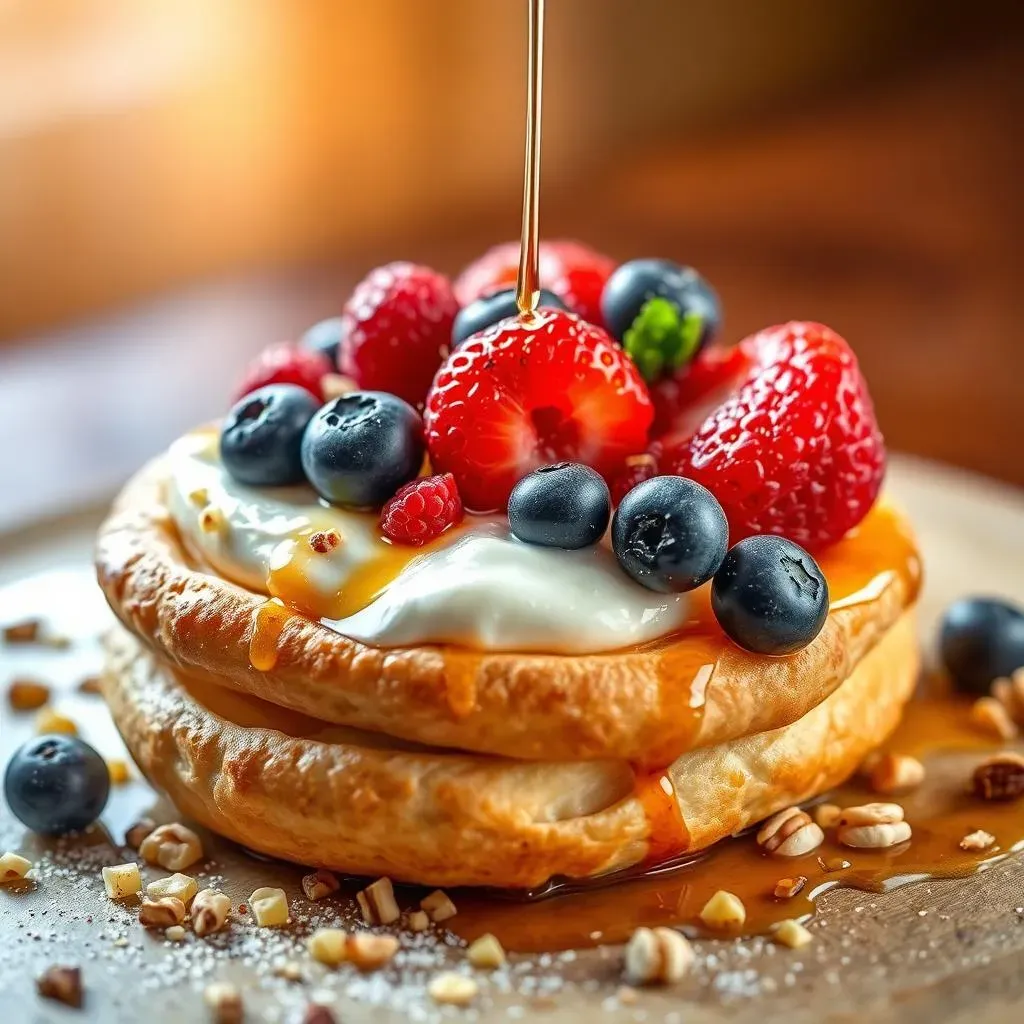
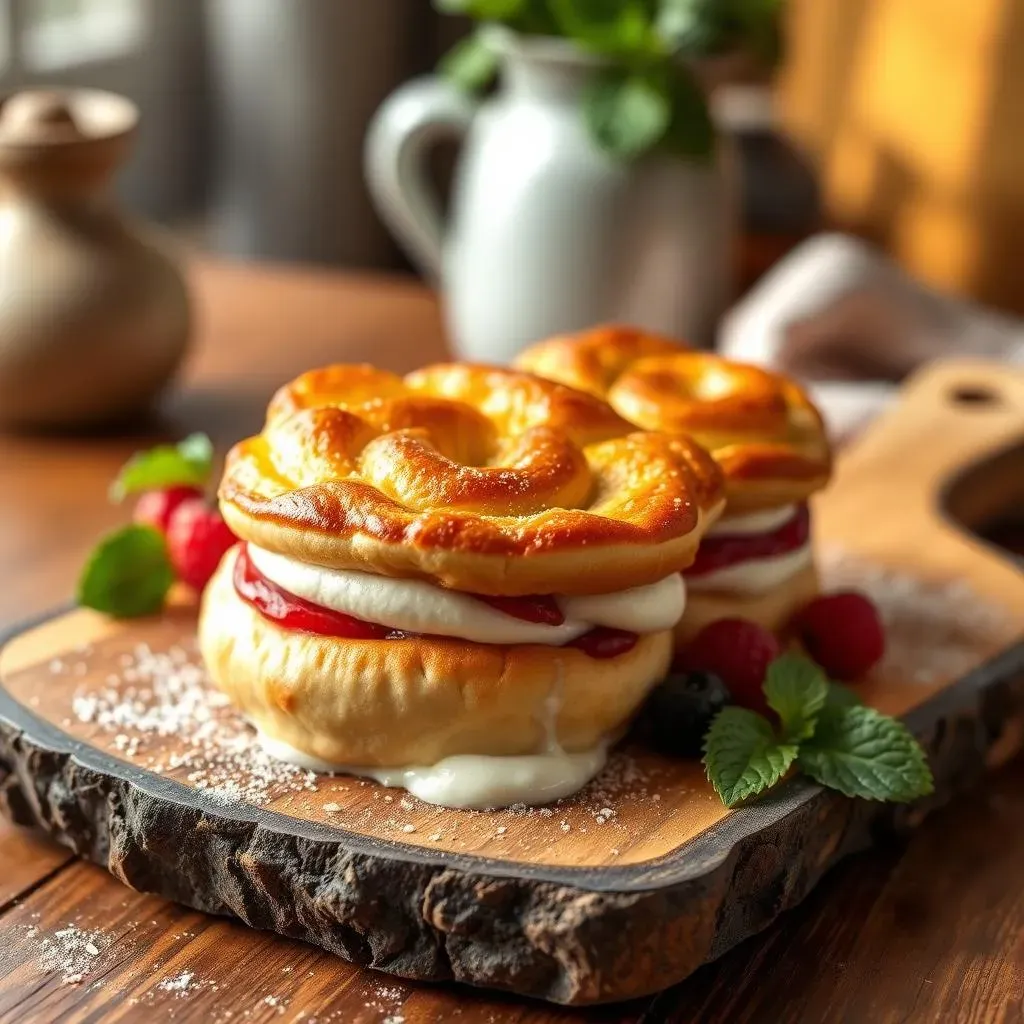
Alright, now that you've nailed the base recipe, let's talk about jazzing things up. This is where the real fun begins, and your creativity can shine. Think of that plain cream cheese filling as a blank canvas, ready for all sorts of delicious additions. One of my favorite things to do is to add fruit. Berries are a classic choice—strawberries, blueberries, raspberries—they all work beautifully. You can use fresh, frozen (just thaw them first), or even a dollop of your favorite jam. Another great option is to add citrus zest. A little lemon or orange zest can really brighten the flavor and add a nice aroma. And for those who love a bit of crunch, chopped nuts like pecans or almonds are fantastic. Don’t be shy, experiment with what you have in your kitchen. It's all about making it your own.
But the fun doesn't stop there. How about adding a swirl of Nutella or a sprinkle of cinnamon sugar? Or perhaps a drizzle of honey after baking for extra sweetness and stickiness? If you're feeling fancy, you could add a layer of almond paste under the cream cheese for a more complex flavor. I once made a batch with a hint of cardamom, and it was surprisingly delicious. The possibilities are endless, really. Don’t overthink it; just have fun with it. This is where you can truly make these pastries your own, and they can be completely different every single time you make them. Go wild, and let your taste buds lead the way.
- Fruit Frenzy: Berries, sliced peaches, or apple chunks.
- Citrus Zest: Lemon, lime, or orange zest.
- Nutty Crunch: Chopped pecans, almonds, or walnuts.
- Sweet Swirls: Nutella, caramel, or jam.
- Spice it Up: Cinnamon, cardamom, or nutmeg.
- Extra Sweetness: Honey or maple syrup drizzle.
Tips for Baking the Best Puff Pastry Dessert
Tips for Baking the Best Puff Pastry Dessert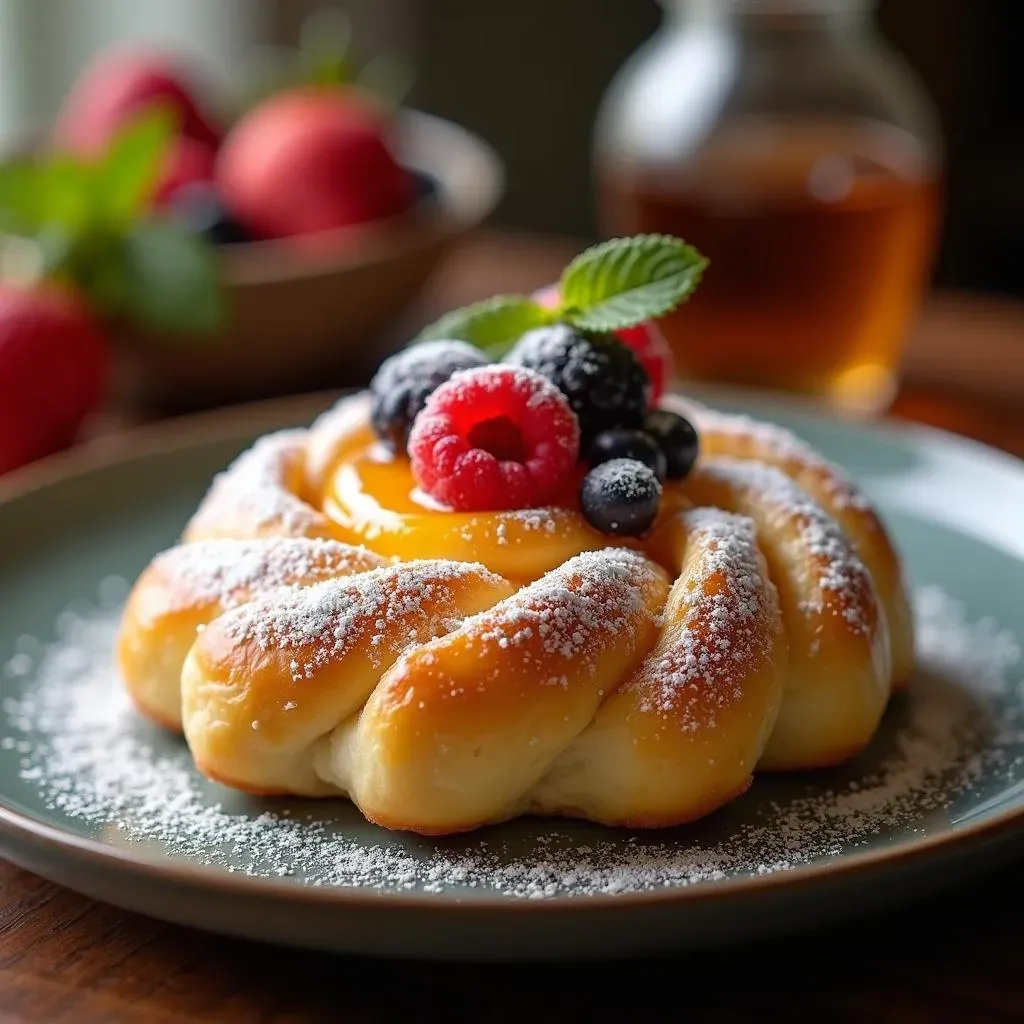
The Puff Pastry Prep
Alright, let's talk about getting that puff pastry just right. First things first, make sure your puff pastry is properly thawed. Don't try to rush it by microwaving it or anything; just let it sit in the fridge overnight, or for a couple of hours on the counter. If it’s still a bit frozen, it'll be tough to work with, and you'll end up with a sad, uneven bake. Once it's thawed, gently unfold it on a lightly floured surface. Don't manhandle it! We want to keep those delicate layers intact so they can puff up beautifully in the oven. And here's a pro tip: keep everything cold. If your kitchen is warm, the butter in the pastry might melt, and that's a no-no. Cold dough equals flaky pastry, plain and simple.
Next, when you're cutting the pastry, use a sharp knife or a pizza cutter. Avoid sawing back and forth, as that can squish the layers. Instead, make a clean, decisive cut. And when you're scoring the smaller rectangle in the middle, be careful not to cut all the way through the pastry. You just want to create a border for your filling. Think of it like drawing a frame on a piece of paper. We also want to avoid overfilling. If you add too much of the cream cheese mixture, it'll spill out during baking, and you'll have a messy situation. A couple of tablespoons should be plenty. Less is often more when it comes to fillings.
Tip | Why It Matters |
|---|---|
Thaw Properly | Prevents uneven baking |
Keep it Cold | Ensures flaky layers |
Sharp Cuts | Preserves pastry layers |
Score, Don't Cut | Creates a border for filling |
Don't Overfill | Prevents spills |
Baking to Golden Perfection
Now, let's get these pastries into the oven. Preheat it to the right temperature—usually around 400°F (200°C). This is crucial for that nice golden-brown color and the perfect puff. Place your pastries on a baking sheet lined with parchment paper. This prevents sticking and makes cleanup a breeze. Don't overcrowd the baking sheet; give each pastry some space so that they bake evenly. I usually leave about an inch or two between them. And here's a little secret I learned: an egg wash can make all the difference. Brush the top of each pastry with a lightly beaten egg, and you'll get a beautiful glossy finish.
Once they're in the oven, keep a close eye on them. Baking times can vary depending on your oven, so start checking them around 15 minutes. You'll know they're ready when they're golden brown and puffed up. If the edges are browning too quickly, you can loosely tent them with foil to prevent them from burning. And once they're done, let them cool on a wire rack. This prevents the bottoms from getting soggy. I know it's tempting to dig in right away, but patience is key here. A little cooling time will allow the filling to set, and the pastry to become even more flaky. Trust me, it’s worth the wait.
"The most important ingredient in any recipe is love. But a close second is a properly preheated oven." - Unknown Baker (Probably)
Troubleshooting Common Issues
Okay, let’s be real, sometimes things don’t go as planned. If your puff pastry is not puffing up, it could be that the dough was too warm or that you didn't score it properly. If the filling is leaking, you probably overfilled it. If the edges are getting too dark, you need to reduce the oven temperature or tent it with foil. And if the bottom is soggy, you didn't let it cool on a wire rack. Don’t worry, we've all been there. Baking is a journey, not a destination. Learn from your mistakes, and keep practicing. Each time you make these pastries, you'll get better, and you'll discover your own little tricks along the way.
Storing and Serving Your Cream Cheese Puff Pastries
Storing and Serving Your Cream Cheese Puff Pastries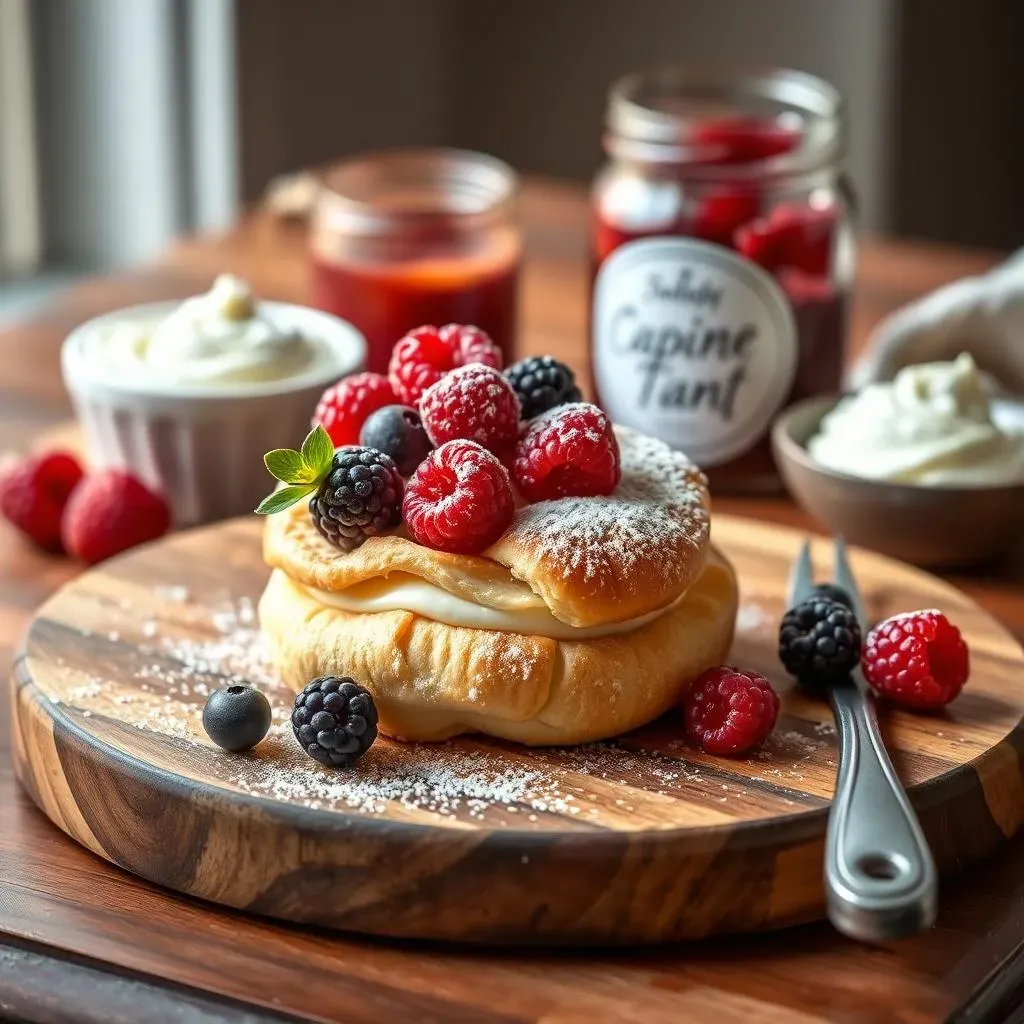
Keeping Them Fresh
Okay, so you've baked these gorgeous cream cheese puff pastries, and maybe, just maybe, you have some leftovers. First, let them cool completely on a wire rack. This is super important to prevent them from getting soggy. Once they're cool, the best way to store them is in an airtight container. You want to keep them from drying out and losing that lovely flaky texture. If you have multiple layers, put a piece of parchment paper between each layer to prevent them from sticking together. I usually just use the same parchment paper I used for baking. It's all about efficiency, right? And here's the thing: these pastries are best enjoyed within a day or two. After that, the texture can start to change, and they won't be as delicious.
Now, you might be wondering, "Can I freeze them?" Yes, you can! But, and this is a big but, the texture might not be quite the same when thawed. If you do freeze them, make sure to wrap them individually in plastic wrap, then put them in a freezer-safe bag. This will prevent freezer burn. When you're ready to eat them, let them thaw in the fridge overnight, then reheat them in the oven for a few minutes to get them nice and crisp again. Remember, freshly baked is always best, but if you have to store them, a little planning can go a long way.
Storage Method | Duration | Best For |
|---|---|---|
Airtight Container (Room Temp) | 1 day | Immediate Enjoyment |
Airtight Container (Fridge) | 2-3 days | Short-term Storage |
Freezer (Wrapped Individually) | 1-2 months | Long-term Storage |
Serving Suggestions
Alright, let's talk about the fun part: serving these delicious cream cheese puff pastries! They’re fantastic on their own, warm from the oven, with a cup of coffee or tea. But you can also dress them up a bit. A simple dusting of powdered sugar can make them look extra fancy. Or try a drizzle of honey or maple syrup for a touch of extra sweetness. I love adding a dollop of whipped cream or a scoop of vanilla ice cream for a more decadent treat. If you’re serving them for brunch, arrange them on a platter with fresh berries and a side of yogurt. This will add some color and freshness to the presentation.
For a more sophisticated look, you can add a glaze. A simple glaze made with powdered sugar and a bit of milk or lemon juice works wonders. Or you can try a jam glaze, just gently heat your favorite jam with a bit of water until it’s smooth. Brush it over the pastries for a beautiful shine. And don’t forget about the presentation. Use a pretty plate or a cake stand. A few sprigs of mint or some edible flowers can really elevate the look. Remember, we eat with our eyes first, so a little extra effort in the presentation can make all the difference. Whether it’s a casual breakfast or a fancy dessert, these pastries are sure to impress.
"Life is too short to say no to a good pastry. Especially one filled with cream cheese." - An anonymous dessert lover.
Reheating Like a Pro
So, you've stored your pastries, and now you want to enjoy them again. No problem! The best way to reheat them is in the oven or a toaster oven. Preheat it to around 350°F (175°C) and bake them for 5-10 minutes, or until they're warmed through and the pastry is crispy again. Avoid using the microwave, as this can make them soggy. If you’re short on time, you can use an air fryer. It works really well to crisp them up quickly. Just be sure to keep a close eye on them, as they can cook quickly. You can also pop them back in for a few more minutes if you want them even crispier. And if you’re reheating frozen pastries, no need to thaw them first. Just add a few extra minutes to the baking time. Whether it's a quick snack or a planned treat, these reheated pastries will be just as delightful as the day you baked them.