Table of Contents
Ever dream of effortlessly creating bakery-worthy desserts? You're in the right place! We're diving into the delightful world of puff pastry dessert recipes custard, where flaky layers meet rich, creamy goodness. Forget complicated techniques; we're keeping it simple and fun. First, we’ll tackle the puff pastry, transforming store-bought sheets into elegant little cups. Next, we'll whip up a homemade Italian custard cream so good, you’ll want to eat it by the spoonful. Finally, we'll assemble these components with fresh berries for a dessert that’s as beautiful as it is tasty. This isn't just a recipe; it’s a guide to creating stunning desserts that’ll impress your family and friends without breaking a sweat. Get ready to bake something special, with my easy puff pastry dessert recipes custard tutorial!
Puff Pastry Prep: The Foundation of Deliciousness
Puff Pastry Prep: The Foundation of Deliciousness
The Magic of Store-Bought
Let's be real, not everyone has time to make puff pastry from scratch. I sure don't! That's why I'm a huge fan of store-bought puff pastry. It's a total lifesaver and works like a charm for this recipe. We're talking about those frozen sheets you find in the freezer section – they're our secret weapon for creating impressive desserts without the fuss. Just remember to thaw it properly before you start, or you'll end up with a sticky, frustrating mess. Trust me on this one; I've learned the hard way.
Once your pastry is thawed, it’s time to get creative. I like to cut it into squares, but you can use any shape you want. The key is to make those little L-shaped cuts in each corner. It might seem strange now, but this is what allows you to fold them over and create those cute little cups that will hold our custard and berries. Don't worry if they're not perfect; a little bit of rustic charm never hurt anyone. Plus, once they're baked and golden, no one will notice any minor imperfections.
Step | Action |
|---|---|
1 | Thaw puff pastry |
2 | Cut into squares |
3 | Make L-shaped cuts |
4 | Fold the corners up and over |
Baking to Golden Perfection
Now that our little pastry cups are formed, it's time for the oven. We're aiming for a nice, hot 400 degrees Fahrenheit. This is where the magic truly happens. The pastry will puff up beautifully, becoming light and airy. You'll start to see them turn a gorgeous golden brown - that's when you know they're ready. Keep a close eye on them; ovens can be temperamental, and you don't want to burn the bottoms. Usually, about 15 minutes does the trick, but it may vary a little bit depending on your oven.
Once they're baked, let them cool on a wire rack. This is important; it stops them from getting soggy on the bottom. I know it's hard to resist, but patience is key. They need to be completely cool before we add the custard and berries. This step ensures that the pastry stays crispy and adds a delightful texture to our final dessert. It's all about that perfect balance of textures and flavors, and this is a crucial part.
Crafting Italian Custard Cream: A Sweet Symphony
Crafting Italian Custard Cream: A Sweet Symphony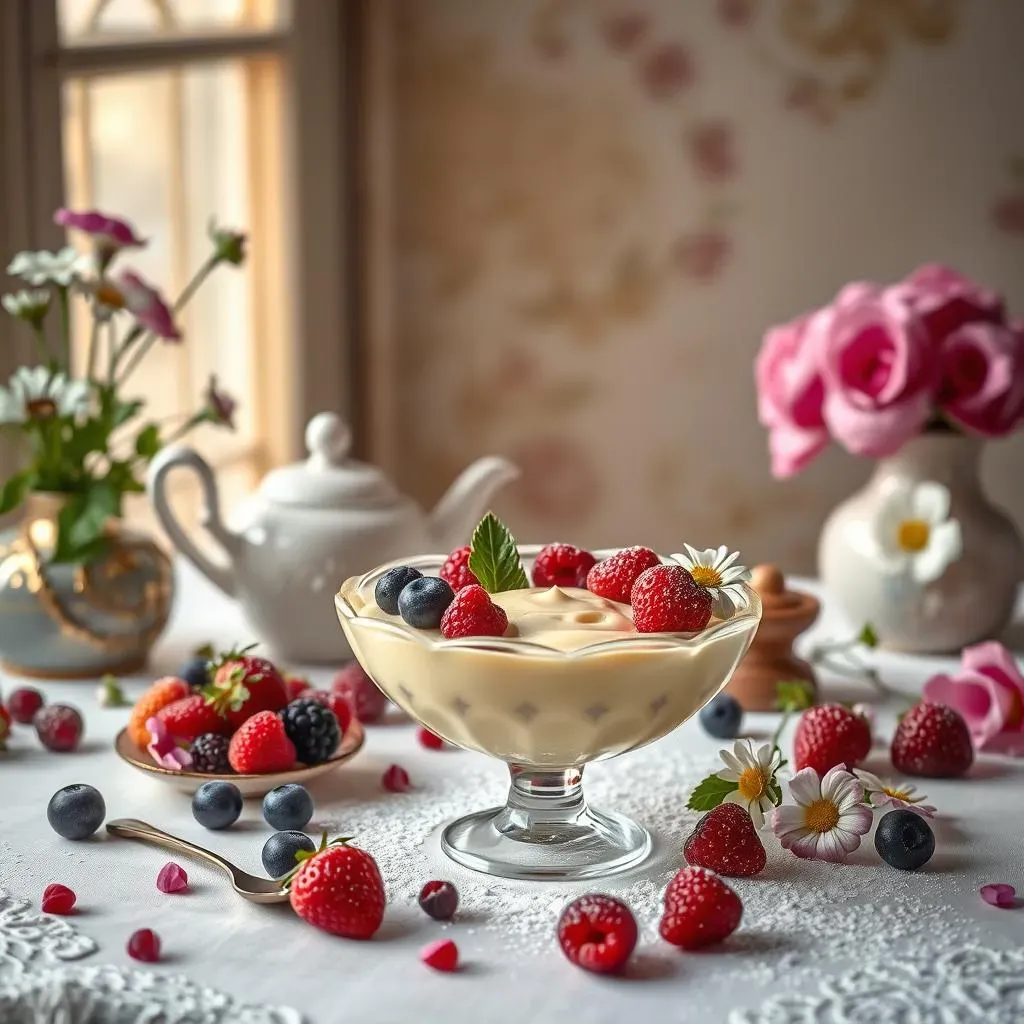
The Heart of the Dessert
Alright, let's talk about the star of the show: Italian custard cream, or as the fancy folks call it, "crema pasticcera." This isn't your average pudding; it’s a silky, smooth dream that’s surprisingly easy to make. We're ditching the store-bought stuff because, trust me, homemade is a game-changer. It starts with simple ingredients: milk, sugar, egg yolks, cornstarch, and a touch of vanilla. This is where the magic happens. The key here is low and slow, you don't want to scramble the eggs, you want to cook it gently until it thickens up to a perfect consistency. It's all about patience and stirring, constant stirring.
Now, don't get intimidated by the idea of making custard from scratch. It's really more like a gentle dance between heat and ingredients. You'll whisk the egg yolks and sugar until they become pale and fluffy, then you'll add the cornstarch. This is the secret to that thick, luscious texture. Next, you'll heat the milk until it's just simmering and slowly pour it into the egg mixture while whisking constantly. This technique is called tempering, and it prevents the eggs from cooking too quickly. Finally, it goes back into the saucepan to cook until it's thick and creamy. I know it sounds like a lot, but each step is straightforward, and the result is totally worth it. You'll be surprised at how quickly it comes together.
Ingredient | Purpose |
|---|---|
Milk | Forms the base of the custard |
Sugar | Adds sweetness |
Egg Yolks | Provides richness and structure |
Cornstarch | Thickens the custard |
Vanilla | Adds flavor |
Making Ahead and Storing
One of the best parts about this custard is that it can be made ahead of time. This is a lifesaver when you're preparing for a party or just want to get ahead of the game. Once the custard is cooked, pour it into a bowl and cover the surface with plastic wrap. This prevents a skin from forming on top. You can store it in the fridge for up to three days. When you're ready to use it, give it a good stir, and it will be as smooth and creamy as ever. This make-ahead option is a total game-changer, and it takes the stress out of dessert prep. Plus, it allows the flavors to meld together even more, making it even more delicious.
Remember, the consistency of the custard is key. It should be thick enough to hold its shape but still be smooth and pourable. If it's too thick, you can thin it out with a little bit of milk. If it’s too thin, you can return it to the saucepan and cook it a little longer. Trust your instincts, and don't be afraid to adjust it to your liking. This is your dessert, after all, so make it exactly how you love it. This recipe is very forgiving; even if you make a mistake, you can almost always fix it. So, don't be afraid to experiment and make it your own.
Assembling Your Masterpiece: Puff Pastry Dessert Recipes Custard
Assembling Your Masterpiece: Puff Pastry Dessert Recipes Custard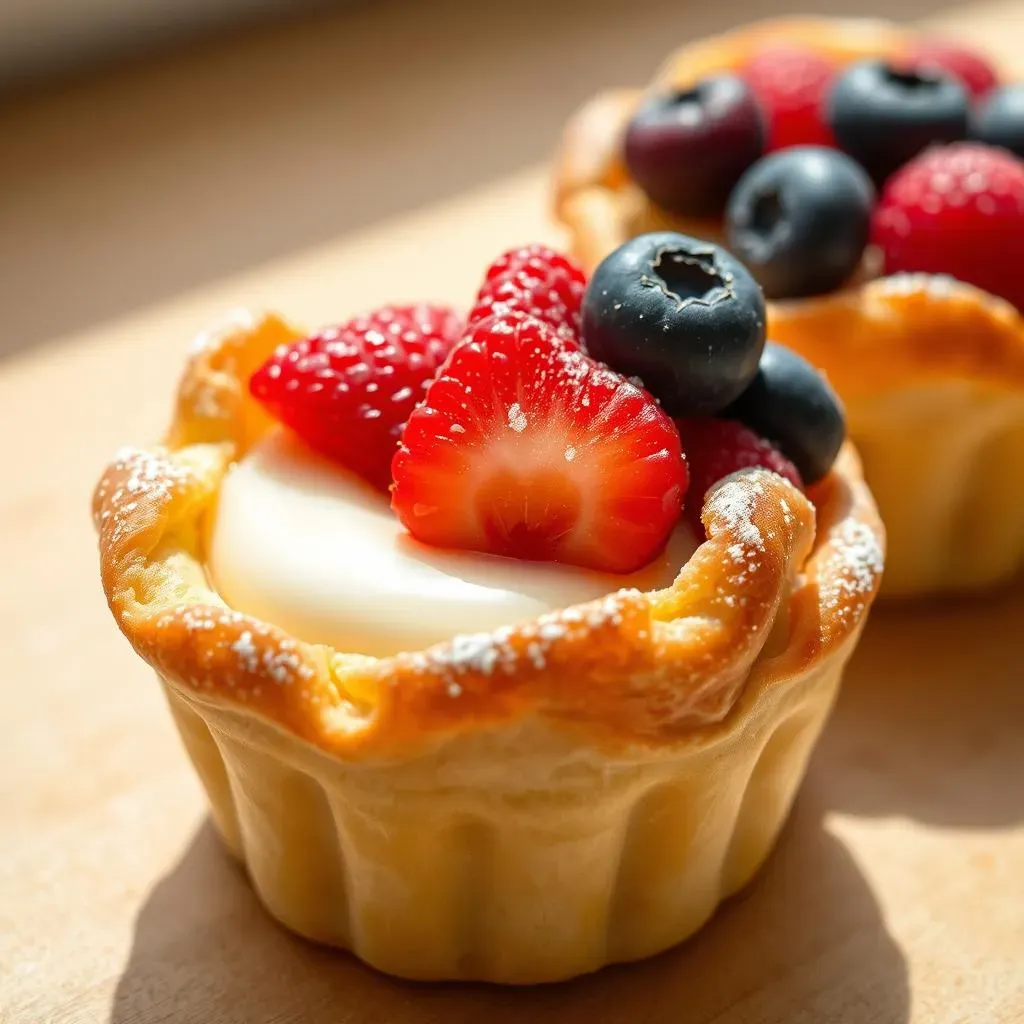
The Art of the Fill
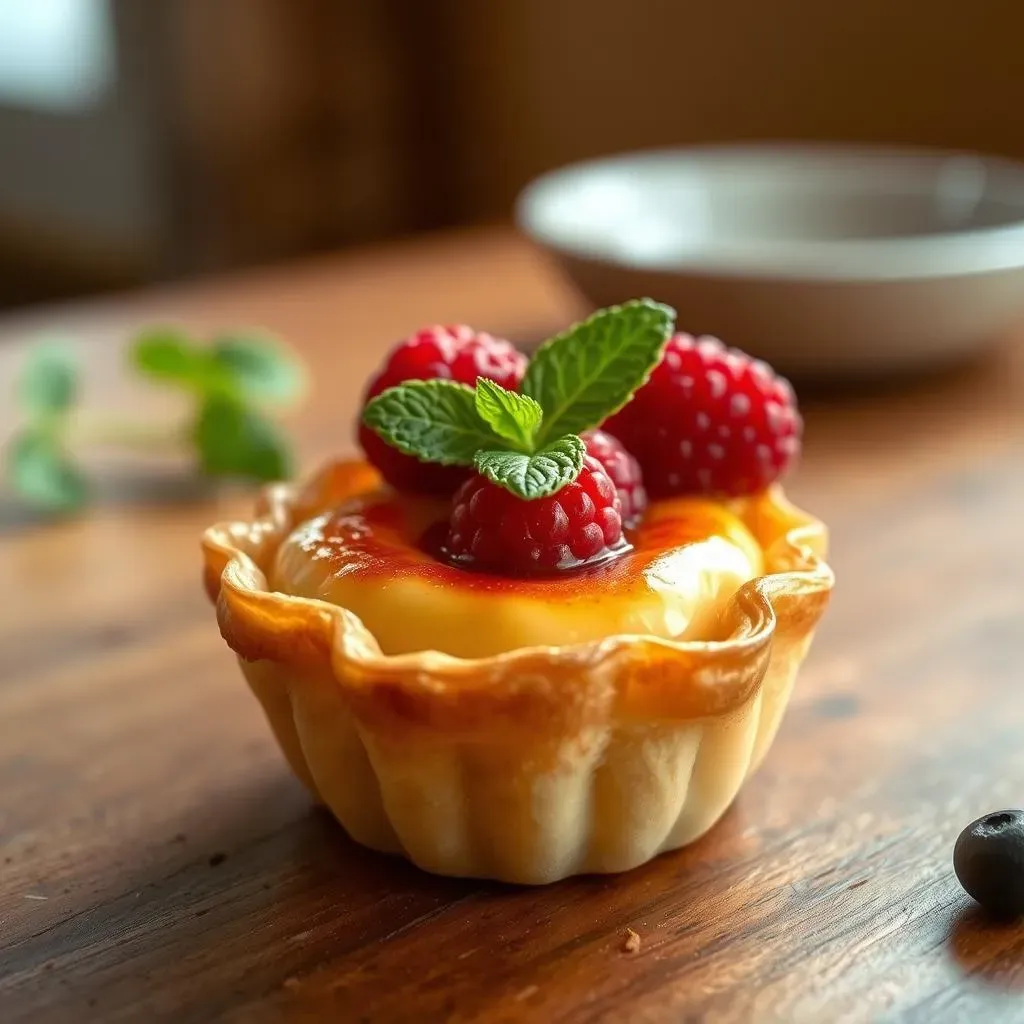
Okay, friend, the moment we've all been waiting for is here: assembling our puff pastry masterpieces! It's like putting together a tiny, edible puzzle, and it's super satisfying. First, make sure your pastry cups are completely cool. If they're even a little warm, the custard will melt and make them soggy. Then, take a spoon and gently fill each pastry cup with that luscious Italian custard cream we made earlier. Don't overfill them; you want to leave a little room for the berries. Think of it as a gentle hug for the custard; just enough to fill the space nicely.
Now, it’s time to add the berries. Fresh berries are the perfect complement to the rich custard and flaky pastry. I like to use a mix of strawberries, raspberries, and blueberries for a burst of color and flavor. However, you can use whatever berries you like. Arrange them on top of the custard, creating a beautiful and delicious topping. Get creative with your arrangement; this is where your artistic side can shine. Remember, we eat with our eyes first, so make it look as good as it tastes. This is the fun part, where your hard work comes together to create something truly special.
Component | Action |
|---|---|
Puff Pastry Cups | Make sure they are completely cool |
Italian Custard Cream | Fill each cup gently, don't overfill |
Fresh Berries | Arrange on top of the custard, get creative! |
Serving and Enjoying Your Creation
The key to serving these beauties is timing. Don't fill them too far ahead of time, or the pastry will get soggy. It's best to assemble them right before you plan to serve them. This ensures that the pastry stays nice and crispy, and the custard remains perfectly creamy. I like to add a dusting of powdered sugar on top just before serving to make them look extra fancy. It's a small touch, but it really elevates the final presentation. These are perfect for a special occasion, like Mother's Day, or just a treat for yourself!
Now, for the best part: eating them! Each bite is a perfect combination of flaky pastry, smooth custard, and juicy berries. It's a little bit of heaven in every mouthful. I love how the different textures and flavors come together to create a truly unforgettable experience. And the best part is that you made it all yourself! There's something so satisfying about creating a delicious dessert from scratch, and sharing it with the people you love. So, go ahead, pat yourself on the back, you deserve it. And don't forget to take a picture; these are definitely Instagram-worthy!
Tips and Tricks
A few extra tips to ensure your success: if you don't have fresh berries, you can use frozen berries, just make sure you thaw them and drain any excess liquid. Also, if you want a little extra flavor, you can add a touch of lemon zest to the custard. I’ve also seen people use a little bit of almond extract, but I am not a fan of it. And don’t be afraid to experiment with different toppings. You could add some chocolate shavings, a drizzle of caramel, or even a sprinkle of nuts. The possibilities are endless. Remember, cooking is all about having fun and making it your own. So, go ahead and get creative and make these puff pastry desserts your own!