Table of Contents
Ever dream of a pie that's both impressive and incredibly easy? Forget fussy crusts, because we're diving headfirst into the world of puff pastry dessert pie recipes! This isn't your grandma's apple pie, unless your grandma is a secret pastry genius. We're talking about a flaky, buttery base that cradles a warm, spiced apple filling. Get ready for a dessert that’ll make you look like a pro, even if you're more of a "box-mix" kind of baker. We’ll walk you through everything, from picking the perfect apples to achieving that golden-brown crust that everyone will rave about. We'll explore why this recipe is a total game-changer, from its ease of preparation to its incredibly satisfying taste and texture. You'll discover simple ingredient swaps, step-by-step instructions, and pro tips that'll make your pie the talk of the town. Plus, we'll tackle some common questions and guide you on how to serve and store your masterpiece. Ready to transform your baking game with a simple, yet extraordinary, puff pastry apple pie? Let’s get started!
Why You'll Love This Puff Pastry Apple Pie
Why You'll Love This Puff Pastry Apple Pie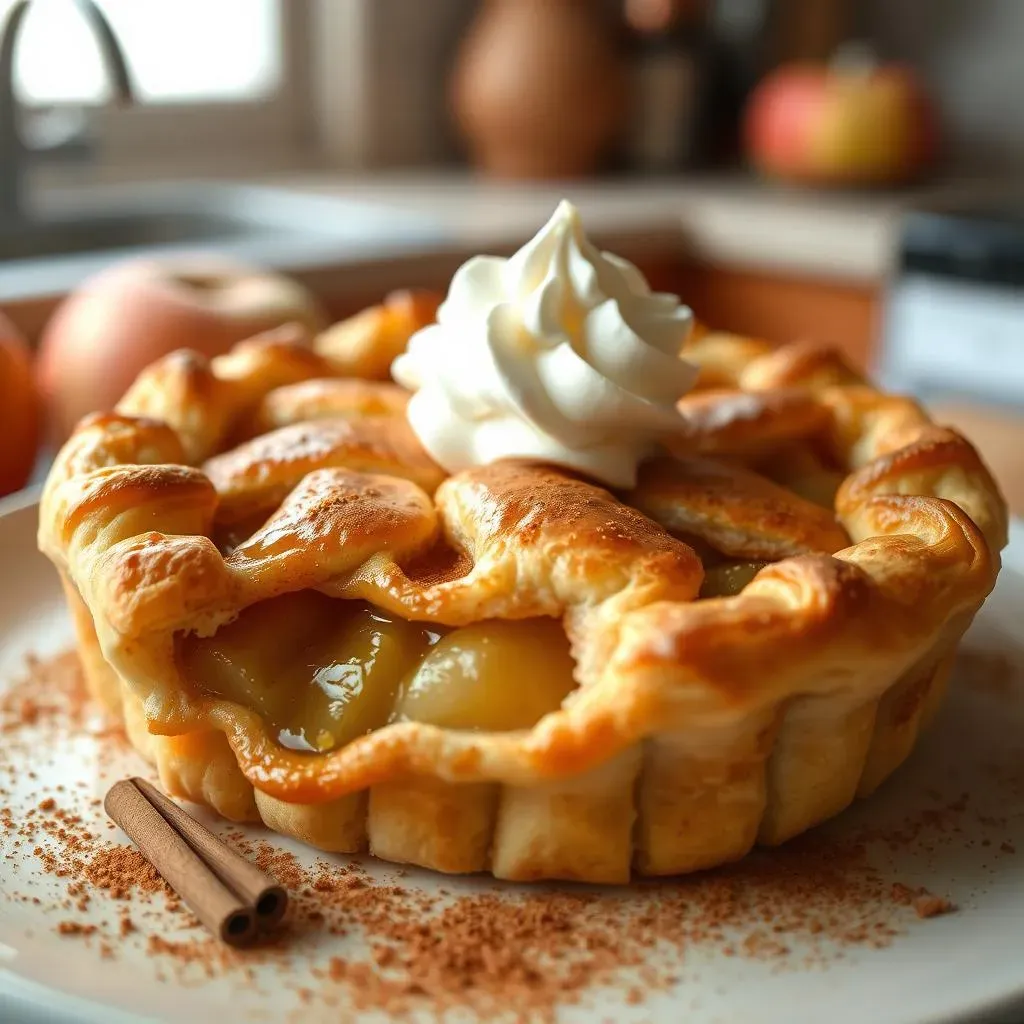
The Texture Triumph
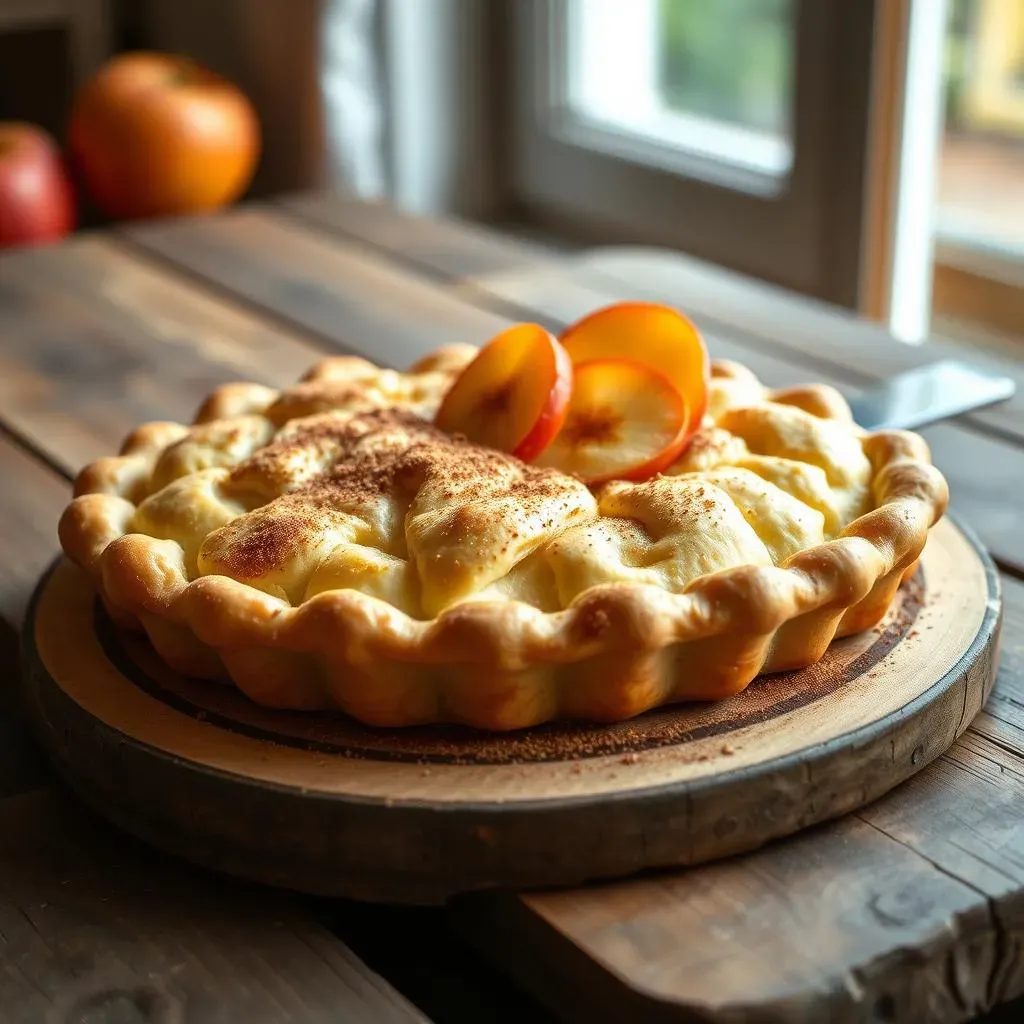
Okay, let's be real, the crust is where it's at, right? Forget that dense, sometimes-soggy traditional pie crust. Puff pastry is a total game changer. It's light, airy, and shatteringly crisp. Each bite is a symphony of flaky layers, and honestly, it feels like you're eating something way more complicated than it actually is. It's like the difference between a regular old cracker and a croissant, you know? The buttery richness just melts in your mouth, complementing the sweet apple filling perfectly.
And speaking of easy, let's not forget the convenience factor. No more messing around with shortening and ice water, or stressing about getting the perfect dough consistency. Puff pastry comes ready to roll, literally! It’s the secret weapon for busy folks who still want to impress with a homemade dessert. It’s so easy that even I, with my questionable baking skills, can whip this up without a sweat. Trust me, your taste buds, and your sanity, will thank you.
Simplicity Meets Deliciousness
Beyond the amazing texture, this pie is just plain delicious! The sweet, spiced apples create a warm, comforting flavor that’s perfect for any time of the year. It’s not overly complicated, just good, honest ingredients coming together in perfect harmony. And you know what? That simplicity is what makes it so great. No need for fancy techniques or obscure ingredients. It's a pie that's both homey and elegant, all at the same time.
Think of it like this: you've got the buttery, flaky pastry, the tender, spiced apples, and that's it. It's a flavor combination that just works. Plus, the aroma while it's baking is pure magic. It fills your kitchen with this incredible, cozy smell that just makes you want to curl up with a slice and a warm drink. It's the kind of dessert that makes you feel happy, and isn't that what good food is all about?
Feature | Puff Pastry Pie | Traditional Pie |
|---|---|---|
Crust Texture | Light, flaky, buttery | Dense, sometimes soggy |
Preparation | Easy, ready-to-roll pastry | More complex, homemade dough |
Flavor | Rich, buttery, complements filling | Can be bland |
Overall Experience | Impressive, yet simple | Can be time-consuming |
Ingredients & Smart Substitutions for Your Puff Pastry Dessert Pie
Ingredients & Smart Substitutions for Your Puff Pastry Dessert Pie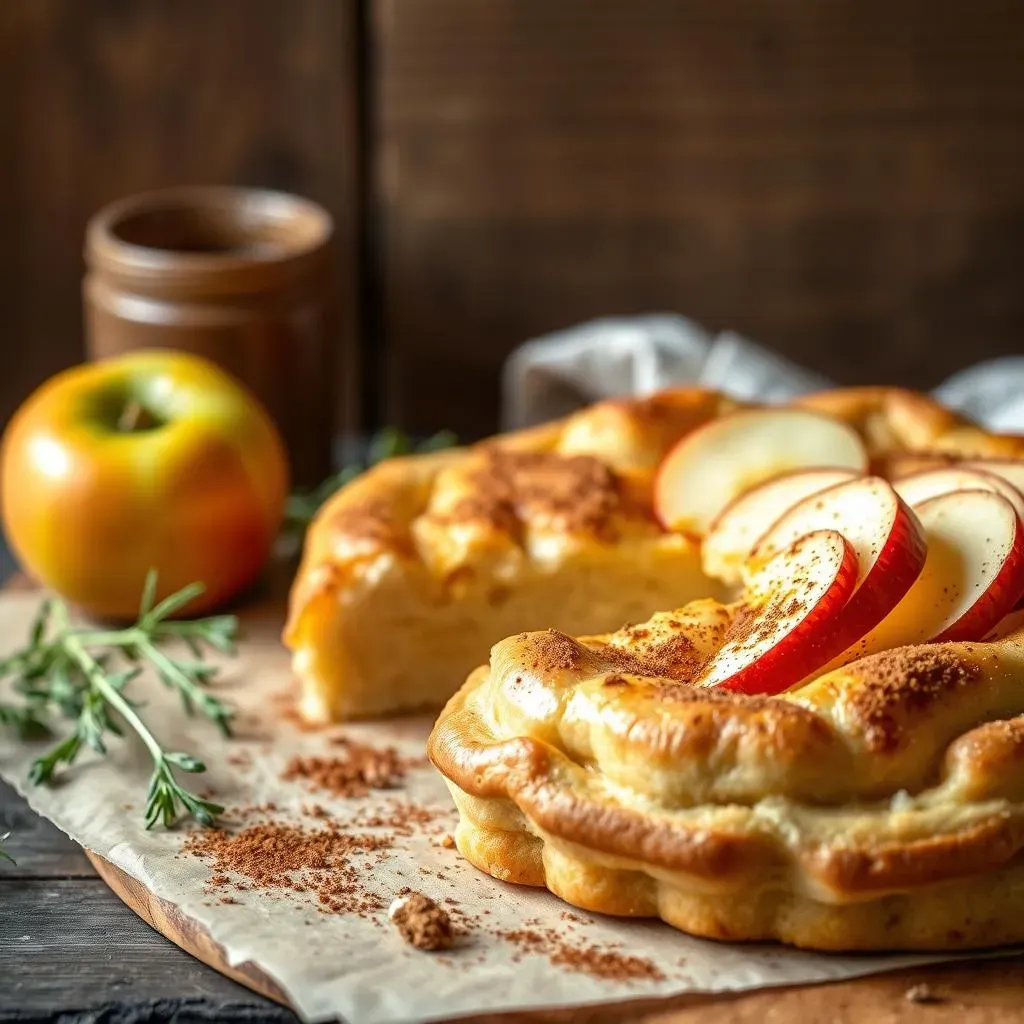
The Core Crew: What You Absolutely Need
Okay, let's talk ingredients, the real MVPs of this pie. First off, you'll need puff pastry. I usually go for the store-bought kind because, let's be honest, who has time to make it from scratch? Just make sure it's thawed properly – that’s key for getting those flaky layers. Then, you’ll need your apples. I like to mix it up with Honeycrisp, Fuji, and Gala, but really, any good baking apple will work. Just avoid the Golden Delicious, those guys tend to get mushy. We're also going to need some lemon juice, sugar, cinnamon, nutmeg, and vanilla extract. These are your flavor enhancers, the ones that make the kitchen smell like a cozy fall day. Don't skimp on the vanilla; it makes all the difference.
And that's pretty much it! It's a short list, but each ingredient plays a crucial role. The lemon juice keeps the apples from browning, the sugar adds sweetness, and the spices bring that warm, comforting feeling. It's like a well-balanced team, where everyone has their job, and together, they create something amazing. The beauty of this recipe is that you don’t need a ton of fancy stuff to make it great. Just a few simple, quality ingredients, and you're good to go. It's not about complexity; it's about quality, fresh ingredients doing their thing.
Smart Swaps: Customizing Your Pie
Now, let's get into the fun part: substitutions. What if you don't have nutmeg? No problem, use allspice or even a little bit of ground ginger. Want to reduce the sugar? Maple syrup or honey can work as well, just adjust the amount to your liking. And if you're feeling adventurous, throw in some chopped nuts, like pecans or walnuts, for extra crunch and flavor. It’s all about making this pie work for you. It's your kitchen, your rules, your pie! Feel free to experiment and see what you like best.
Also, if you're looking to make this pie dairy-free, many puff pastry brands are made with vegetable oils, so just double-check the label. You can also use a plant-based butter substitute if you want to get extra fancy. And if you’re gluten-free, there are some gluten-free puff pastry options available, but they may not behave exactly the same way as regular puff pastry, so be ready for a slight texture difference. The key is to have fun, be flexible, and don't be afraid to tweak things to your liking. After all, cooking is all about creativity and making things your own!
Ingredient | Original | Smart Substitutions |
|---|---|---|
Apples | Honeycrisp, Fuji, Gala | Any good baking apple (avoid Golden Delicious) |
Sugar | Granulated Sugar | Maple syrup, honey (adjust to taste) |
Nutmeg | Ground Nutmeg | Allspice, ground ginger |
Puff Pastry | Store-bought (usually dairy-based) | Plant-based options, gluten-free options (may have texture differences) |
How to Make an Apple Pie with Puff Pastry: StepbyStep
How to Make an Apple Pie with Puff Pastry: StepbyStep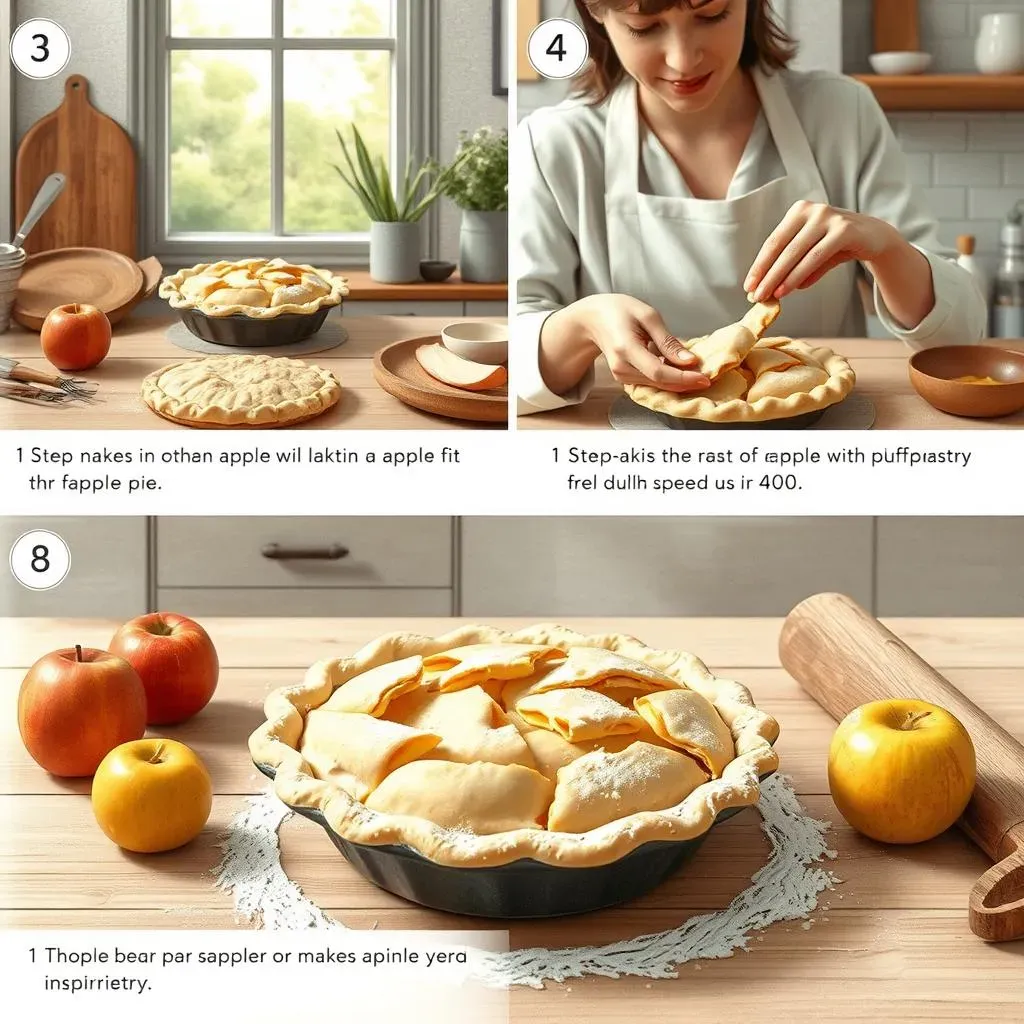
Prep the Apples
Alright, let's get down to business. First things first, you're gonna peel, core, and slice your apples. Don't worry about being too perfect here, we're not entering a fruit-slicing competition. Just get them into relatively even pieces so they cook evenly. Toss those apple slices into a big bowl, then drizzle with lemon juice to keep them from turning brown. Next, you'll sprinkle the sugar, cinnamon, nutmeg, and a splash of vanilla extract over the apples. Give everything a good mix, making sure every slice is coated in that sweet, spicy goodness. Now, here's the key: let that mixture sit for 1-2 hours. This allows the apples to release their juices, which will create a delicious sauce in the pie. Don't skip this step; it’s like giving the apples a little spa day before they become pie stars.
Assemble Your Masterpiece
While your apples are chilling and getting juicy, it's time to prep the puff pastry. Gently roll out one sheet of thawed puff pastry on a lightly floured surface. You want it just a tad bigger than your pie dish. Carefully place the pastry into the dish, pressing it gently against the bottom and sides. Now, it's showtime. Pour the apple mixture into the pastry-lined dish, making sure to get all those delicious juices in there too. Then, roll out the second sheet of puff pastry and place it over the apple filling. Crimp the edges of the top and bottom crusts together, creating a seal. Don't forget to cut a few slits in the top crust; this lets steam escape and prevents your pie from turning into a soggy mess. It's like giving your pie a little breathing room.
Step | Action | Why It Matters |
|---|---|---|
1 | Peel, core, and slice apples | Ensures even cooking |
2 | Toss with lemon juice, sugar, spices, and vanilla | Adds flavor and prevents browning |
3 | Let mixture sit for 1-2 hours | Draws out juices for a sauce |
4 | Roll out puff pastry and place in dish | Creates the bottom crust |
5 | Pour in apple filling | The heart of the pie |
6 | Top with second pastry sheet, crimp edges, cut slits | Seals the pie and allows steam to escape |
Bake It 'Til Golden
Alright, your pie is assembled, and it’s looking pretty darn good. Now, it’s time for the oven to do its magic. Preheat your oven to 375°F (190°C). Place the pie on a baking sheet (just in case any juices decide to bubble over) and bake it for about 75 minutes, or until the crust is golden brown and the juices are bubbling through those slits you made. The bake time may vary depending on your oven, so keep an eye on it. The crust should be a beautiful golden brown, and the apple filling should be soft and bubbly. When it’s done, take it out of the oven and let it cool for a bit before slicing. This is the hardest part, I know, but it's crucial for the pie to set properly. You don't want to end up with a gooey mess when you cut into it. Trust me, the wait is worth it.
Pro Tips for the Best Puff Pastry Dessert Pie Bake
Pro Tips for the Best Puff Pastry Dessert Pie Bake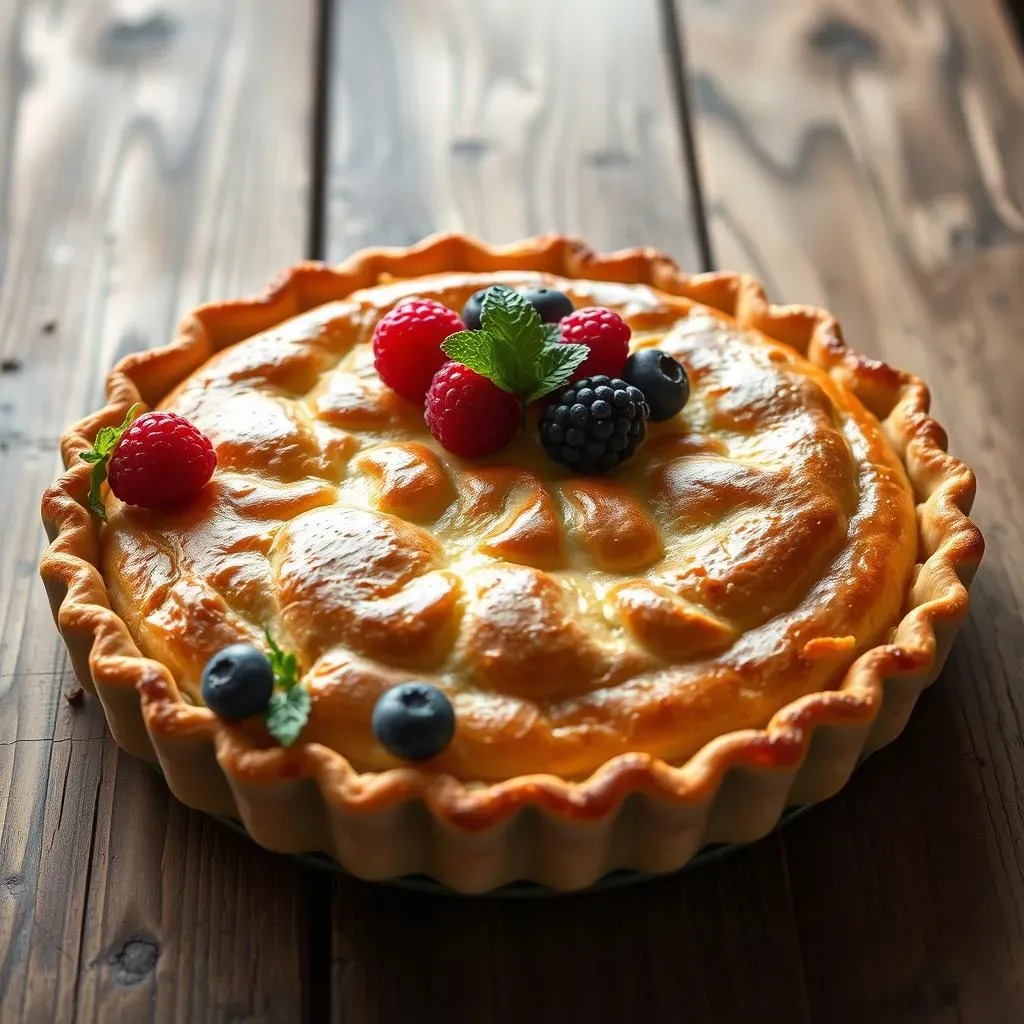
The Chill Factor: Keeping it Cool
Okay, let's talk temperature, because it's a big deal when it comes to puff pastry. The colder the pastry, the flakier the bake. I'm not kidding. Think of it like this: the butter in the pastry is what creates those amazing layers, and if it gets too warm, it starts to melt and blend into the dough, which is a big no-no. So, make sure your puff pastry is thawed, but still cold, when you're working with it. If you notice it getting soft while you're rolling it out, pop it back in the fridge for a few minutes to chill. It's like giving your pastry a little spa break. Also, make sure you bake your pie in a preheated oven; this will prevent the bottom crust from getting soggy. Remember, cold dough equals flaky crust!
Another little temperature trick: if your kitchen is warm, consider chilling the pie dish before you place the pastry in it. It's all about keeping things cool, calm, and collected for the best possible bake. It might seem like a small detail, but it can make a huge difference in the final result. It is like the difference between a perfectly crisp french fry and a soggy one.
The Resting Game: Patience is Key
Remember that 1-2 hour rest time for the apples? Yeah, that’s not just a suggestion, it's a must-do. It allows the apples to release their juices, which creates a delicious sauce and helps prevent a soggy bottom crust. If you skip this step, you might end up with a watery pie, and nobody wants that. Think of it as letting the apples have a little bath before they go into the oven. It also helps concentrate the flavors. And while we're talking about resting, don't forget to let your pie cool a bit after it comes out of the oven. It's tempting to dive right in, but if you cut into it while it’s still piping hot, the filling will be runny. Let it cool down for at least 20-30 minutes, so it can set properly. This is where patience pays off, trust me.
Also, don't be tempted to overfill your pie. It might seem like a good idea to pack as many apples as you can in there, but that can cause the filling to bubble over and create a mess in your oven. It is better to have a little less filling than a pie that is overflowing. It's all about finding the right balance, and sometimes, less is more!
Tip | Why It Matters |
|---|---|
Keep Puff Pastry Cold | Prevents melting butter, ensures flaky layers |
Chill Pie Dish | Helps keep bottom crust crisp |
Rest Apple Filling | Releases juices, prevents soggy crust |
Cool Pie After Baking | Allows filling to set, prevents runny mess |
Don't Overfill Pie | Prevents bubbling over, ensures even baking |
The Golden Touch: Achieving Perfect Color
Finally, let's talk about getting that perfect golden-brown crust. One of the simplest tricks is to brush the top of the pastry with an egg wash before baking. Just whisk an egg with a tablespoon of water or milk and brush it over the top crust. This will help it get that beautiful, glossy color. Also, make sure you don't crowd the oven. Give your pie some space so that the heat can circulate properly. If you're baking multiple items at once, they might not bake evenly. It’s like giving your pie a little room to breathe. And if you notice the crust is browning too quickly, you can loosely tent the pie with foil to prevent it from burning. It's all about finding that sweet spot where the crust is golden, but the filling is perfectly cooked.
And here's a little secret: don't be afraid to experiment with different oven rack positions. Sometimes, moving the pie up or down a rack can make a big difference in the final result. It's like finding the perfect spot for your plants to get the best sunlight. Baking is a science, but it's also an art. Don't be afraid to try new things and see what works best for you. With a little practice, you’ll be baking perfect puff pastry pies in no time!
Frequently Asked Questions About Puff Pastry Pies
Frequently Asked Questions About Puff Pastry Pies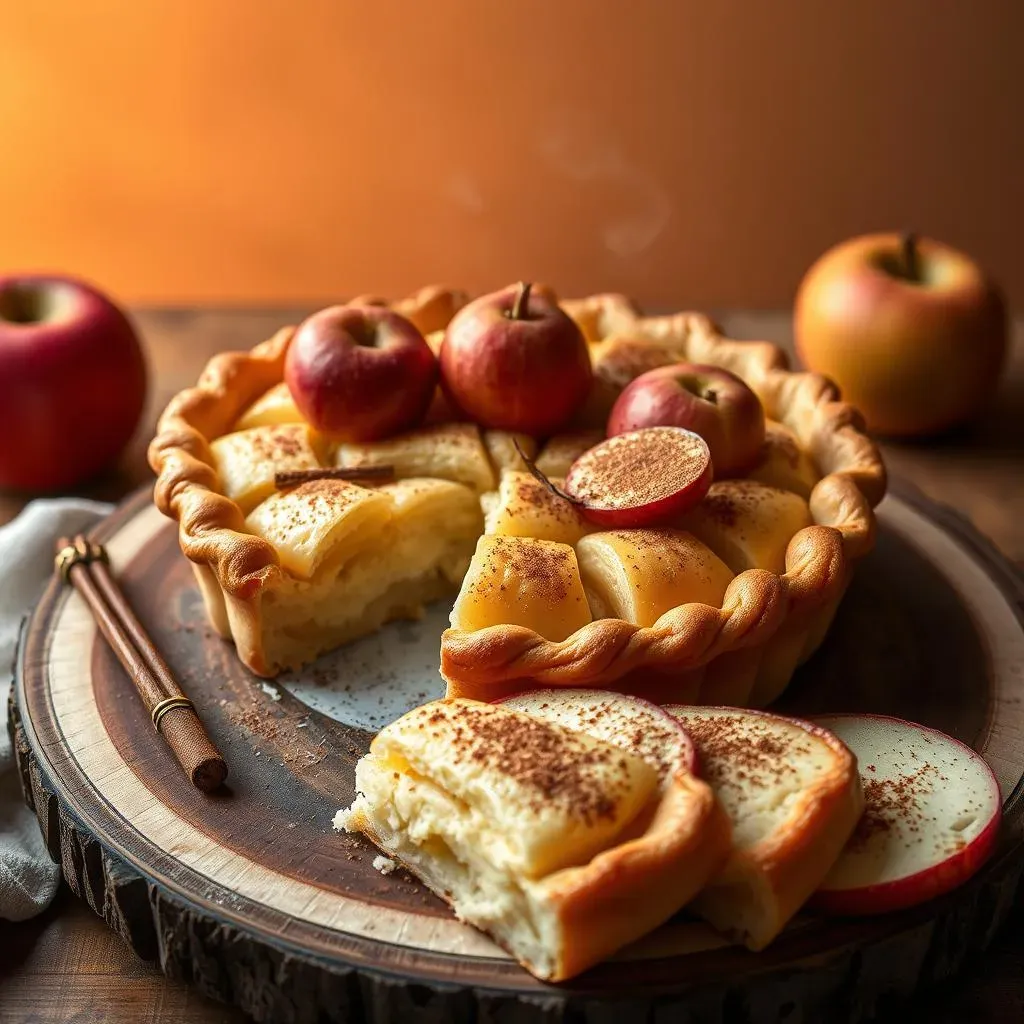
Can I Use Frozen Apples?
Okay, so you're staring at a bag of frozen apples and wondering if you can skip the peeling and slicing? I get it. Life's busy! While fresh apples are my go-to for the best texture, you *can* use frozen apples in a pinch. Just keep in mind that they'll release more liquid as they thaw, so you might need to adjust the resting time or add a little cornstarch to the filling to thicken it up. It's like they're a bit more dramatic than their fresh counterparts. If you decide to use frozen, thaw them completely and drain off any excess liquid before adding them to the pie. And hey, if you do use frozen, don't beat yourself up about it. We're all just doing our best, right?
Also, if you're using frozen apples, consider adding a little extra cinnamon and nutmeg. Sometimes, frozen fruits can lose a bit of their flavor during the freezing process, so a little spice boost can help them shine. And remember, the key to a great pie is all about adapting and making the recipe work for you. So, don't be afraid to experiment and tweak things to your liking. It's your kitchen, your pie, your rules! Just keep an eye on that liquid content, and you'll be golden.
What About Making it Gluten-Free or Dairy-Free?
This is a great question, and I'm glad you asked! For a gluten-free version, you'll need to use a gluten-free puff pastry. Now, these can be a bit trickier to work with than regular puff pastry, so be prepared for a slightly different texture. They might not puff up quite as much, but they'll still be delicious. As for dairy-free, many store-bought puff pastry brands are made with vegetable oils, so you might not even need to make a substitution. Just check the label to be sure. And if you do need to make a swap, plant-based butter substitutes work great. Just keep in mind that they might behave a little differently than regular butter, so keep an eye on your baking time.
And here’s a little tip, if you're making this pie for someone with allergies, always double-check all your ingredients. It's better to be safe than sorry! Also, don't be afraid to ask your local bakery or grocery store for recommendations on good gluten-free or dairy-free products. They often have great insights and can point you in the right direction. Baking is all about sharing and caring, so let's make sure everyone can enjoy a slice of pie! And if all else fails, just remember, even a slightly imperfect pie is still a delicious pie.
Question | Answer |
|---|---|
Can I use frozen apples? | Yes, but drain excess liquid and adjust spices. |
Can I make it gluten-free? | Yes, use gluten-free puff pastry. |
Can I make it dairy-free? | Yes, use plant-based butter substitute, check puff pastry labels. |
Serving and Storing Your Delicious Apple Pie
Serving and Storing Your Delicious Apple Pie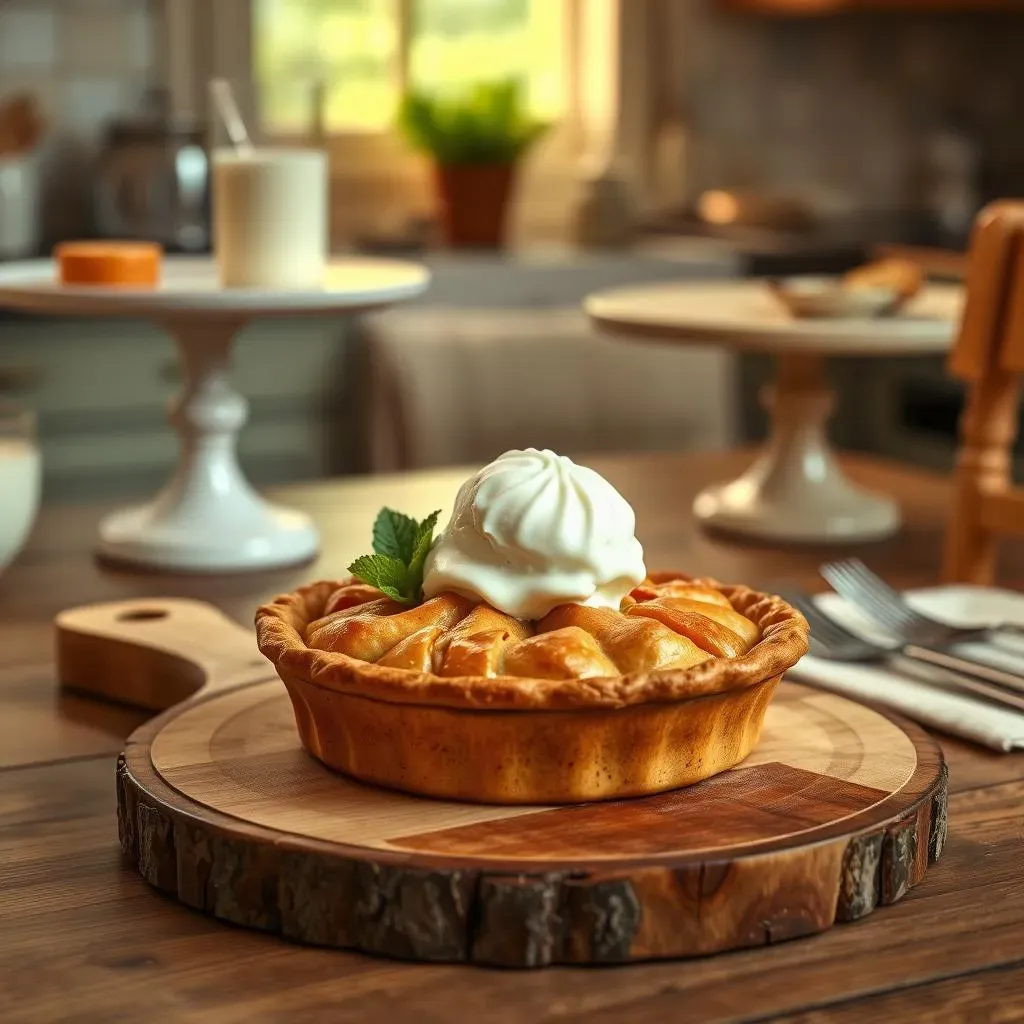
Serving Suggestions: The Grand Finale
Okay, the pie is baked, it's cooled, and now it's time to show it off! Serving this pie is all about making it feel like a special treat. My absolute favorite way to serve it is warm, with a generous scoop of vanilla ice cream melting over the top. The contrast of the warm pie and the cold ice cream is just heavenly. It's like a little party in your mouth. If you're feeling a bit fancy, you can drizzle some caramel sauce over the top, or even sprinkle some chopped nuts for extra crunch. It's all about adding those little extra touches that make it feel extra special. And honestly, sometimes, a simple slice of pie is all you need. It's the star of the show, and it deserves to be enjoyed in all its glory.
Also, don't be afraid to get creative with your serving platter. A pretty cake stand or a rustic wooden board can make a big difference in how the pie looks. It's all about presentation, my friend! And if you're serving this pie at a gathering, consider adding a little garnish, like a sprig of mint or a dusting of powdered sugar. It's those small details that can take your pie from good to great. And remember, the best way to serve a pie is with a smile. Baking is all about sharing the love, so make sure you enjoy every bite!
Storing Your Pie: Keeping it Fresh
So, you’ve baked this amazing pie, and somehow, you have leftovers? First off, congrats! That’s a win in my book! To keep your pie fresh, let it cool completely before storing it. If you're going to eat it within a day or two, you can store it at room temperature, loosely covered. But if you want to keep it for longer, you can store it in the fridge, well-wrapped in plastic wrap or in an airtight container. It'll stay good for about 3-4 days. And if you want to really extend its life, you can freeze it! Just wrap it tightly in plastic wrap, then foil, and it'll stay good for up to 3 months. When you're ready to eat it, let it thaw in the fridge overnight, then warm it up in the oven. It'll taste almost as good as the day you baked it. It's like giving your pie a little time-out, so it can be ready for its next big appearance.
Also, if you’re planning on freezing your pie, you can freeze it whole or in slices. If you’re freezing slices, place them on a baking sheet lined with parchment paper, and put them in the freezer for a couple of hours. Once they’re frozen, you can transfer them to a freezer-safe bag. This will prevent them from sticking together. And here’s a tip, when you’re thawing your pie, don’t thaw it on the counter. It’s best to thaw it slowly in the fridge, so you don’t end up with a soggy crust. Remember, the key to storing your pie is all about proper wrapping and temperature. With a little care, you can enjoy your delicious pie for days to come.
Serving Idea | Why It Works |
|---|---|
Warm with Vanilla Ice Cream | Classic combo, contrasts temperatures |
Drizzled with Caramel Sauce | Adds richness and sweetness |
Sprinkled with Chopped Nuts | Adds texture and flavor |
Simple Slice, Plain | Lets the pie shine on its own |
Storage Method | Duration |
|---|---|
Room Temperature (Loosely Covered) | 1-2 days |
Refrigerator (Well-Wrapped) | 3-4 days |
Freezer (Wrapped in Plastic and Foil) | Up to 3 months |