Table of Contents
Ever find yourself staring into the fridge, dreaming of a dessert that’s both impressive and ridiculously easy? Well, you’re in luck! Today, we’re diving into the wonderful world of puff pastry dessert filling recipes. Forget slaving away for hours; we're talking about creating flaky, delicious treats with minimal effort. We'll start with the basics, highlighting the simple ingredients and tools you’ll need. Then, I'll walk you through, step-by-step, how to assemble these little pockets of joy. Next, we'll cover the baking process and how to achieve that perfect golden-brown finish. And because no good recipe is complete without a bit of personalization, we'll also explore some fun tips, variations, and serving ideas. Whether you're a seasoned baker or a kitchen newbie, this guide will have you whipping up mouthwatering puff pastry desserts in no time. So, grab your apron, and let's get started on this sweet journey!
Puff Pastry Dessert Filling: Simple Ingredients and Equipment
Puff Pastry Dessert Filling: Simple Ingredients and Equipment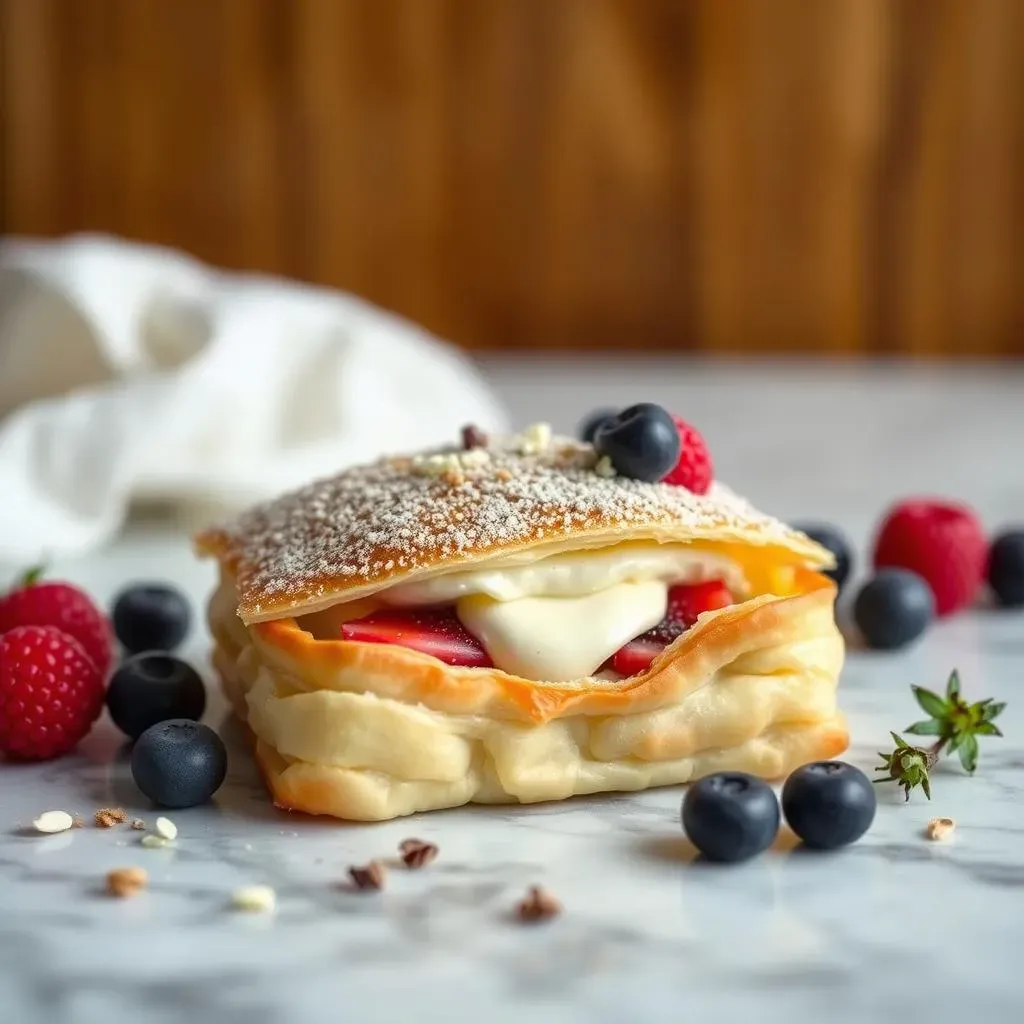
The Star of the Show: Puff Pastry
Okay, let's talk about the base of our delicious desserts: puff pastry. You’ve got options here. You can be a hero and make it from scratch, but honestly, store-bought puff pastry is a lifesaver. It’s readily available in the freezer section of most grocery stores, and it works like a charm. Look for the all-butter kind if you want that extra rich flavor. I’ve tried both, and while homemade has a certain charm, the convenience of store-bought wins most days. Don't get caught up in the fancy stuff, a good quality store-bought puff pastry is more than enough.
Cream Cheese Filling: The Magic Inside
Now, for the creamy, dreamy filling that makes these pastries so irresistible. The core is, of course, cream cheese. I like to use full-fat for the best flavor and texture. Then, we need some sugar to sweeten things up – granulated sugar works perfectly. A single egg yolk adds richness and helps bind everything together. A splash of lemon juice provides a nice tangy counterpoint to the sweetness. Finally, a touch of vanilla extract enhances the overall flavor. It's simple, but it's pure magic. You can add different flavor, like lemon zest for a citrus boost or almond extract for a nutty twist. It's all up to you!
Ingredient | Amount | Purpose |
|---|---|---|
Puff Pastry | 1 package (usually 14-17 oz) | The base for our pastry |
Cream Cheese | 8 oz | Main ingredient of the filling |
Granulated Sugar | 1/4 cup | Sweetness |
Egg Yolk | 1 | Binds the filling |
Lemon Juice | 1 teaspoon | Adds tanginess |
Vanilla Extract | 1/2 teaspoon | Enhances flavor |
Essential Tools: Keep it Simple
Okay, let's talk tools. You don’t need a fancy pastry chef’s kit for this. A good sharp knife or a pizza cutter is great for cutting the puff pastry. A cutting board is a must for protecting your countertops. You will need a mixing bowl and a spoon to mix the filling. A baking sheet is also essential for baking the pastries. Parchment paper can be a lifesaver to prevent sticking. And that's it! No need to overcomplicate things. Keep it simple, keep it clean, and you'll be baking like a pro in no time. Remember, the best desserts come from simple methods and ingredients.
“The best things in life are often the simplest.”
StepbyStep Guide to Assembling Your Puff Pastry Dessert
StepbyStep Guide to Assembling Your Puff Pastry Dessert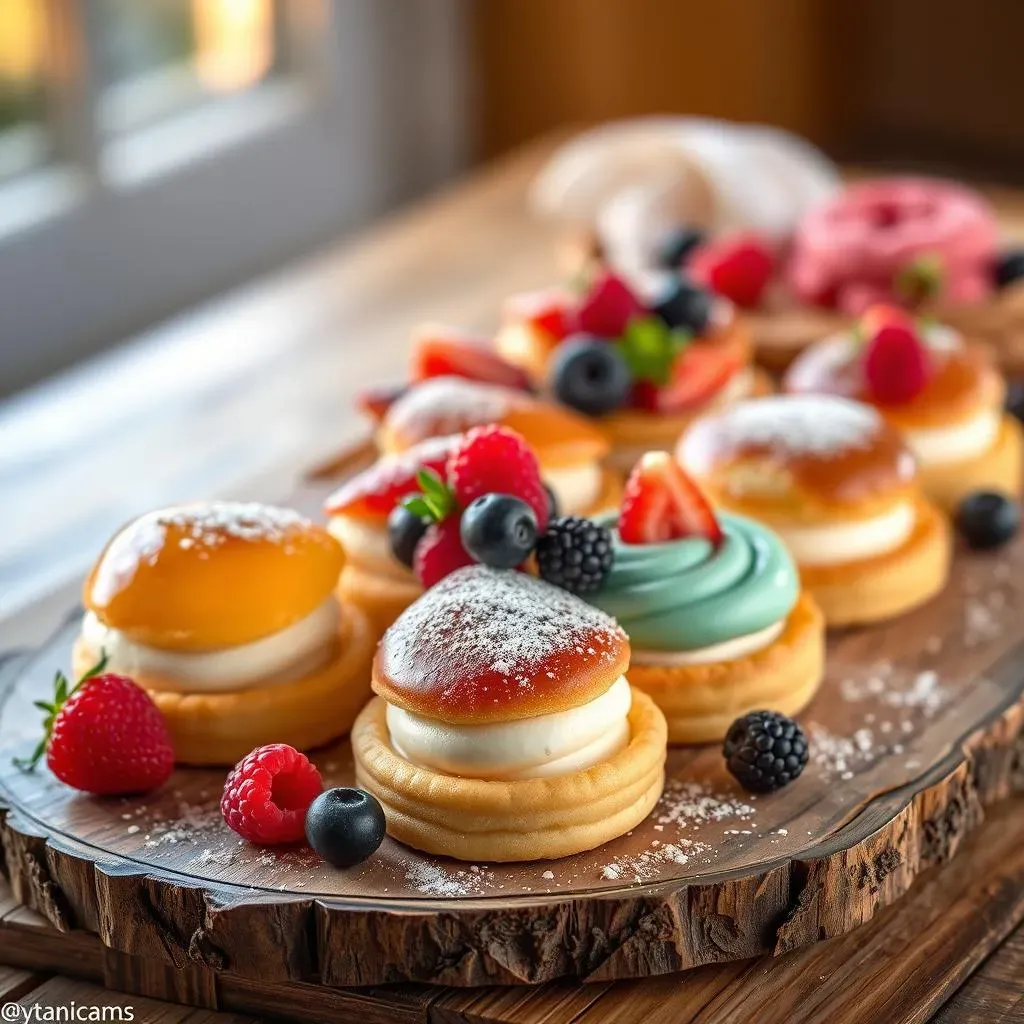
Alright, let's get our hands a little floury! First things first, you'll want to gently unfold your puff pastry sheet on a lightly floured surface. If it's been in the freezer, give it a few minutes to thaw, but not too much, you still want it cold. Now, using your knife or pizza cutter, cut the pastry into even rectangles. I usually aim for about 3x4 inches, but you can adjust depending on how big you want your pastries. Once you have your rectangles, take each one and score a smaller rectangle inside, about half an inch from the edge, being careful not to cut all the way through the dough. This creates a nice border and helps the pastry puff up beautifully. Think of it as making a little frame for the filling. If you are feeling adventurous, you can use cookie cutters to create fun shapes instead of rectangles!
Next, it's time for the star of the show: the cream cheese filling! Grab your mixing bowl and spoon, and add the cream cheese, sugar, egg yolk, lemon juice, and vanilla extract. Mix everything together until it’s smooth and creamy. Now, take a spoonful of the cream cheese mixture and place it right in the center of each scored rectangle. Don’t overfill them, or you’ll have a gooey mess on your hands. A tablespoon should be just about right. Finally, before they go into the oven, you can brush the edges of the pastry with a little milk or egg wash for that extra golden-brown color. It's like giving them a little spa treatment before the big bake. Now, they are ready for the oven!
Step | Action |
|---|---|
1 | Unfold puff pastry and cut into rectangles. |
2 | Score a smaller rectangle in the center of each piece. |
3 | Mix cream cheese filling ingredients. |
4 | Spoon filling into the center of each pastry. |
5 | Brush edges with milk or egg wash (optional). |
Baking and Finishing Touches for Perfect Puff Pastry
Baking and Finishing Touches for Perfect Puff Pastry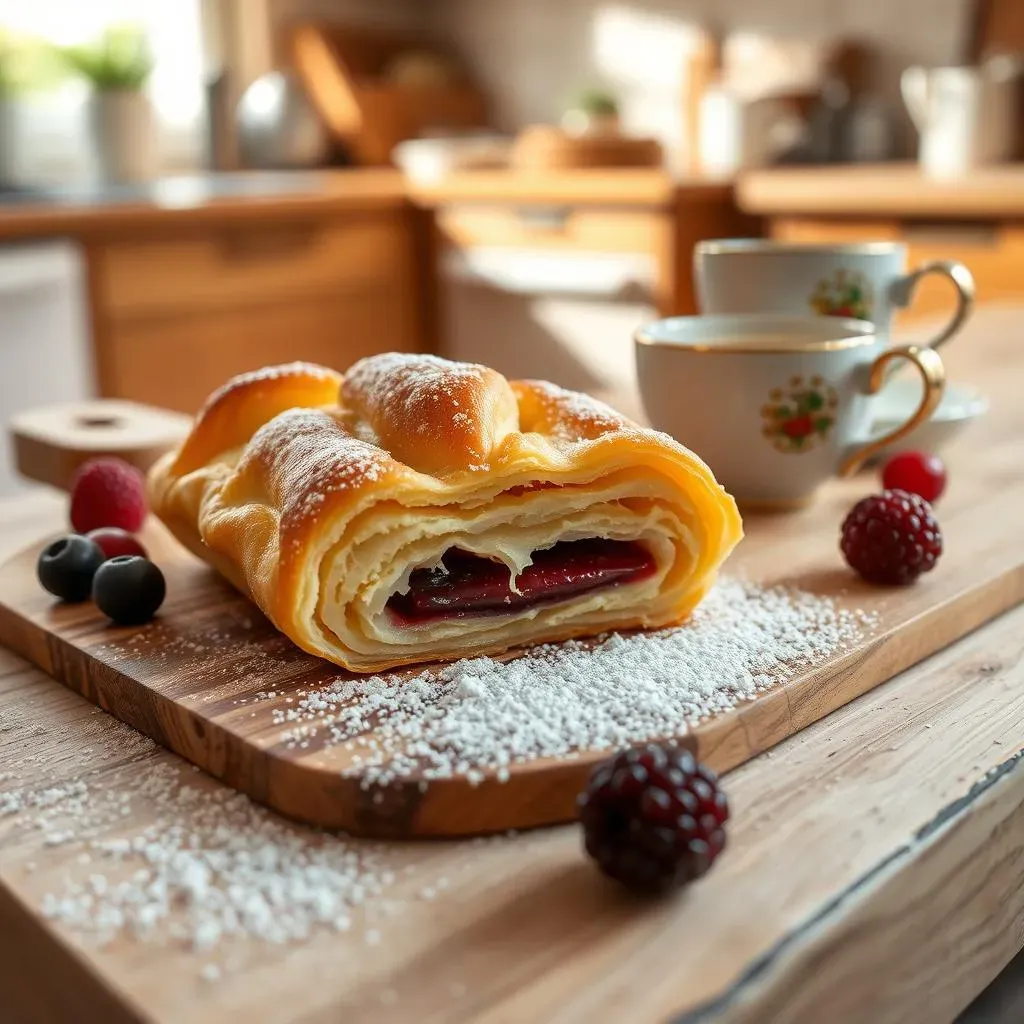
Oven Time: The Magic of Baking
Alright, our pastries are filled and ready, so let's talk baking! Preheat your oven to 400°F (200°C). This temperature is perfect for getting that golden, flaky crust we all crave. Place your pastries on a baking sheet lined with parchment paper. This will prevent them from sticking and make cleanup a breeze. Now, slide that baking sheet into the preheated oven and set a timer for 15-20 minutes. Keep an eye on them, because every oven is different. You'll know they're ready when the pastry is puffed up, golden brown, and the filling is set. I remember the first time I baked these, I was so impatient that I opened the oven too early. Trust me, patience is key! Let them bake undisturbed, and you'll be rewarded with pastry perfection.
Baking time can vary, so keep a close watch on your pastries. If you notice they're browning too quickly, you can lower the oven temperature a bit or cover them lightly with foil. This is one of those times that a little observation goes a long way. Don't be afraid to adjust the baking time slightly to ensure that your pastries are cooked through and golden brown. Remember, the perfect pastry is a work of art, so don't rush the process.
Finishing Touches: The Sweet Finale
Okay, so your pastries are out of the oven, smelling divine, and looking gorgeous. Now, let’s add the final touch! Once they've cooled slightly, you can sprinkle them with some powdered sugar for a classic, elegant look. You can also make a simple sugar glaze by mixing powdered sugar with a bit of milk or lemon juice. Drizzle it over the pastries for a bit of extra sweetness and shine. If you're feeling fancy, you can add a few fresh berries on top. A little bit of fresh fruit can transform these simple pastries to something special. It's all about those small things that elevate the final product.
And here's my favorite part: serving! These pastries are perfect warm, but they're also delicious at room temperature. Serve them for breakfast, brunch, or as a delightful dessert. I like to pair them with a cup of coffee or tea. They are also fantastic with a side of fresh fruit or a dollop of whipped cream. No matter how you choose to serve them, one thing is for sure: they'll be a hit. It's amazing how something so simple can bring so much joy. They are a little bit of heaven on a plate!
Step | Action | Time |
|---|---|---|
1 | Preheat oven to 400°F (200°C). | 10 minutes |
2 | Place pastries on a baking sheet with parchment paper. | 2 minutes |
3 | Bake for 15-20 minutes or until golden brown. | 15-20 minutes |
4 | Cool slightly, then dust with powdered sugar or glaze. | 5 minutes |
5 | Serve warm or at room temperature. | Immediately |
Tips, Variations, and Serving Suggestions for Puff Pastry Desserts
Tips, Variations, and Serving Suggestions for Puff Pastry Desserts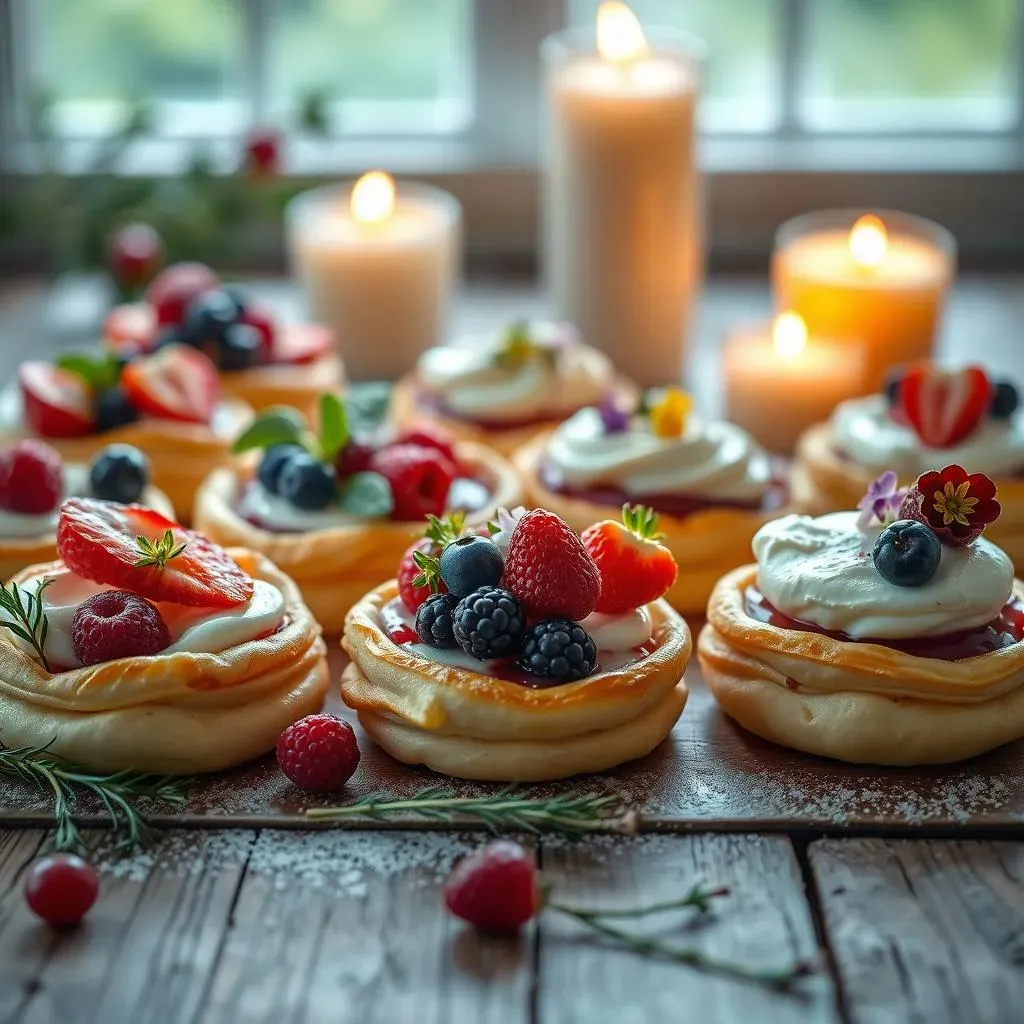
Baking Like a Pro: Essential Tips
Alright, let's get into some pro-level tips to really make your puff pastries shine. First off, keep that puff pastry cold! If it gets too warm, the butter in it will melt, and you won't get that beautiful, flaky lift. Work quickly once it’s out of the fridge, and if you feel it getting too soft, just pop it back in for a few minutes. Another important thing is not to overfill your pastries. I know it’s tempting to add a ton of that delicious cream cheese filling, but trust me, less is more here. Overfilling can cause the filling to spill out during baking, resulting in a messy disaster. And finally, always preheat your oven properly. A good, hot oven is key to getting that perfect puff and golden-brown crust. It’s all about temperature control, both in the dough and in the oven.
Scoring the dough correctly is also super important. Make sure you don’t cut all the way through, just a shallow cut to create a border for the filling. This will help the pastry puff up nicely around the edges and keep the filling contained. Also, parchment paper is your best friend! It will prevent sticking and make cleanup much easier. And lastly, don’t be afraid to experiment with different toppings. A sprinkle of cinnamon, a few chopped nuts, or a drizzle of honey can take your pastries to the next level. Remember, baking is a science, but it’s also an art, so have fun and don't be afraid to try new things!
Tip | Description |
|---|---|
Keep it Cold | Work with cold puff pastry for best results. |
Don't Overfill | Avoid overfilling to prevent spills. |
Preheat Oven | Ensure oven is fully preheated. |
Score Properly | Score a shallow border, not cutting all the way through. |
Use Parchment Paper | Prevent sticking and easy cleanup. |
Experiment with Toppings | Try different toppings for added flavor. |
Flavor Adventures: Variations Galore
Now, let's talk about how to spice things up with some fun variations! While the cream cheese filling is a classic, there’s no reason to stick to just one flavor profile. For a fruity twist, try adding a spoonful of your favorite jam or preserves to the center of each pastry. Raspberry, strawberry, and apricot work particularly well. Or how about some fresh berries like blueberries or sliced strawberries? They add a touch of freshness and a beautiful pop of color. If you're a chocolate lover, you can mix some chocolate chips or Nutella into the cream cheese filling. I tried it once with some dark chocolate and a pinch of sea salt, and it was a game-changer!
And for those who like a bit of a tang, try adding some citrus zest to the filling. Lemon zest or orange zest can really brighten up the flavors. You can also try different extracts like almond or coconut for a unique twist. If you are in the mood for something savory, you can skip the sugar and add herbs and spices to the cream cheese. A sprinkle of garlic powder and some dried oregano can make a tasty appetizer. The beauty of puff pastry is that it’s a blank canvas, so feel free to experiment and let your creativity run wild. The possibilities are truly endless, so go ahead and have some fun!
“The only limit to your creativity is your imagination.”