Table of Contents
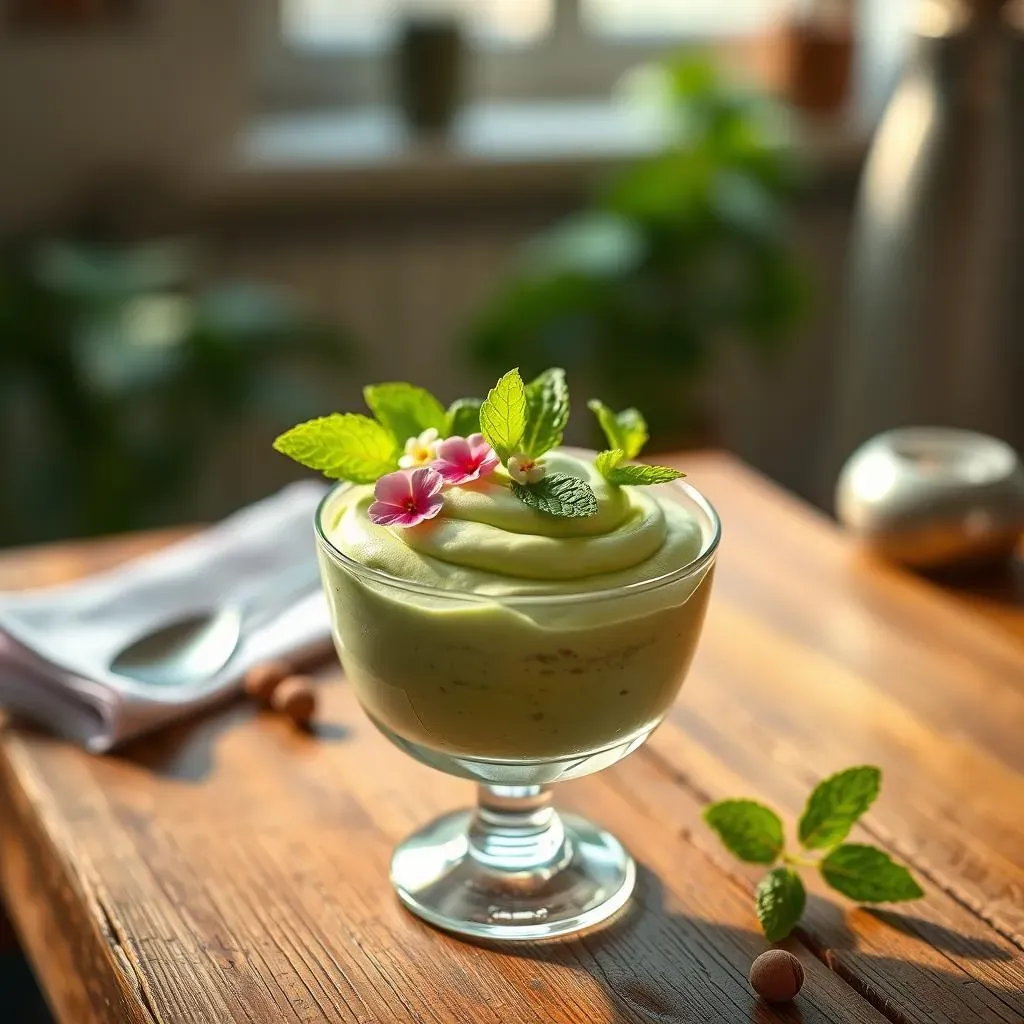
Ever stumbled upon a recipe that feels like a sweet whisper from the past? That’s how I felt discovering this pistachio mousse dessert recipe, a gem from The Settlement Cookbook, shared by the talented Sarah Kieffer. It's not just another dessert; it's a creamy, dreamy journey back in time, with a flavor that’s both sophisticated and comforting. We're diving into a simple yet elegant treat that serves 4-6 lucky people, perfect for a cozy night in or a small gathering. This isn't your average overly sweet, artificial-tasting mousse, either. We are talking real pistachios, whipped to perfection. In this article, you'll find the full recipe, from gathering your ingredients—including those lovely pistachios, whether you prefer salted or unsalted—to the final freeze. We'll also tackle the big question: Can this pistachio mousse actually work as a cake frosting? Let's get started and make some magic with this classic pistachio mousse dessert recipe!
The Story Behind This Pistachio Mousse Dessert Recipe
The Story Behind This Pistachio Mousse Dessert Recipe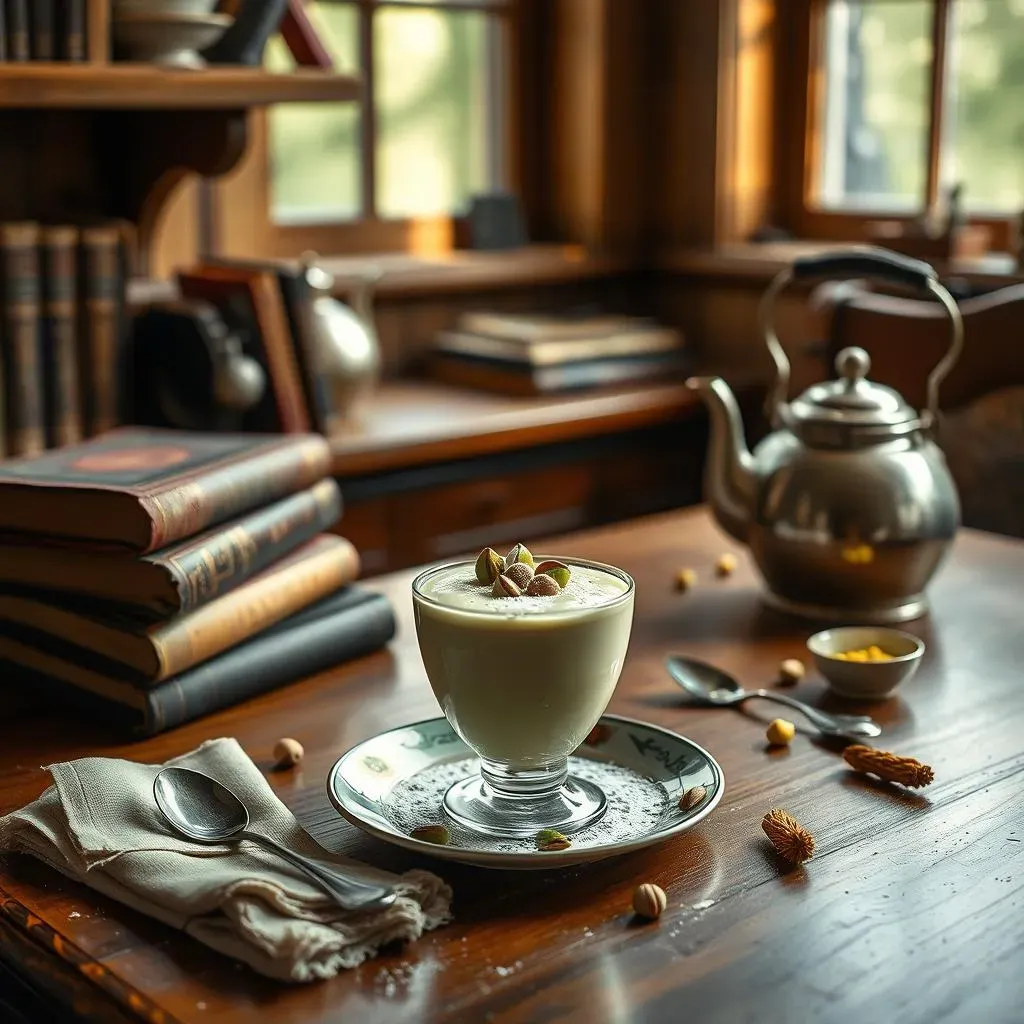
A Culinary Heritage
This isn't just some random recipe we pulled from the internet, you know? This pistachio mousse recipe has a bit of a story. It comes from a cookbook called "The Settlement Cookbook" by Lizzie Black Kander. Yes, it's that old, like from the early 1900s old. Now, why does that matter? Well, it's like getting a recipe from your grandma; it's been tried, tested, and loved for generations. It was then shared by Sarah Kieffer on her blog, The Vanilla Bean Blog. This means it has had a modern touch and it has been used by many people in recent years, and its not some old recipe that no one uses anymore. It's kind of cool to be making something that’s been around for so long, don't you think?
The Vanilla Bean Blog is a great place to find recipes that are both beautiful and delicious. Sarah is a talented baker and photographer, and she really brings the recipes to life with her stunning pictures. It's not just about the taste, but also about the visual experience. She makes you want to jump into the kitchen and start baking right away. So, this recipe isn't just old, it's a classic that's been given a modern platform by a passionate baker.
Key Figures in the Recipe's Journey
Person | Role | Contribution |
|---|---|---|
Lizzie Black Kander | Author | Created "The Settlement Cookbook," where the original recipe was published. |
Sarah Kieffer | Blogger | Shared and popularized the recipe on The Vanilla Bean Blog. |
A Recipe With a Modern Twist
What I find really interesting is how something can be so old and yet feel so relevant today. This pistachio mousse isn't some fancy, complicated thing. It's got simple ingredients, but when put together, it creates something really special. It’s like a little piece of history that you can make in your own kitchen. Plus, it's a reminder that good food doesn’t always need a ton of fancy techniques or rare ingredients. Sometimes the best things are simple, and this recipe proves it. It makes you wonder what other amazing, old recipes are out there just waiting to be discovered.
And the fact that it's been shared on a blog like The Vanilla Bean Blog, it gives it a new life. It's not just a recipe in an old cookbook anymore; it’s something that people are making, sharing, and enjoying in their homes today. That’s the cool part, right? It's like this recipe is still alive, evolving, and that is why I am so excited to share it with you.
Making Your Pistachio Mousse: Ingredients & Prep
Making Your Pistachio Mousse: Ingredients & Prep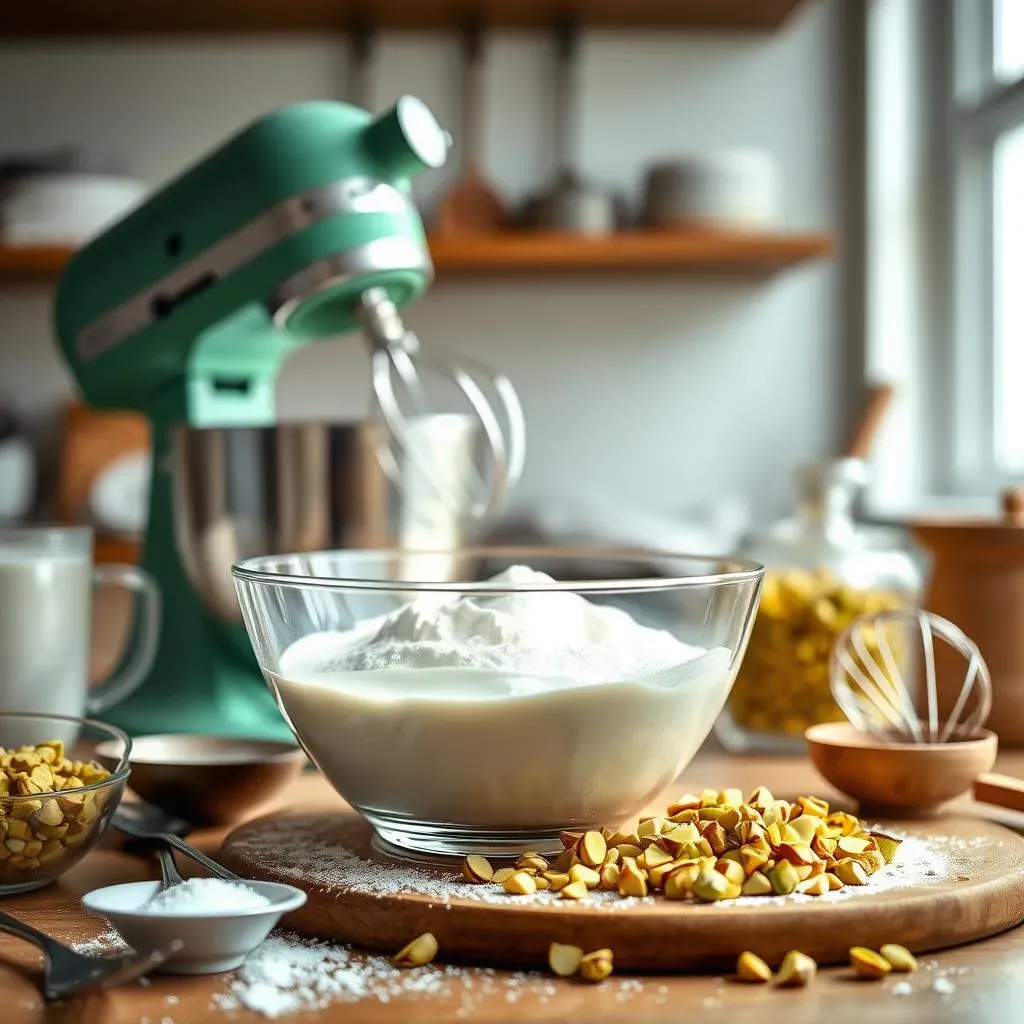
Gathering Your Supplies
Okay, so you're ready to make some mousse, right? First things first, let’s talk ingredients. This recipe is super straightforward, which is part of its charm. You'll need heavy whipping cream, powdered sugar, vanilla extract, almond extract, some green food coloring, and of course, the star of the show: pistachios. And here's a little secret: you get to choose whether you want salted or unsalted pistachios. It's all about your taste preference. If you like a bit of salty kick, go with salted. If you want just the pure pistachio flavor, unsalted it is.
Now, let's talk about the equipment. You're going to need a mixer. A stand mixer is awesome if you have one, but a hand mixer works just fine too. Also, make sure you have a bowl, measuring cups and spoons, and something to store the mousse in while it freezes. That's it, nothing too fancy. The simplicity of this recipe is what makes it so great. It’s like, “Hey, I don’t need a ton of tools to make something delicious!”
Ingredient Checklist
- 2 cups heavy whipping cream
- 1/2 cup powdered sugar
- 2 teaspoons vanilla extract
- 1 1/2 teaspoons almond extract
- 2-4 drops green food coloring (optional)
- 1/2 cup chopped pistachios (salted or unsalted)
Prepping Your Pistachios
Before you start mixing everything together, you’ll need to chop those pistachios. It's best to chop them fairly small, but not so small that they turn into dust. You want little pieces that add a nice crunch to the mousse. Think about it this way, you want to have a bit of bite in every spoonful. If you're using salted pistachios, make sure you taste them first. Some are saltier than others, and that might affect the overall taste of your mousse.
And that's really all the prep work there is. It’s pretty simple, right? So we've covered all the ingredients, and got the pistachios ready. Now we're ready to move on to the fun part, actually making the mousse. It is like getting your ingredients ready for a painting, you have your colors, and your canvas, and now we can start creating a masterpiece.
StepbyStep: Creating the Perfect Pistachio Mousse
StepbyStep: Creating the Perfect Pistachio Mousse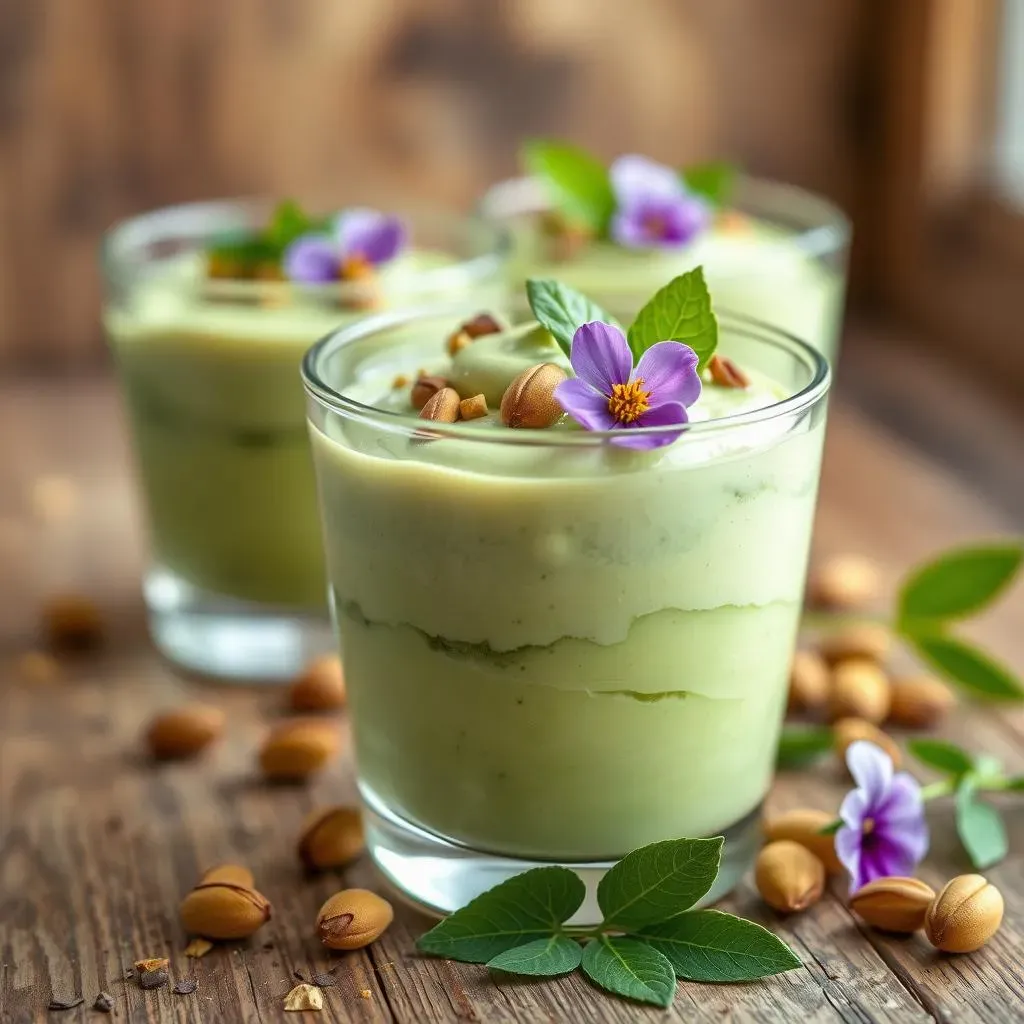
Mixing the Mousse Base
Alright, let's get to the fun part. Grab that mixer and a big bowl. Pour in the heavy whipping cream, then add the powdered sugar, vanilla extract, and almond extract. If you're feeling a little extra, go ahead and add a couple drops of green food coloring. This step is all about blending everything together until it becomes this luscious, smooth mixture. Start at a low speed to avoid a powdered sugar cloud, and then gradually increase the speed. You're aiming for stiff peaks, like when you're making whipped cream. This is what will give your mousse that lovely, light texture.
Keep an eye on the mixture as you go. It’s like watching a magic trick, the liquid slowly transforms into a thick, billowy cloud. Don't overmix it, though, you don't want to end up with butter. It should be smooth and thick, but not so stiff that it looks curdled. It should be like a soft, fluffy cloud that's just begging to be devoured. Once you've reached this stage, you’re ready for the next step.
Folding in the Pistachios
Now, for the grand finale, gently fold in those chopped pistachios. This is where we move from using the mixer to using a spatula or a spoon. Be gentle, you don't want to deflate the whipped cream. It’s like you’re tucking the pistachios into a cozy, creamy bed. Just fold them in until they're evenly distributed throughout the mousse. Don't overmix here either, just a few turns is all you need. You want the pistachios to be nicely incorporated, but not crushed or pulverized.
And that's it! You've just made the mousse. See, it wasn't that hard, right? The next step is to get it into the freezer, and let it do its thing. It’s like tucking a baby into bed, you want to handle it with care, and make sure they are comfortable. Now, it's time for the mousse to get some rest in the freezer.
Mousse Making Checklist
- Combine cream, sugar, and extracts.
- Mix until stiff peaks form.
- Gently fold in pistachios.
- Transfer to freezer.
Serving and Storing Your Pistachio Mousse Dessert
Serving and Storing Your Pistachio Mousse Dessert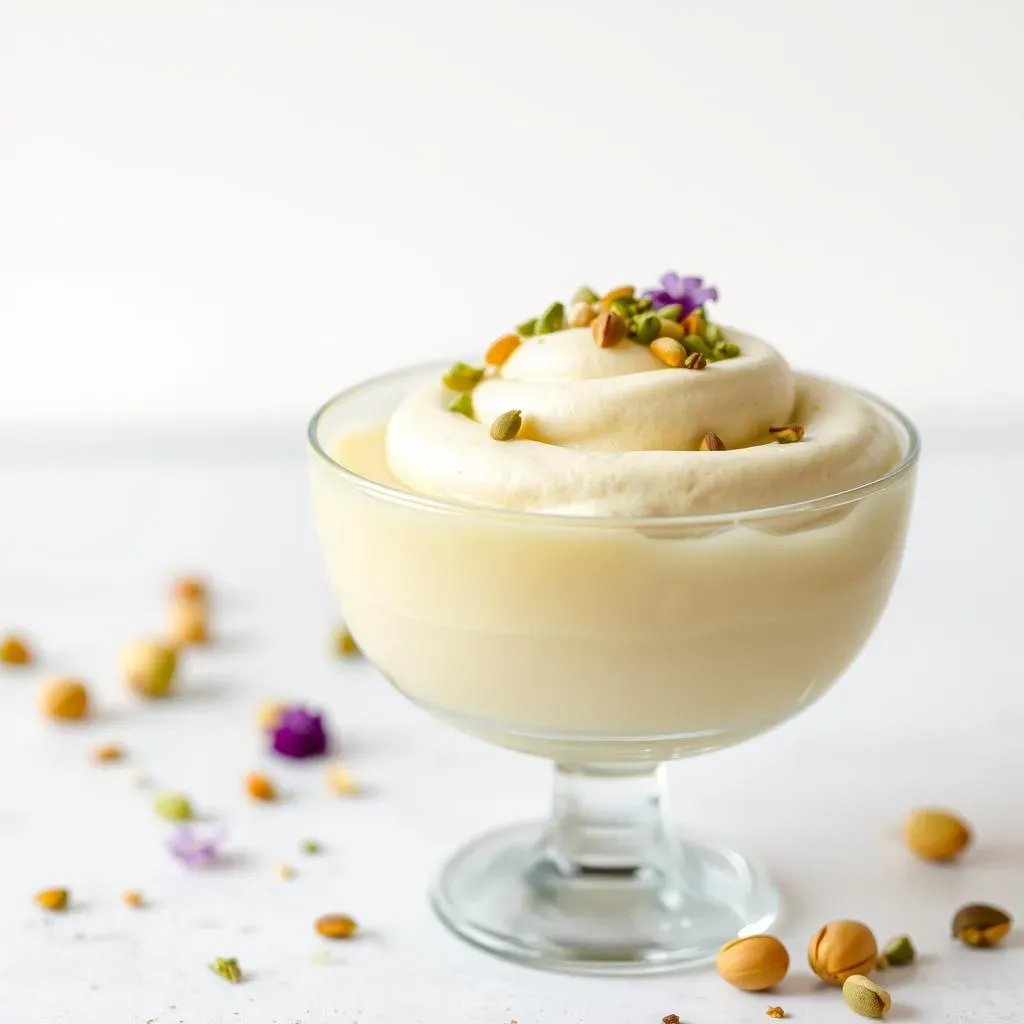
Chilling Out: The Freezing Process
Alright, so your mousse is all mixed and ready to go. Now, it's time for the patience part – the freezing. You need to freeze this mousse for at least 6 hours. I know, it's hard to wait, but trust me, it's worth it. This time in the freezer is what transforms the creamy mixture into a proper mousse, giving it that perfect, scoopable texture. Think of it like letting a good story simmer; you can’t rush it, and the results are always better if you let it develop properly. I usually do mine overnight, so it’s ready for a treat the next day.
And a little tip here: make sure your container is freezer-safe. You don't want to put it in a container that might crack or break in the freezer. Also, if you have a lid, use it! This will keep any weird freezer smells from getting into your mousse. Nobody wants mousse that tastes like last week's leftovers. Plus, a lid also prevents freezer burn, which can make the top of the mousse a bit icy and less pleasant. So, patience, a good container, and a lid are key for this step.
Serving Suggestions
Okay, so the waiting is over, and your mousse is frozen solid! Now for the best part – serving it up. You can scoop it into bowls or glasses, and top it with some extra chopped pistachios for a bit more crunch and visual appeal. If you want to get a little fancy, you can add a dollop of whipped cream or a drizzle of honey. But honestly, it's pretty darn delicious on its own. It’s like a little work of art that you get to enjoy, and you made it all by yourself, which is even better.
This mousse is also great with other desserts. I've used it as a filling for crepes and it was fantastic. You could also try it with some fresh berries, like raspberries or strawberries, which would add a nice tart contrast to the creamy, nutty mousse. It's all about experimentation and finding what you like best. And don't be afraid to get creative and try new things! That's part of the fun of cooking, you are the chef, you decide what goes on the plate.
Storage Tips & Cake Frosting Debate
Now, let’s talk about storing any leftovers (if you have any!). If you don’t plan to eat all the mousse right away, you can keep it in the freezer for a few weeks. Just make sure it’s in an airtight container to prevent freezer burn. When you are ready to eat it, you can just scoop it out and enjoy. But, here is the big question: can this mousse be used as a cake frosting? Well, it’s a bit of a tricky one. It works as frosting, but there is some question about its stability in the fridge after frosting a cake.
One of the people using this recipe, Gingerb, is thinking of using it to frost a chocolate sponge cake. While it tastes great, it might not hold up perfectly in the fridge. It could get a bit soft and melty, especially if it’s warm. So, if you are going to frost a cake with it, do it right before serving. If you are looking for a more stable frosting, you might want to try a traditional buttercream or cream cheese frosting instead. But, if you are just looking for something delicious and you are not worry about the stability, then this mousse is perfect for you.
Serving Idea | Description |
|---|---|
In Bowls or Glasses | Classic and simple, top with extra pistachios. |
With Crepes | Use as a filling for a delicious treat. |
With Berries | Pairs well with raspberries or strawberries. |
A Sweet Ending: Enjoying Your Pistachio Mousse
So, there you have it—a pistachio mousse dessert recipe that's as easy as it is delicious. From the creamy texture to the nutty flavor, this mousse is a real treat. Whether you decide to serve it in elegant glasses or bravely attempt to frost a cake (remember Gingerb's question!), you're in for something special. It’s a fantastic way to enjoy a classic dessert with minimal fuss. Just be sure to plan ahead for that freezing time, and maybe make a double batch if you’re feeling generous—or greedy, no judgment here. Happy mousse-making, and may your spoons always find the perfect bite!