Table of Contents
Ever dreamt of a dessert that’s both decadent and easy? Well, stop dreaming and start making! This article is your golden ticket to mastering the art of pistachio chocolate dessert recipes, specifically a no-bake tart that’s so good, it’ll have everyone begging for seconds. We’re not talking about some complicated, hours-long project, either. This recipe uses less than ten ingredients, is completely vegan and gluten-free, and can be prepped ahead of time. Forget slaving away in the kitchen; this treat is designed for maximum flavor with minimal fuss. We'll walk you through creating a rich, nutty crust, a vibrant pistachio filling, and a smooth chocolate ganache that'll make your taste buds sing. Get ready to impress your friends and family, or just treat yourself to something truly special. This tart is perfect for any gathering, or a quiet night in, promising a taste of pure bliss. We’re covering everything from making the crust stick to getting that perfect smooth pistachio paste, and even some fun variations. Let’s get started!
Easy NoBake Pistachio Chocolate Tart
Easy NoBake Pistachio Chocolate Tart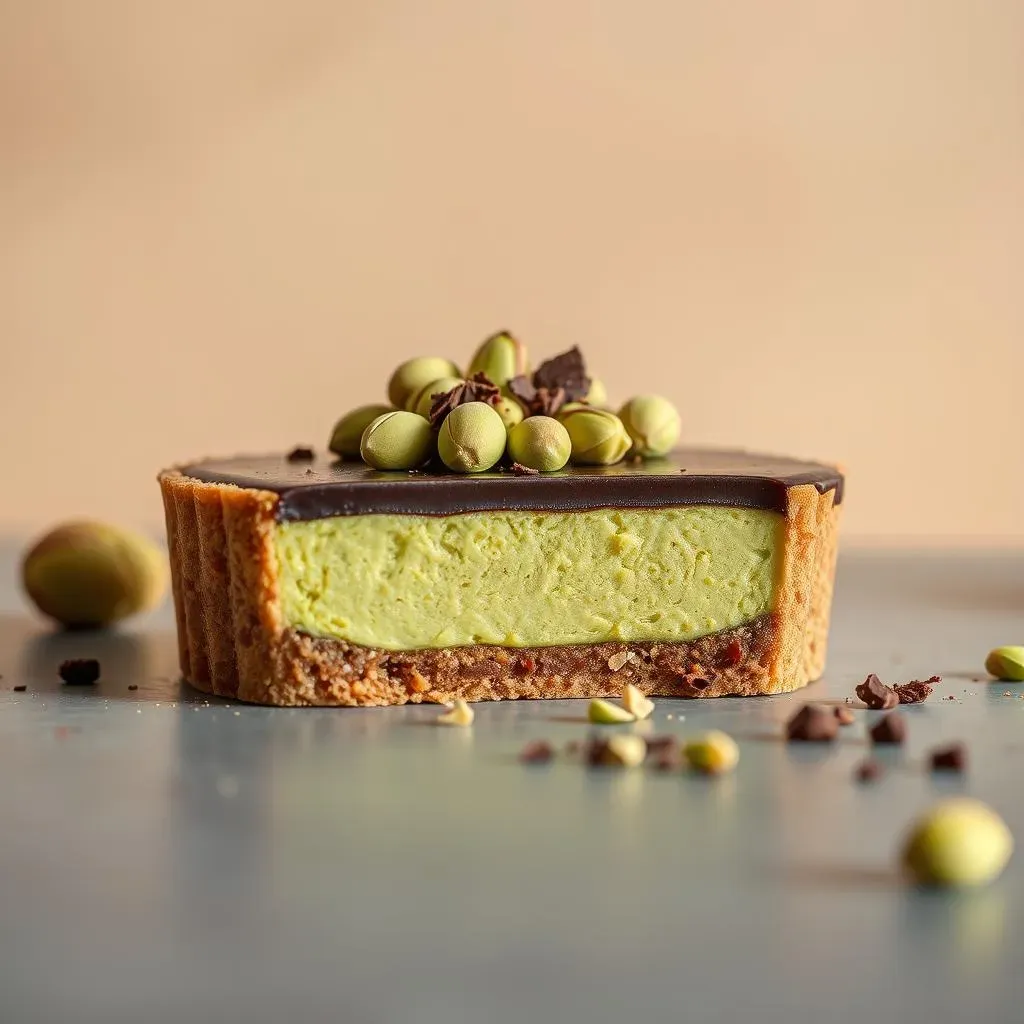
A Dessert That's Actually Easy
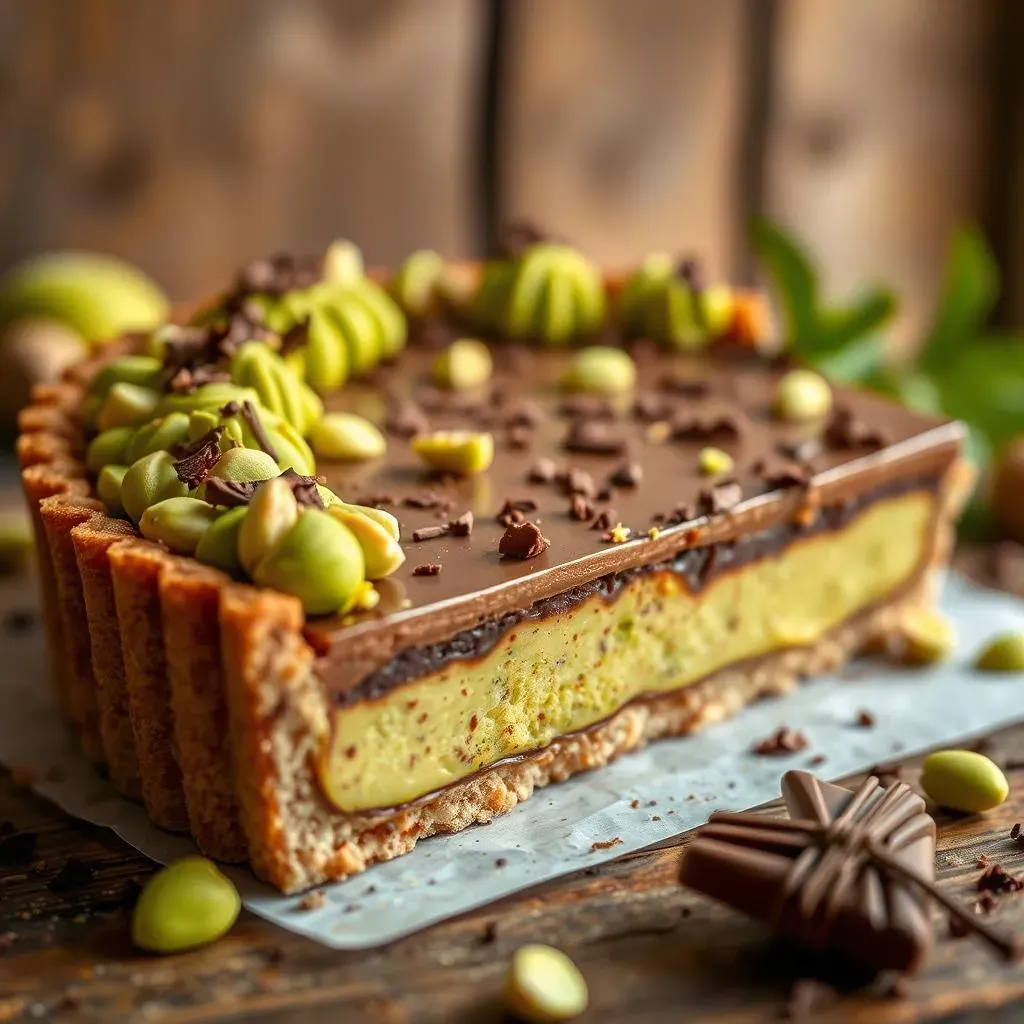
let's talk about this no-bake tart. Seriously, if you’re looking for a dessert that's impressive but won’t have you chained to the kitchen, this is it. We’re talking minimal effort for maximum reward. The base is a simple, no-bake brownie type thing, made with pecans, cacao, and a touch of maple syrup. It's like the easiest part of any dessert ever and it's the perfect canvas for the real stars of the show: pistachio and chocolate. If you're anything like me, you're always looking for a dessert that doesn't require an oven, especially during the warmer months. This tart is your answer.
Imagine this: a rich, nutty base, topped with a creamy, vibrant green pistachio layer, and then finished with a smooth, dark chocolate ganache. Sounds fancy, right? It isn't. This recipe is all about simple steps and amazing flavors. The whole thing comes together without any baking. It's also gluten-free and vegan, so basically everyone can enjoy it. Seriously, I've made this for potlucks, family gatherings, and just for myself when I need a little something sweet, and it always disappears fast. It’s that good!
Component | Description |
|---|---|
Base | No-bake brownie-like crust made with pecans, cacao, and maple syrup |
Pistachio Filling | Creamy blend of pistachios, maple syrup, vanilla, and matcha |
Chocolate Ganache | Smooth mixture of coconut milk and dark chocolate |
Why No-Bake is the Way to Go
Let's be honest, sometimes you just don't have the energy to deal with baking. Maybe your oven is acting up, or maybe you just want a quick dessert that tastes like you spent hours on it. That’s where this no-bake tart shines. Plus, it's a fun project to do with kids or friends because it's so simple. No need to worry about over-mixing, under-baking or any of the usual baking mishaps. It's pretty much foolproof, which is a huge win in my book.
The best part? You can make this ahead of time. I often whip it up the day before a party, and it's perfect by the time my guests arrive. It stores well in the fridge or freezer, so you can have a little treat ready whenever the craving hits. I've even been known to grab a slice straight from the freezer for a quick, chilled dessert. Don't tell anyone, it's our little secret. It's the kind of dessert that makes you feel like you're a fancy pastry chef, even if you're just throwing a few ingredients into a food processor.
Making the Perfect Pistachio Filling and Chocolate Ganache
Making the Perfect Pistachio Filling and Chocolate Ganache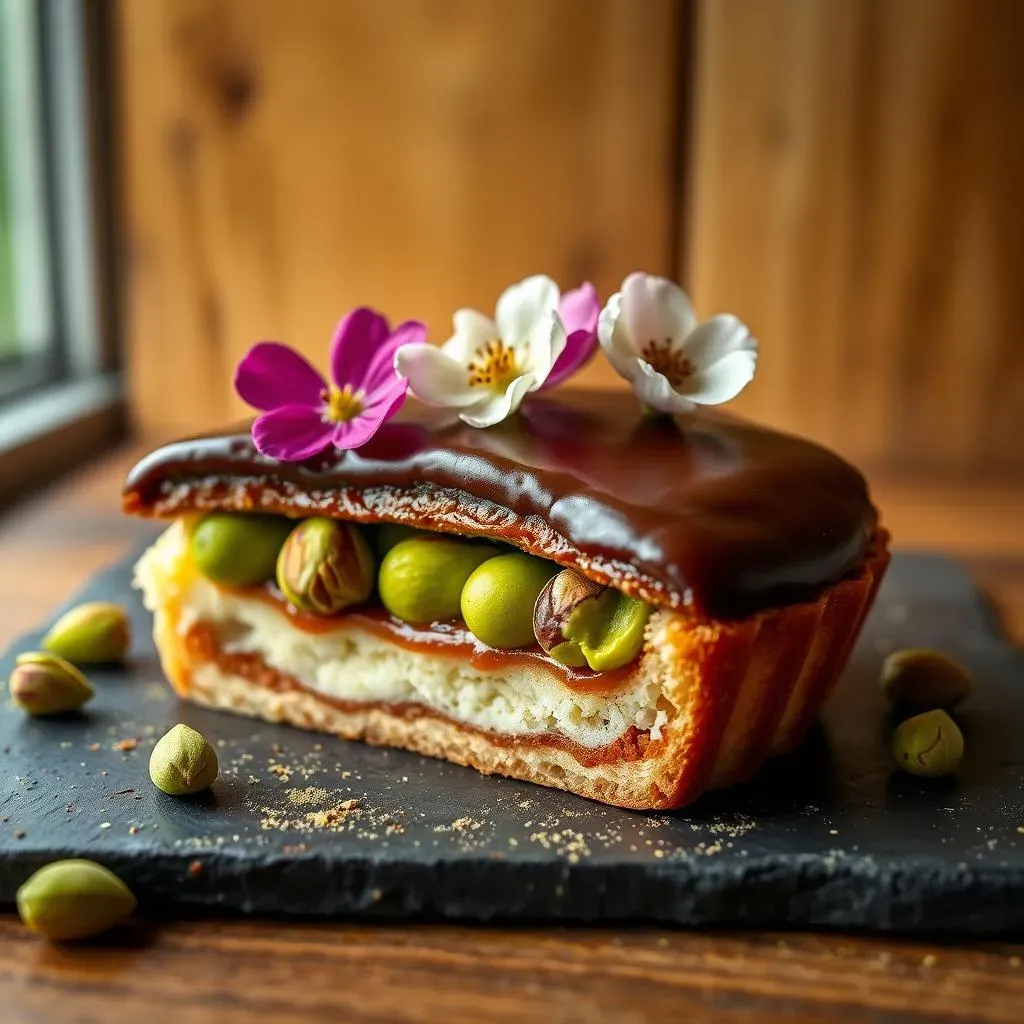
The Secret to Smooth Pistachio Filling
let’s get real about the pistachio filling. This isn't just throwing some nuts in a blender and hoping for the best. The key here is soaking your pistachios. I usually soak them for at least four hours, or even better, overnight. This softens them up and makes them blend into the smoothest, creamiest paste you’ve ever seen. Trust me, this step is a game-changer. Once they’re soaked, I toss them into the food processor with maple syrup for sweetness, a splash of vanilla for that extra oomph, and a touch of matcha powder for a little earthy hint. Matcha also helps to enhance the vibrant green color, making it look as good as it tastes. Blend it all until it’s super smooth. If it seems a bit thick, add a tiny bit of water, one teaspoon at a time, until you reach the perfect consistency. You want it to be spreadable but not runny.
I’ve experimented with this part a lot, and I’ve found that using high-quality pistachios makes a huge difference. The brighter the green, the more flavorful they tend to be. Also, don’t skimp on the soaking time. It really does make all the difference in the world. If you're in a rush, you can use store-bought pistachio paste, but honestly, making it from scratch is way more satisfying and tastes so much better. Just make sure that the store-bought one is good quality and doesn't contain any weird additives. I had a bad experience with a store-bought one and it was a disaster.
Ingredient | Why it's Important |
|---|---|
Soaked Pistachios | Softens for smooth blending |
Maple Syrup | Adds sweetness |
Vanilla Extract | Enhances flavor |
Matcha Powder | Adds color and a subtle earthy note |
Crafting the Perfect Chocolate Ganache
Now, let’s talk chocolate ganache. I mean, who doesn’t love a good ganache? For this recipe, we’re keeping it vegan by using full-fat coconut milk and good quality dark chocolate. The trick is to heat the coconut milk gently. You don’t want it to boil, just get it nice and warm. Then, pour it over your chopped dark chocolate and let it sit for a minute or two. This allows the heat to melt the chocolate slowly. Once the chocolate has melted, whisk it until it's smooth and glossy. If it’s too thick, add a splash more coconut milk. If it’s too runny, let it sit for a bit, it will thicken up as it cools. The perfect ganache should be pourable but also have a lovely, rich texture.
I’ve learned that the quality of the chocolate really matters here. Use a good dark chocolate, one that you enjoy eating on its own. It'll make a big difference in the final taste of the tart. I sometimes add a pinch of sea salt to the ganache, which really elevates the chocolate flavor and makes it even more irresistible. Also, be patient when melting the chocolate. Don’t rush it. Low and slow is the way to go. If you accidentally overheat it, the ganache can get grainy, and nobody wants that. You want it to be silky smooth, like velvet. It’s the kind of thing that makes you want to lick the bowl clean.
- Use good quality dark chocolate for the best flavor.
- Heat the coconut milk gently, don't let it boil.
- Be patient when melting the chocolate, don't rush the process.
- Add a pinch of sea salt to enhance the chocolate flavor.
Tips and Tricks for Your Pistachio Chocolate Dessert
Tips and Tricks for Your Pistachio Chocolate Dessert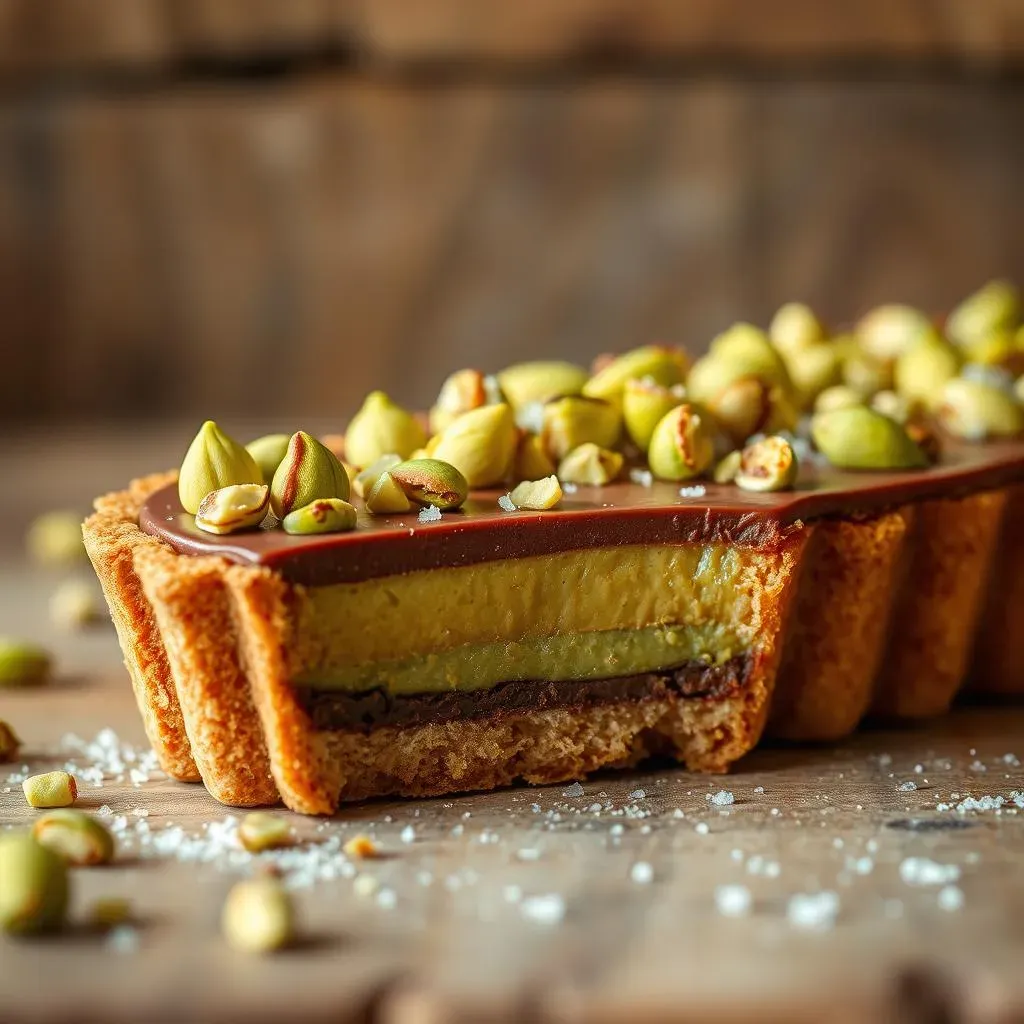
Making the Crust Stick Together
so you've got all these delicious ingredients, but how do you make sure that crust actually holds its shape? This is a common question, and I've been there. The key is to get the consistency just right. It shouldn't be too dry or too wet. If it's too dry, it'll crumble apart, and if it's too wet, it will be mushy. I've found that adding a teaspoon of maple syrup at a time, until it just holds together when you press it between your fingers, is the best way to go. Press it firmly into your tart pan. I like to use the back of a spoon to make sure it’s evenly distributed and packed down.
Another thing I've noticed, is that sometimes the pecans can be a bit too coarse. If you find that's the case, pulse them a few more times in your food processor to get a finer consistency. It really helps the crust bind together better. And don't be afraid to chill the crust in the fridge for about 15-20 minutes before adding the filling. This will help it set up and make it easier to work with. It's all about those little details that make a big difference. Trust me, I've had my fair share of crumbly crusts before I figured this out, and now it's smooth sailing.
Problem | Solution |
|---|---|
Crumbly Crust | Add maple syrup one teaspoon at a time until it holds together. |
Coarse Pecans | Pulse pecans in the food processor to get a finer consistency. |
Difficult to work with | Chill the crust in the fridge for 15-20 minutes before adding the filling. |
Achieving a Smooth Pistachio Paste
Now, let's get into the nitty-gritty of that pistachio paste. I know I've already mentioned soaking the pistachios, but seriously, it's worth repeating. Don't skip this step! It’s the key to getting that super smooth texture. I also like to add the maple syrup and vanilla at the beginning of the blending process, so that everything gets incorporated evenly. If you find that the paste is still a bit grainy, you can try adding a teaspoon of melted coconut oil. This will help to emulsify the mixture and make it smoother. Remember, the goal is to have a paste that is creamy and easy to spread.
Also, don't be afraid to scrape down the sides of your food processor a few times during blending. This ensures that everything gets evenly processed. If you're using a smaller food processor, you might need to stop and start a few times to give the motor a break, so it doesn't overheat. I've definitely had a few close calls with my trusty old food processor, and I've learned to be patient with it. It's all about finding that perfect balance between speed and smoothness. And if you're using store-bought pistachio paste, you can still add a touch of vanilla or matcha powder to make it your own.
Storage and Serving Suggestions
Once your tart is assembled, you’ll want to make sure it stays delicious. This tart is a great make-ahead dessert. I usually store it in the fridge for up to five days, or freeze it for up to three months. If you're freezing it, be sure to wrap it tightly in plastic wrap and then put it in a freezer-safe container. When you’re ready to serve, let it thaw in the fridge overnight. I find that it tastes even better after it has had a chance to chill and let the flavors meld together. For serving, I like to cut it into small slices, because it’s rich and decadent. It’s also a showstopper, so don’t be afraid to garnish it with some chopped pistachios, a sprinkle of sea salt, or some fresh berries.
It is amazing how versatile this dessert is. I've served it at fancy dinner parties and casual get-togethers, and it's always a hit. It's also a great option if you have friends or family with dietary restrictions, since it’s vegan and gluten-free. I’ve even made mini versions in individual tart pans for a fun twist. So, there you have it, all my tips and tricks for making the perfect pistachio chocolate tart. It's a labor of love, but I promise you, it's worth every single step. It's the kind of dessert that makes you feel like you've achieved something amazing, and it's delicious too! Now go ahead and make some magic in your kitchen!
Your Pistachio Chocolate Dessert Awaits
So there you have it, your guide to creating a show-stopping, no-bake pistachio chocolate tart that's as easy to make as it is delicious. From the nutty crust to the vibrant pistachio filling and the decadent chocolate ganache, each layer comes together to create a flavor explosion. Whether you're a seasoned baker or a kitchen newbie, this recipe is designed to be foolproof and fun. Don't be afraid to experiment with the variations, and most importantly, enjoy every single bite of your homemade masterpiece. This dessert is not just a treat, it's a testament to how simple ingredients and a little bit of love can create something truly extraordinary. Go ahead, make some magic in your kitchen!