
Table of Contents
Ever find yourself craving a sweet treat that's both healthy and ridiculously easy to make? Well, I did, and that's how these 5-Ingredient Crunchy Pistachio Bars were born! This isn't your average, complicated dessert; it’s a simple yet satisfying way to enjoy the nutty goodness of pistachios. Think of it as a deconstructed baklava, minus all the fuss of pastry and loads of sugar. This pistachio bar dessert recipe is a total game-changer for anyone who loves a good crunch and a touch of sweetness. We're talking vegan, gluten-free, and dairy-free, so just about everyone can dig in. In this article, I'll walk you through the super simple steps to whip up a batch of these delicious bars, share some tips for getting them just right, and even sprinkle in some fun variations you can try. Get ready to discover your new favorite easy dessert!
Simple Ingredients for a Delicious Pistachio Bar Dessert Recipe
Simple Ingredients for a Delicious Pistachio Bar Dessert Recipe
The Star of the Show: Pistachios
Okay, let's talk pistachios! We're not using any old pistachios here; we want raw, unsalted ones. Why? Because we're in control of the flavor, and we don't need any extra saltiness messing with our dessert. They're the main event, providing that fantastic nutty taste and satisfying crunch that's just irresistible. Think of them as tiny green flavor bombs, ready to make our bars amazing. I always buy a big bag because honestly, I snack on them while I'm cooking. Don't judge!
The texture is crucial here, too; we want that satisfying bite that comes with a good crunch. Raw pistachios are perfect for that. They haven't been roasted or salted, so they retain their natural texture and flavor, which is exactly what we need for this recipe. Plus, they're packed with good stuff, so you can feel a tiny bit virtuous while you're indulging.
Sweetness and Spice: Maple Syrup, Cardamom, and Salt
Next up, we have the liquid gold: maple syrup. It's not just a sweetener; it's our binder, holding all those pistachios together. It also brings a rich, caramel-like flavor that plays so well with the pistachios. Make sure you're using pure maple syrup and not the fake stuff, you know, the one with high fructose corn syrup. The real deal makes all the difference in the world.
Then, we have the secret weapon: cardamom. Just a pinch of this fragrant spice adds a warm, slightly floral note that elevates the whole thing to another level. It's what gives these bars that baklava vibe without all the extra work. And don't forget a little pinch of salt. Salt enhances the other flavors, so it's a small step that makes a big difference. It’s like the unsung hero of the recipe; you might not notice it, but you'd definitely miss it if it wasn't there.
Ingredient | Why it's important |
|---|---|
Raw, unsalted pistachios | The star of the show, providing flavor and crunch |
Pure maple syrup | Sweetener and binder, adds a rich flavor |
Cardamom | Adds a warm, fragrant, baklava-like note |
Pinch of salt | Enhances the other flavors |
The Chocolate Finish: Dark Chocolate
Finally, the dark chocolate. This is optional, but honestly, why would you skip it? A drizzle of melted dark chocolate over the bars adds a touch of decadence and a slightly bitter contrast to the sweetness. The bitterness is important here, because it helps to balance everything out and adds another layer of complexity. I like to use a good quality dark chocolate, but any kind will do really. It's like the final flourish on a masterpiece, making everything look and taste just a little bit better. It's the perfect way to end this quick and simple dessert.
Just a small drizzle or a light coating is all you need. You can also add some chopped pistachios on top of the chocolate for extra crunch and visual appeal. Feel free to get creative here, you can add some sea salt flakes on the top for additional flavor.
How to Make Your Own Pistachio Bar Dessert Recipe
How to Make Your Own Pistachio Bar Dessert Recipe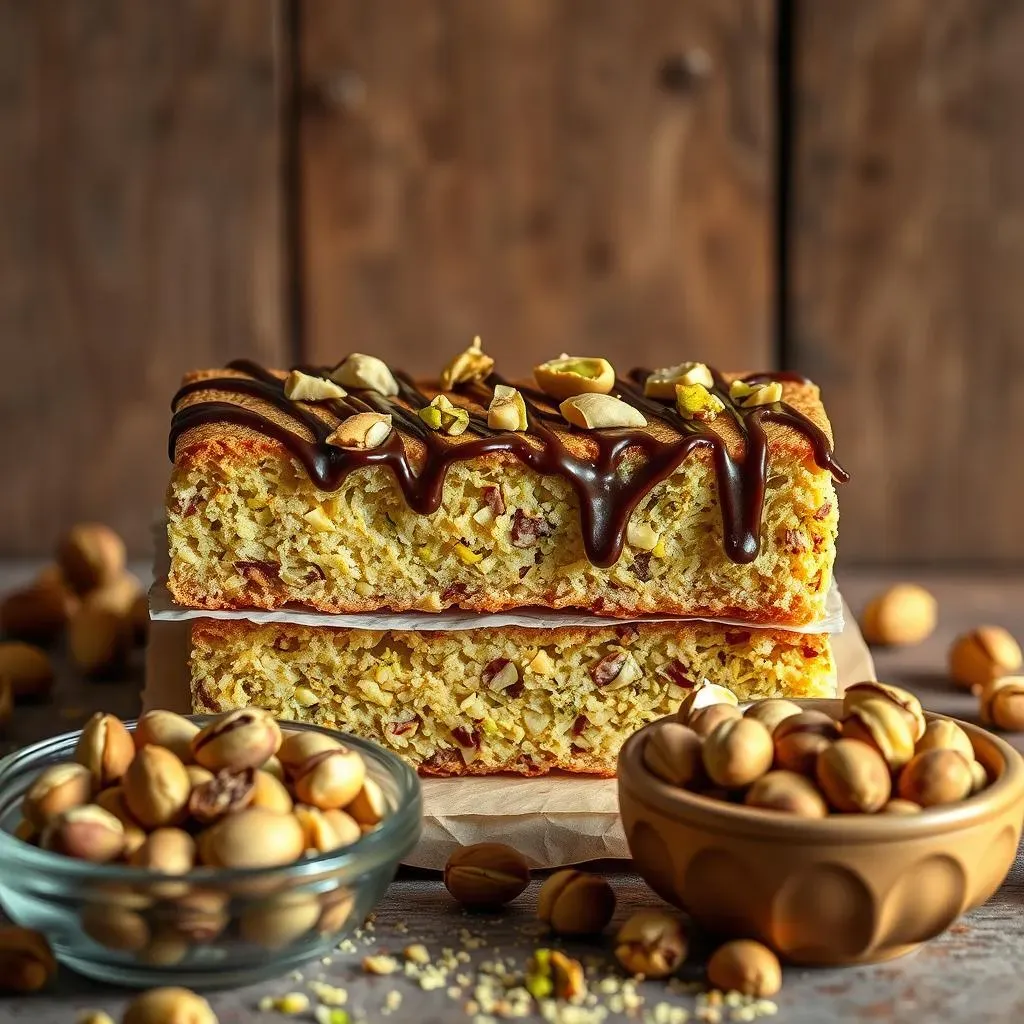
Alright, so you've got your ingredients ready, now let's get down to the fun part: actually making these pistachio bars! It's so simple, it's almost ridiculous. First, you're going to grab a bowl— any bowl will do, no need to get fancy—and dump in your raw, unsalted pistachios. Then, pour in that gorgeous pure maple syrup. It should coat all the pistachios, making them look all glossy and delicious. Next, sprinkle in a pinch of cardamom and a tiny pinch of salt. Mix it all together until everything is evenly coated. Don't be shy, get in there with a spoon and make sure every pistachio is getting some love. This is the base of our pistachio bar dessert recipe, and it's already looking pretty good.
Now, it's time to get these bars into their final form. Grab a baking pan, line it with parchment paper, and dump the pistachio mixture into the pan. Spread it out evenly using a spatula. You might need to press down a bit to make sure everything is compact. We want a nice, even layer, not a jumbled mess. Then, pop it into the oven at 350°F (175°C) for about 15 minutes. You'll know it's ready when the edges start to turn golden brown and the whole thing smells amazing. Once it's out of the oven, let it cool completely. This is important because the bars need to set before we add the chocolate. Patience is a virtue, my friend, especially when it involves dessert.
While the bars are cooling, melt your dark chocolate. You can use a double boiler or a microwave, whatever floats your boat. Just make sure it's smooth and melted. Once the bars are completely cool, drizzle that melted chocolate all over the top. You can get creative here, doing a zig-zag pattern or just coating the whole thing. If you want to add those extra chopped pistachios or sea salt flakes, now's the time! Let the chocolate set and harden, and then cut the bars into squares. And there you have it, you've just made your very own batch of delicious and healthy pistachio bars.
Step | Action |
|---|---|
1 | Combine pistachios, maple syrup, cardamom, and salt in a bowl. |
2 | Spread mixture evenly in a parchment-lined baking pan. |
3 | Bake at 350°F (175°C) for 15 minutes, or until golden brown. |
4 | Let cool completely. |
5 | Drizzle with melted dark chocolate. |
6 | Cut into squares once chocolate has set. |
Tips and Tricks for the Perfect Pistachio Bar Dessert Recipe
Tips and Tricks for the Perfect Pistachio Bar Dessert Recipe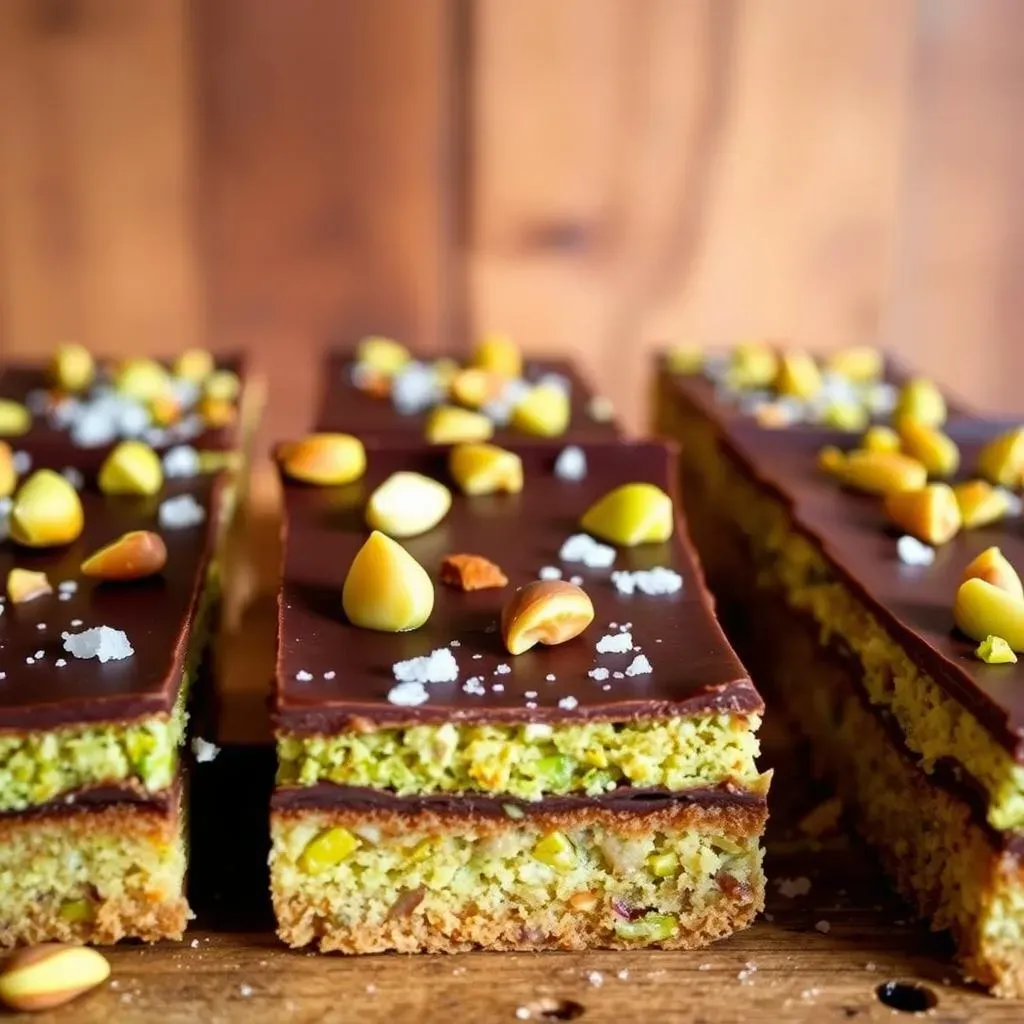
Okay, so you've got the basic recipe down, but let's be real, sometimes things don't go exactly as planned. That's where these little tips and tricks come in handy. First up, let's talk about the pistachios. If you can't find raw, unsalted ones, you can use roasted ones, but just be sure to adjust the salt accordingly. And if you're feeling adventurous, try adding a touch of rose water to the mixture. It gives it an extra floral kick that's just divine. I once added a little too much, and let me tell you, the flavor was...intense. So, go easy on it! You can also play around with the sweetener. Maple syrup is my go-to, but you could use agave or honey. Just keep in mind that the texture might change a bit, so adjust accordingly.
Another thing to consider is the baking time. Every oven is different, so keep an eye on your bars. You're looking for that golden-brown edge, not a burnt offering. And when it comes to the chocolate, don't be afraid to experiment. I love dark chocolate, but milk chocolate or even white chocolate would work too. You can also add some nuts on the top, like chopped almonds or walnuts, for extra crunch. And if you're not a fan of chocolate, you can skip it altogether. The bars are still delicious without it! The key here is to have fun and make it your own. These are just guidelines, not hard rules.
Tip | Why it helps |
|---|---|
Use raw, unsalted pistachios | Gives you control over the salt and flavor |
Add a touch of rose water | Adds a floral, baklava-like flavor |
Adjust baking time | Ensure bars are perfectly golden, not burnt |
Experiment with chocolate | Customize the flavor to your liking |
Now, let's talk about storage. These bars are surprisingly resilient. You can store them in an air-tight container at room temperature for a few days, and they'll still taste great. If you want to keep them longer, pop them in the fridge. They’ll get a little firmer, but they’ll last longer. I’ve even frozen them before and they’ve been fine, just make sure they're well wrapped to prevent freezer burn. Honestly, though, they rarely last that long in my house because I end up eating them all. But hey, that's just a testament to how good they are, right? And if you find that the bars are a little too crumbly, try pressing the mixture down more firmly into the baking pan before baking. That will help them stick together better. If they are too hard, try to take them out a bit early. It’s all about finding the sweet spot!
The most important tip I can give you is to have fun with it. This recipe is super flexible, so don't be afraid to experiment and make it your own. You can add different spices, different nuts, different chocolates, whatever your heart desires. And if you make a mistake, don't worry about it! It's just dessert. The important thing is that you're in the kitchen, making something delicious with your own two hands. So, go forth, and make some amazing pistachio bars! I’m so excited for you to try these and I know you will love them as much as I do!
- Store in airtight container at room temperature for a few days.
- Refrigerate for longer storage.
- Freeze for even longer storage, but wrap well.
- Press mixture firmly to avoid crumbly bars.
- Take them out a bit early to avoid hard bars.
Reader Feedback and Variations on the Pistachio Bar Recipe
Reader Feedback and Variations on the Pistachio Bar Recipe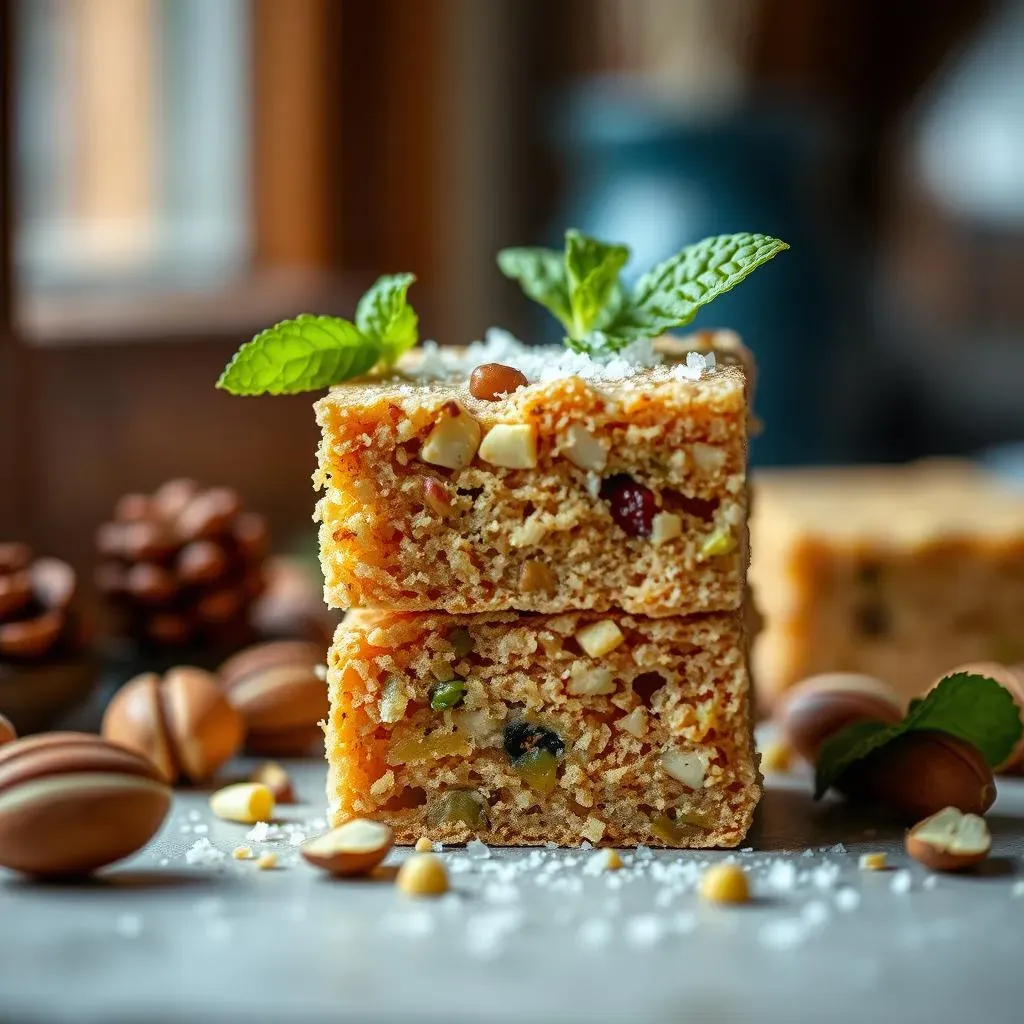
What People Are Saying
It's always exciting to see how other people make the recipe their own, and the feedback on these pistachio bars has been fantastic! I've had people tell me they've made it for parties, as a quick snack, and even as a healthy dessert option. The best part is that almost everyone agrees on how simple it is to put together. One reader mentioned that they added a bit of orange zest to the mixture, which sounds absolutely delicious! Another reader said they used a mix of pistachios and almonds, which is a great way to change things up. It's so rewarding to see how versatile this recipe is and how people are getting creative with it.
One of the most common comments I’ve received is about the texture. People love that satisfying crunch, but some have mentioned that their bars were a little too crumbly. That's why pressing the mixture down firmly in the pan is so important! Also, the baking time can make a big difference, so keep an eye on them. If you're finding that your bars are too hard, try taking them out a few minutes earlier. It's all about finding that sweet spot. Overall, the feedback has been incredibly positive, and it makes me so happy to see people enjoying this simple recipe as much as I do!
Creative Twists and Flavor Adventures
Now, let's talk variations! This recipe is a blank canvas, ready for your creative touch. If you're a fan of spices, try adding a pinch of cinnamon or nutmeg along with the cardamom. It will give the bars a warm, cozy vibe, perfect for those chilly evenings. And if you're looking for a more intense flavor, you can toast the pistachios lightly before adding them to the mixture. Just be careful not to burn them! I've also seen people replace the maple syrup with honey or agave, which works just as well. The honey will give it a slightly different flavor profile, while the agave will make it a little sweeter. It's all about finding what you love.
And if you're a chocolate lover, you can try different types of chocolate or even add a layer of chocolate between the base and the top. I once added a layer of white chocolate with some chopped dried cranberries, and it was a total game-changer. You can also get creative with the toppings. I've seen people add crushed pretzels, sea salt flakes, or even edible flowers! The possibilities are endless. Don't be afraid to experiment and make this recipe your own. It's all about having fun in the kitchen and discovering new flavor combinations. The most important thing is to create a dessert that you truly love!
Variation | Flavor Profile |
|---|---|
Orange Zest | Adds a citrusy, bright note |
Mix of Pistachios and Almonds | Adds a variety of nutty flavors |
Cinnamon or Nutmeg | Adds a warm, cozy vibe |
Toasted Pistachios | Intensifies the nutty flavor |
White Chocolate and Cranberries | Adds a sweet and tart twist |
Addressing Common Questions
I've also gotten some great questions about the recipe, and I want to address a few of the most common ones. A lot of people ask if they can use pre-salted pistachios. While you can, I would recommend avoiding them because it will be difficult to adjust the salt levels. If you do use pre-salted pistachios, you'll want to leave out the extra salt in the recipe. Another question I get asked a lot is about the baking pan. You can use any baking pan, but I find that a square 8x8 inch pan works best. It gives you the right thickness for the bars and is easy to work with. And if you don't have parchment paper, you can use aluminum foil, but you'll want to grease it really well.
And finally, many people ask if they can make these bars ahead of time. The answer is absolutely yes! They're perfect for making ahead of time and storing for later. Just be sure to store them in an airtight container to keep them fresh. You can even freeze them for longer storage. I've also received some questions about the nutritional value of these bars. While I'm not a nutritionist, I can tell you that these bars are packed with healthy fats, fiber, and protein from the pistachios. They're also naturally gluten-free, vegan, and dairy-free, making them a great option for people with dietary restrictions. The key is to eat them in moderation. They are a treat, after all! I hope this helps answer some of your questions, and as always, feel free to reach out if you have any more!
Wrapping Up Your Pistachio Bar Dessert Recipe Adventure
So, there you have it – a super simple, incredibly tasty pistachio bar dessert recipe that’s ready to rock your snack game. These crunchy bars are not only a breeze to make, but they’re also a fantastic option for those of us with dietary restrictions. Whether you stick to the original recipe or get a little adventurous with add-ins like rose water or different nuts, the result is always a delightful, guilt-free treat. I hope this recipe inspires you to get creative in the kitchen and proves that sometimes, the simplest things are the most satisfying. Now go on, whip up a batch and enjoy every crunchy, nutty bite!