
Table of Contents
Ever scrolled through drool-worthy dessert photos and stopped dead at something that looks like a golden, crispy bird's nest oozing with cheese? Chances are, you've encountered the magnificent kataifi cheese dessert, often known as Kunefe.
What Exactly is This Kataifi Cheese Dessert Anyway?
What Exactly is This Kataifi Cheese Dessert Anyway?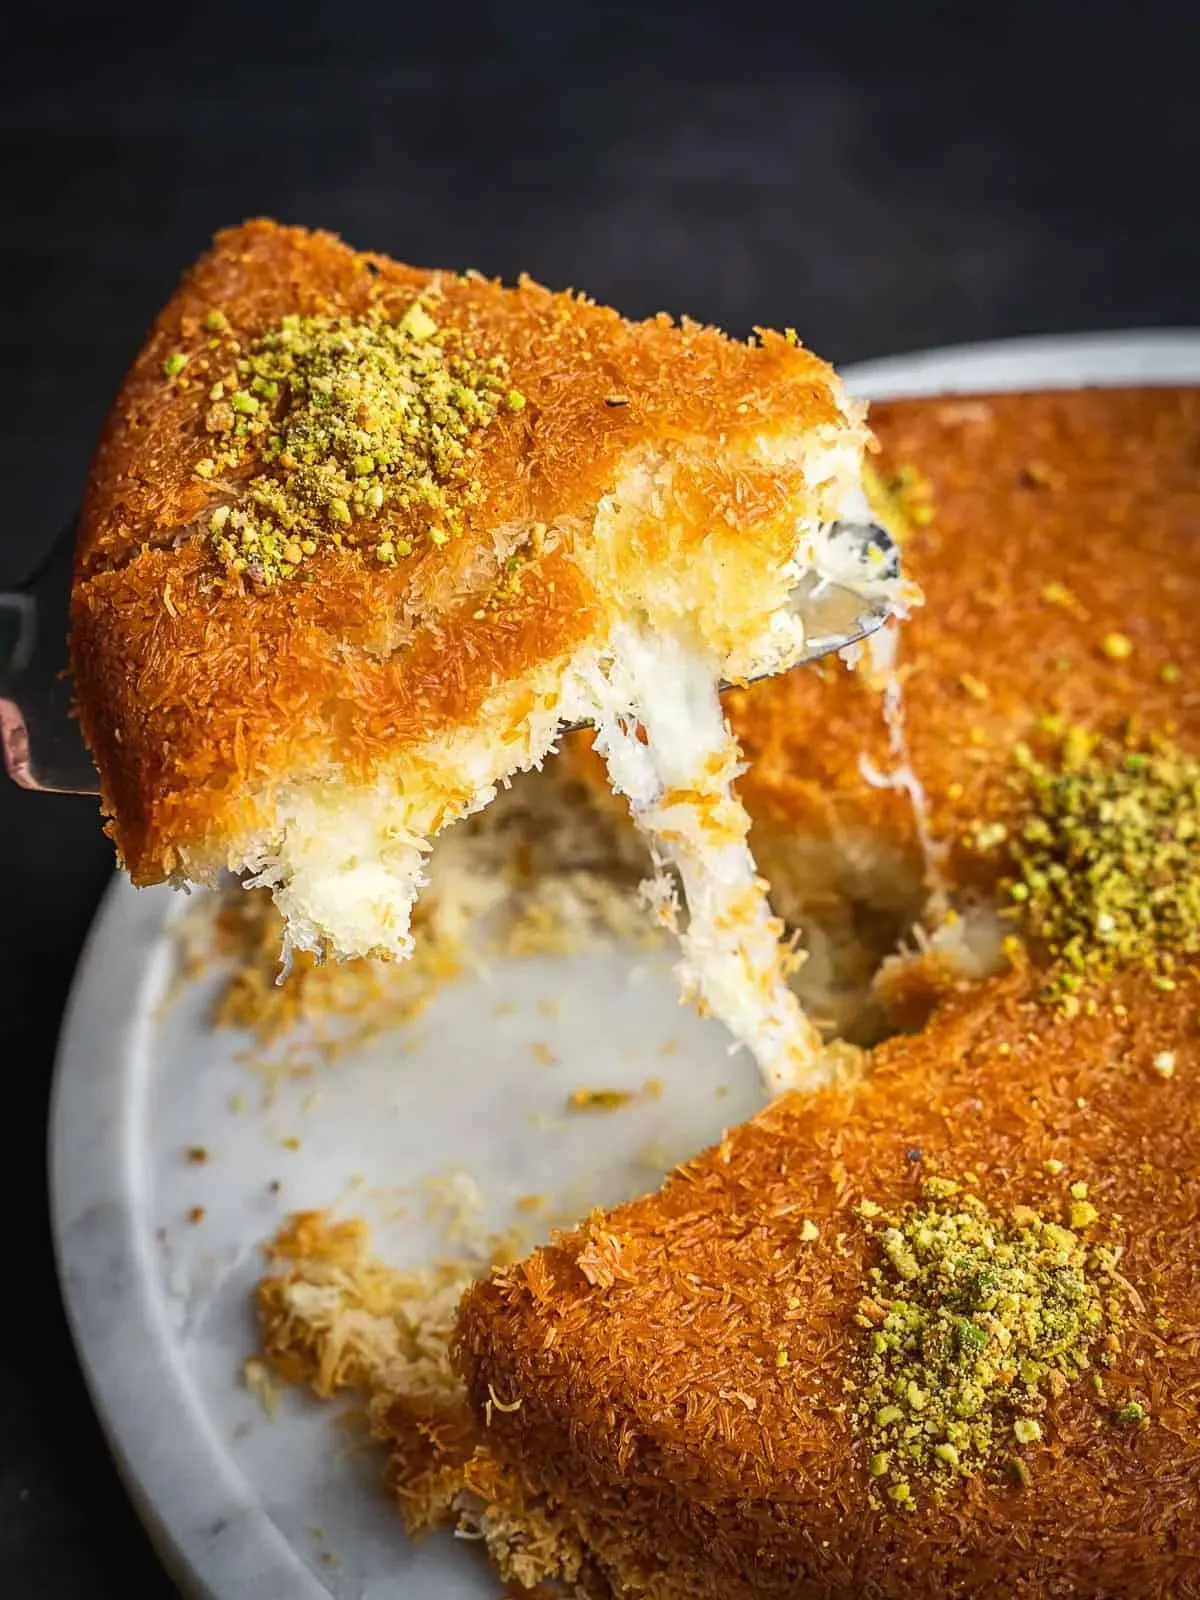
Beyond Your Average Sweet Treat
Let's cut to the chase: a kataifi cheese dessert, specifically the kind folks rave about from the Middle East, is not your grandma's apple pie. It's a dazzling construction of two main elements you might not instinctively pair: sweet shredded pastry and warm, gooey cheese. The pastry is kataifi, those fine, thread-like strands of dough that look like delicate angel hair pasta before baking. When you bake it with butter and sugar syrup, it transforms into something incredibly crispy and golden, providing a satisfying crunch that contrasts beautifully with the soft filling.
This isn't just some random sweet and savory mashup cooked up yesterday. This dessert has deep roots and takes center stage in many homes during holidays and celebrations. You don't just eat it; you experience it – the warmth, the texture, the aroma of syrup infused with rose or orange blossom water.
Tracing the Roots: Kunefe, Knafeh, and More
This particular kataifi cheese dessert goes by several names depending on where you are. You'll most commonly hear it called Kunefe or Knafeh. It's a staple across the Levant, Turkey, and Greece, with regional variations that tweak the type of cheese, the syrup flavoring, or even the thickness of the pastry layers. Imagine walking through a bustling market in Istanbul or Beirut; the smell of freshly baked Kunefe often hangs in the air, a sweet, buttery invitation you simply cannot ignore. It’s more than just dessert; it's a piece of cultural identity served hot.
While the core concept remains consistent – kataifi pastry, cheese, and syrup – the details matter. Some versions use a single layer of cheese sandwiched between two kataifi layers, while others might press the cheese more firmly into the bottom layer. The syrup is non-negotiable; it's what sweetens the deal and keeps the pastry from being dry.
What makes a great kataifi cheese dessert?
- Crispy, golden kataifi pastry (not soggy!)
- Stretchy, melt-in-your-mouth cheese
- Perfectly sweetened, fragrant syrup
- Served piping hot
The Unlikely Pair: Cheese and Syrup
Now, about the cheese. Forget cheddar or mozzarella from your pizza. The traditional cheese used in kataifi cheese dessert is a special unsalted or lightly salted cheese that melts beautifully and, crucially, stretches. Think Nabulsi or Akawi cheese, often soaked to remove excess salt. This isn't a subtle cheese note; it's a main character, providing that unique texture when you pull a piece apart. The hot syrup poured over the freshly baked pastry is the final touch, soaking in and creating a delightful stickiness and sweetness that balances the cheese.
Eating it cold is practically a crime against dessert humanity. The magic happens when the cheese is molten and the syrup is warm, creating a symphony of textures and temperatures that defines this iconic kataifi cheese dessert. It's a bold flavor combination that works because each element plays its part without overpowering the others.
Gathering Your Arsenal: Kataifi Pastry and the Critical Cheese Selection
Gathering Your Arsenal: Kataifi Pastry and the Critical Cheese Selection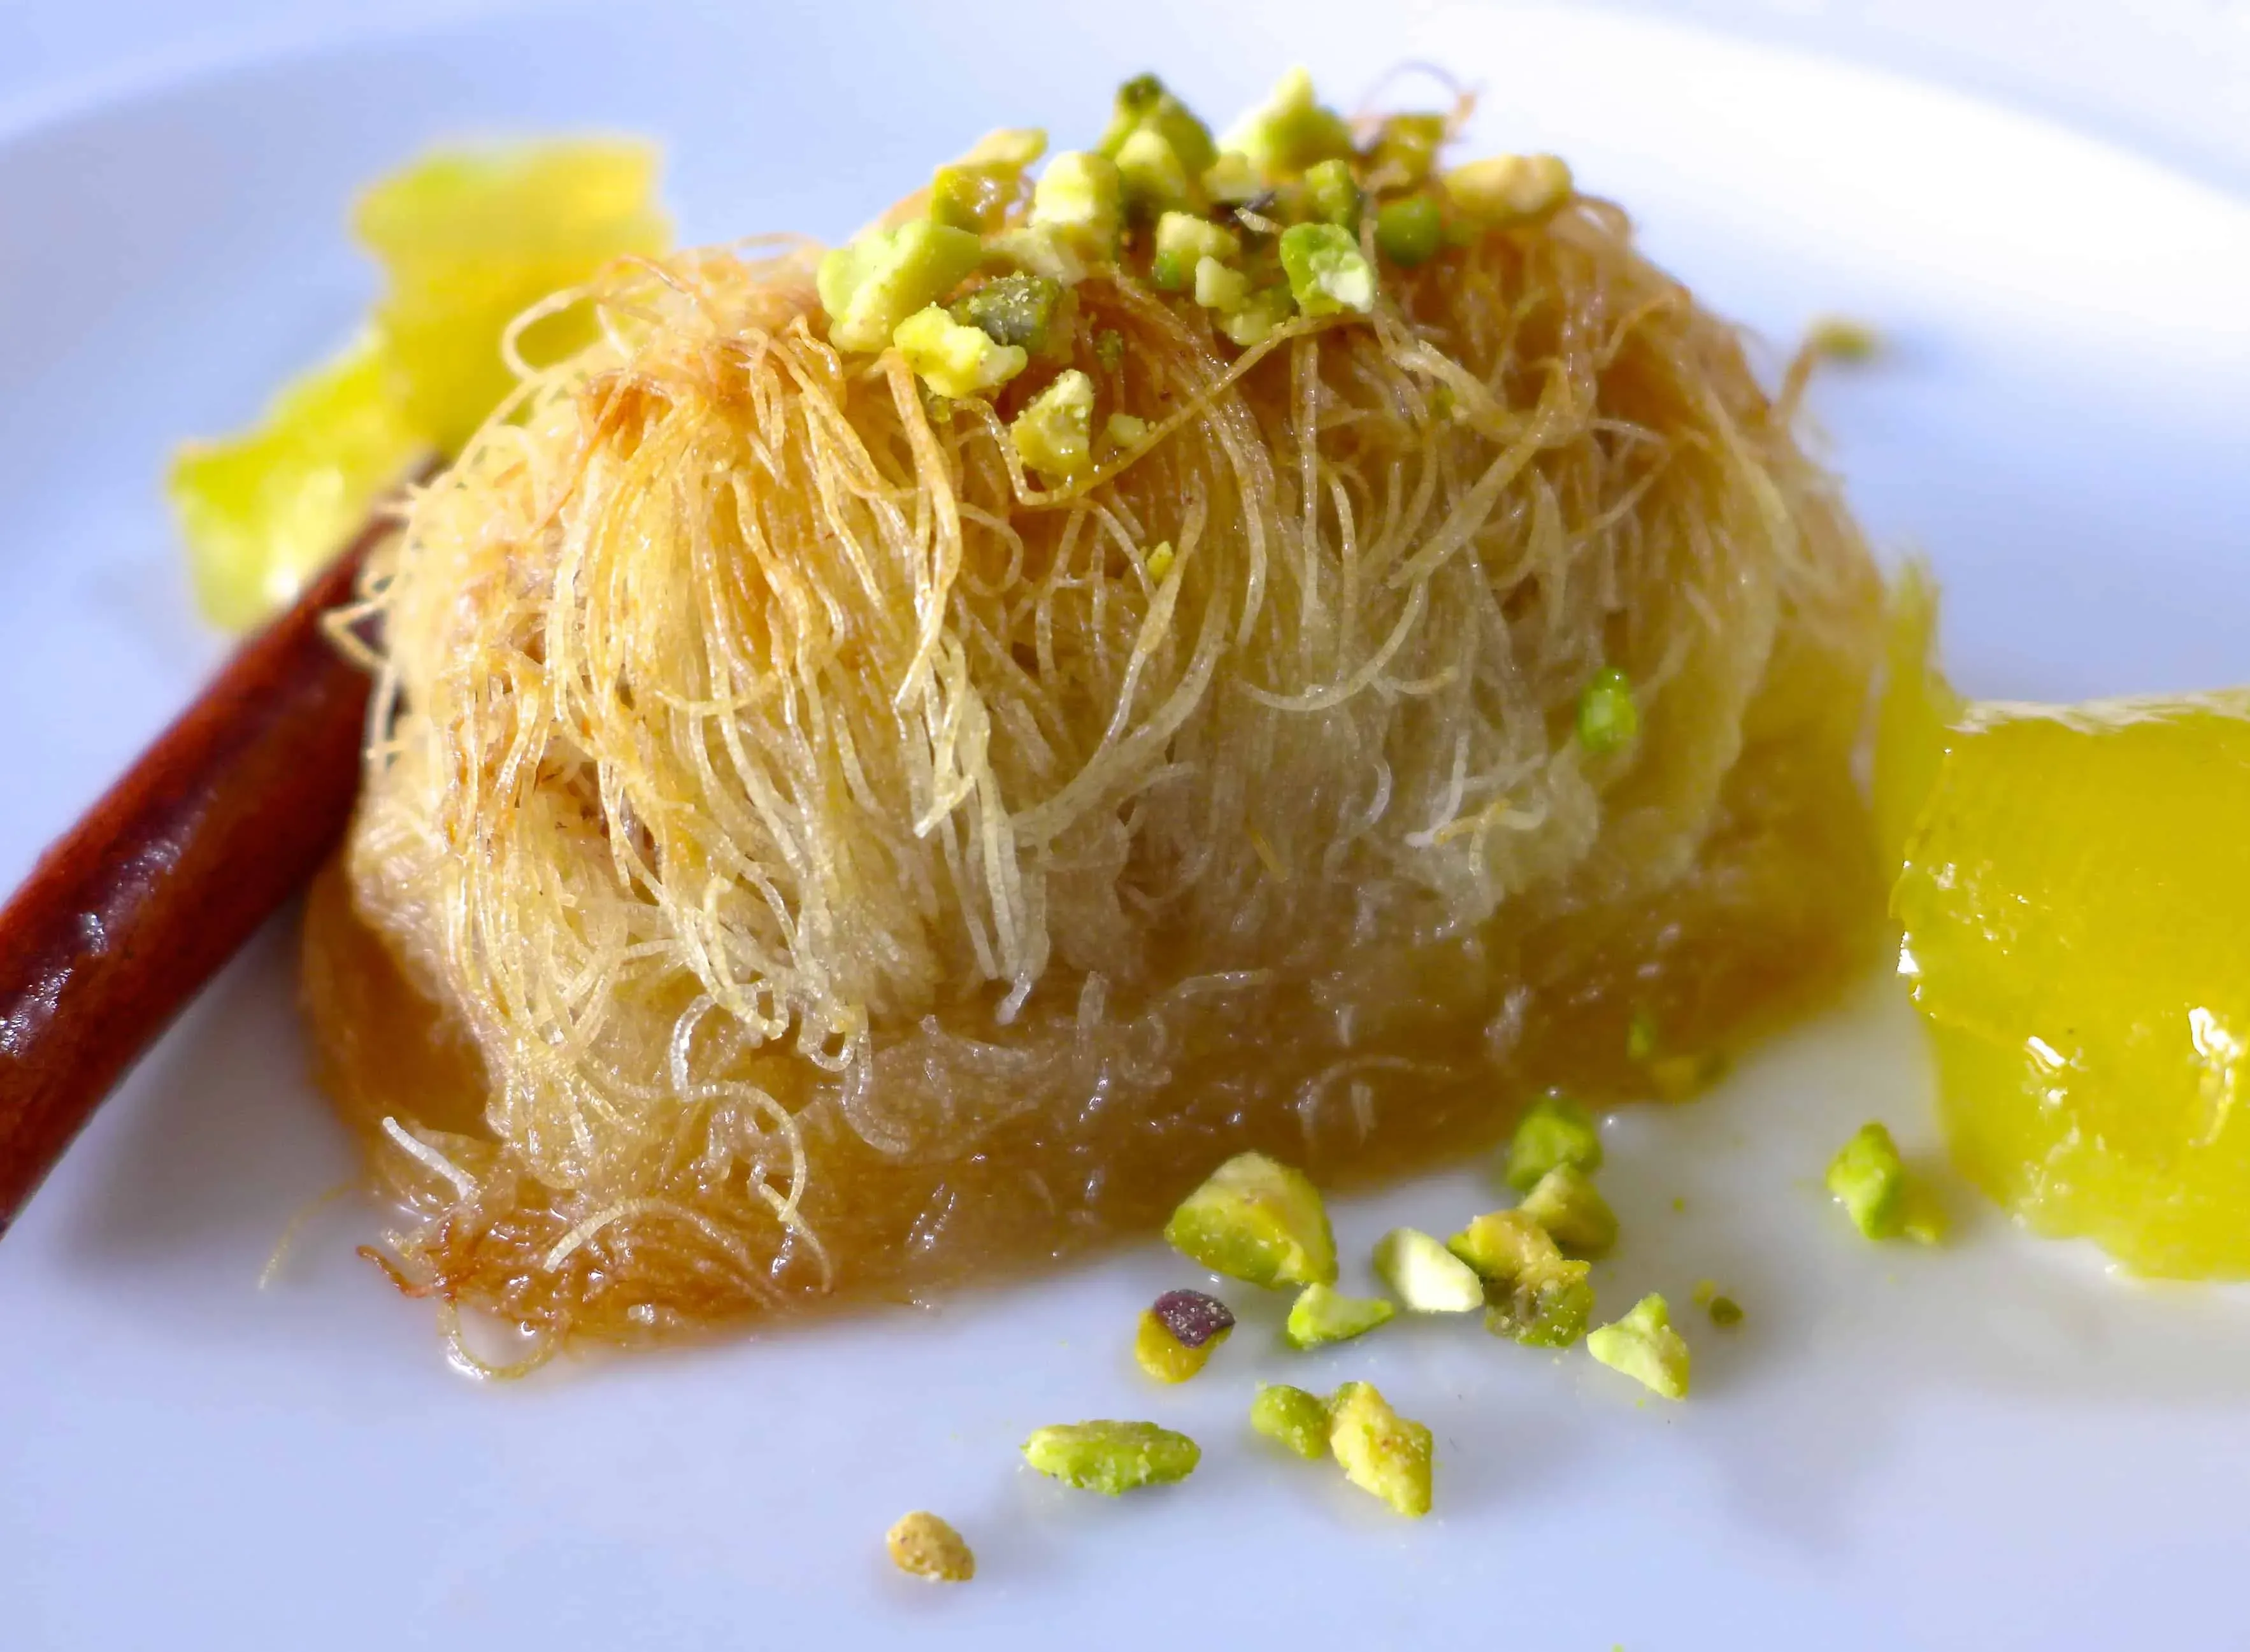
Finding and Taming the Kataifi Pastry
Alright, let's talk about the star of the show, the kataifi pastry itself. You'll find this stuff in the freezer section of Middle Eastern or Greek grocery stores, sometimes even in larger supermarkets with an international aisle. It comes in a package, looking like a tangled mess of fine, white threads. Think angel hair pasta that's been on a serious diet. It's delicate, it dries out faster than a politician's promise, so handle it with care. Once you open the package, use what you need and wrap the rest tightly or you'll end up with brittle, unusable dough. You'll need to pull it apart gently, separating the strands, before coating it generously with melted butter. This butter is crucial; it helps the strands crisp up and turn that beautiful golden brown in the oven, giving your kataifi cheese dessert its signature crunch.
Working with kataifi isn't hard, but it requires patience. Don't just yank it out of the box and expect it to behave. Let it thaw properly if frozen, usually for a few hours in the fridge or about 30 minutes at room temperature. Then, gently pull and fluff it up. Some recipes suggest chopping it a bit to make it more uniform, which isn't a terrible idea if you're aiming for a super neat presentation, but the charm of kataifi is often in its slightly unruly nature. Just make sure it's evenly coated in butter so every strand gets a chance to crisp.
Selecting the Right Cheese: It's Not Just Any Cheese
Now, the cheese. This is where many people stumble when attempting a kataifi cheese dessert like Kunefe. You cannot, under any circumstances, just grab the shredded mozzarella out of your fridge. That's for pizza. The cheese for a proper kataifi cheese dessert needs to be specific. You're looking for a fresh, unsalted or very lightly salted cheese that melts smoothly and gets wonderfully stretchy. Traditional options include Nabulsi or Akawi cheese, often found in brine. These usually require soaking in water beforehand to draw out excess salt, which is vital because you're about to drown this dessert in sweet syrup. If you can't find these, fresh mozzarella (the kind packed in water, not the hard block) can work in a pinch, though it won't give you quite the same traditional stretch. Some people even use a blend of fresh mozzarella and ricotta, though ricotta alone is too soft and won't give that signature pull.
The goal is a cheese layer that becomes molten and slightly elastic when heated, providing a creamy, savory counterpoint to the sweet, crispy pastry. It should melt *into* the kataifi, not just sit on top like a sad, deflated balloon. Getting the salt level right is paramount; too salty and it clashes horribly with the syrup, too bland and it lacks character. If using a brined cheese, taste it after soaking and soak longer if needed. This cheese is the heart of your kataifi cheese dessert, so choose wisely.
Common Cheese Options for Kataifi Cheese Dessert:
- Nabulsi (Traditional, requires soaking)
- Akawi (Traditional, requires soaking)
- Fresh Mozzarella (Good substitute, less traditional stretch)
- Mix of Fresh Mozzarella and Ricotta (Acceptable, adjust proportions for texture)
Crafting Your Own Kataifi Cheese Dessert: A Practical Guide
Crafting Your Own Kataifi Cheese Dessert: A Practical Guide
Prepping the Stage: Buttering and Layering the Base
now that you've got your delicate kataifi pastry and your chosen cheese sorted, it's time to get hands-on. The first step in building your kataifi cheese dessert is preparing the pan. You'll need a shallow, round pan, traditionally made of copper, but a regular oven-safe skillet or baking dish works just fine. The key is to butter it *generously*. Like, really generously. Melt a good amount of unsalted butter – we're talking several tablespoons here – and brush it all over the bottom and up the sides. This isn't just for non-stick purposes; it helps the bottom layer of kataifi crisp up and turn that beautiful golden-brown color, which is essential for the final flip (more on that glorious moment later).
Next, grab about half of your buttered kataifi pastry. Spread it evenly across the bottom of the pan, pressing it down gently but firmly. You want a compact layer that forms a solid base. Make sure there are no thin spots or gaps. Some people even push a little bit of the pastry up the sides of the pan to create a slight edge, which can help contain the cheese. Think of this as building the foundation for your delicious kataifi cheese dessert masterpiece.
Adding the Cheese: The Gooey Heart
Now for the main event: the cheese layer. If you're using a brined cheese like Nabulsi or Akawi, make sure it's properly drained and shredded or thinly sliced. Spread the cheese evenly over the pressed kataifi base. Don't pile it too high, or it might not melt uniformly. You want a consistent layer from edge to edge. If you're using fresh mozzarella, tear or slice it and distribute it. Avoid getting cheese too close to the very edge of the pan; leave a small border so the cheese doesn't fuse to the pan during baking, making the flip impossible.
Cover the cheese layer with the remaining buttered kataifi pastry. Again, spread it evenly and press down lightly. The goal is to fully encase the cheese. Ensure the top layer is as uniform as possible for even browning. At this point, your kataifi cheese dessert is assembled and ready for its transformation in the oven.
Quick Checklist Before Baking:
- Pan heavily buttered?
- Bottom kataifi layer even and pressed?
- Cheese spread evenly, not touching edges?
- Top kataifi layer covering cheese completely?
The Grand Finale: Syrup, Serving Hot, and Dodging Disasters
The Grand Finale: Syrup, Serving Hot, and Dodging Disasters
The Sweet Finish: Crafting the Syrup
With your kataifi cheese dessert assembled and waiting for its oven time, it's time to whip up the syrup. This isn't just sugar water; it's the lifeblood of the dessert, providing sweetness and moisture. A standard ratio is usually two parts sugar to one part water. Combine them in a saucepan, add a squeeze of lemon juice (this prevents crystallization), and bring it to a boil. Let it simmer for about 5-7 minutes until it thickens slightly – it shouldn't be like pancake syrup, but not watery either. The real magic comes after you take it off the heat. That's when you stir in flavorings like rose water or orange blossom water. A little goes a long way; too much and your dessert tastes like perfume.
Some recipes call for adding a cinnamon stick or a few cardamom pods to the syrup while it simmers for extra depth. Whatever you choose, make sure the syrup is warm, but not necessarily boiling hot, when you pour it over the baked kataifi. Pouring scorching hot syrup can sometimes make the pastry soggy instantly. Aim for warm and pour it slowly, allowing it to soak in.
Hot and Ready: Serving Your Kataifi Cheese Dessert
The absolute, non-negotiable rule of kataifi cheese dessert is serving it hot. Seriously, if you let this sit around and get cold, you've missed the point entirely. The beauty is in the contrast: the crispy, buttery pastry and the molten, stretchy cheese, all warmed by the sweet syrup. Once your kataifi is baked to a beautiful golden-brown (usually 30-45 minutes at around 350-375°F or 180-190°C), pull it from the oven. This is often the moment for the dramatic pan flip if you used a traditional double-sided pan, but even if you just baked it in one dish, it's ready for the syrup.
While it's still sizzling hot, slowly ladle or pour the warm syrup all over the top. You'll hear that glorious crackling sound as the syrup hits the hot pastry. Don't be shy with the syrup, but you might not need all of it depending on your preference. Let it sit for just a minute or two to soak in, then slice and serve immediately. The stretch of the cheese as you pull a piece away is part of the experience. Common disasters? Not enough butter leading to dry pastry, cheese that didn't melt right because it wasn't the right kind or wasn't spread evenly, or the cardinal sin of serving it cold.
- Syrup too thin: Didn't boil long enough, won't soak in properly.
- Syrup too thick: Boiled too long, becomes sticky candy.
- Pastry not crispy: Not enough butter, oven not hot enough, or didn't bake long enough.
- Cheese not melting/stretching: Used the wrong type of cheese or didn't soak salty cheese.
- Serving cold: Just... don't. Reheat gently if necessary.
Your Kataifi Cheese Dessert Achievement
So there you have it. You've navigated the sometimes-fickle world of kataifi pastry and coaxed cheese into a glorious, gooey state. It wasn't rocket science, but it required attention – getting that pastry golden, ensuring the cheese melts just right, and not drowning the whole thing in syrup (unless that's your thing, no judgment here). The reward? A dessert that stands out, a crispy, sweet, cheesy triumph that’s a far cry from your average cake. Serve it hot, watch it stretch, and maybe even brag a little. You earned it.