Table of Contents
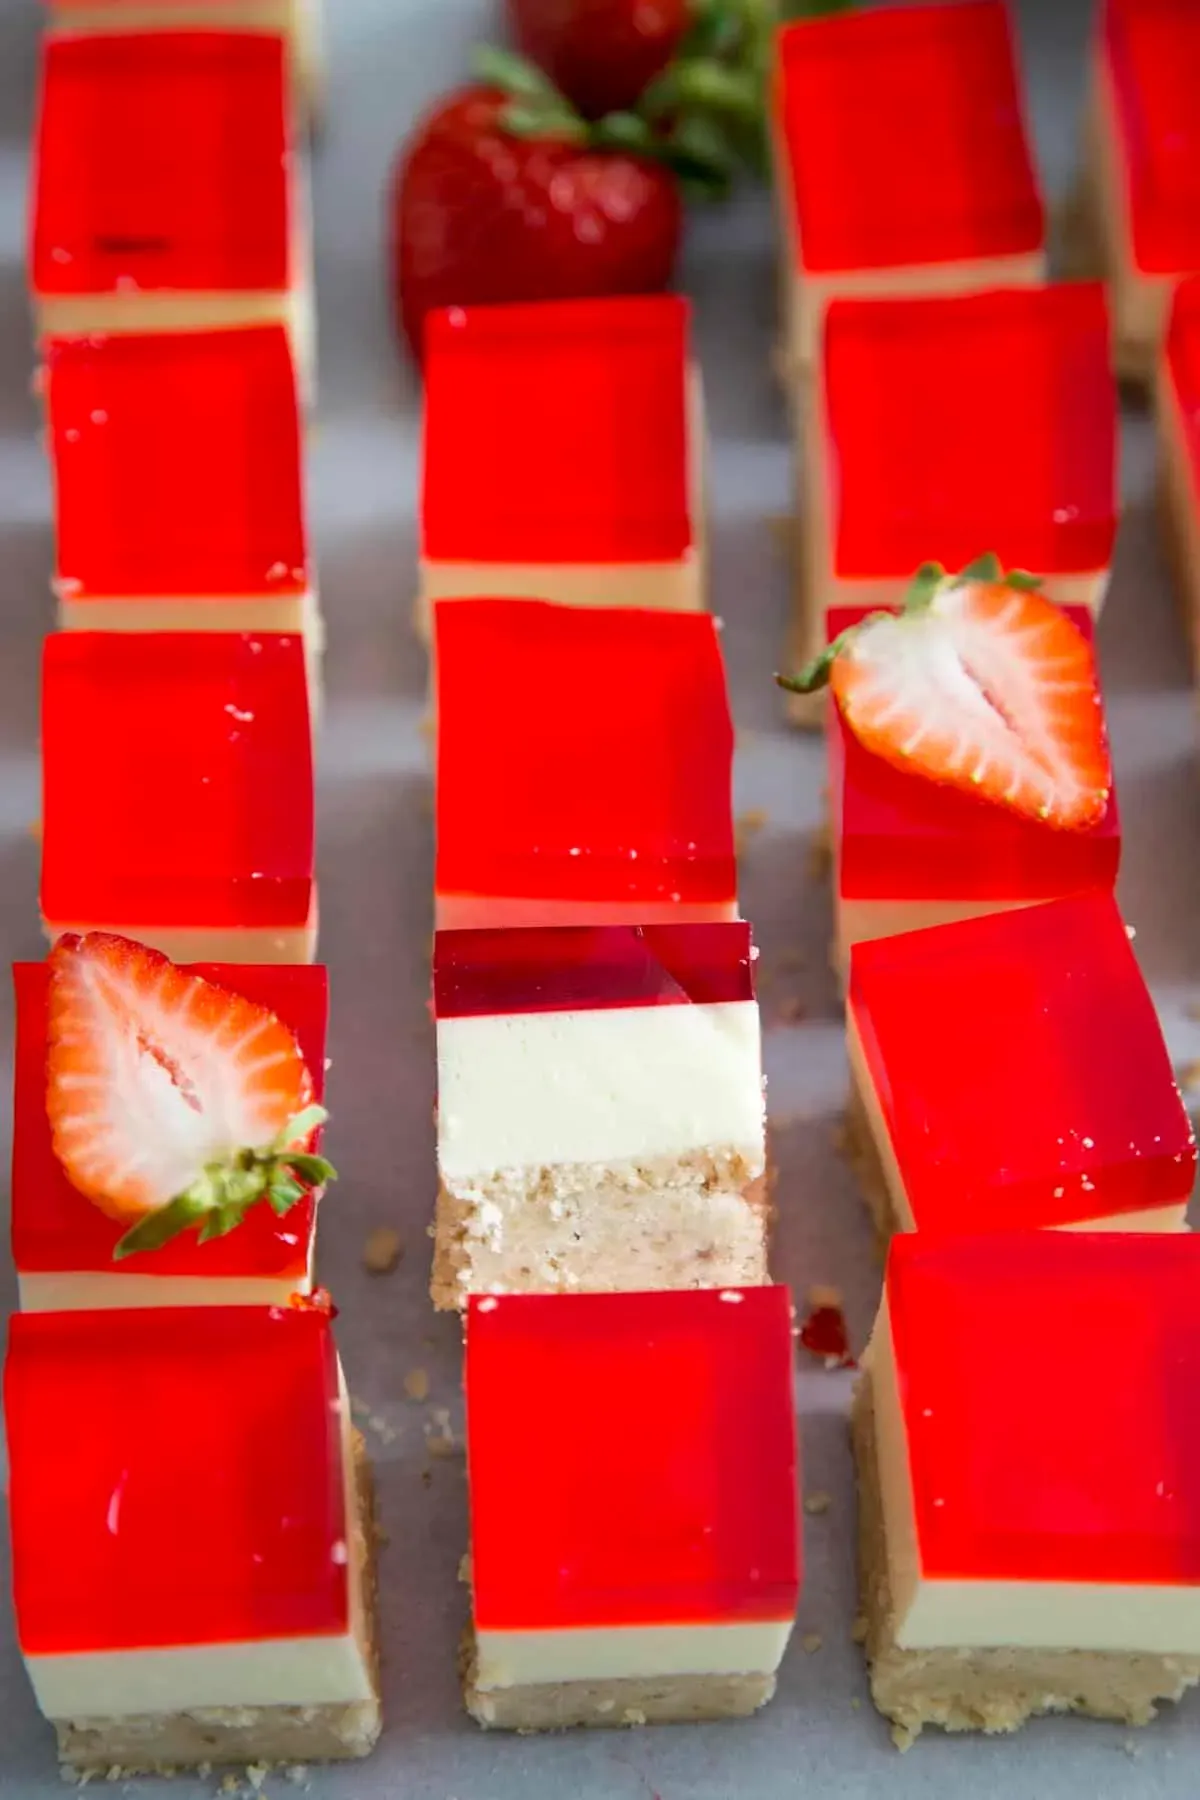
Ever get that sudden craving for something sweet, maybe a little tangy, but the thought of a complicated recipe makes you want to just grab a bag of chips instead? Or maybe you’ve got folks coming over last minute and need a dessert that looks like you fussed but actually took minimal effort? Let's be real, life's busy. We need kitchen wins, not complex projects that end in tears (and dirty dishes). That's where the humble, yet surprisingly delightful, jelly and cream cheese dessert comes in. It’s a throwback for some, a revelation for others, but always a solid choice when you need something simple, refreshing, and genuinely tasty.
Why Jelly and Cream Cheese Dessert is a GoTo
Why Jelly and Cream Cheese Dessert is a GoTo
Effortless Elegance, Seriously
Let's cut to the chase. Nobody wants to spend hours in the kitchen, especially when you just want something sweet without a fuss. This jelly and cream cheese dessert is the culinary equivalent of showing up in sweatpants but looking like you walked off a runway. It demands minimal effort, uses basic ingredients you likely already have or can grab at any corner store, and the payoff is disproportionately high. You mix, you layer, you chill. That's it. No fancy techniques, no finicky temperatures, just straightforward assembly. It's the kind of recipe that makes you feel like a kitchen wizard, even if your usual dinner involves calling for takeout. Trust me, your future self, tired after a long day, will thank your past self for remembering this simple gem.
A Flavor Combo That Just Works
Some pairings are just destined for greatness: peanut butter and jelly, coffee and a Monday morning, and definitely jelly and cream cheese. The cool, slightly wobbly sweetness of the jelly cuts through the rich, tangy cream cheese layer perfectly. It’s a balance of textures and flavors that’s surprisingly sophisticated for something so simple. You can use almost any flavor of jelly, from classic strawberry or cherry to something more adventurous like lime or even a hot pepper jelly for a sweet and spicy kick (though maybe skip that last one for a traditional dessert). This adaptability means you can tailor it to whatever fruit is in season or whatever color scheme you're going for, if you're feeling particularly extra.
- It's incredibly fast to assemble.
- Uses pantry staples.
- Requires no baking skills.
- Adapts easily to different flavors.
- Always seems to disappear fast.
Nostalgia on a Spoon
For many, this jelly and cream cheese dessert isn't just a recipe; it's a memory. It conjures up images of potlucks, grandma's kitchen, or simple family gatherings where dessert didn't need to be complicated to be loved. There's something comforting and familiar about that distinct two-layer look and the way the fork slides through both textures. It’s a taste of simpler times, a dessert that doesn't try too hard but always delivers pure, unadulterated comfort. Serving this can spark conversations, bring back fond recollections, and create new, easygoing memories for your own crew. It’s a dessert with history, and frankly, that adds a certain charm you can't get from a trendy, overwrought confection.
Gathering Your Ingredients for Jelly and Cream Cheese Dessert
Gathering Your Ingredients for Jelly and Cream Cheese Dessert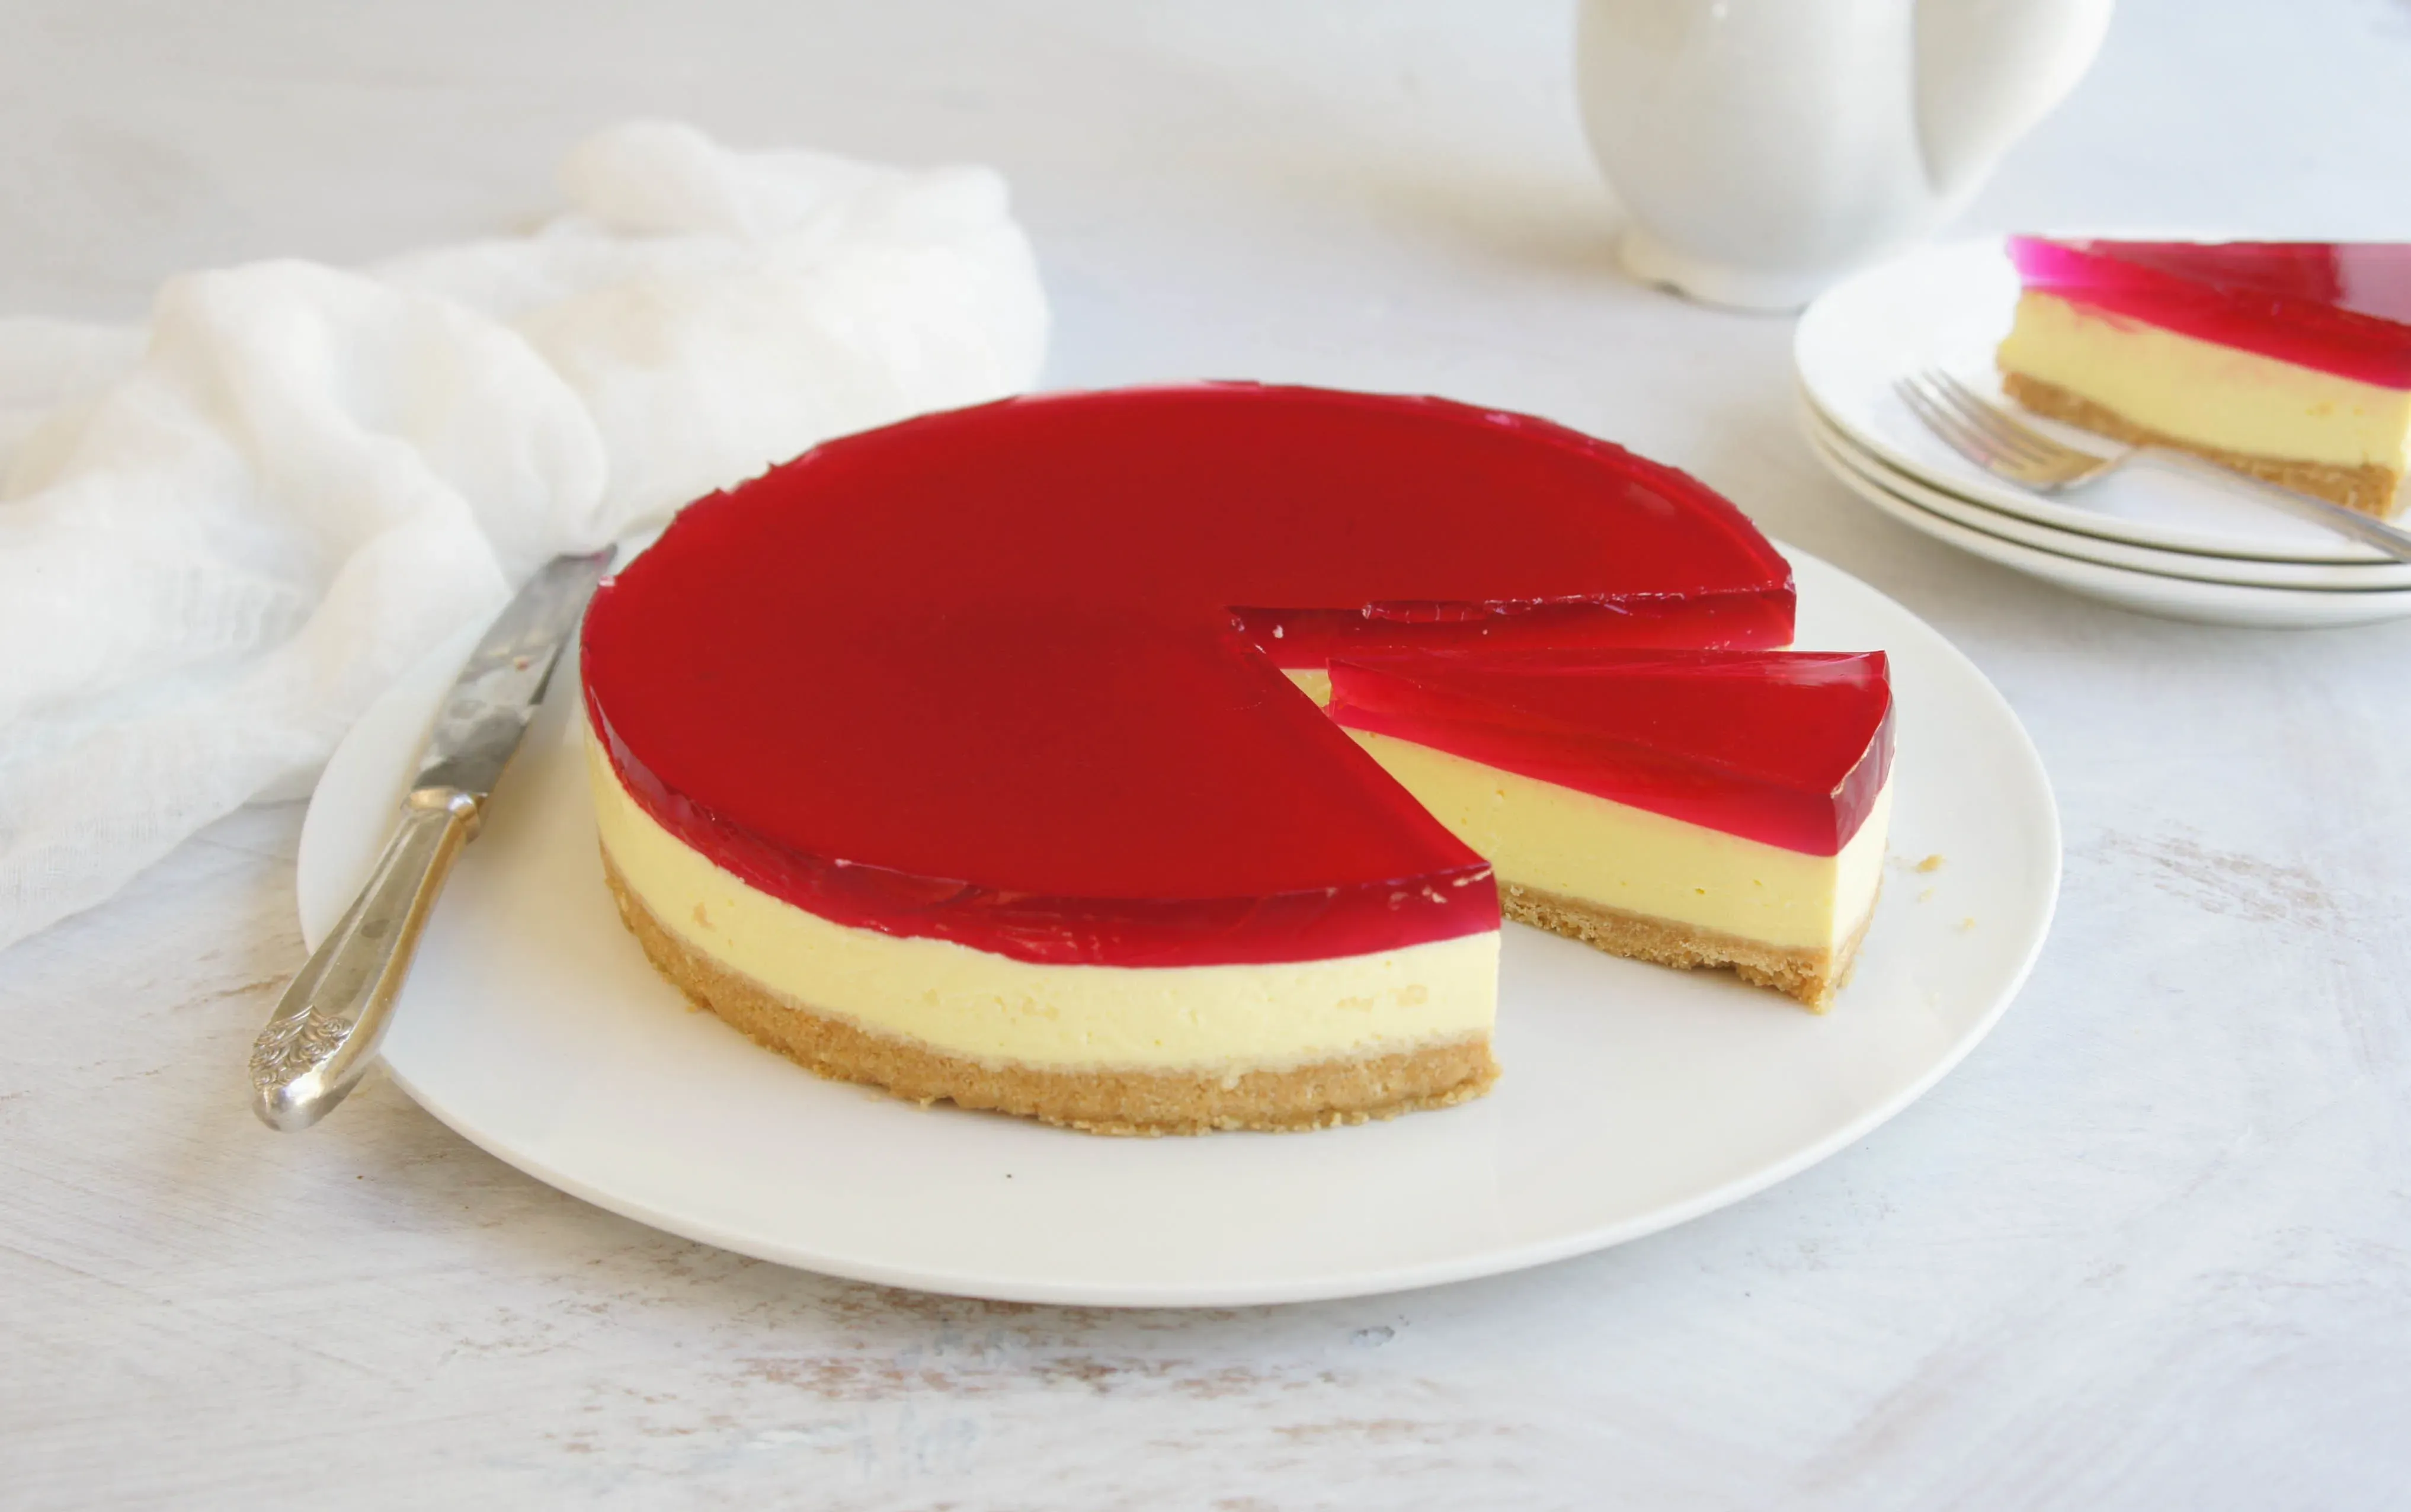
No Treasure Hunt Required
Alright, so you're sold on the idea of whipping up this glorious jelly and cream cheese dessert. Excellent choice. Now, let's talk ingredients. This isn't one of those recipes that sends you on a wild goose chase to three different specialty stores for obscure spices or single-origin vanilla beans harvested by moonlight. The beauty here is its simplicity. You're looking at stuff you can snag at pretty much any grocery store, maybe even your local gas station in a pinch (though I wouldn't recommend the gas station cream cheese). Think standard pantry items and fridge staples. It’s designed for minimal fuss, maximum reward. No need to stress about finding something exotic; the magic happens with everyday items.
The Core Crew: Jelly, Cream Cheese, and More
So, what exactly do you need to make this happen? First up, the stars: your favorite flavor of jelly (a 3 oz box is standard) and a block of cream cheese (8 oz, full-fat, please – this isn't the time for low-fat regrets). You'll also need boiling water to dissolve the jelly and cold water to finish it off. For the cream cheese layer, you'll typically need some powdered sugar for sweetness and a splash of vanilla extract because, well, vanilla makes everything better. Some recipes call for a little whipped topping or heavy cream to make the cream cheese layer lighter and fluffier. That's the basic lineup. See? Nothing scary, right? Just a few key players ready to perform.
- One box (3 oz) of flavored jelly (strawberry, cherry, lime are classics)
- Boiling water
- Cold water
- One block (8 oz) of full-fat cream cheese, softened
- Powdered sugar
- Vanilla extract
- Optional: Whipped topping or heavy cream
Crafting the Perfect Jelly and Cream Cheese Dessert Layers
Crafting the Perfect Jelly and Cream Cheese Dessert Layers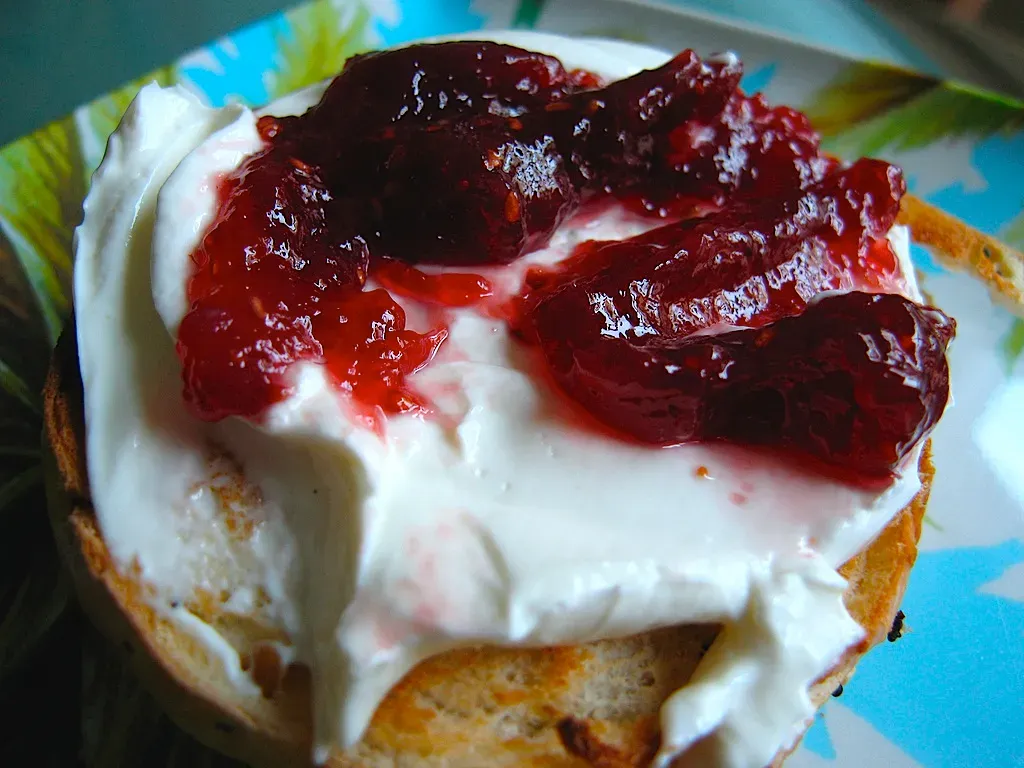
Getting the Jelly Layer Just Right
you've got your ingredients lined up. Now for the fun part: building this masterpiece, layer by layer. First up is the jelly. Grab your box of jelly mix and dump it into a heatproof bowl. Boil some water – measure it carefully according to the package directions for a "jellied" set, not the softer "mold" set. Pour that boiling water over the mix and stir, stir, stir until every single crystal is dissolved. You want it totally clear, no grainy bits hanging around. This usually takes a couple of minutes of dedicated stirring. Once dissolved, add the cold water, again following the package instructions precisely. Give it another good stir to combine everything. Now, here's a pro tip: let it cool slightly at room temperature before you pour it into your serving dish. Pouring hot jelly onto a potentially cold dish can cause issues, and you don't want to accidentally melt anything you might add later. Just a few minutes is fine, you're not trying to set it yet.
Whipping Up the Creamy Counterpart
While your jelly is cooling its jets, tackle the cream cheese layer. Make sure your cream cheese is softened – leaving it on the counter for 30-60 minutes before you start makes a world of difference. Trying to beat cold cream cheese is like trying to reason with a toddler; it’s not going to go well. Put the softened cream cheese in a mixing bowl and beat it with an electric mixer (or a sturdy whisk and some elbow grease) until it's smooth and fluffy. Seriously, beat it well to get rid of any lumps. Gradually add your powdered sugar and vanilla extract, mixing until just combined. If you're adding whipped topping or whipped heavy cream for a lighter texture, gently fold it in now until no streaks remain. Once the jelly has cooled slightly but is still liquid, pour it carefully into your serving dish. Pop it in the fridge until the jelly is set but still a little sticky on top – usually an hour or two. This slightly tacky surface helps the cream cheese layer adhere better, preventing separation drama later.
- Make sure jelly crystals are fully dissolved.
- Let dissolved jelly cool slightly before pouring.
- Soften cream cheese thoroughly.
- Beat cream cheese until completely smooth.
- Chill the jelly layer until set but slightly sticky before adding cream cheese.
Beyond Basic: Fun Twists on Jelly and Cream Cheese Dessert
Beyond Basic: Fun Twists on Jelly and Cream Cheese Dessert
Alright, so you've mastered the classic jelly and cream cheese dessert. It's easy, it's reliable, it's... well, it's the basic model. But maybe you're feeling a little frisky? Want to elevate this simple standby without actually making it complicated? Good news, you totally can. Think of the basic recipe as a canvas. You can swap out the jelly flavor, obviously – lime with a hint of coconut in the cream cheese layer? Why not. Or maybe add a simple crust? Crushed graham crackers mixed with melted butter pressed into the bottom of the dish before the jelly goes in adds a nice texture contrast. Fresh fruit layered on top of the cream cheese or even mixed into the jelly before it sets can brighten things up considerably. A sprinkle of toasted nuts, a drizzle of chocolate syrup (if you're feeling particularly rebellious), or even a tiny pinch of salt in the cream cheese layer can wake things up. Don't be afraid to play around; it's hard to truly mess this one up.
Getting Your Jelly and Cream Cheese Dessert Just Right
Getting Your Jelly and Cream Cheese Dessert Just Right
The Patience Factor: Chilling is Non-Negotiable
Look, I get it. You’ve done the mixing, the layering, and now you just want to dig in. But rushing the chill time on your jelly and cream cheese dessert is a rookie mistake. This isn't a race. For those distinct, clean layers and that perfect texture, you need to give it time in the fridge. The jelly layer needs to be fully set before you even think about adding the cream cheese. Trying to put a creamy layer on top of wobbly jelly is like building a house on sand – it’s going to be a mess. And once the cream cheese layer is on, it needs ample time to firm up too. We're talking at least 4-6 hours, preferably overnight. Trust the process. A properly chilled dessert is the difference between a triumphant success and a sad, melty puddle.
Serving Up Success and Avoiding Layer Drama
So, the fridge has worked its magic, and your jelly and cream cheese dessert looks ready for its close-up. How do you serve it without causing a culinary catastrophe? If you made it in a large dish, sharp cuts are key. Use a knife dipped in hot water and wiped dry between cuts for the cleanest edges. For individual servings, lucky you, just grab a spoon. The main pitfall here is layer separation. This usually happens if the jelly wasn't set enough when the cream cheese went on, or if the cream cheese mixture was too warm or heavy. If you end up with a bit of a slide situation, just lean into it. Call it "deconstructed" or "rustic." Nobody needs to know it wasn't intentional.
- Ensure jelly is fully set before adding cream cheese.
- Chill the assembled dessert for at least 4-6 hours, ideally overnight.
- Dip knife in hot water for clean cuts if serving from a large dish.
- Serve individual portions with a spoon.
- Don't panic if layers aren't perfect; embrace the "rustic" look.
Making Ahead and Keeping it Fresh
One of the best things about this jelly and cream cheese dessert? It’s a fantastic make-ahead option. In fact, it’s better when made in advance, giving the flavors time to meld and the textures to solidify. You can easily prepare this a day or two before you plan to serve it. Just cover it tightly with plastic wrap to prevent it from absorbing any weird fridge smells (nobody wants onion-flavored dessert) and to keep the surface from drying out. It will happily hang out in the refrigerator for up to 3-4 days. Freezing isn't recommended though; the texture of both the jelly and the cream cheese layers gets weird and watery when thawed. So, stick to chilling, cover it well, and you’ve got a stress-free dessert waiting for you.
Wrapping Up Your Jelly and Cream Cheese Creation
So there you have it. The jelly and cream cheese dessert isn't going to win any awards for avant-garde cuisine, and it certainly won't require you to source obscure ingredients flown in on dry ice. What it *will* do is deliver a reliable, easy-to-assemble treat that consistently hits the spot. It's the kind of dessert you make when you want something sweet without the drama, a solid player in the home dessert lineup. No need for pyrotechnics or fancy techniques; just a few simple steps stand between you and a chilled, tangy, and sweet bite. Sometimes, simple really is just... better.