Table of Contents
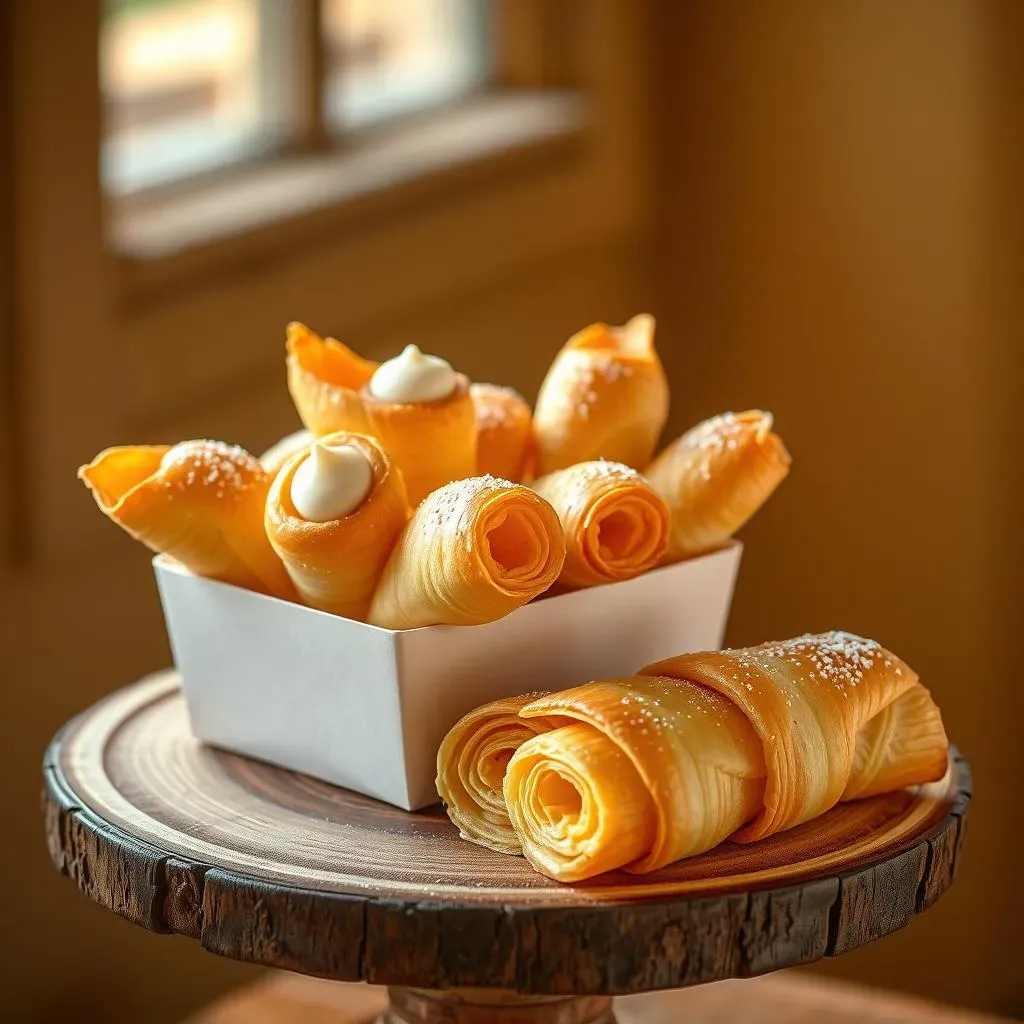
Ever dreamt of biting into a flaky, golden pastry filled with a cloud of sweet, creamy goodness? That's the magic of Cannoncini, a delightful Italian puff pastry dessert. These aren't just any pastries; they're a staple in Italian bakeries, often enjoyed after a hearty Sunday lunch or during festive celebrations. If you've ever wondered how to create these little bites of heaven, you're in the right place. This recipe will guide you through the process of crafting your own Cannoncini, using store-bought puff pastry and a luscious homemade pastry cream. We'll start with the heart of the dessert: the creamy filling, ensuring it's velvety smooth and perfectly sweet. Then, we’ll move on to shaping those store-bought sheets into elegant tubes before baking them to a crisp. Finally, we'll put it all together, creating a treat that's both impressive and utterly delicious. So, grab your apron and let's embark on this journey to master this classic italian puff pastry dessert recipe.
Crafting the Perfect Pastry Cream for Your Italian Dessert
Crafting the Perfect Pastry Cream for Your Italian Dessert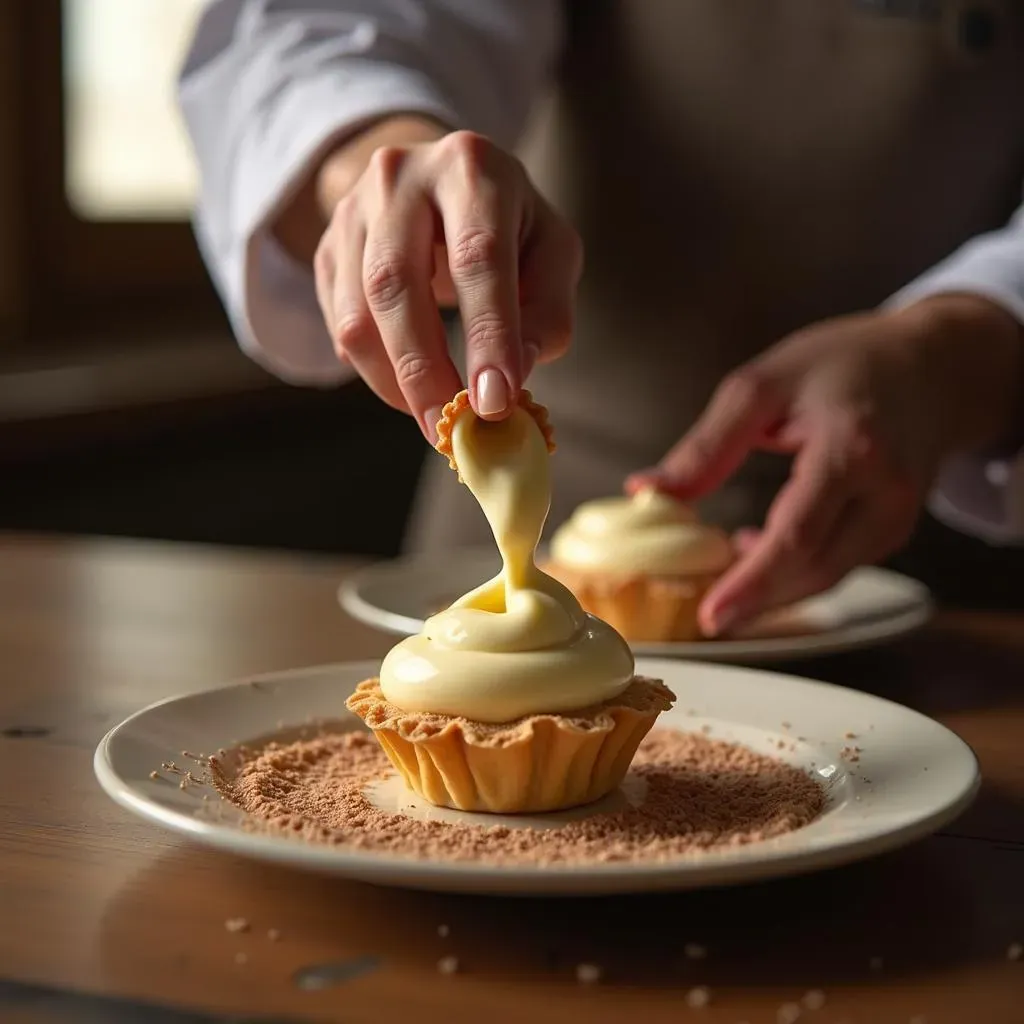
The Foundation: Understanding Pastry Cream
Okay, so you want to make a pastry cream that'll make people swoon? It’s not as scary as it sounds, I promise. Think of pastry cream as the soul of many great desserts, especially our Cannoncini. It's that smooth, velvety filling that makes you want to lick the spoon—or, you know, the pastry. The base of any good pastry cream is milk, thickened with cornstarch and enriched with egg yolks and sugar. It’s all about getting that perfect balance of creamy and sweet. And the secret ingredient? Good quality vanilla. Don't skimp on this, it's the difference between good and "oh my god, what is this magic?".
We're not just throwing ingredients together here. We're creating something special. The key is to cook the mixture gently, and I mean gently. We're talking low and slow. This keeps the egg yolks from scrambling and gives you that luxurious, smooth texture we're after. Constantly stirring is your best friend here, like you're trying to win a staring contest with the pot. And don’t get distracted, even for a second. Burnt pastry cream is nobody's friend. Once it's thick enough to coat the back of a spoon, and you can draw a line through it with your finger that doesn't immediately disappear, you're golden.
Ingredients for the Perfect Cream
Ingredient | Quantity | Notes |
|---|---|---|
Full-fat Milk | 500ml | For richness |
Cornstarch | 50g | The thickener |
Granulated Sugar | 100g | For sweetness |
Egg Yolks | 4 | Adds richness and color |
Vanilla Bean Paste | 1 tsp | For that amazing flavor |
The Gentle Art of Cooking
Now, let’s get to the nitty-gritty. In a medium saucepan, whisk together your cornstarch and sugar. This prevents any lumps from forming later. Then, slowly whisk in the milk until everything is smooth. This is like laying the groundwork for a perfect building, you want it solid. Next, add the egg yolks one at a time, whisking well after each addition. This isn't a race, treat it like a dance. Now, place the saucepan over low heat, and this is where patience comes in. You need to stir constantly to prevent the mixture from sticking or burning. It’s like you're a DJ, constantly mixing to keep the music flowing, but in this case, it's the cream.
Continue cooking and stirring until the mixture thickens and begins to bubble gently. Once it reaches that point, cook for another minute or two, still stirring, to ensure the cornstarch is fully cooked. You don't want a grainy texture, we're going for silky smooth. Remove the pot from the heat and stir in that glorious vanilla bean paste. Pour the cream into a clean bowl, cover it with plastic wrap, making sure the wrap touches the surface of the cream to prevent a skin from forming. This is like tucking it in for a nap. Let it cool completely before using it to fill your Cannoncini. It’s crucial to have cold cream, it helps with the final texture of the dessert.
Shaping and Baking the Puff Pastry for Cannoncini
Shaping and Baking the Puff Pastry for Cannoncini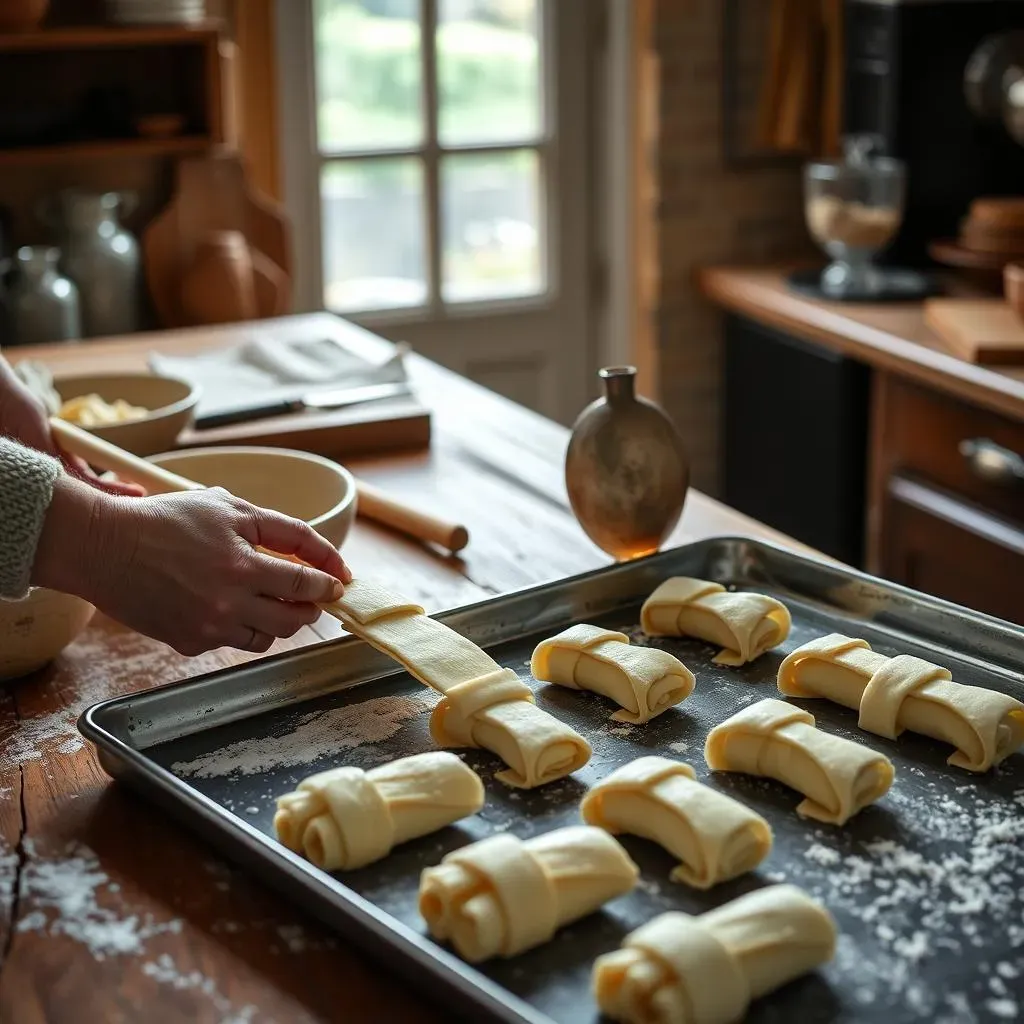
Unrolling the Potential: Preparing Your Puff Pastry
Alright, now that we've got that dreamy pastry cream chilling, let's talk about the puff pastry. This is where things get a little hands-on, but trust me, it's fun. You'll need a pack of store-bought puff pastry, usually found in the freezer section. Take it out and let it thaw for a bit, just enough so you can unfold it without it cracking. We're not looking for a soggy mess here, just pliable. Once it's ready, lightly dust your work surface with flour. This prevents the dough from sticking and makes it easier to work with. Now, gently unfold the pastry and get ready to transform it.
The next step is all about precision. Using a sharp knife or a pizza cutter, cut the puff pastry into strips. You want them to be about an inch wide and around 4-5 inches long. These will be the basis of our Cannoncini shells. Don’t worry if they aren't perfectly identical, we're going for rustic charm, not robot-made perfection. Now, grab your metal cannoli tubes. If you don't have cannoli tubes, you can use aluminum foil shaped into tubes. Just make sure they are sturdy enough to hold their shape during baking. Lightly grease them with a bit of butter or cooking spray. This will ensure the pastry slides off easily after baking. We're almost there, just a little bit more to go!
Forming the Shells: Wrapping and Baking
Step | Description |
|---|---|
1. Thaw | Let the puff pastry thaw slightly until pliable. |
2. Cut | Cut into strips, about 1 inch wide and 4-5 inches long. |
3. Wrap | Wrap each strip around a greased cannoli tube, slightly overlapping the edges. |
4. Bake | Bake at 200°C (400°F) for 15-20 minutes, or until golden brown. |
Start wrapping each pastry strip around a greased cannoli tube, slightly overlapping the edges. This will create a nice seal and ensure that the pastry doesn't unravel while baking. Place the wrapped tubes onto a baking sheet lined with parchment paper. This will help prevent the pastries from sticking and make cleanup a breeze. Now, pop them into a preheated oven at 200°C (400°F). The baking time is usually around 15-20 minutes, but keep an eye on them. You want them to turn a beautiful golden brown and be perfectly crisp. It’s like watching a caterpillar turn into a butterfly, but in this case, it’s a pastry transforming into a delicious shell.
Once they're golden brown, take them out of the oven and let them cool slightly before carefully sliding the metal tubes out. Be patient here, you don't want to damage your precious shells. If you used foil, carefully remove them. Let the pastry shells cool completely on a wire rack. This is crucial because if you try to fill them while they're still warm, they might get soggy. We're aiming for that perfect contrast of crisp shell and creamy filling. We're making progress, soon they will be ready to eat!
Assembling Your Italian Puff Pastry Dessert
Assembling Your Italian Puff Pastry Dessert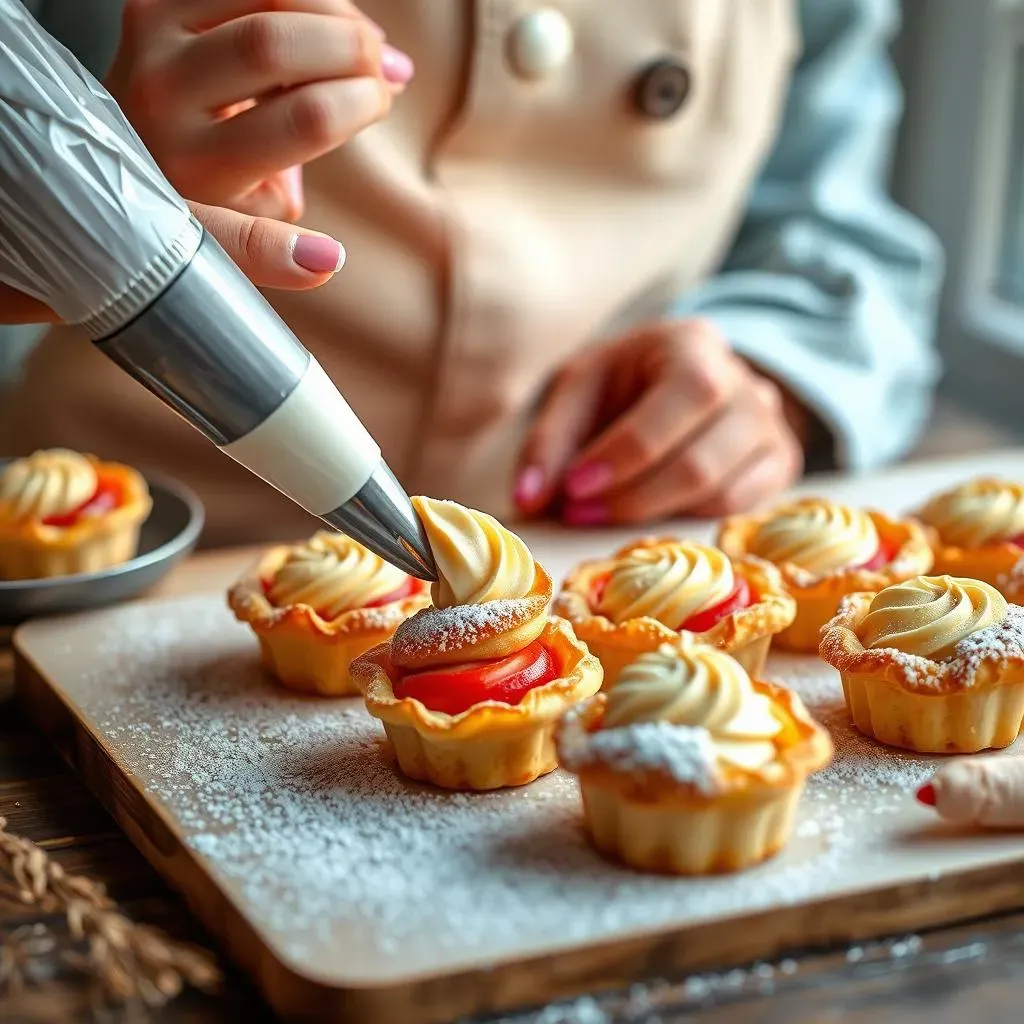
The Art of Filling: Bringing It All Together
Okay, so we've got our crispy shells and our luscious pastry cream. Now for the fun part: putting them together. It's like the final act of a play, where everything comes together beautifully. Grab your cooled pastry cream and give it a gentle stir. It should be smooth and creamy, almost like a thick pudding. If it seems a little too thick, you can add a splash of milk or cream to loosen it up a bit. But be careful not to make it too runny. We want it to hold its shape inside the pastry.
Now, take a piping bag and fit it with a star tip. If you don’t have a piping bag, a zip-top bag with a corner snipped off works great too. Fill the bag with your pastry cream. It’s like loading a paint gun, but instead of paint, we're using deliciousness. Carefully pipe the cream into each of the cooled pastry shells, filling them generously. You want each bite to be a burst of creamy goodness. Don’t be shy, load them up! It’s a bit like filling a tiny boat with treasure, each one gets a precious load.
Step | Description |
|---|---|
1. Prepare | Ensure the pastry cream is smooth and not too thick. |
2. Fill | Load a piping bag with pastry cream. |
3. Pipe | Carefully pipe the cream into the cooled pastry shells. |
4. Dust | Lightly dust with icing sugar for a final touch. |
Finishing Touches: The Final Flourish
Once your Cannoncini are filled, it's time for the final touch. This is where you add that little bit of extra magic. Take a fine-mesh sieve and lightly dust the filled pastries with icing sugar. It’s like a gentle snowfall, making them look even more inviting. The icing sugar not only adds a touch of sweetness but also makes them look absolutely stunning. It’s the equivalent of adding a frame to a beautiful painting, it just elevates the whole thing. It's a small detail but makes a big difference.
And there you have it, your homemade Cannoncini, ready to be devoured. These aren't just pastries; they're a labor of love. Each step, from making the cream to shaping the shells, has led to this moment. They’re perfect for an afternoon treat, a special occasion, or just when you want something delicious. Now, it's time to share the joy or, you know, keep them all for yourself. I won't judge, I promise. But really, they are best enjoyed fresh, so don't let them sit for too long. Time to enjoy your hard work.
Serving and Enjoying Your Homemade Italian Treat
Serving and Enjoying Your Homemade Italian Treat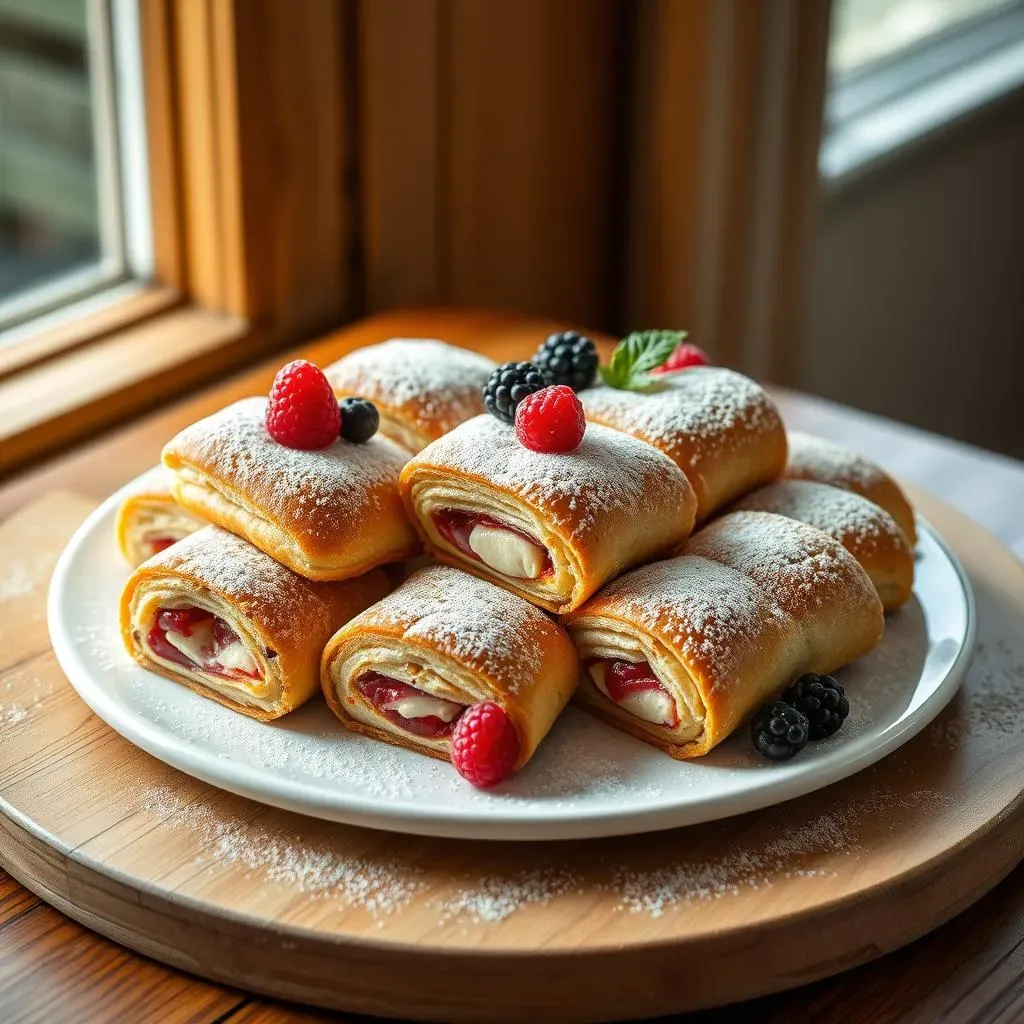
The Perfect Presentation: Setting the Stage
Alright, so you’ve created these beautiful Cannoncini, now it's time to show them off! Presentation is key when it comes to making your hard work shine. Think about how you want to arrange them. A simple platter works great, or if you're feeling fancy, a tiered cake stand can add a touch of elegance. It’s like giving your pastries their own little stage. You can also sprinkle some extra icing sugar on the platter for a snowy effect, or even add some fresh berries for a pop of color. Remember, we eat with our eyes first, so make it look as good as it tastes.
Consider the occasion too. Are these for a casual afternoon treat, or a special celebration? If it's a party, you might want to arrange them in a way that's easy for people to grab. Maybe a single layer on a long platter. For a more intimate setting, a smaller, decorative plate works wonders. And don't forget the drinks! A nice cup of coffee or a glass of sweet dessert wine can perfectly complement these pastries. It's all about creating a whole experience, not just serving a dessert. It’s like creating a little moment of joy.
Savoring the Flavor: The Taste Test
Serving Suggestion | Why it Works |
|---|---|
With Coffee | The bitterness of coffee balances the sweetness of the pastry. |
With Dessert Wine | Enhances the richness of the pastry cream. |
With Fresh Berries | Adds a refreshing contrast to the creamy filling. |
On a Tiered Stand | Creates an elegant presentation for special occasions. |
The Joy of Sharing: Making Memories
Now, the moment we've all been waiting for: the taste test! Take a bite and let the flavors dance on your tongue. The crispness of the shell, the smoothness of the cream, it’s a symphony of textures and tastes. And remember, these are best enjoyed fresh, so don't wait too long to dig in. Sharing these with friends and family is a great way to make memories. It's not just about the dessert, it's about the connections you make over good food.
Whether you're enjoying them after a big family meal or just treating yourself on a quiet afternoon, these Cannoncini are sure to bring a smile to your face. And who knows, maybe you'll even start a new family tradition, making these for every special occasion. After all, what’s better than a homemade treat made with love? So go ahead, take another bite, and enjoy the fruits of your labor. You deserve it. You've officially mastered the art of the Italian puff pastry dessert recipe!