Table of Contents
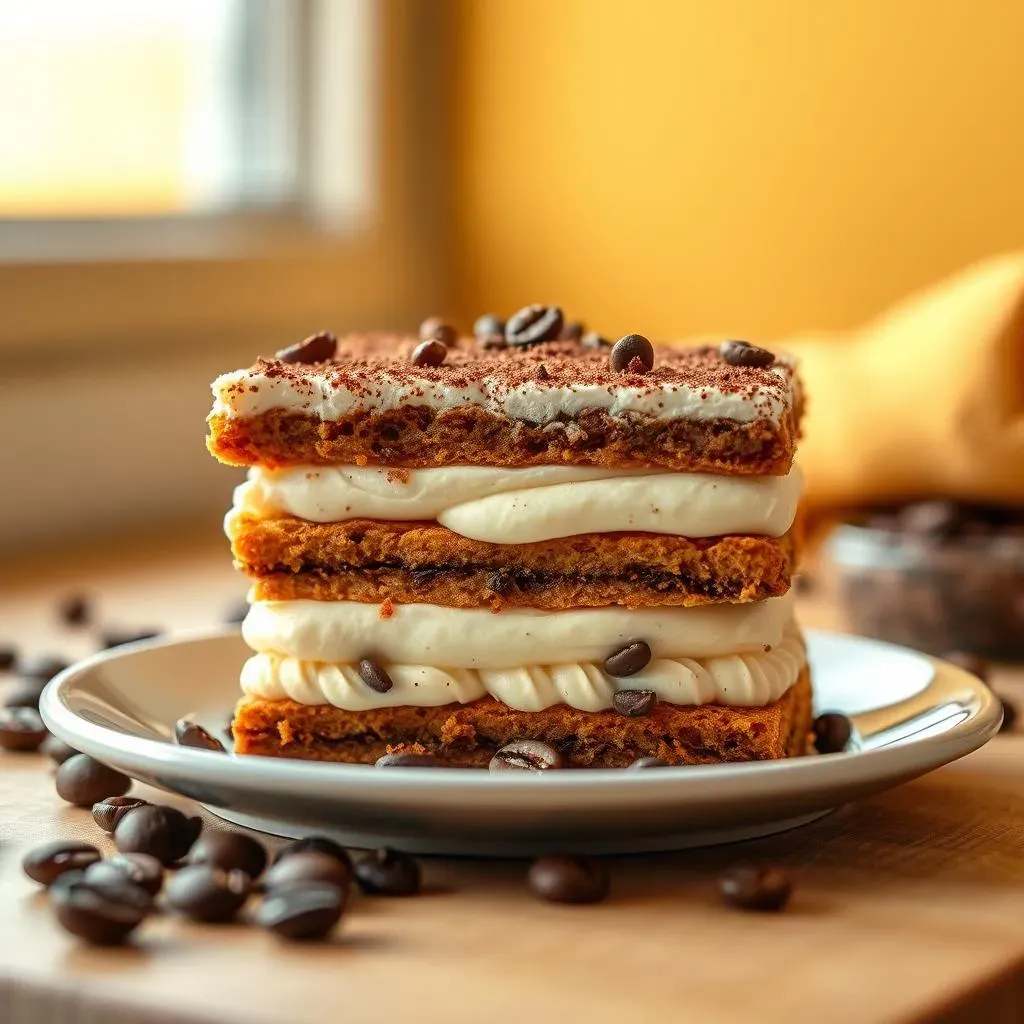
Tiramisu, that classic Italian dessert, is a symphony of coffee-soaked ladyfingers and creamy mascarpone. But what if you're avoiding gluten? Fear not! This article is your guide to creating a show-stopping gluten free tiramisu dessert recipe that tastes just as amazing, if not better, than the original. We're not just talking about a simple swap, we're going into the heart of what makes tiramisu so delicious, ensuring that each layer, from the delicate ladyfingers to the rich mascarpone, is perfectly crafted to be gluten-free without compromising on taste or texture. Get ready to learn why this recipe is a must-try, what key ingredients you'll need, how to assemble it step-by-step, and some pro tips to guarantee your gluten free tiramisu is a total success. Whether you're a seasoned baker or a kitchen newbie, prepare to indulge in a dessert that will impress everyone.
Why You'll Love This GlutenFree Tiramisu
Why You'll Love This GlutenFree Tiramisu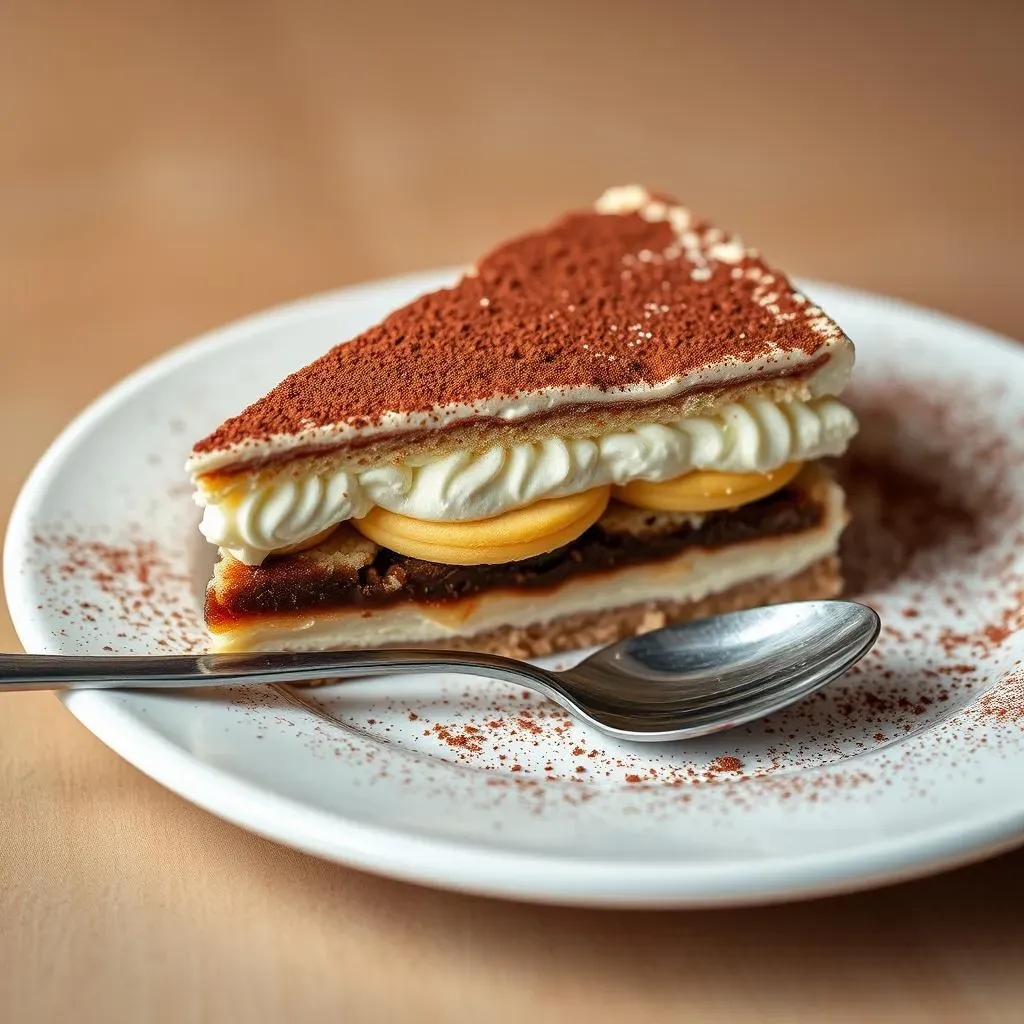
Okay, let's be real, most gluten-free versions of classic desserts can be a bit of a letdown. They’re either dry, crumbly, or just plain weird. But not this gluten-free tiramisu! This recipe isn’t just a passable alternative; it’s a celebration of all the things that make tiramisu amazing. We're talking about that dreamy, creamy mascarpone, the intense coffee flavor, and those delicate ladyfingers. It's the kind of dessert that you'll make for a special occasion, but secretly crave on a random Tuesday. It’s also a total crowd-pleaser, even for those who aren't gluten-free. You'll be amazed how closely it mimics the classic, and honestly, some might even prefer it.
Ingredients for the Best GlutenFree Tiramisu
Ingredients for the Best GlutenFree Tiramisu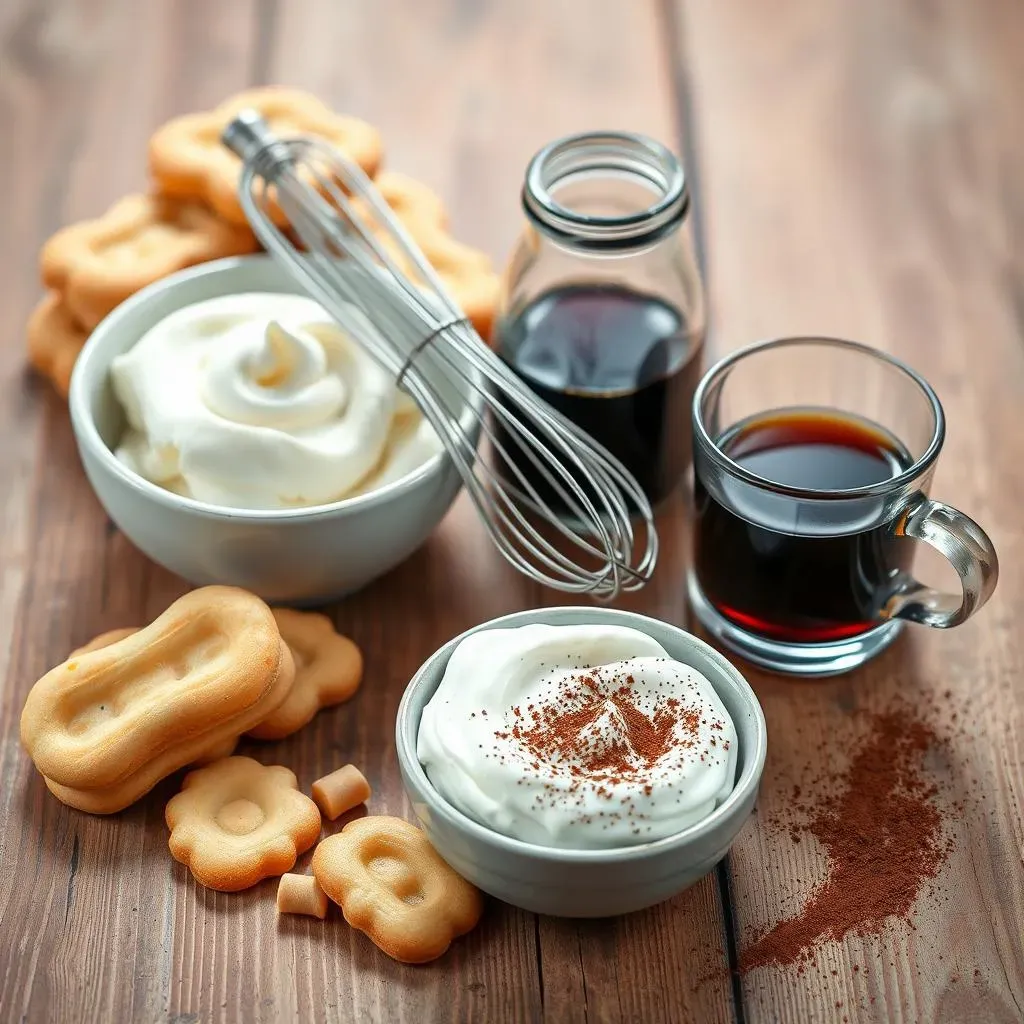
The Foundation: Gluten-Free Ladyfingers
Alright, let's talk ladyfingers. They are the unsung heroes of tiramisu, and going gluten-free doesn't mean we have to compromise on their delicate, spongey goodness. The key here is to either find a good store-bought option or make your own. If you're feeling ambitious, homemade gluten-free ladyfingers are totally worth it, and they’re not as hard as you might think. They are light, airy, and have that perfect texture to soak up the coffee. However, if you're short on time, there are some solid store-bought brands out there. Just make sure they're specifically labeled as gluten-free, or you'll end up with a tiramisu that isn't very gluten-free.
I’ve tried a few different brands, and honestly, some are better than others. Schar Savoiardi is a popular choice, but feel free to experiment. The goal is to get that light, slightly crisp texture that will hold its shape while still absorbing all the delicious coffee flavor. The ladyfingers create the structure of the tiramisu, making them the perfect foundation for the creamy layers to come. They're not just a vehicle for the coffee; they're an essential part of the overall experience.
The Creamy Heart: Mascarpone and More
Now for the star of the show: the mascarpone cream. This is where the magic happens, transforming simple ingredients into a luscious, cloud-like filling. You’ll need good quality mascarpone cheese, heavy cream, and a touch of sweetness, which usually comes from some sugar. A dash of vanilla extract elevates it, making the cream so good that you'll be tempted to eat it straight from the bowl. Some recipes call for eggs, but we're going to temper those yolks to make a custard base, which makes it safer and adds a smooth, rich texture. It's a bit of extra work, but trust me, it's worth it.
We're aiming for a velvety smooth texture that’s light yet satisfying. Don’t over-whip the cream, or it will become too stiff. We want a soft peak that holds its shape but still melts in your mouth. The mascarpone provides the richness, the heavy cream adds the lightness, and the vanilla gives it that comforting aroma. Together, these ingredients create the creamy heart that makes tiramisu so irresistible. It's the perfect contrast to the coffee-soaked ladyfingers.
Ingredient | Purpose | Notes |
|---|---|---|
Gluten-Free Ladyfingers | Base structure | Store-bought or homemade |
Mascarpone Cheese | Richness and creaminess | High-quality for best results |
Heavy Cream | Lightness and texture | Whip to soft peaks |
Sugar | Sweetness | Granulated or powdered |
Vanilla Extract | Flavor enhancement | Pure vanilla extract is recommended |
Espresso or Strong Coffee | Soaking liquid for ladyfingers | Freshly brewed is best |
The Flavor Boost: Coffee and Alcohol
Let’s not forget the liquid gold that brings it all together: coffee. We're talking about strong brewed espresso or coffee, the kind that wakes you up just by smelling it. This isn't the place for weak, lukewarm coffee. It needs to be bold and intense, because it is what is going to soak into those ladyfingers, giving them a wonderful flavor. Some people like to add a splash of alcohol, like Marsala wine or Kahlúa, which adds a deeper dimension of flavor and a touch of warmth. It's a great addition, but feel free to skip it if you prefer a non-alcoholic version.
The coffee isn’t just about flavor; it's about texture too. It softens the ladyfingers, making them almost melt in your mouth. The alcohol, if you choose to add it, enhances the coffee notes and adds a subtle complexity. This soaking step is crucial; you don’t want the ladyfingers too soggy, but you also want them to absorb enough liquid to become tender. It’s a delicate balance, but with a little practice, you'll get it just right. It's what takes the tiramisu from good to unforgettable.
The Finishing Touch: Cocoa Powder
Lastly, we have the finishing touch: a dusting of cocoa powder. It adds a touch of bitterness that balances the sweetness of the cream. Plus, it makes the tiramisu look so elegant and professional. Use a good quality unsweetened cocoa powder. It makes a difference. Don’t be shy about it; a generous dusting is what you want. It’s not just about looks; it's about that little hint of chocolate that brings everything together.
Think of it like the final brushstroke on a masterpiece. It completes the dish and adds depth to the flavor profile. The cocoa powder contrasts beautifully with the creamy layers and the coffee-soaked ladyfingers. It’s that final touch that elevates the tiramisu from delicious to truly exceptional. It's the perfect way to finish this incredible dessert.
How to Make GlutenFree Tiramisu: StepbyStep
How to Make GlutenFree Tiramisu: StepbyStep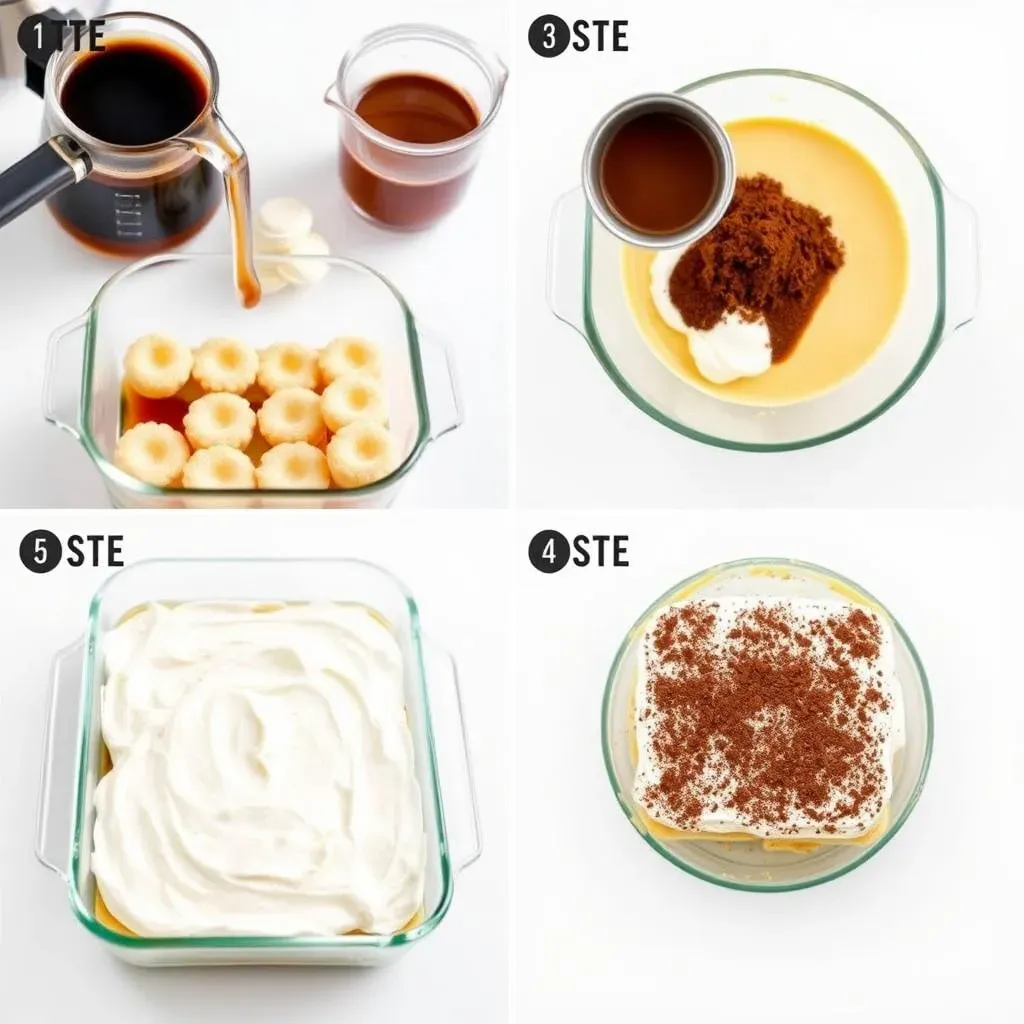
Alright, let’s get down to business. Making gluten-free tiramisu isn’t rocket science, but it does require a little bit of patience and attention to detail. First things first, you’ll need to brew your espresso or strong coffee and let it cool down a bit. While that’s happening, it’s time to tackle the mascarpone cream. If you are using eggs, in a heat-proof bowl, whisk together the egg yolks and sugar, then place the bowl over a simmering pot of water (making sure the bottom of the bowl doesn't touch the water). Whisk constantly until the mixture thickens and becomes pale yellow, then remove from the heat and let it cool slightly. In another bowl, whip your heavy cream until you get those soft peaks, and in a separate bowl, mix the mascarpone cheese with the cooled egg yolk mixture (if using) and vanilla extract until smooth. Gently fold in the whipped cream until everything is well combined.
Now, for the fun part, the assembly! Take a shallow dish or a baking pan, and quickly dunk each gluten-free ladyfinger into the cooled coffee mixture, making sure they are soaked but not soggy. Arrange them in a single layer in your dish. Next, spread half of the mascarpone cream evenly over the ladyfingers. Repeat with another layer of coffee-soaked ladyfingers and the remaining mascarpone cream. Finally, dust the top generously with unsweetened cocoa powder. Cover the dish with plastic wrap and refrigerate for at least 4 hours, or even better, overnight. This allows the flavors to meld together and the tiramisu to set properly. Before serving, give it another light dusting of cocoa powder, and there you have it: a truly irresistible gluten-free tiramisu.
Step | Action | Notes |
|---|---|---|
1 | Brew coffee | Let it cool |
2 | Prepare mascarpone cream | Whisk eggs (if using), whip cream, combine |
3 | Soak ladyfingers | Quickly dunk in coffee |
4 | Layer ingredients | Ladyfingers, cream, repeat |
5 | Dust with cocoa | Generously coat the top |
6 | Refrigerate | At least 4 hours or overnight |
Tips for a Perfect GlutenFree Tiramisu Dessert Recipe
Tips for a Perfect GlutenFree Tiramisu Dessert Recipe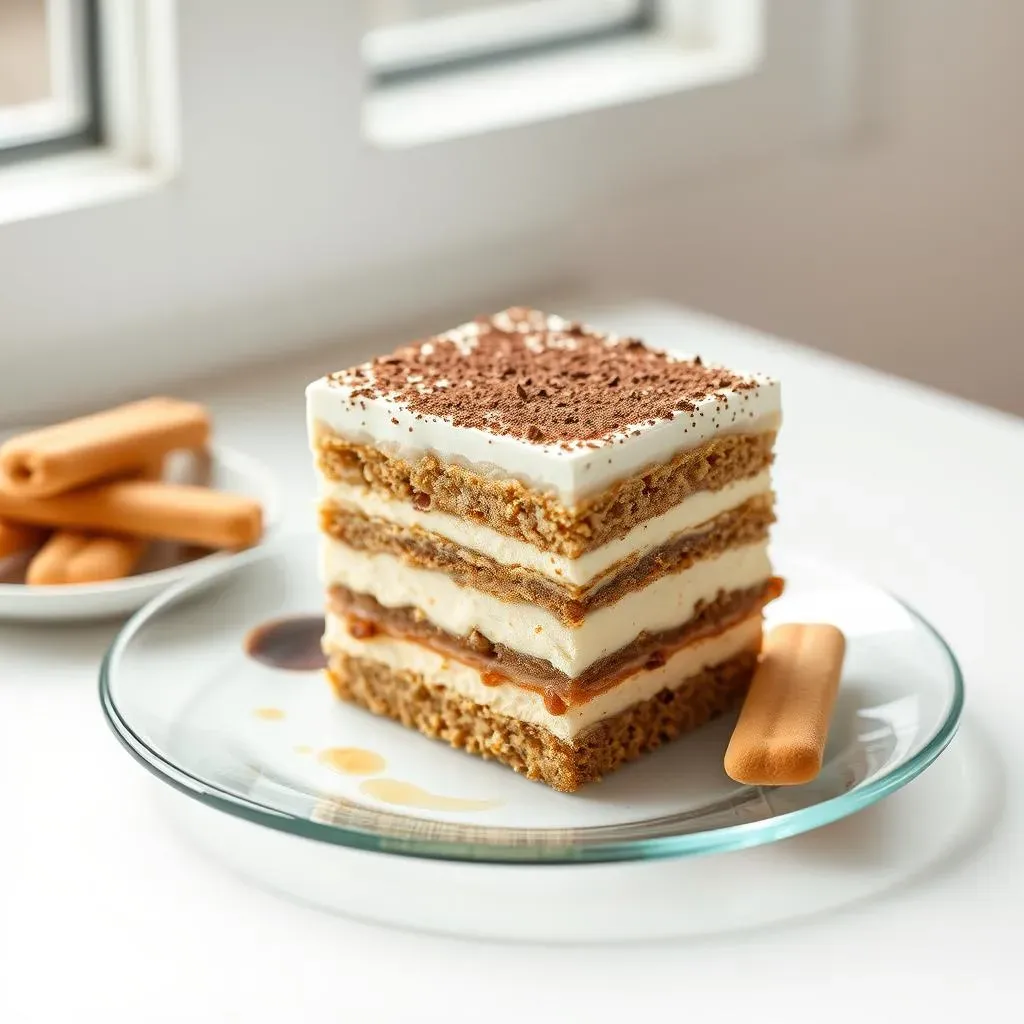
The Ladyfinger Dunk
Okay, let's talk about the ladyfingers. The dunking process is critical, and it's where many people go wrong. You want them to be nicely soaked but not completely soggy. Imagine a sponge – you want it to absorb the water, not become a waterlogged mess. The key is speed. Don't let the ladyfingers linger in the coffee. A quick dip, a flip, and out they go. Think of it like a quick swim, not a long bath. If they’re in there too long, they'll fall apart, and you’ll end up with a mushy tiramisu. Trust me, nobody wants that. I've learned this the hard way more than once.
Also, the temperature of the coffee matters. Make sure it's cooled down a bit before you start dunking. Hot coffee will just make the ladyfingers break down faster. It’s like trying to put ice cream in a hot bath – it’s just not going to work. So, let the coffee cool down, grab those ladyfingers, and get dunking. A quick in and out, that’s the trick, and you'll be well on your way to tiramisu perfection. It’s all about the technique, not the soak time.
The Chilling Game
Now, once you’ve assembled all those beautiful layers, the hardest part begins: waiting. The chilling time is not just a suggestion; it’s essential. This is where the magic really happens. Think of it like marinating a steak; the flavors need time to meld together and the tiramisu to set properly. If you try to dig in too soon, you'll end up with a soupy mess, and all your hard work will be for nothing. I’ve been guilty of this, and trust me, patience is key.
Ideally, you want to chill it for at least four hours, but overnight is even better. This gives the ladyfingers time to soften, the cream to firm up, and all those flavors to become best friends. It's like a good wine; it gets better with age. So, cover your tiramisu with plastic wrap, tuck it into the fridge, and try to forget about it for a few hours. It’s a test of willpower, but the reward is so worth it. When you finally take that first bite, you’ll understand why the wait was absolutely crucial.
Tip | Why it Matters |
|---|---|
Quick Ladyfinger Dunk | Prevents sogginess |
Cooled Coffee | Keeps ladyfingers intact |
Proper Chilling Time | Allows flavors to meld and tiramisu to set |