Table of Contents
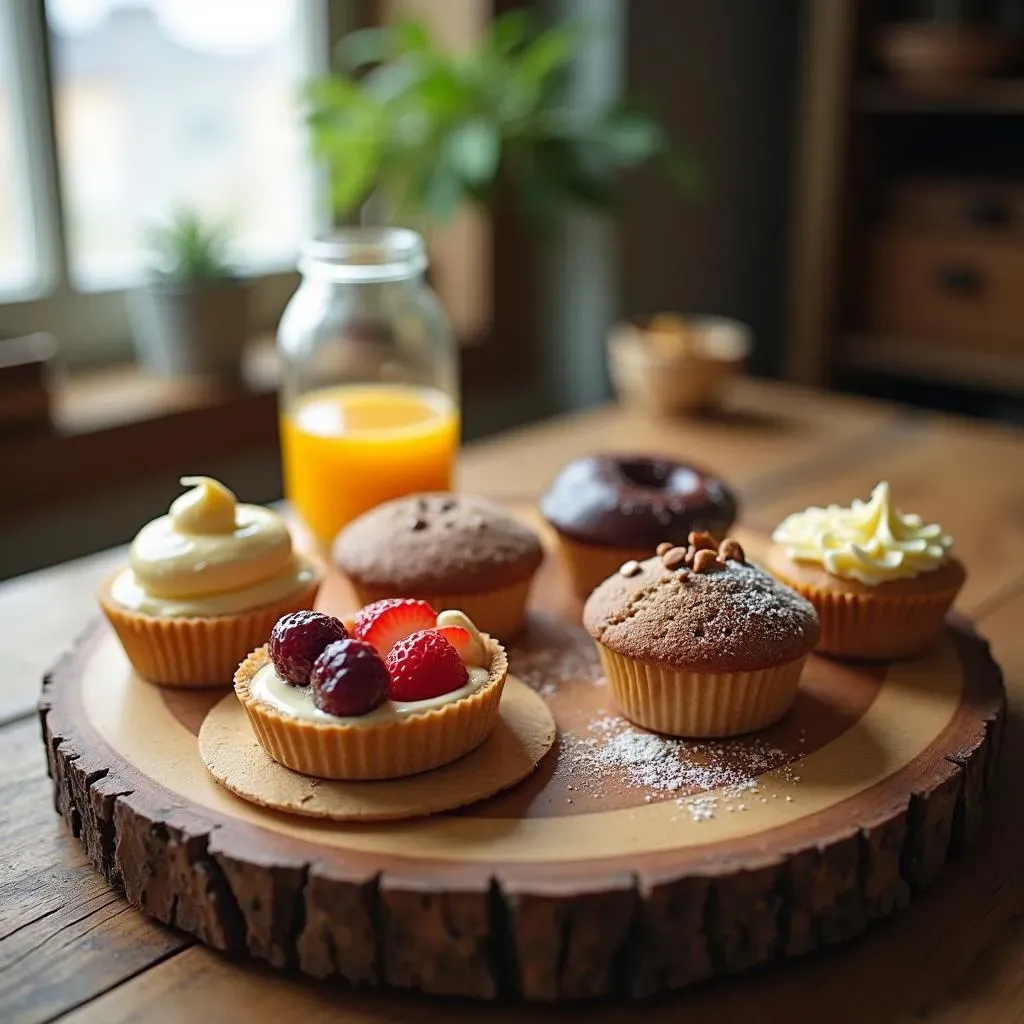
Are you tired of feeling guilty after indulging in a sweet treat? Do you love desserts but need to watch your blood sugar and avoid gluten? Well, you're in the right place! This article is your guide to enjoying deliciousness without the worry. We're diving into the world of gluten free low glycemic dessert recipes, where you can have your cake (or cookie, or brownie) and eat it too. Forget those bland, restrictive diet desserts. I am going to show you how to create treats that are both satisfying and good for you. I'll cover the basics of gluten-free and low-glycemic baking, sharing essential ingredients and some easy recipes that you can start making today. Then, I'll give you some tips and tricks to make sure your creations come out perfectly every time. So, get ready to transform your dessert game with these simple, healthy, and truly amazing recipes. Let's get baking!
Understanding GlutenFree and Low Glycemic Baking
Understanding GlutenFree and Low Glycemic Baking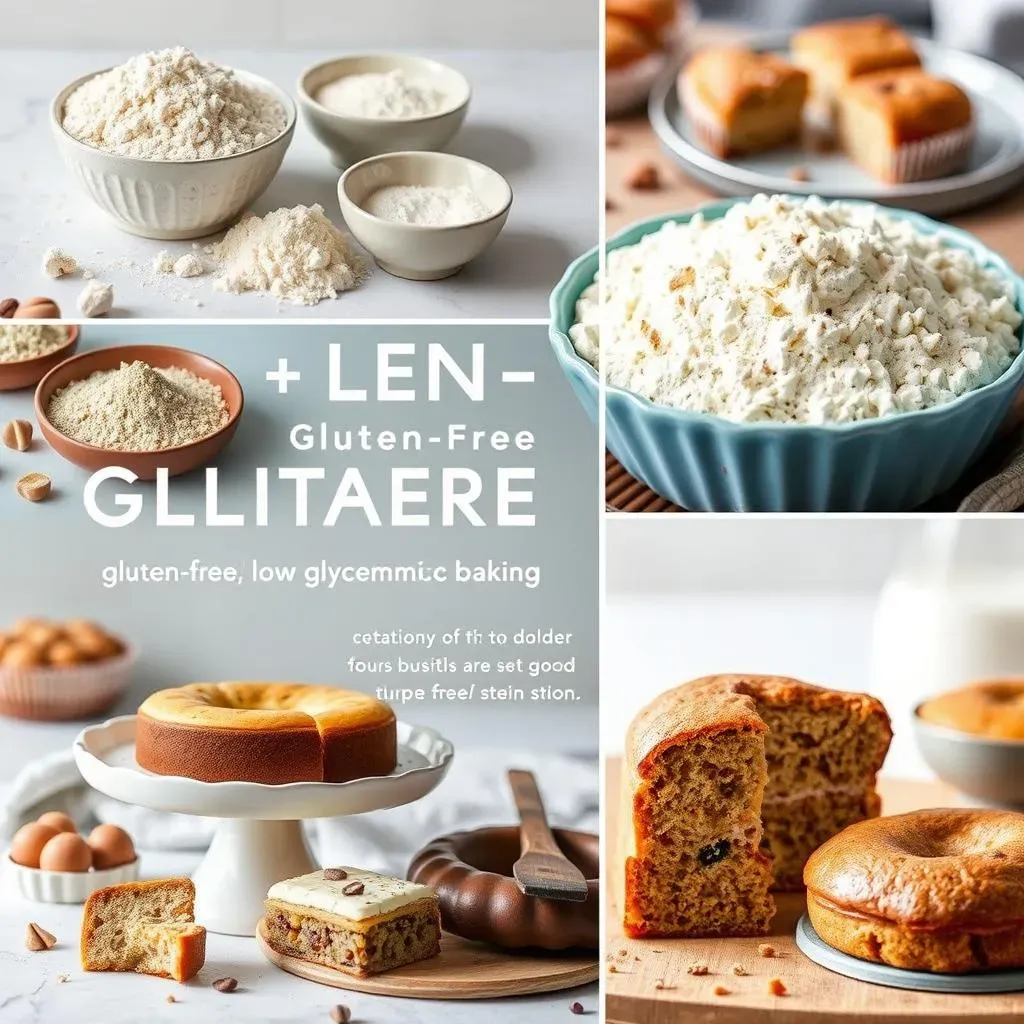
So, you're curious about gluten-free and low glycemic baking, huh? It's like entering a whole new world of dessert making, but trust me, it's not as scary as it sounds. Let's break it down. Gluten, that sticky protein found in wheat, barley, and rye, can cause problems for some folks, leading to digestive issues and other not-so-fun symptoms. Going gluten-free means skipping those grains and using alternatives like almond flour, coconut flour, or even oat flour (make sure it's certified gluten-free, though!). On the other hand, low glycemic refers to how quickly a food raises your blood sugar. High glycemic foods, like white bread and sugary treats, cause a rapid spike, followed by a crash. Low glycemic foods, like berries and whole grains, release sugar more slowly, giving you steady energy. When we combine these two ideas, we get desserts that are gentler on your system and still totally delicious! It's all about making smart swaps and understanding how different ingredients affect your body.
Essential Ingredients for GlutenFree Low Glycemic Desserts
Essential Ingredients for GlutenFree Low Glycemic Desserts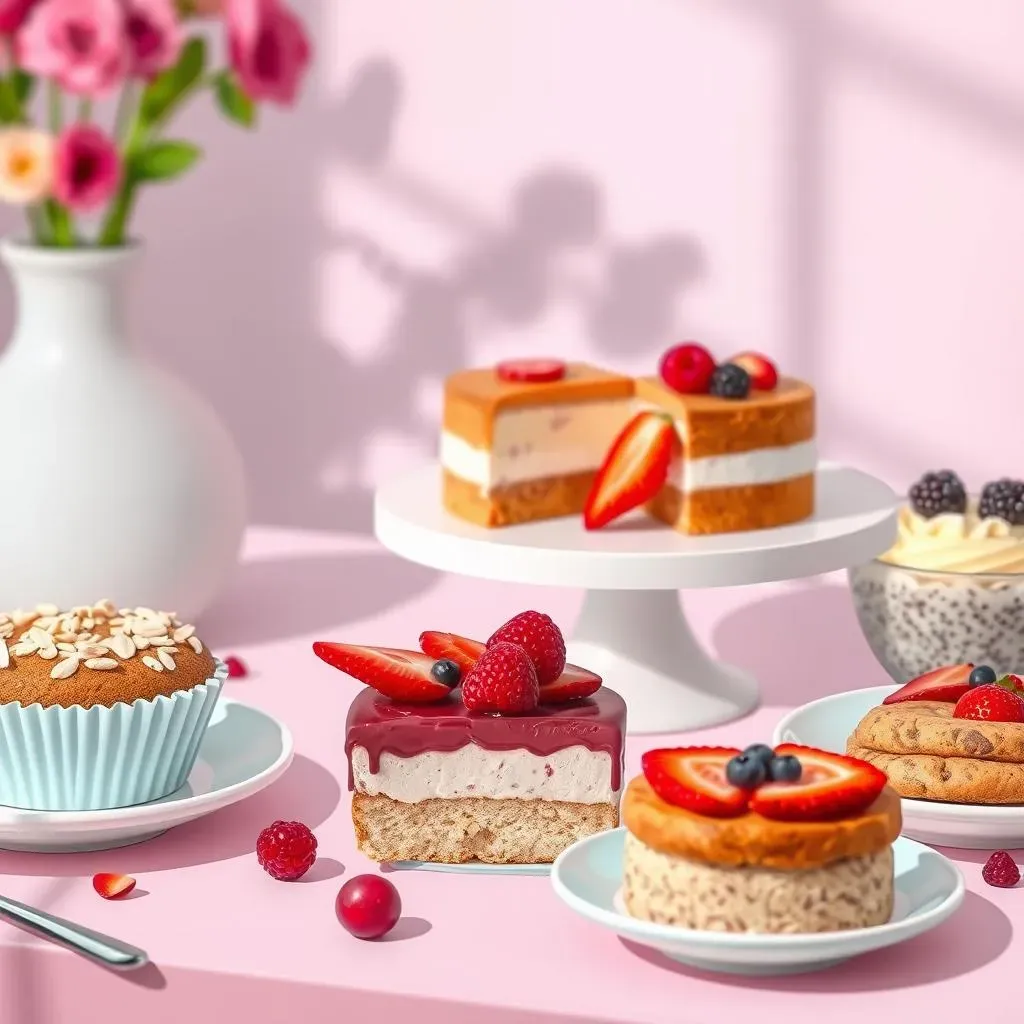
Flour Power: The Gluten-Free Alternatives
Okay, so ditching wheat flour is the first step. But what do you use instead? Don't worry, there are tons of great options. Almond flour is a superstar, made from ground almonds, it adds a nutty flavor and is packed with healthy fats. Coconut flour is another popular choice; it's super absorbent, so you need less of it, and it gives a slightly sweet taste. Then there's oat flour, which is fantastic for adding a bit of chewiness – just make sure it’s certified gluten-free to avoid any cross-contamination. These flours aren't one-to-one replacements for wheat flour, so you’ll need to tweak your recipes a bit, but the results are totally worth it.
I remember the first time I tried baking with almond flour. I was making cookies, and they came out so soft and delicious. I’m never going back to regular flour for those.
Sweetness Without the Spike: Low Glycemic Sweeteners
Next up, let's tackle sugar. Refined white sugar is a big no-no when you're aiming for low glycemic. Instead, let's explore some better options. Coconut sugar is a great pick; it has a lower glycemic index than regular sugar and a lovely caramel-like flavor. Stevia is another one, a plant-based sweetener that's super low in calories and doesn't affect blood sugar much at all. Then you have erythritol, which is a sugar alcohol, also very low on the glycemic index, and it doesn’t have the weird aftertaste some artificial sweeteners have. I like using a combo of coconut sugar and a touch of stevia in my recipes to get the perfect sweetness without the sugar crash.
Binders and Beyond: Other Essential Ingredients
Now, let's talk about the other essential ingredients that make our desserts come together. Eggs are often used as binders, but if you're vegan or have egg allergies, you can use flax eggs (ground flaxseed mixed with water) or chia eggs (chia seeds mixed with water). These act as great substitutes. For fats, think healthy options like coconut oil, almond butter, or even avocado. They provide moisture and add richness. Then, don't forget spices like cinnamon, nutmeg, and vanilla extract, they add depth and flavor. A pinch of salt can enhance the sweetness and balance the flavors too. And of course, baking powder, or baking soda are your leavening agents that helps our desserts rise.
I once tried making a cake without any binder, and it was a disaster. It just crumbled apart. Now, I always make sure to have my flax eggs ready to go!
Easy and Delicious GlutenFree Low Glycemic Dessert Recipes
Easy and Delicious GlutenFree Low Glycemic Dessert Recipes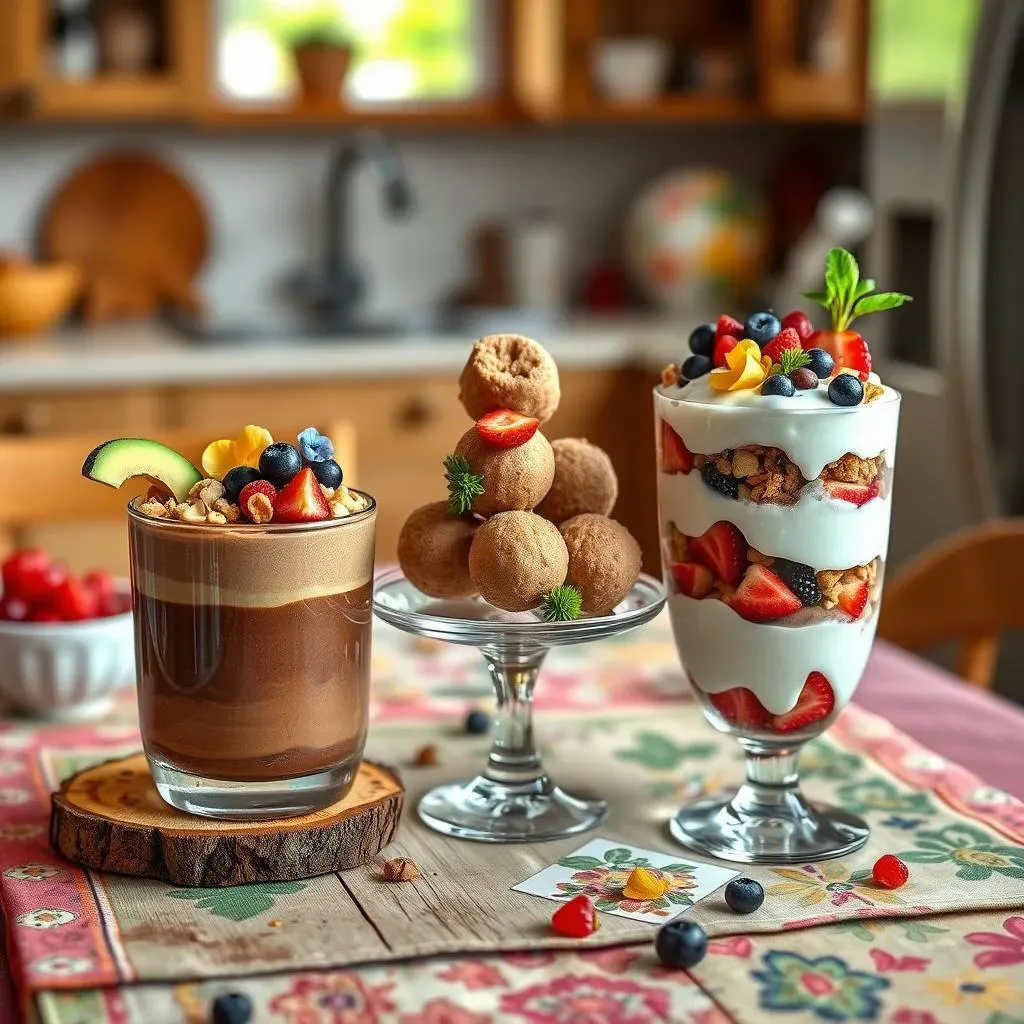
Quick & Easy Chocolate Avocado Mousse
Okay, let’s start with something super simple yet incredibly decadent. This chocolate avocado mousse is a game-changer. I know, I know, avocado in a dessert? Trust me on this one. It adds a creamy texture, and you won't even taste it. All you need is ripe avocados, cocoa powder, your low-glycemic sweetener of choice (I like stevia or erythritol), a splash of almond milk, and a dash of vanilla extract. Throw everything into a blender, whiz it up until smooth, and voila! You have a rich, chocolatey mousse that’s actually good for you. It's the perfect dessert when you want something quick and satisfying without any fuss.
I remember when I first made this for my friend, they looked at me like I was crazy when I said it had avocado in it, but after one bite they were hooked.
Ingredients:
- 2 ripe avocados
- 1/4 cup cocoa powder
- 1/4 cup low-glycemic sweetener
- 1/4 cup almond milk
- 1 tsp vanilla extract
No-Bake Peanut Butter Energy Balls
Next up, let's talk about energy balls. These are perfect for a quick snack or a little treat after a workout. They’re super easy to make – no baking required! Grab some gluten-free rolled oats, natural peanut butter (or any nut butter you love), a low-glycemic sweetener like coconut sugar or stevia, some chia seeds for extra fiber, and a sprinkle of cinnamon. Mix everything together, roll them into bite-sized balls, and pop them in the fridge to firm up. They’re chewy, satisfying, and packed with good stuff. I like to add some dark chocolate chips to mine for an extra treat.
Ingredients:
- 1 cup gluten-free rolled oats
- 1/2 cup natural peanut butter
- 1/4 cup low-glycemic sweetener
- 2 tbsp chia seeds
- 1 tsp cinnamon
- Optional: dark chocolate chips
These are great to make with kids, they love rolling the balls!
Berry Nice Coconut Yogurt Parfait
Finally, let's make a beautiful and refreshing parfait. This one is perfect for breakfast, a snack, or even a light dessert. Layer some unsweetened coconut yogurt (or your favorite dairy-free yogurt) with mixed berries like blueberries, raspberries, and strawberries. Sprinkle some chopped nuts like almonds or walnuts for a bit of crunch and healthy fats. You can drizzle a tiny bit of maple syrup or honey, but it's often sweet enough with just the berries. The combination of creamy yogurt, juicy berries, and crunchy nuts is just divine. I love how easy it is to customize this one with whatever fruit you have on hand.
Ingredients:
- 1 cup unsweetened coconut yogurt
- 1 cup mixed berries
- 1/4 cup chopped nuts
- Optional: drizzle of maple syrup or honey
This is a great option for a quick and healthy dessert, or even a post-workout snack!
Tips and Tricks for Perfect GlutenFree Low Glycemic Treats
Tips and Tricks for Perfect GlutenFree Low Glycemic Treats
Alright, so you've got the basics down, but how do you make sure your gluten-free low-glycemic treats turn out amazing every single time? It's all about the details, my friend. First off, precision is key when it comes to measuring your ingredients. Gluten-free flours behave differently than wheat flour, so using a kitchen scale for accuracy is a game-changer. Also, don't be afraid to experiment with different combinations of flours to find what you like best. I've found that a mix of almond and coconut flour gives a great texture. Another tip, always let your batter or dough rest for a bit before baking, it will help the flours hydrate and prevent your treats from being too crumbly. And finally, watch your oven temperature, gluten-free baked goods tend to brown faster, so keep an eye on them and don't overbake. Trust me, these little things can make a big difference.
I remember once I forgot to let my dough rest before baking, the result was a crumbly mess, I learned my lesson that day.
Temperature is also your best friend when baking, especially with gluten-free and low-glycemic ingredients. Make sure your eggs and any dairy-free alternatives are at room temperature. This helps them mix more evenly into the batter, resulting in a better texture and rise. Also, when using low-glycemic sweeteners, remember that some of them don't melt or caramelize the same way regular sugar does, so keep an eye on the browning process. And finally, don't be afraid to do a toothpick test to check for doneness, a clean toothpick means your baked good is ready, even if it doesn't look super brown. It is better to underbake than overbake, especially with gluten-free recipes. I always keep a thermometer handy to make sure my oven is at the right temperature, it makes a big difference in the results.
I once thought my cake was ready, but when I cut into it, it was still gooey, now I always do the toothpick test!
Tip | Why it Matters |
|---|---|
Use a Kitchen Scale | Ensures accurate measurements |
Rest Your Dough | Helps flours hydrate, prevents crumbly texture |
Room Temperature Ingredients | Mix better and create better texture |
Toothpick Test | Check for doneness, prevent overbaking |
And hey, don't stress too much about perfection, baking is a journey, not a destination. Sometimes things don’t go as planned, and that’s okay. The important thing is to keep experimenting and learning. I like to keep notes on what works and what doesn't, this way I can refine my recipes over time. Also, don't be afraid to ask for help or look for inspiration online. There are tons of resources out there, and the gluten-free low-glycemic community is super supportive. And finally, most importantly, have fun with it! Baking should be enjoyable, so put on some music, grab your apron, and get creative. The more you bake, the better you'll become, and the more delicious treats you'll have to enjoy!
I remember the first time I tried to make a gluten-free cake, it was a total disaster, but I didn't give up, and now I can make amazing gluten-free desserts!
Lastly, let’s talk about storage. Gluten-free treats can dry out faster than regular ones, so proper storage is essential. I always store my baked goods in an airtight container at room temperature, and if you live in a humid environment, add a piece of bread or a paper towel to the container to absorb extra moisture. For things like mousse or parfaits, they should be stored in the fridge, and make sure they are consumed within a couple of days, they are best when fresh! Also, if you are not going to consume them soon, you can always freeze your baked goods, wrap them tightly in plastic wrap, and store them in a freezer-safe bag, they will last for a couple of months. When ready to eat, thaw them at room temperature, and they'll be almost as good as fresh!
I once had a cake that I left out on the counter, it was so dry the next day, I learned my lesson and now I always store my baked goods properly.
- Store baked goods in an airtight container.
- Add bread or paper towel to absorb moisture.
- Store mousse and parfaits in the fridge.
- Freeze baked goods for longer storage.