Table of Contents
Let's face it, finding a truly delicious gluten-free cake can feel like searching for a unicorn. But what if I told you that you could bake a light, fluffy, and utterly divine Victoria sponge, completely free of gluten? Yes, it's possible! This isn't just another gluten-free cake recipe; it's the ultimate, the "best ever" gluten free cake recipe victoria sponge. We're about to embark on a baking adventure that will not only satisfy your sweet tooth but also impress your friends and family (even the ones who aren't gluten-free). Prepare to be amazed as we walk through each step, from gathering your ingredients to the final flourish of icing sugar. We'll explore why this recipe works so well, offer some pro tips to ensure your bake is perfect, and discuss how to keep your cake fresh (if it lasts that long!). So, grab your apron, preheat your oven, and let's get baking!
Why this GlutenFree Victoria Sponge Cake Recipe is a Game Changer
Why this GlutenFree Victoria Sponge Cake Recipe is a Game Changer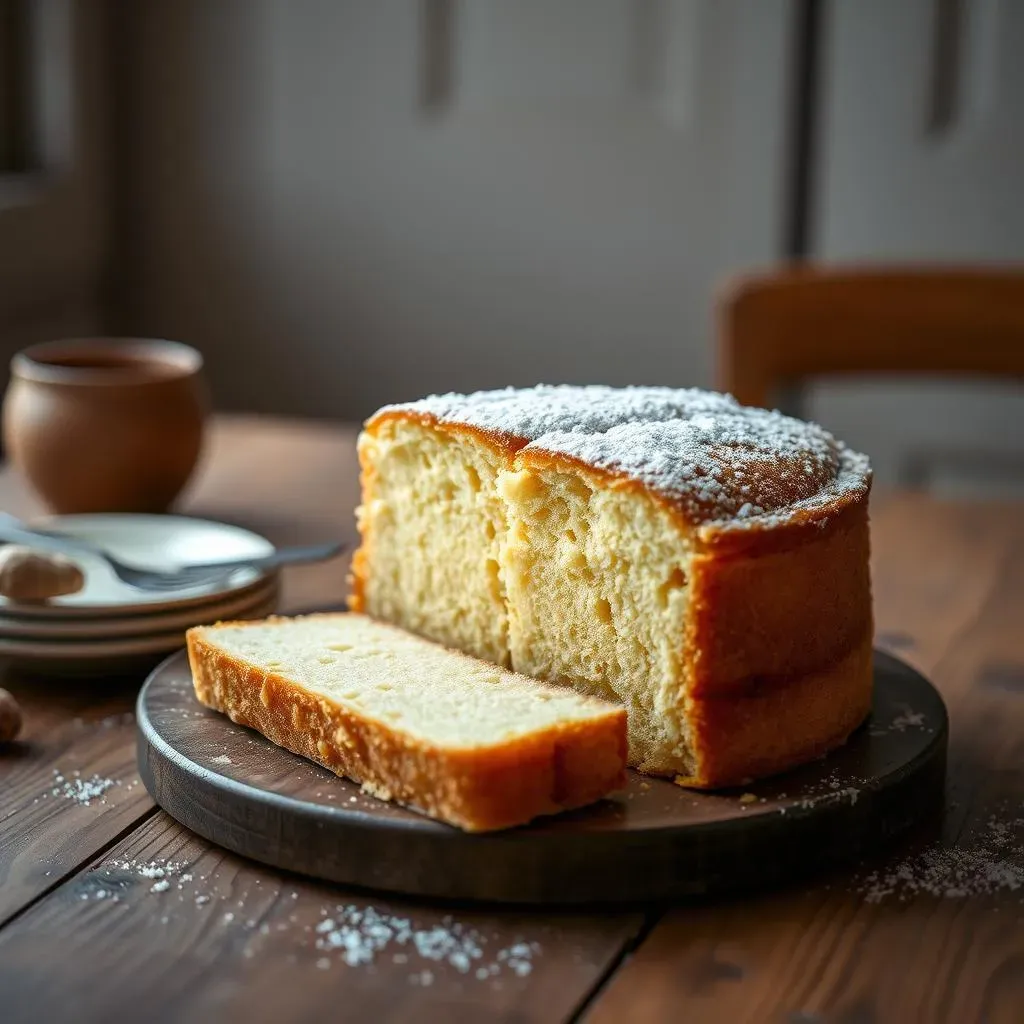
The Gluten-Free Dilemma
Let's be honest, many gluten-free baked goods are...well, disappointing. They're often dry, dense, and taste like cardboard. This recipe throws all of that out the window. It's not just about removing gluten; it’s about creating a cake that's every bit as good, if not better, than its traditional counterpart. We're talking about a sponge that's light, airy, and has that perfect melt-in-your-mouth texture. It’s the kind of cake that makes you forget it's even gluten-free, which, let’s be real, is the highest compliment we can give any gluten-free recipe.
Forget those sad, crumbly attempts at gluten-free baking. This recipe uses a smart blend of ingredients and a simple method to achieve a texture that's spot-on. I'm talking about a cake that actually has some spring to it, a delightful crumb, and doesn't crumble into a million pieces the moment you try to slice it. It’s a recipe that’s been tested and tweaked to ensure that you get a perfect bake every time. It's a game changer because it proves that gluten-free doesn't have to mean flavor-free or texture-free. It means you can have your cake, and eat it too, without any compromises!
Key Advantages of This Recipe
- Texture: Achieves a light, airy, and moist crumb.
- Taste: Delicious flavor that rivals traditional Victoria sponge.
- Simplicity: Easy-to-follow method, even for beginner bakers.
- Reliability: Consistent results, every time.
- Inclusivity: Perfect for those with gluten sensitivities and anyone who loves good cake.
Making Your GlutenFree Victoria Sponge: StepbyStep
Making Your GlutenFree Victoria Sponge: StepbyStep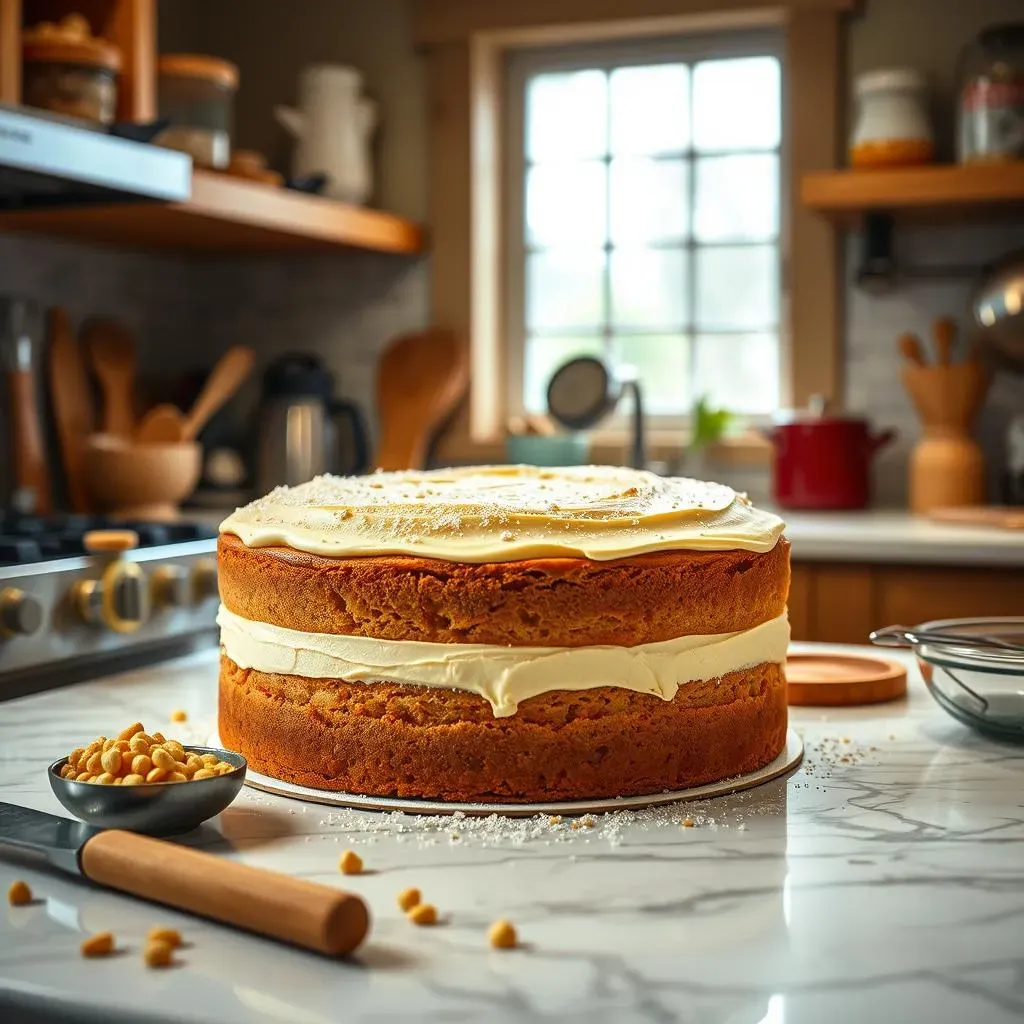
Get Your Ingredients Ready
Alright, let's get down to the nitty-gritty. Before you even think about turning on the oven, make sure you've got all your ingredients measured out and ready to go. We're not talking about a casual "eyeballing" situation here; precision is key for a successful gluten-free bake. You'll need your gluten-free self-raising flour, some caster sugar (the finer the better, trust me), softened butter or a dairy-free alternative, your eggs, and a splash of vanilla extract. Don't forget a pinch of salt—it's like a secret weapon for enhancing all those lovely flavors. It is also a good idea to prepare your cake tins by greasing and lining them with parchment paper so your cake doesn’t stick and you don’t have to stress later.
Once you have everything prepped, it’s time to think about the tools you'll use. A good electric mixer (handheld or stand mixer) is essential for getting the right consistency, but you can also use a wooden spoon if you're feeling like a bit of a baking purist. Make sure you have a couple of sandwich tins (usually around 20cm in diameter), a spatula for scraping down the bowl, and a wire rack for cooling your cakes. This is not a race; it’s a mindful process, so take your time and make sure everything is set up before you start mixing. The key is to have everything within arm’s reach. It makes the whole process smoother and more enjoyable.
Mixing the Batter
Now for the fun part! In a large bowl, cream together the softened butter and caster sugar until the mixture is pale and fluffy. This usually takes a few minutes, and it's important to get it right because it's the foundation for a light sponge. Next, crack in the eggs one at a time, mixing well after each addition. If the mixture looks like it's starting to curdle, don't panic! Just add a spoonful of the flour to bring it back together. Then, stir in the vanilla extract – because what's a cake without a hint of vanilla? Finally, gently fold in the gluten-free self-raising flour and salt. You want to do this carefully, so you don’t knock out all the air you’ve just worked so hard to incorporate.
Divide the batter evenly between your prepared cake tins and smooth the tops with the back of a spoon or a spatula. Pop them into the preheated oven and bake until they're golden brown and a skewer inserted into the center comes out clean. It's usually about 20-25 minutes but keep an eye on them, as all ovens are different. Once they’re done, take them out and let them cool in the tins for a few minutes before turning them out onto a wire rack to cool completely. Patience is key here, because if they're still warm when you fill them, the filling will melt and your cake will be a disaster. Let them cool completely before assembling, and don't even think about cutting it before it is completely cold.
Ingredient | Quantity | Notes |
|---|---|---|
Gluten-Free Self-Raising Flour | 225g | Ensure it's a good quality blend. |
Caster Sugar | 225g | Fine sugar for a smooth texture. |
Softened Butter or Dairy-Free Alternative | 225g | Must be softened for easy mixing. |
Eggs | 4 | Large eggs, at room temperature. |
Vanilla Extract | 1 tsp | Adds depth of flavor. |
Pinch of Salt | Small | Enhances the flavors. |
Tips for the Perfect GlutenFree Victoria Sponge Cake
Tips for the Perfect GlutenFree Victoria Sponge Cake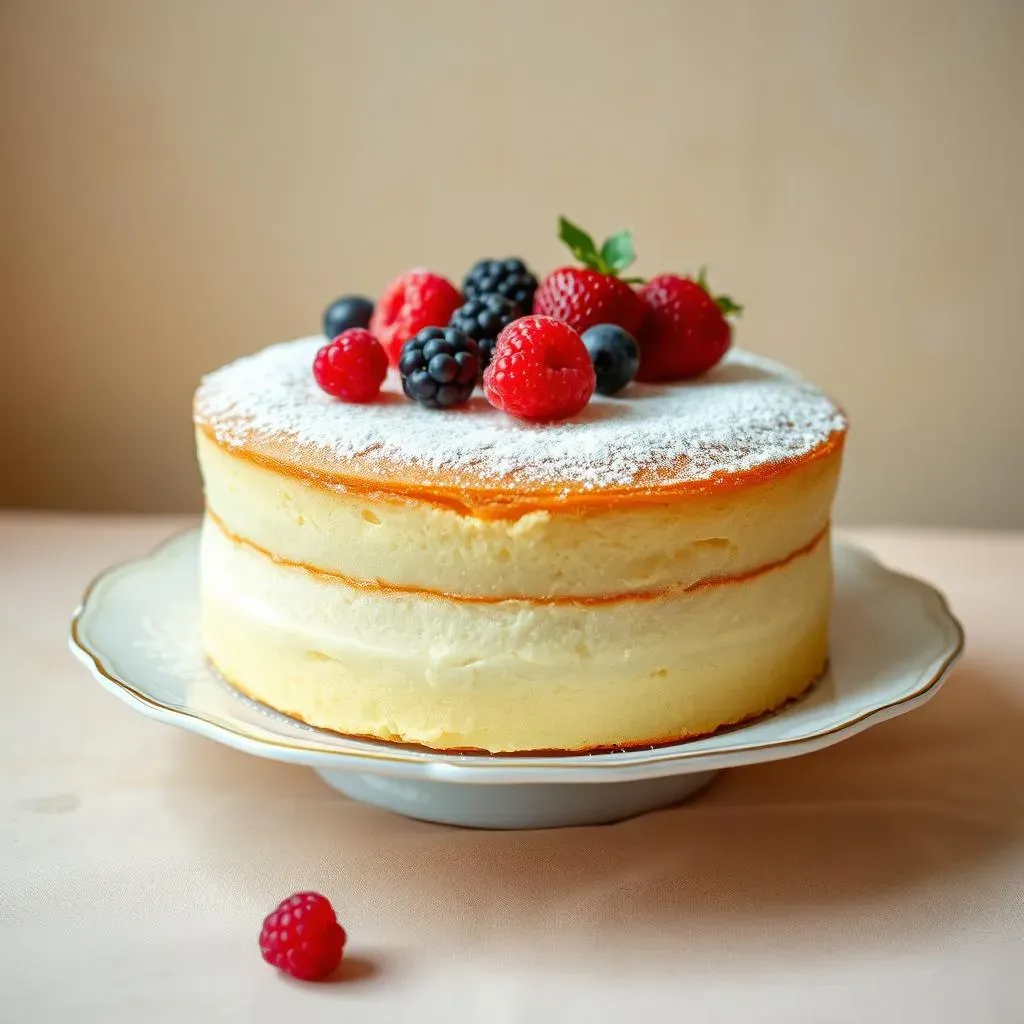
Okay, so you've got the batter made, the cakes are cooling, and now you're probably thinking, "What next?". Well, now comes the part where we elevate this cake from good to absolutely spectacular. It's all in the details, my friend. First off, let's talk about the all-important gluten-free flour. Not all gluten-free flours are created equal, and using the right blend can make or break your cake. I always recommend using a good quality self-raising blend that's specifically designed for baking. Avoid the ones that are heavy on rice flour, they tend to make the cake a bit grainy. Instead, look for a blend that includes a mix of starches and gums for the best texture. Remember, we're aiming for light and fluffy here, not dense and sad.
Next up, don't overmix the batter. I know it's tempting to just keep mixing until everything is perfectly smooth, but resist that urge. Overmixing develops the gluten (or in our case, the gluten-free substitutes) and can lead to a tough cake. Mix until everything is just combined, and then stop. It's okay if there are a few lumps, they'll bake out. Also, make sure your ingredients are at room temperature, especially the butter and eggs. This helps them emulsify properly and creates a smoother batter. And before you even start mixing, make sure your oven is preheated to the correct temperature. This ensures the cake rises evenly. I'm telling you, these little things make a huge difference. Oh, and one more thing, use good quality ingredients. It's like the old saying, "you get out what you put in." It's so true when it comes to baking.
Tip | Why it Matters |
|---|---|
Use a Quality Gluten-Free Flour Blend | Avoids grainy textures, ensures a light crumb. |
Don't Overmix the Batter | Prevents a tough cake. |
Room Temperature Ingredients | Ensures even emulsification and smooth batter. |
Preheat the Oven Correctly | Guarantees even rising. |
Use Good Quality Ingredients | Improves overall flavor and texture. |
Serving and Storing Your GlutenFree Victoria Sponge
Serving and Storing Your GlutenFree Victoria Sponge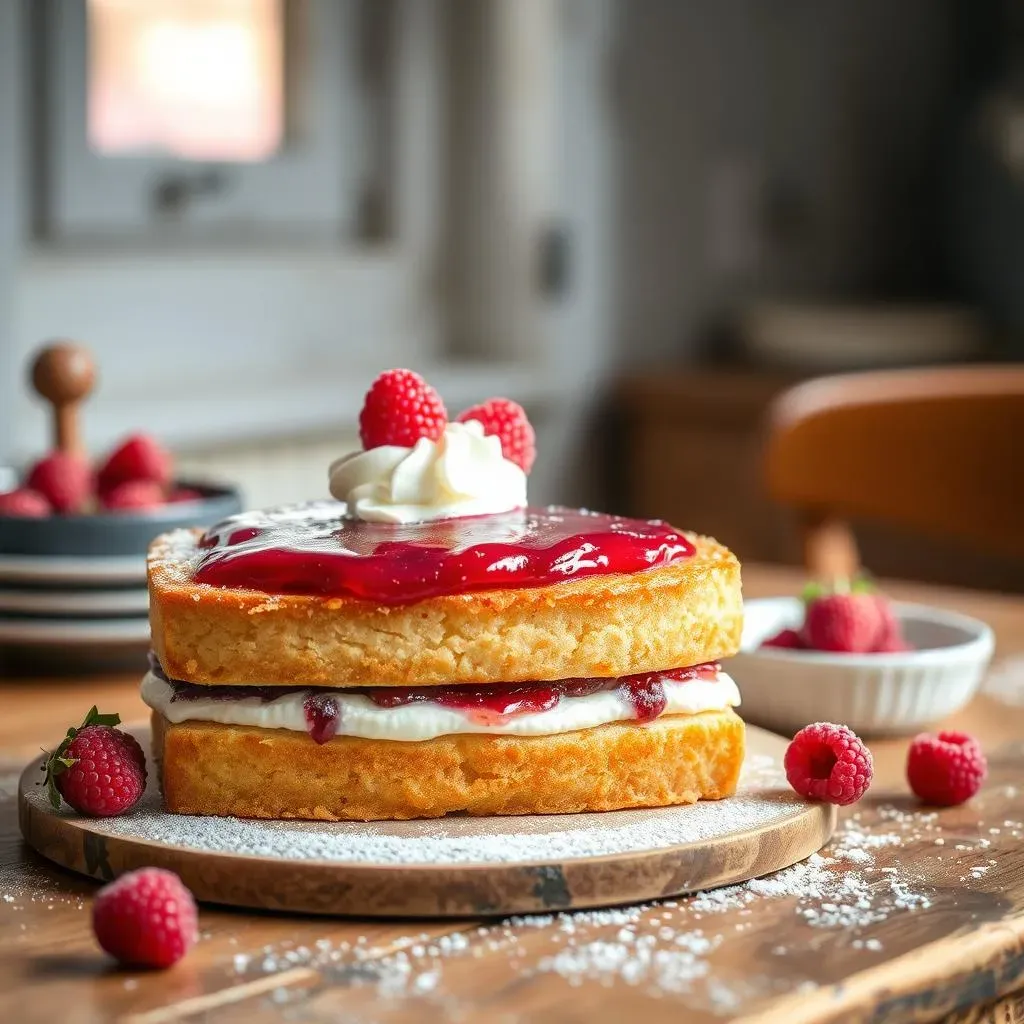
The Grand Finale: Assembling Your Masterpiece
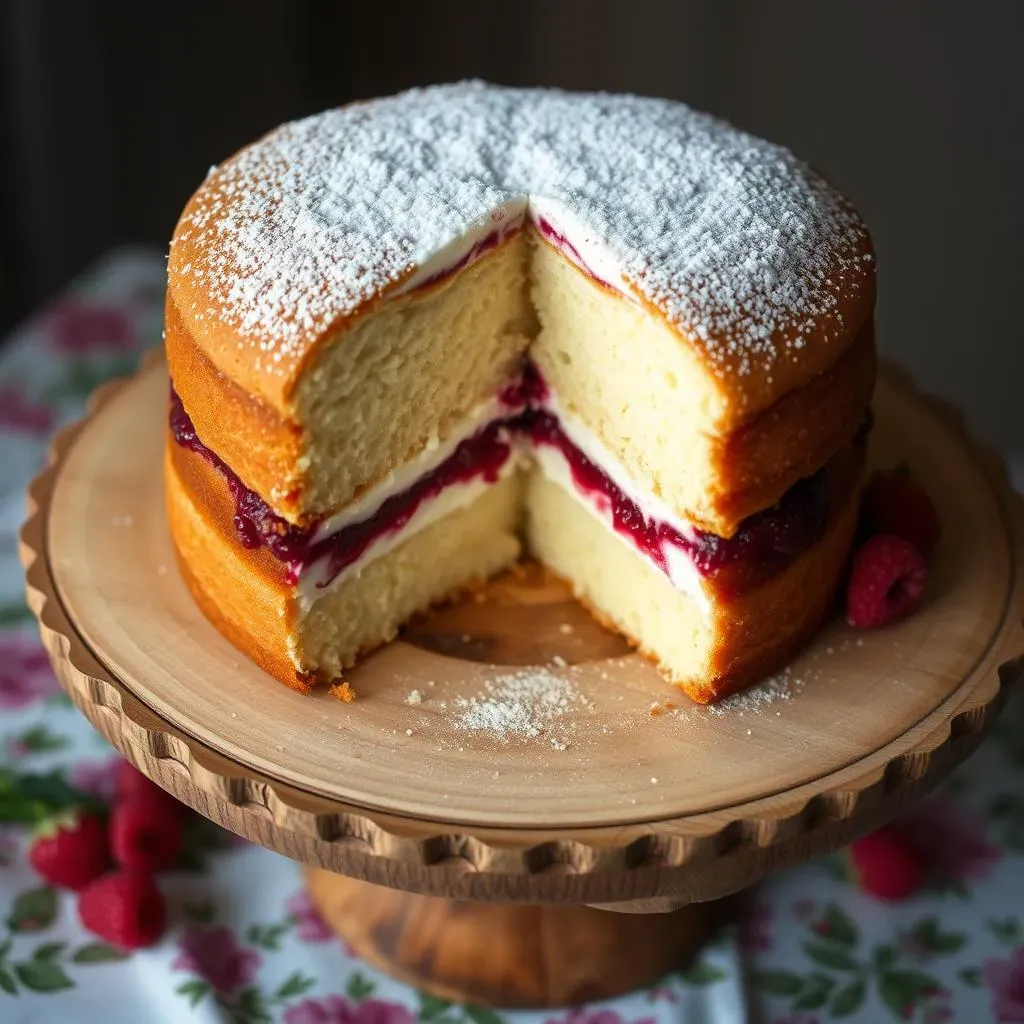
Alright, your cakes are cool, and you’re probably itching to get them filled and devoured. But hold your horses! Before we get to the eating part, let's talk about assembly. The classic Victoria sponge is all about simplicity, and that's what we're going to stick with. Take one of your sponge layers and spread it generously with your favorite jam. Raspberry jam is traditional, but strawberry, or even a mixed berry jam work just as well. Just make sure you use a good quality jam, it really does make a difference. Next, you can add a layer of whipped cream or buttercream, depending on your preference. If you're using whipped cream, make sure it's nice and thick, so it doesn't soak into the cake. You can use a piping bag if you want to be fancy, but a simple dollop with a spoon works just as well.
Now, carefully place the second sponge layer on top and gently press down to create a perfect sandwich. If you're feeling extra, you can dust the top with some icing sugar. This adds a touch of elegance and makes it look like you've been slaving away in the kitchen for hours (even if it only took you about 30 minutes!). You can also add some fresh berries on top for a bit of color and a burst of flavor. The key here is not to overload it. We want the cake to shine, and the filling should complement it, not overpower it. And there you have it, a beautiful gluten-free Victoria sponge ready to be admired and devoured. It's a real showstopper, isn't it?
Keeping Your Cake Fresh
So, you've managed to bake this incredible gluten-free Victoria sponge, and now you're wondering how to keep it fresh. Well, first things first, this cake is best enjoyed on the day it's baked. But if you have leftovers (which is unlikely, but hey, it happens) you can store it in an airtight container at room temperature for a day or two. If you're in a warmer climate, it's best to pop it in the fridge. Just be warned, the fridge can dry out the cake a bit, so try to eat it sooner rather than later. If you’ve got a big gathering and want to bake the cake a day ahead, that's fine, just make sure you store it properly.
And if you're thinking long-term, you can freeze the cake. Wrap the cooled sponge layers tightly in cling film, then pop them into a freezer bag or container. They'll keep in the freezer for up to 2-3 months. When you're ready to eat, just thaw them at room temperature and assemble. Just be aware that the texture might change ever so slightly. But honestly, it's still better than no cake at all! I always find it good to have a back-up cake in the freezer for emergencies, because you never know when you might need a slice of gluten-free deliciousness.
Storage Method | Duration | Notes |
|---|---|---|
Room Temperature | 1-2 Days | Store in an airtight container. |
Refrigerator | 3-4 Days | Can dry out the cake slightly. |
Freezer | 2-3 Months | Wrap tightly in cling film and a freezer bag. |
Serving Suggestions and Final Thoughts
Now, for the best part – serving! This gluten-free Victoria sponge is incredibly versatile. It’s perfect for afternoon tea, a birthday celebration, or just a casual treat. Serve it with a cup of tea or coffee, or a glass of milk. It’s also great with a side of fresh fruit or a dollop of extra cream. If you want to get a bit more creative, you can add some lemon curd or a sprinkle of toasted nuts on top. There’s no limit to how you can dress this cake up. The main thing is to serve it with love and enjoy every bite. This cake is a testament to the fact that gluten-free baking can be just as delicious as traditional baking, and it’s something to be celebrated.
So there you have it, the ultimate gluten-free Victoria sponge cake recipe. I hope you love making it as much as I love eating it. It's a recipe that's close to my heart, and I'm so excited to share it with you. Remember, baking is an art, but it's also a science. Follow the recipe, pay attention to the details, and don't be afraid to experiment. And most importantly, have fun! Because at the end of the day, baking should be enjoyable, and the result should be something that brings joy to everyone who eats it. Now go forth and bake some deliciousness!
"The best cakes are not just about the ingredients, they are about the love and care you put into them." - A Wise Baker