Table of Contents
Ever dream of a cake that’s both delightfully delicious and totally gluten-free? I did, and that's how this journey into the world of coconut flour began. Forget those dry, crumbly gluten-free disasters of the past. We're making a moist, fluffy cake that even those who aren't gluten-free will adore! This isn't just another recipe; it’s your guide to mastering the art of baking with coconut flour. We will explore why coconut flour is a superstar in gluten-free baking, revealing the secrets to achieving the perfect texture. You'll get a step-by-step walkthrough of the baking process, ensuring your success every time. And because no cake is complete without frosting, we'll explore some tasty options. So, if you're ready to bake a truly amazing gluten free cake recipe coconut flour, let's get started!
Why Coconut Flour is a Game Changer for GlutenFree Baking
Why Coconut Flour is a Game Changer for GlutenFree Baking
The Absorbent Power of Coconut Flour
Okay, so you're venturing into gluten-free baking, and you've probably heard horror stories about dry, crumbly cakes. That's where coconut flour struts in like a superhero. Unlike typical wheat flour, coconut flour is super thirsty. It soaks up a ton of liquid, which means you need way less of it compared to other flours. This is a big deal because it's what gives gluten-free cakes that tender, moist texture we all crave. It's like a sponge, but instead of water, it's soaking up all the good stuff in your batter, making your cake incredibly soft.
It's also packed with fiber, which is a nice bonus. Think of it this way: wheat flour is like a regular paper towel, it absorbs some liquid but not a lot. Coconut flour is like a super-absorbent microfiber cloth, it just goes above and beyond. This makes it a total game-changer for gluten-free baking because it allows us to create cakes that have the perfect balance of moisture and structure. It's not just about being gluten-free; it's about being delicious.
Beyond Gluten-Free: The Health Benefits
But wait, there’s more! Coconut flour isn't just a replacement; it's an upgrade. It has a lower carbohydrate content compared to wheat flour, which can be helpful for those watching their carb intake. It's also a source of healthy fats and fiber which means that your body will thank you. It's like having your cake and eating it too, but it's also good for you! It's a great option for people who want to reduce their wheat intake.
This is not just a gluten-free fad; it's a healthier option overall. Plus, it adds a subtle hint of coconut flavor that's delicious, especially when paired with other flavors like chocolate or lemon. It's a win-win! It's like using a special ingredient that not only makes your cake gluten-free but also gives it a nutritional boost. So, if you're looking for a flour that's both versatile and healthy, coconut flour is where it’s at.
Feature | Wheat Flour | Coconut Flour |
|---|---|---|
Gluten | Contains Gluten | Gluten-Free |
Absorption | Moderate | Very High |
Carbohydrates | High | Lower |
Fiber | Moderate | High |
Taste | Neutral | Subtle Coconut |
The Secret to a Moist GlutenFree Coconut Flour Cake
The Secret to a Moist GlutenFree Coconut Flour Cake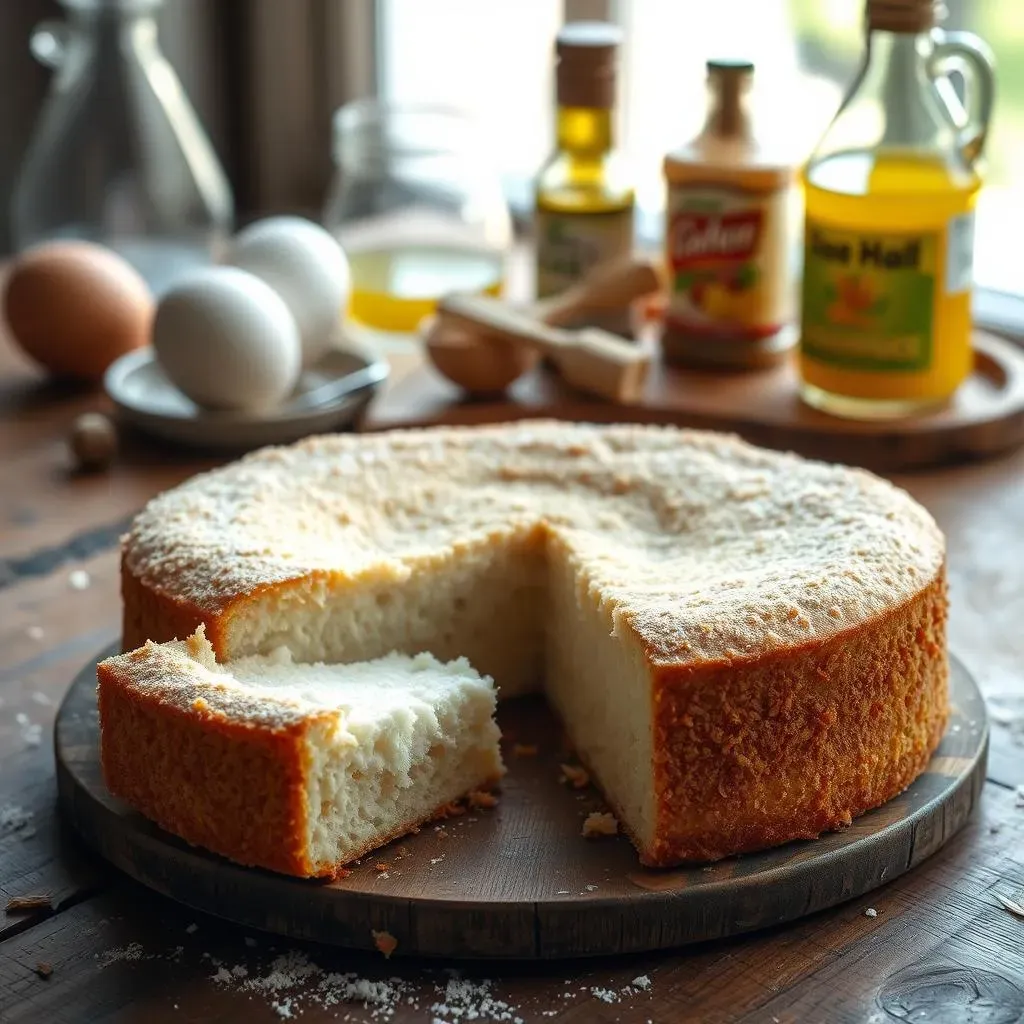
The Importance of Liquid Balance
Alright, let's talk moisture. With coconut flour, it's not about just dumping in liquids and hoping for the best. It’s a delicate dance of getting the balance right. Since coconut flour is such a liquid magnet, you need to use more liquid than you would in a typical wheat flour recipe. Think of it like this: you're not just adding liquid, you're hydrating the flour so it can do its job properly. Too little liquid, and you'll end up with a cake that's drier than the Sahara Desert. Too much, and you'll get a soggy mess. It’s all about finding that sweet spot where the batter is smooth and pourable, like thick yogurt.
The type of liquid also matters. Things like eggs, oil, and even unsweetened applesauce all contribute to the moisture content. I've found that using a combination of different liquids often gives the best results. It's like a team effort, where each liquid plays a different role in keeping your cake moist and tender. So, pay close attention to those liquid measurements, and don't be afraid to experiment a little to find what works best for you. It's a bit like being a scientist in the kitchen, but the reward is a perfectly moist cake.
The Role of Sweeteners
Sweeteners aren't just there for taste; they also play a crucial role in the texture of your cake. Liquid sweeteners, like maple syrup or honey, are your friends when baking with coconut flour. They add moisture and help to keep the cake soft. Granulated sugar, on the other hand, can sometimes dry out the cake, especially if you're not using enough liquid. If you do use granulated sugar, make sure it's a fine grain and that you balance it with enough liquid ingredients. It’s like choosing the right tool for the job; liquid sweeteners are the best fit for coconut flour.
I like to think of liquid sweeteners as the secret weapon for a moist cake. They not only add sweetness, but they also help to bind the ingredients together, creating a cohesive batter. This is especially important with coconut flour, which can be a bit tricky to work with. So, when you're reaching for the sweetener, remember that it's not just about the flavor; it's also about the texture. It's like adding a little bit of magic to your batter, making sure that your cake turns out perfectly moist every time.
Ingredient | Role in Moisture |
|---|---|
Eggs | Adds moisture and structure |
Oil | Adds richness and moisture |
Liquid Sweeteners (maple syrup, honey) | Adds moisture and sweetness |
Applesauce | Adds moisture and helps bind |
Water/Milk | Hydrates the flour |
The Mixing Method Matters
You might think that mixing is just about combining ingredients, but with coconut flour, it’s a bit more strategic than that. Overmixing can lead to a tough, dense cake, so it’s best to mix until the ingredients are just combined. It’s like gently folding laundry; you want to get everything together without overdoing it. I usually start by whisking the wet ingredients together, then gently fold in the dry ingredients until everything is just incorporated. This ensures that your cake will be light and fluffy, not dense and heavy. It's like a gentle dance, not a vigorous workout.
Another tip is to let the batter rest for a few minutes after mixing. This gives the coconut flour a chance to fully absorb the liquids, which will make your cake even more moist. It's like letting a tea bag steep in hot water; it needs time to do its thing. I find that a 5-10 minute rest is usually enough. So, when you are mixing, remember that less is often more. Mix gently, let the batter rest, and your cake will thank you for it. It’s all about being patient and letting the ingredients work their magic.
StepbyStep: Baking Your Perfect Coconut Flour Cake
StepbyStep: Baking Your Perfect Coconut Flour Cake
Prepping Your Pans and Mixing the Batter
Alright, let's get baking! First things first, preheat your oven to 350°F (175°C). Grab your cake pans – I usually use two 6-inch pans or one 8-inch pan. Grease them well, and if you're feeling extra cautious, line the bottoms with parchment paper. This will make removing the cake later a breeze, trust me. Now, for the fun part: the batter! In a large bowl, whisk together your wet ingredients – eggs, oil, liquid sweetener, and any other liquids the recipe calls for. Make sure they're all nicely combined. Then, in a separate bowl, whisk together your dry ingredients: coconut flour, baking soda, and any spices.
Next, gently pour the dry ingredients into the wet ingredients, and mix until just combined. Don't overmix! Remember, we're going for a light and fluffy cake, not a tough one. I like to use a spatula to fold the dry ingredients into the wet, ensuring everything is well incorporated. Once the batter is smooth, let it rest for 5-10 minutes. This allows the coconut flour to fully absorb the liquid, which is key to a moist cake. It's like letting your ingredients take a little breather before the big show.
Step | Action |
|---|---|
1 | Preheat oven to 350°F (175°C). |
2 | Grease and line cake pan(s). |
3 | Whisk wet ingredients together. |
4 | Whisk dry ingredients together. |
5 | Combine wet and dry ingredients. |
6 | Let batter rest for 5-10 minutes. |
Baking and Cooling Your Cake
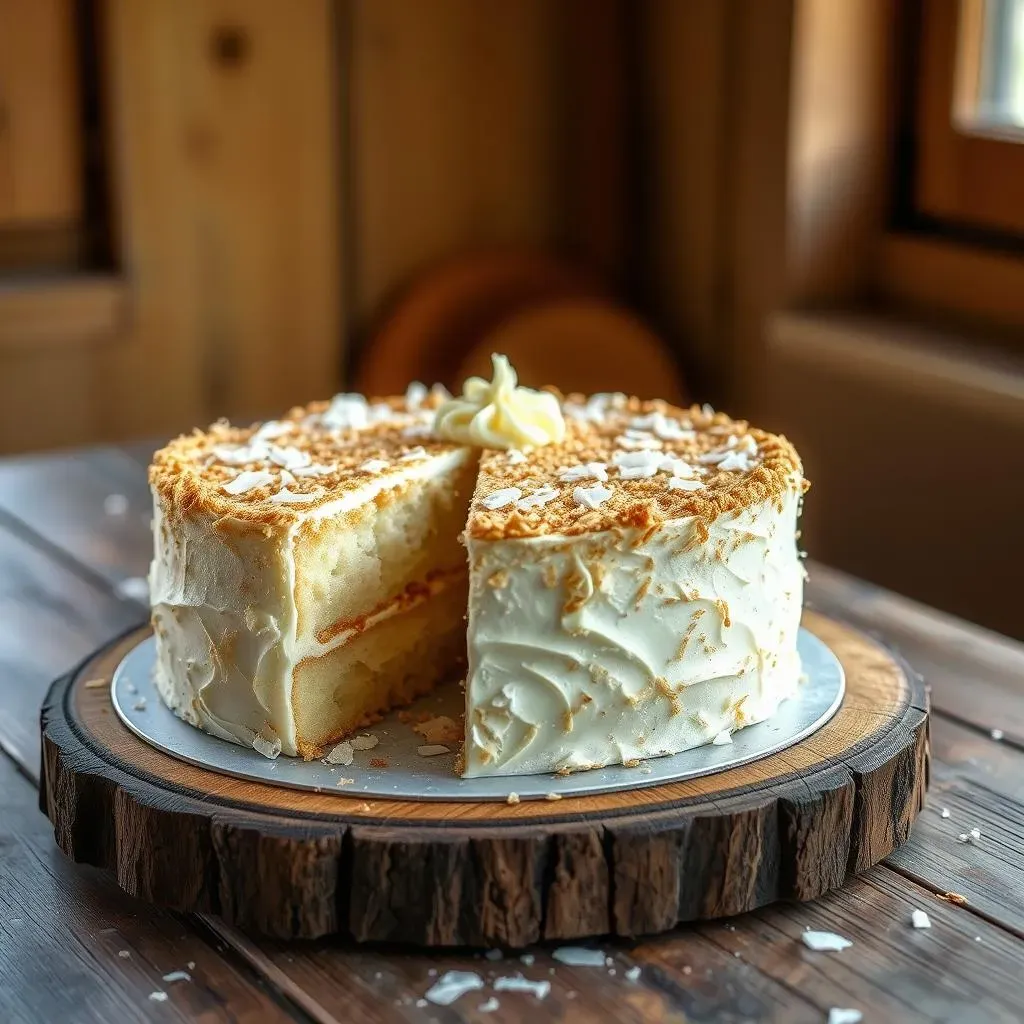
Okay, the batter's ready, and the oven's hot. Now, pour the batter into your prepared cake pan(s) and spread it evenly. Pop it in the oven and bake for about 25-30 minutes, or until a toothpick inserted into the center comes out clean. Keep an eye on it, though, as oven times can vary. Once it's done, take it out of the oven and let it cool in the pan for about 10 minutes before transferring it to a wire rack to cool completely. This is super important; if you try to remove it too early, it might crumble. Patience is key, my friend!
While the cake is cooling, resist the urge to cut into it. I know it smells amazing, but trust me, it's worth the wait. Letting it cool completely will make it easier to frost and serve. It's like letting a fine wine breathe; it needs time to reach its full potential. Once it’s fully cooled, you’re ready to frost it and show it off to the world. It's like the grand finale of your baking adventure, and it's time to enjoy the fruits of your labor.
"The secret to a great cake is not just in the recipe, but in the care and attention you give to each step." - An anonymous baker
Frosting and Serving Your GlutenFree Masterpiece
Frosting and Serving Your GlutenFree Masterpiece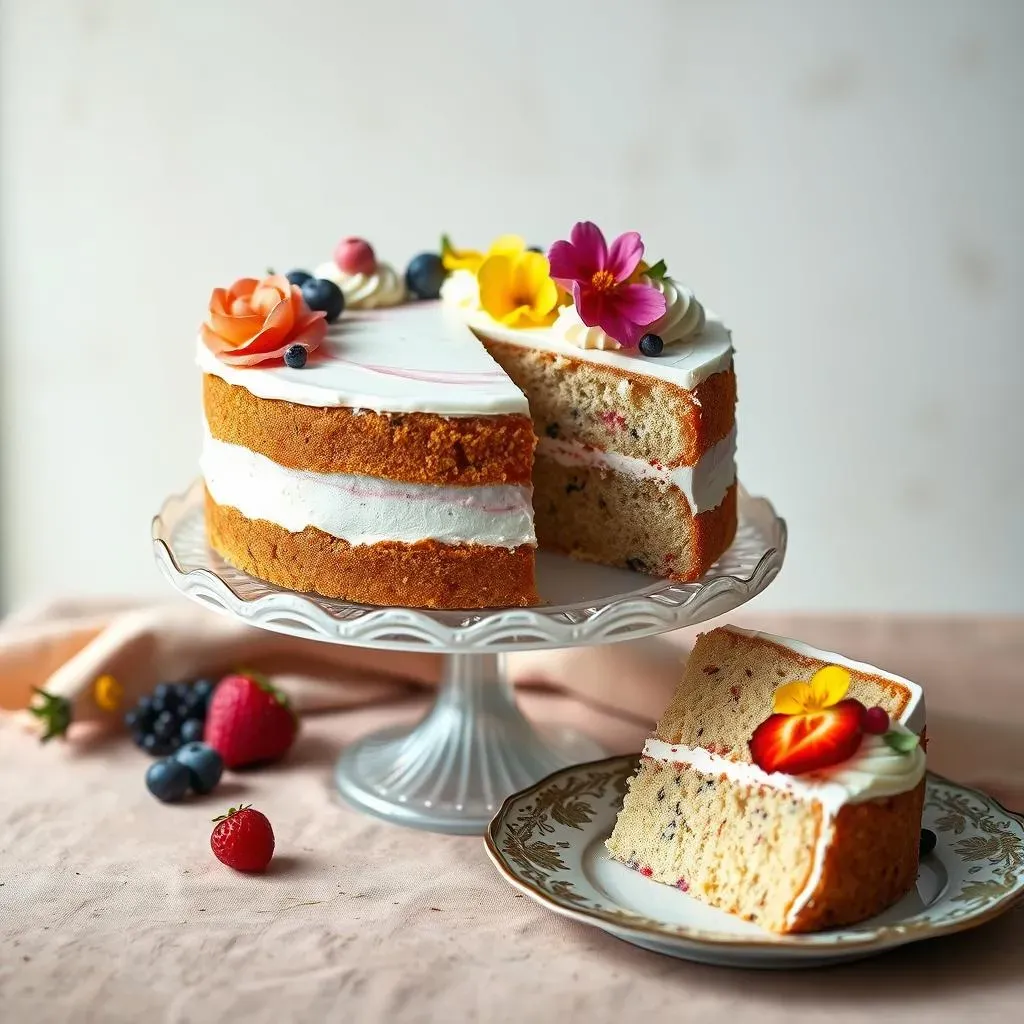
Frosting Fun: Choosing the Perfect Match
Okay, your cake is baked, cooled, and smelling absolutely divine. Now comes the fun part: frosting! When it comes to coconut flour cake, you want a frosting that complements its subtle coconut flavor and moist texture. A classic buttercream frosting is always a winner, but if you're looking for something a bit lighter, a cream cheese frosting works wonderfully. For a dairy-free option, try a coconut cream frosting or a cashew-based frosting. It's like finding the perfect partner for a dance; you want a match that enhances the experience. Don't be afraid to experiment with different flavors, too. A hint of lemon zest or a dash of vanilla extract can take your frosting to the next level.
I've also found that a simple glaze can be a great option if you're not a fan of heavy frostings. Just mix some powdered sugar with a bit of liquid (like lemon juice or coconut milk), and drizzle it over your cake. It’s like adding a delicate veil to your creation. The key is to choose a frosting that you love and that complements the cake's unique qualities. It's all about personal preference and what makes your taste buds sing. So, have fun with it, and don't be afraid to get creative. After all, the frosting is the final touch that makes your cake a true masterpiece.
Frosting Type | Flavor Profile | Best For |
|---|---|---|
Buttercream | Rich, sweet, classic | Any occasion |
Cream Cheese | Tangy, creamy, slightly sweet | Pairing with flavors like lemon or carrot |
Coconut Cream | Light, airy, coconutty | Dairy-free option |
Cashew-Based | Rich, creamy, nutty | Vegan option |
Simple Glaze | Light, sweet, subtle | For a simple, elegant finish |
Serving and Storing Tips
Now that your cake is frosted, it's time to show it off! Slice it up and serve it with a dollop of whipped cream or a scoop of ice cream. It's like the grand reveal of your hard work. For the best experience, serve your coconut flour cake at room temperature. This will ensure that the texture is at its finest. If you're not serving it right away, you can store it in an airtight container in the fridge for up to three days. I've found that bringing it back to room temperature before serving really enhances the flavor and texture. It's like letting a good book rest before rereading it; it gets even better with a little time.
And remember, baking is all about sharing. So, don't hesitate to invite your friends and family to enjoy your delicious creation. It's like sharing a piece of your heart, and there's nothing more rewarding than seeing the happy faces of those enjoying your baking. If you have any leftovers, you can also freeze individual slices for later. Just wrap them tightly in plastic wrap and then place them in a freezer-safe bag. It’s like having a secret stash of happiness, ready for when you need a little pick-me-up. So, whether you're serving it at a party or enjoying it yourself, take a moment to savor each bite of your gluten-free coconut flour cake.
"Baking is a way to show love and care through delicious creations." - A wise baker