Table of Contents
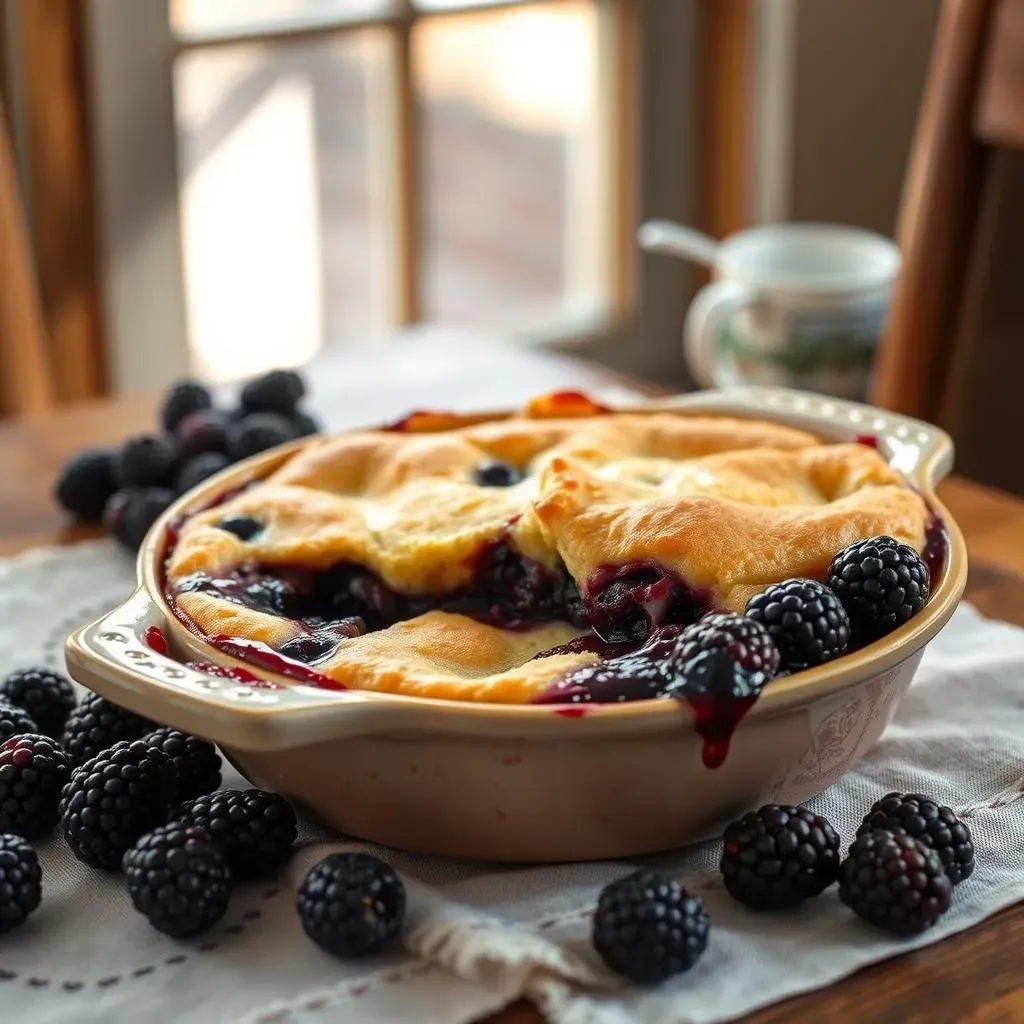
Hey there, dessert lovers! If you're anything like me, the words "gluten-free" and "delicious" don't always seem to go hand-in-hand, but let me tell you, that's about to change. We're diving into the wonderful world of gluten-free blackberry dessert recipes, and trust me, you won't miss the gluten one bit. Imagine warm, juicy blackberries bubbling under a golden, buttery crust, or a sweet, crunchy topping that just melts in your mouth. This isn't just about avoiding gluten; it's about finding joy in every bite. We'll start with a classic gluten-free blackberry cobbler, then explore a crisp that's so easy you'll make it again and again, and finally we'll look at a few other ideas you can try. Get ready to discover how easy and fun it is to make amazing gluten-free blackberry treats. Let's get baking!
Making the Perfect GlutenFree Blackberry Cobbler
Making the Perfect GlutenFree Blackberry Cobbler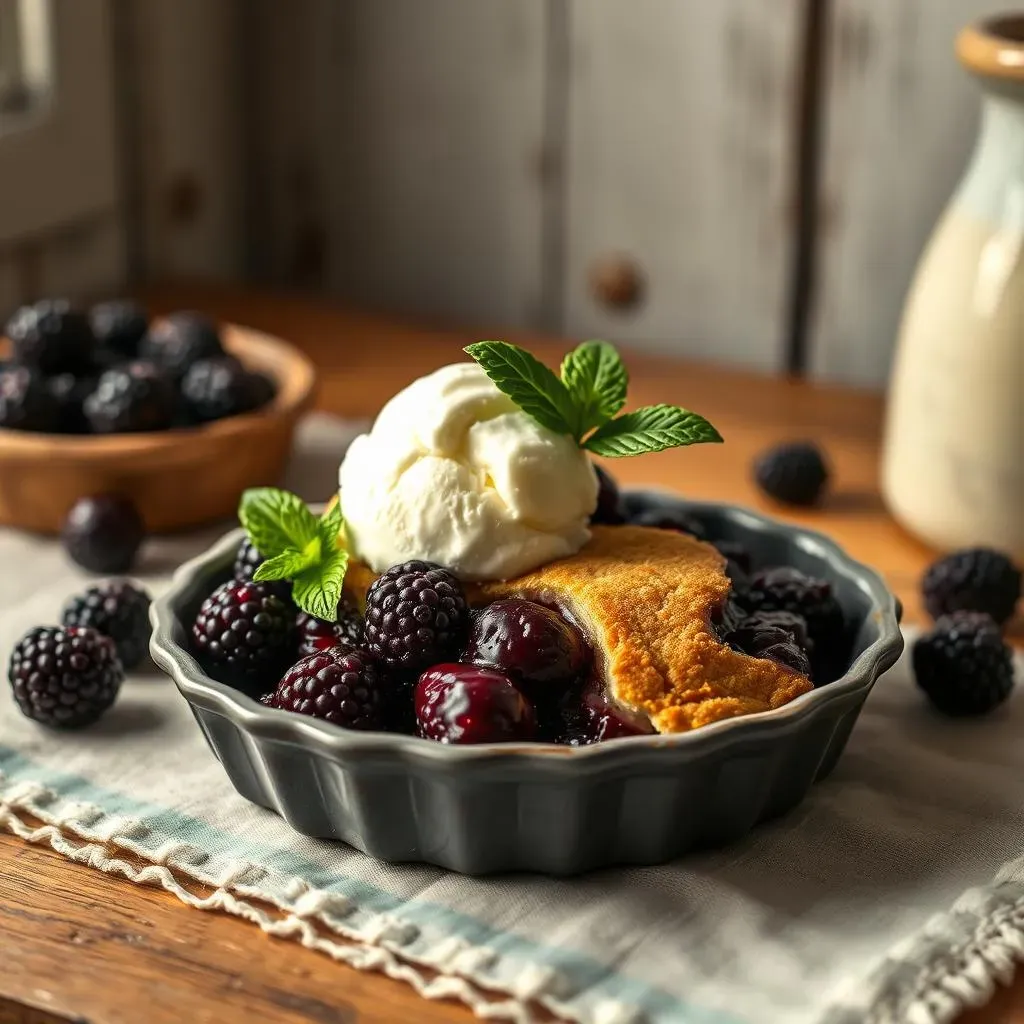
The Berry Basics
Okay, let’s talk cobbler. It’s like a warm hug in a dish, isn't it? But the gluten-free version can be a bit tricky if you don't know some basic stuff. First things first, the berries! You can use fresh or frozen blackberries, but if you’re using frozen, be sure to add a touch more cornstarch to your filling. This will help soak up the extra moisture that comes from frozen berries. Nobody likes a watery cobbler, right? I've found that a mix of large and smaller berries gives a nice texture. You get some that burst and release all their juices, and some that stay a bit more intact. It's a party in your mouth.
Speaking of parties, the sweetness level is a very personal thing. I prefer a bit of tartness to balance the sweet, buttery crust, but you can adjust the sugar to your taste. I usually start with half a cup of sugar and add a bit more if I think it needs it. You can also play around with different types of sugar - coconut sugar adds a nice depth of flavor. Just remember, taste as you go. That's the chef's secret weapon!
Crafting the Crust
Now, let's get to the crust. This is where it can get a little tricky with gluten-free baking. The key here is to use a good quality gluten-free all-purpose flour blend that has xanthan gum in it. That xanthan gum acts like gluten and gives your crust a nice texture. I’ve tried many gluten-free flours and I found that Bob's Red Mill or King Arthur Gluten-Free blends work really well. You’ll also need some cold butter, and I mean COLD. I usually cut mine into small cubes and then pop it in the freezer for about 10 minutes before I start mixing it with the flour. This helps create a flaky crust instead of a dense one.
Don't overmix the dough! I usually just pulse it in a food processor until it resembles coarse crumbs. Then I add the liquid, usually a mix of egg and milk or buttermilk, and mix until it just comes together. Then, I gently pat it out or use a spoon to create the topping, it doesn't need to be perfect, that's the beauty of a cobbler. It's supposed to look rustic!
Ingredient | Purpose |
|---|---|
Cold Butter | Flakiness |
Gluten-Free Flour Blend (with xanthan gum) | Structure |
Egg and Milk/Buttermilk | Binding and Moisture |
Sugar (adjust to taste) | Sweetness |
Blackberries (fresh or frozen) | Flavor |
Baking to Golden Perfection
Finally, the baking process! I usually bake my cobbler at 375°F (190°C) for about 30-40 minutes, or until the topping is golden brown and the filling is bubbling. The key is to keep an eye on it, ovens can be tricky, and you might need to adjust the baking time a bit. I usually put a baking sheet under the cobbler dish, just in case anything bubbles over. It's better to be safe than sorry!
Once it’s done, let it cool for at least 15 minutes before serving. This gives the filling time to set up a bit. And trust me, it’s worth the wait. The combination of the warm, gooey fruit and the buttery, slightly crunchy topping is just heavenly. I love serving it with a scoop of vanilla ice cream or a dollop of whipped cream. It's the perfect way to end a meal, or to just treat yourself on a random Tuesday afternoon. You know, because you deserve it!
"Baking is therapy." - Someone who loves cobbler.
Tips for Amazing GlutenFree Blackberry Crisp
Tips for Amazing GlutenFree Blackberry Crisp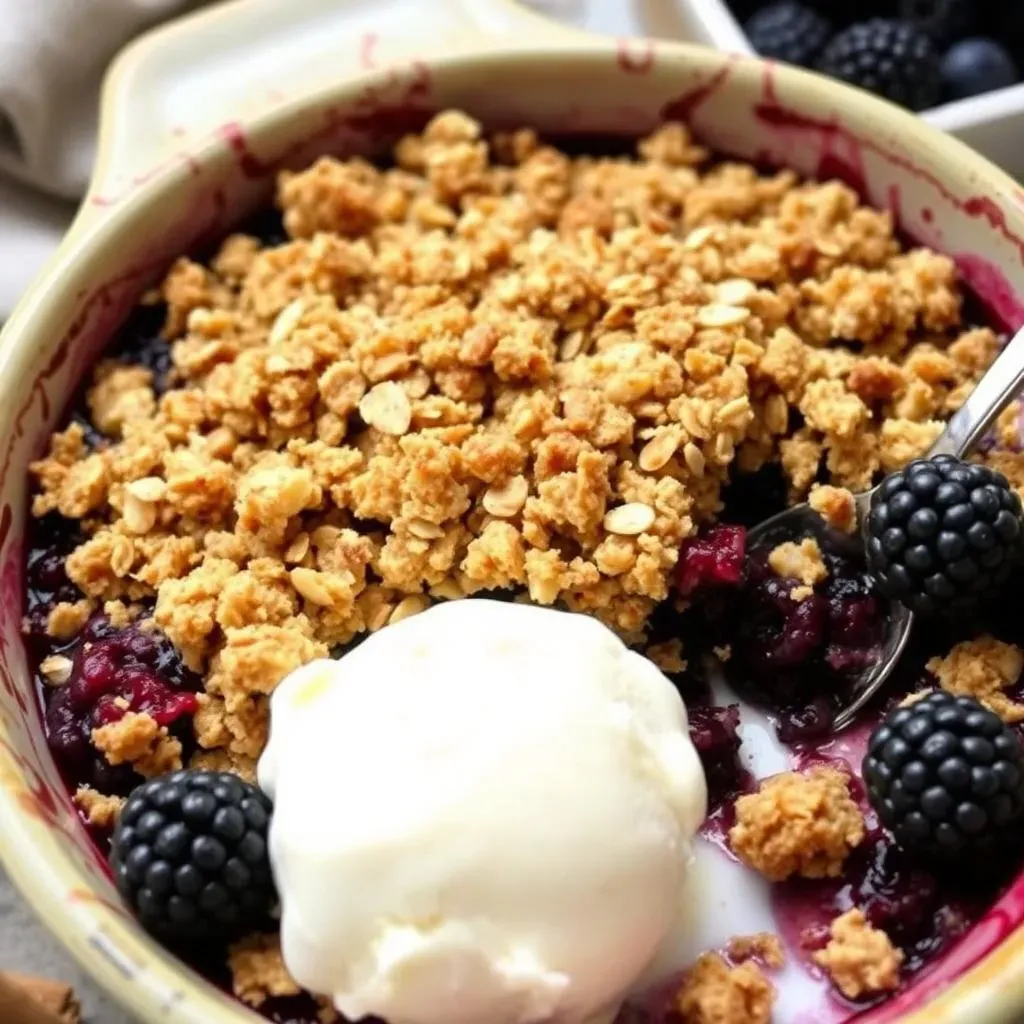
Alright, let's switch gears and talk about crisp! It’s like the cobbler’s cooler, crunchier cousin, and it’s just as easy to fall in love with. The beauty of a crisp is in its simplicity, but a few key things can make or break it. First off, the berries: just like with the cobbler, fresh or frozen works. If you're using frozen, I’d recommend thawing them a bit and draining off any excess juice. This helps keep the crisp from getting soggy. I also like to toss the blackberries with a little bit of lemon juice; it brightens up the flavor and gives it a nice little zing.
Now, for the topping, this is where the magic happens. Instead of a doughy crust, we're going for a crumbly, crunchy topping. I use a mix of gluten-free rolled oats, almond flour, and a touch of coconut sugar. The oats give it that nice, hearty texture, while the almond flour adds a bit of richness. Don't be shy with the cinnamon or nutmeg, they give it that warm, cozy feel. If you want to be a little fancy, you can add some chopped nuts like pecans or walnuts. They add an extra layer of crunch and flavor. Remember, the crisp topping doesn’t need to be perfect, just make sure it's evenly distributed. I like to use my fingers to break it up and sprinkle it on top of the berries. It’s part of the fun!
Ingredient | Purpose |
|---|---|
Gluten-Free Rolled Oats | Crunch and Texture |
Almond Flour | Richness and Binding |
Coconut Sugar | Sweetness |
Cinnamon or Nutmeg | Warm Flavor |
Lemon Juice | Bright Flavor |
Baking the crisp is pretty straightforward. I usually bake it at 375°F (190°C) for about 30-35 minutes, or until the topping is golden brown and the berries are bubbling. Keep an eye on it, though, because ovens can be a little unpredictable. Once it's done, let it cool for a bit before digging in. This gives the topping a chance to set up and get extra crispy. The aroma alone is enough to make your mouth water. I love serving my crisp warm, with a scoop of vanilla ice cream. The contrast between the warm crisp and the cold ice cream is just divine. It’s a perfect dessert for a casual get-together or when you just want a little something sweet to make you smile. It’s simple, satisfying, and absolutely delicious!
“Life is what you bake it.” – A wise baker, probably.
Beyond Cobblers: Other GlutenFree Blackberry Treats
Beyond Cobblers: Other GlutenFree Blackberry Treats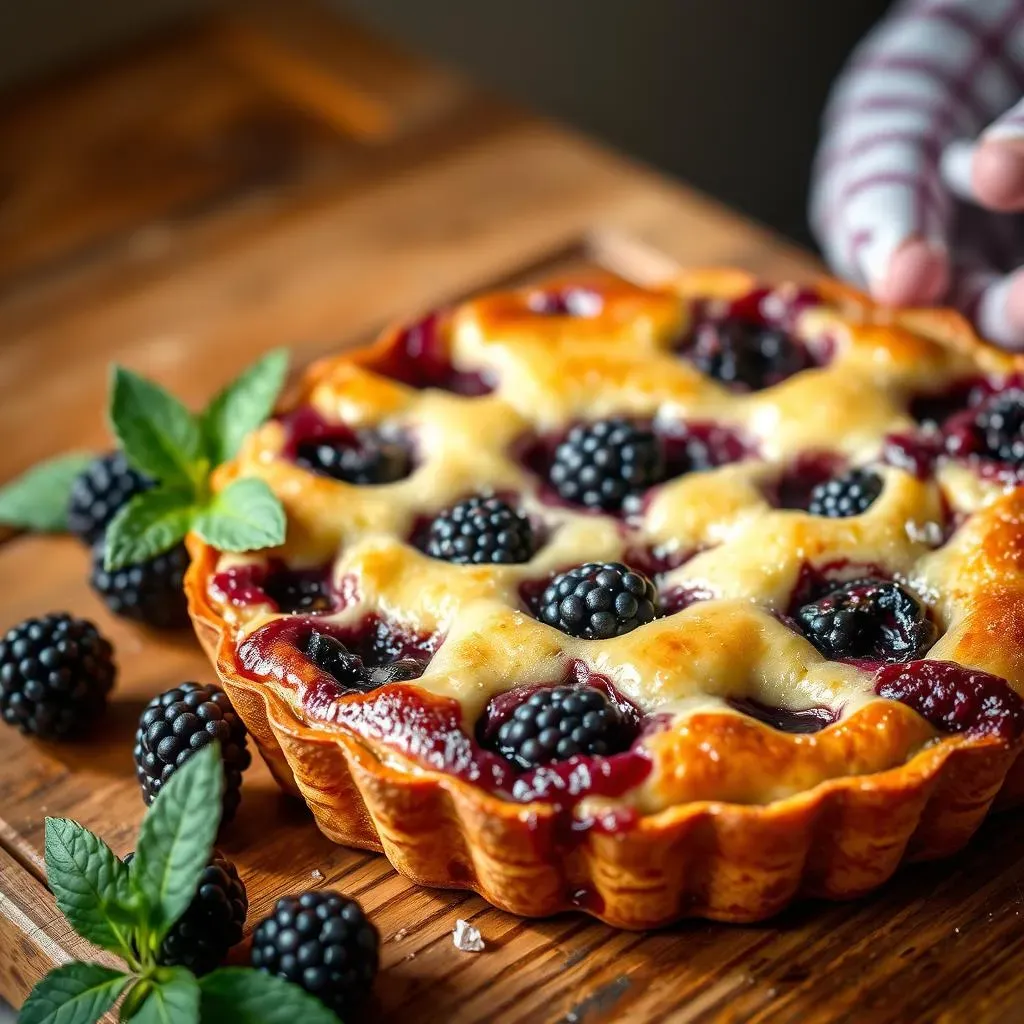
Blackberry Clafoutis: A Custard Dream
Okay, so we've covered cobblers and crisps, but let's venture a bit further into the world of gluten-free blackberry desserts. Have you ever tried a clafoutis? It’s like a baked custard with fruit, and it's surprisingly easy to make. It’s also a bit more elegant than a cobbler or crisp, making it perfect for a dinner party or a special occasion. Think of it as a cross between a pancake and a custard, all baked together with juicy blackberries. The base is made from a simple batter of eggs, milk, sugar, and gluten-free flour. The key is to get the consistency just right. It should be thin enough to pour but thick enough to hold its shape.
I usually pour the batter into a buttered dish, sprinkle the blackberries on top, and then bake it until it's puffed up and golden brown. The edges will be a bit crispy, and the center will be soft and custardy. It’s best served warm, maybe with a dusting of powdered sugar. It’s a dessert that's both comforting and sophisticated. The blackberries burst in your mouth, adding a burst of sweetness and tartness that complements the creamy custard perfectly. If you want to get extra fancy, you can add a splash of vanilla extract or a bit of lemon zest to the batter. It's all about having fun and experimenting!
Blackberry Pie Bars: Portable Perfection
Now, let's talk about pie bars. These are basically like a pie, but in a bar form, making them perfect for taking on the go. They are also great if you don't want to deal with the fuss of making a whole pie. The base is a simple gluten-free shortbread or oat crust, and the filling is just a mix of blackberries, sugar, and a bit of cornstarch to thicken it up. I like to add a little bit of lemon juice or zest to the filling. It adds a nice little zing. The best part about pie bars is that you can get creative with the toppings. You can add a simple crumb topping, or you can drizzle a glaze on top. If you're feeling extra fancy you can add some chopped nuts to the topping.
Baking pie bars is pretty straightforward. You bake them until the crust is golden brown and the filling is bubbly. Once they are cooled, you cut them into bars. They are perfect for picnics, potlucks, or just a sweet snack. The combination of the buttery crust, the sweet and juicy filling, and the crunchy topping is just irresistible. These are a hit with kids and adults alike. Plus, they are so easy to customize. You can add different spices, use different berries, or even add a layer of cream cheese to the base. The possibilities are endless!
Dessert | Texture | Ease of Making | Perfect For |
|---|---|---|---|
Blackberry Clafoutis | Custardy and Soft | Easy | Dinner Parties |
Blackberry Pie Bars | Crumbly and Portable | Easy | On-the-Go |