Table of Contents
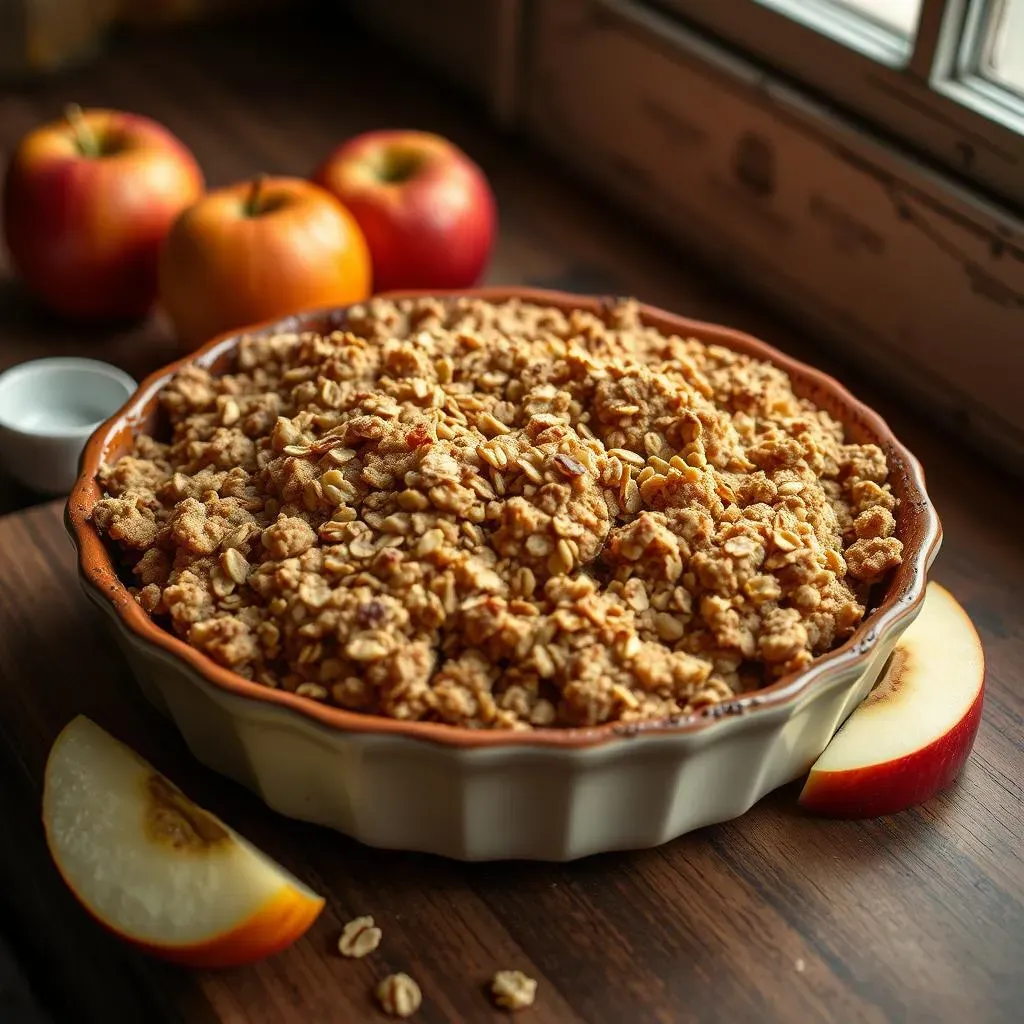
Picture this: a warm, bubbling dish of sweet, cinnamon-spiced apples, topped with a golden, crumbly oat crust. Sounds delicious, right? Well, you don't have to miss out just because you're avoiding gluten! This article is your guide to creating the most comforting and delicious gluten free apple crisp dessert recipes. We'll walk you through each step, from gathering the right ingredients to achieving that perfect balance of gooey apples and crispy topping. Whether you're a seasoned baker or a kitchen newbie, I’ll show you how easy it is to make a gluten-free apple crisp that everyone will love. We’ll cover everything from essential ingredients and equipment to the step-by-step baking process, then I'll share my favorite tips to make your crisp even better. Plus, I’ll answer some frequently asked questions, discuss variations, and provide storage advice, and even nutritional information. So, if you're ready to bake a fantastic gluten free apple crisp, let's get started!
Gathering Your Gluten Free Apple Crisp Ingredients
Gathering Your Gluten Free Apple Crisp Ingredients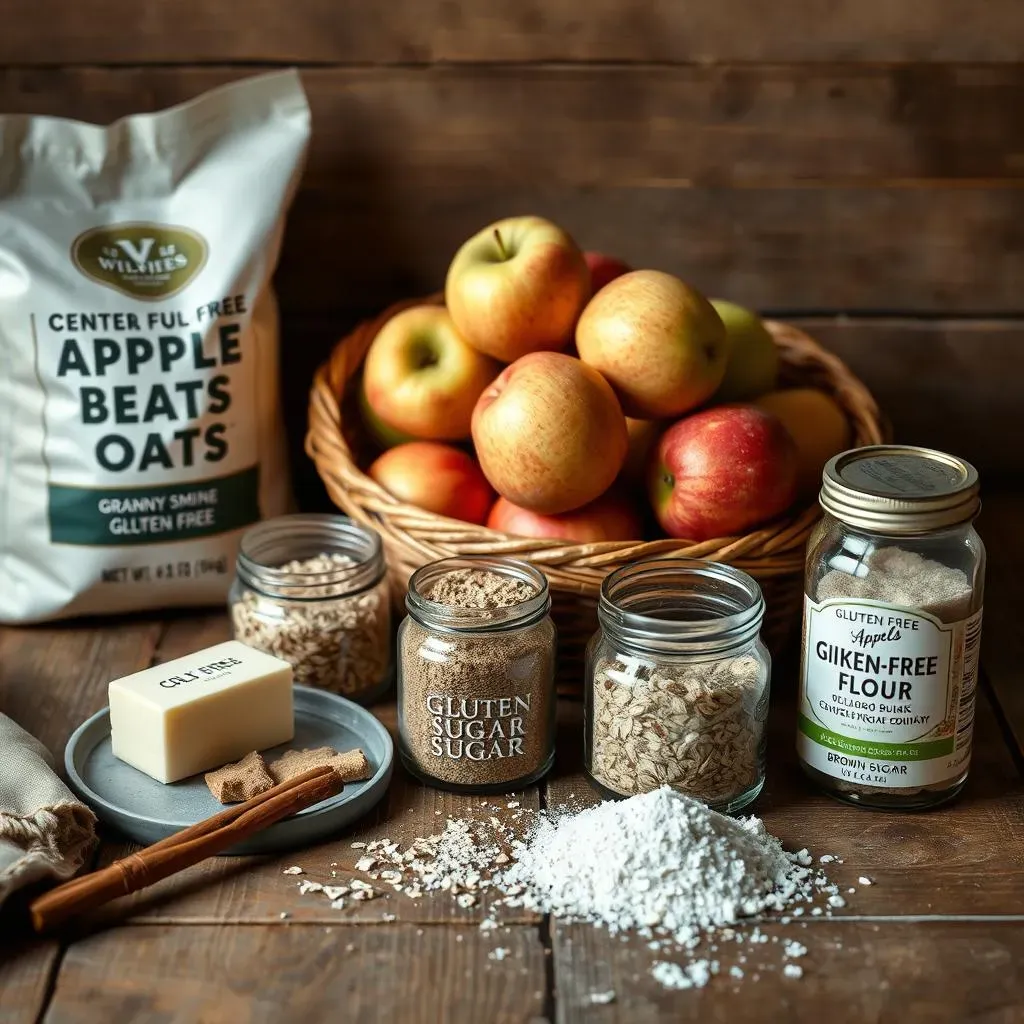
Okay, so you're ready to whip up an amazing gluten free apple crisp? Awesome! First things first, let’s talk ingredients. You'll want to grab some good apples – I usually go for Granny Smith because they're nice and tart, which balances the sweetness of the crisp. But honestly, any firm apple will work, so don't stress too much. Then, for the topping, you’ll need gluten-free rolled oats. Make sure they're certified gluten-free if you're really sensitive, just to be safe. We’ll also need some brown sugar for that caramel-y goodness, plus a bit of cinnamon and maybe a pinch of salt to bring out all the flavors. Oh, and the secret weapon? Cold butter. Seriously, cold butter is a must for that perfect crumbly topping. If you're dairy-free, no worries! Vegan butter works just as well. Finally, a little gluten-free flour blend will help bind everything together. See? Nothing too complicated, just a few key players to make this dessert shine.
StepbyStep Guide to Baking Your Gluten Free Apple Crisp
StepbyStep Guide to Baking Your Gluten Free Apple Crisp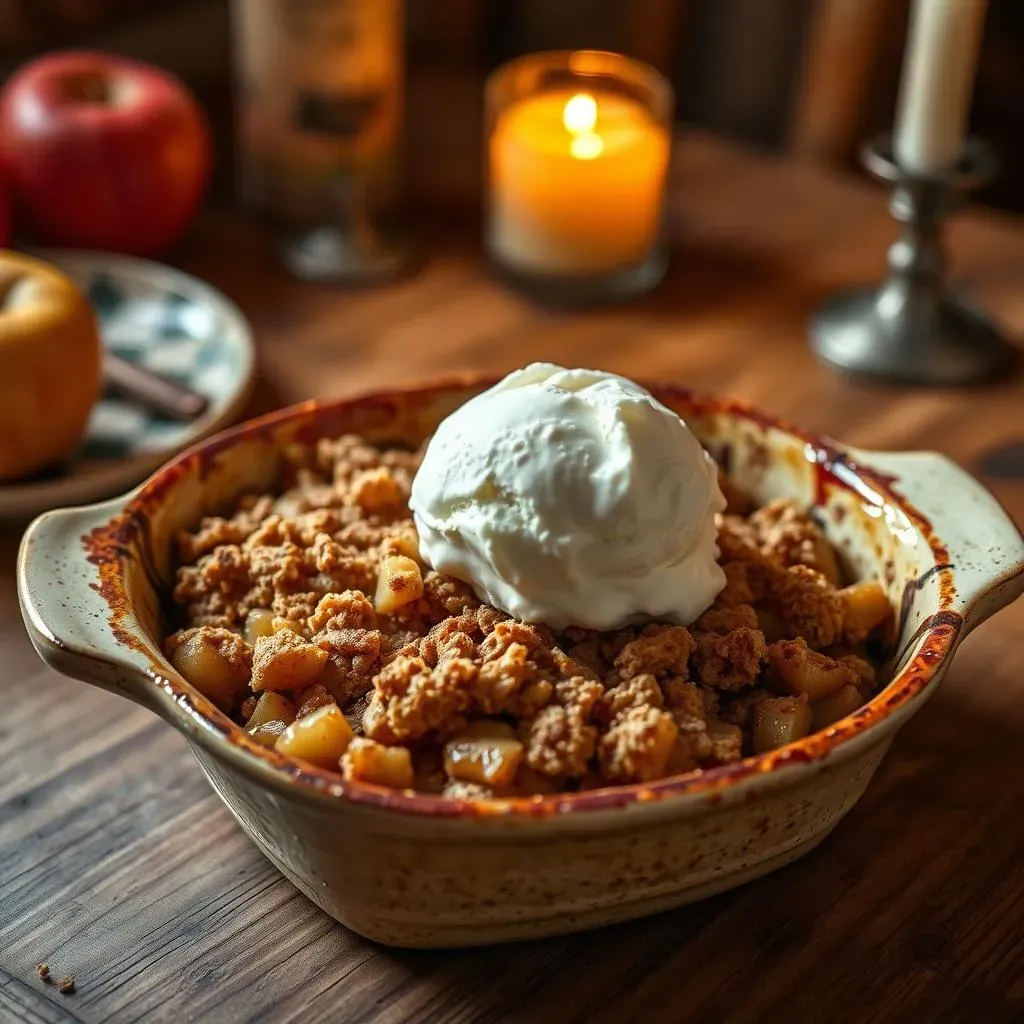
Prep the Apples
Alright, let's get to the fun part! First, you'll need to peel, core, and slice your apples. Don't worry about making them perfect; rustic slices are totally fine. I usually aim for about 1/4-inch thick. Toss the apple slices into a bowl and add a little cinnamon and maybe a squeeze of lemon juice to keep them from browning. Give it a good mix, and then spread them evenly in your baking dish. I like to use an 8x8 inch dish, but any similar size works. The goal here is to have a nice, even layer of apples ready for that delicious topping.
Making the Crumbly Topping
Now for the star of the show: the topping! In a separate bowl, combine your gluten-free rolled oats, brown sugar, gluten-free flour blend, cinnamon, and salt. Then, take that cold butter (or vegan butter) and cut it into small cubes. I find it easiest to use a pastry blender or a fork to work the butter into the dry ingredients. You're aiming for a crumbly mixture that resembles coarse sand. Don't overmix it; you want those little chunks of butter to stay intact. These will create pockets of buttery goodness when they bake, making the topping extra crispy and delicious.
Ingredient | Amount |
|---|---|
Gluten-free rolled oats | 1 cup |
Brown sugar | 3/4 cup |
Gluten-free flour blend | 1/2 cup |
Cold butter (or vegan butter) | 1/2 cup |
Cinnamon | 1 teaspoon |
Salt | 1/4 teaspoon |
Bake and Enjoy
Once your topping is ready, sprinkle it evenly over the apples. Try to cover all the apples so they’re hidden underneath. Now, it's time to bake! Pop the dish into a preheated oven at 375°F (190°C) for about 30-40 minutes, or until the topping is golden brown and the apples are soft and bubbly. You'll know it's done when you see that the juices are bubbling around the edges and the topping looks irresistibly golden. Let it cool slightly before serving because it will be super hot! It's absolutely amazing served warm with a scoop of vanilla ice cream or a dollop of whipped cream. Enjoy your homemade gluten free apple crisp!
Tips for the Perfect Gluten Free Apple Crisp Dessert
Tips for the Perfect Gluten Free Apple Crisp Dessert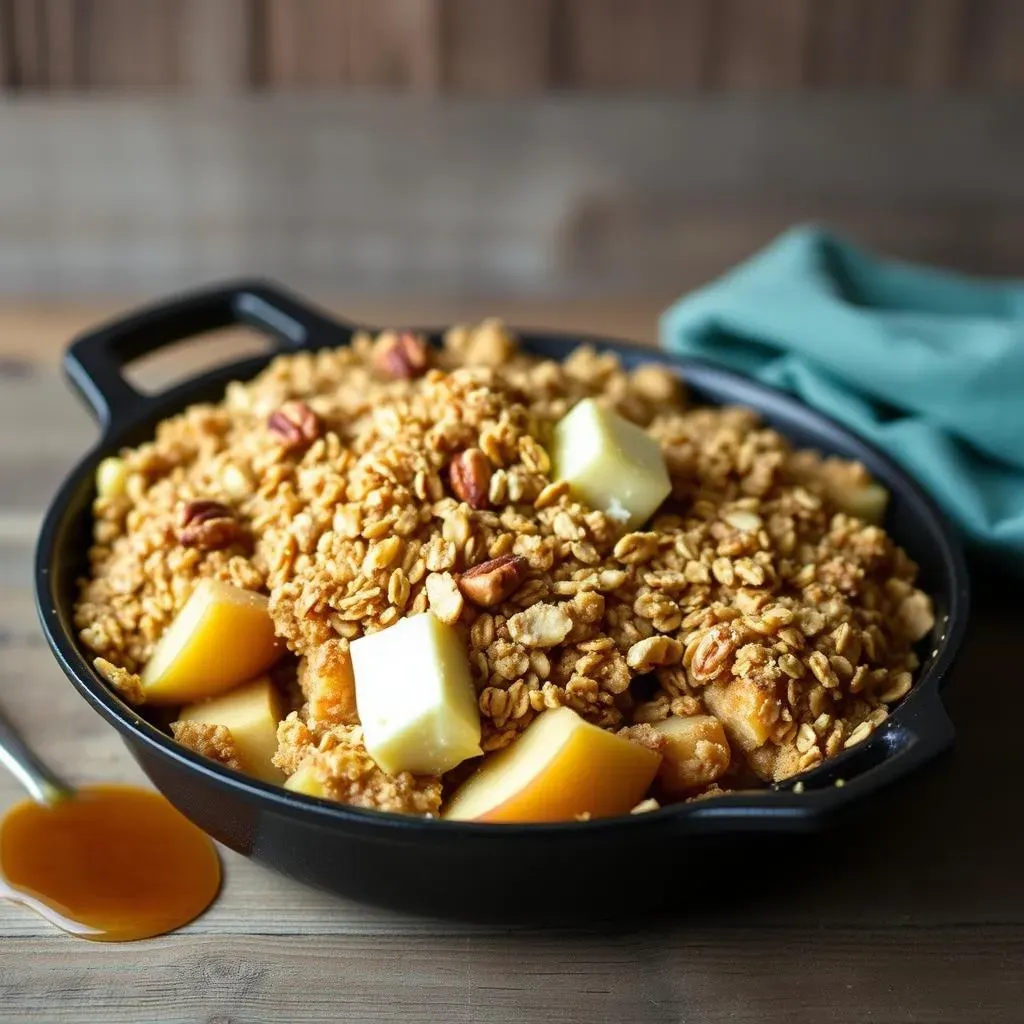
Okay, let's talk about how to make this gluten free apple crisp truly amazing! First, don't skimp on the cold butter. Seriously, it's what makes that topping so wonderfully crumbly. If your kitchen is warm, pop the butter in the freezer for a few minutes before you start. Also, feel free to play around with the spices. I love adding a pinch of nutmeg or allspice for an extra layer of flavor. And here’s a little secret: if you want a super crispy top, try adding a tablespoon or two of almond flour to the topping mixture. It works wonders! Finally, don’t be afraid to adjust the baking time. Ovens can be tricky, so keep an eye on the crisp and bake it until it's perfectly golden and bubbly. The best results come from patience and a little experimenting!
Another great tip is to pre-cook your apples slightly if they are super firm. Sometimes, if the apple slices are too thick, they can be a bit crunchy even when the topping is perfectly cooked. You can do this by sautéing them in a pan with a little butter and cinnamon for about five minutes until they soften a bit. Also, consider adding some chopped nuts to the topping for extra crunch and flavor. Pecans or walnuts work great! A little drizzle of maple syrup over the apples before adding the topping also adds a nice touch of sweetness. Remember, baking is an art, not a science. So, feel free to add your own personal touch and make this recipe your own!
Tip | Why it works |
|---|---|
Use very cold butter | Creates a crumbly topping texture |
Add almond flour | Increases crispiness |
Pre-cook firm apples | Ensures apples are tender |
Add nuts | Adds crunch and flavor |
Drizzle maple syrup | Enhances sweetness |
Gluten Free Apple Crisp: FAQs, Storage and Serving
Gluten Free Apple Crisp: FAQs, Storage and Serving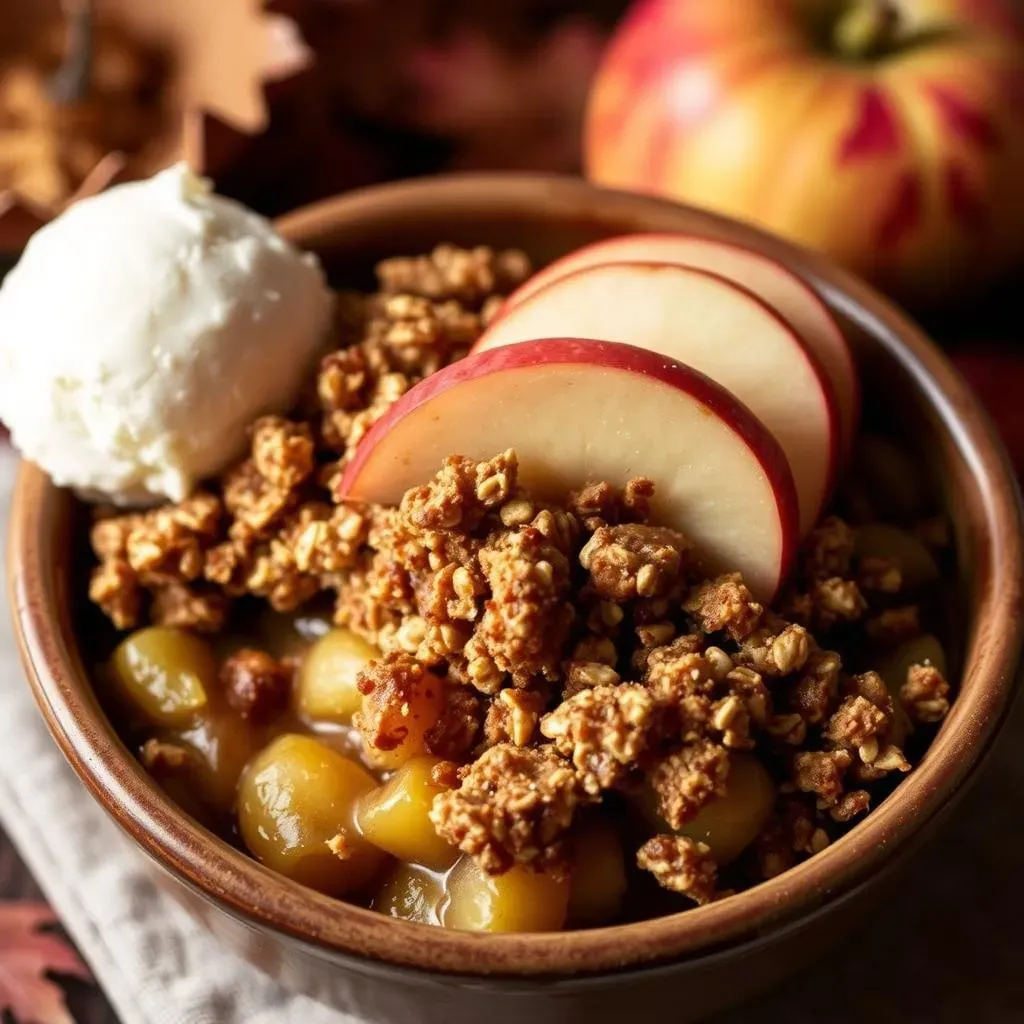
Frequently Asked Questions
Alright, let’s tackle some of the most common questions I get about making gluten-free apple crisp. First up, "Can I use a different type of flour?" Absolutely! While I usually go for a gluten-free all-purpose blend, almond flour or even a mix of oat flour can work well, too. Just keep in mind that different flours can affect the texture, so you might need to adjust the amount slightly. Next, "Can I make this ahead of time?" You sure can! You can assemble the crisp and keep it in the fridge for a day or so before baking. Or, if you've already baked it, you can store it in the fridge and reheat it. Just be aware that the topping might lose some of its crispness over time, but it will still taste amazing. Finally, "Is it really necessary to use certified gluten-free oats?" If you’re sensitive to gluten, absolutely. Regular oats can be cross-contaminated, so it’s best to be safe and use certified gluten-free ones.
Another big question: "Can I make this vegan?" Yes, you can! Simply swap out the regular butter for a good-quality vegan butter. Also, some people ask, "Can I add other fruits?" Definitely! Feel free to add other fruits like berries or pears to the mix for a different flavor profile. And for the last question that I always get "How do I know when the crisp is done?". The best way to know is when the topping is golden brown and the apple filling is bubbling around the edges. You can also insert a knife into the apples to check if they are soft. Remember, baking can vary depending on your oven, so keep an eye on it!
Question | Answer |
|---|---|
Can I use a different flour? | Yes, almond or oat flour work. |
Can I make it ahead of time? | Yes, assemble or bake ahead. |
Certified GF oats necessary? | Yes, if sensitive to gluten. |
Can it be made vegan? | Yes, use vegan butter. |
Can I add other fruits? | Yes, berries or pears are great. |
How do I know when it's done? | Topping golden, apples bubbling. |
Storage and Serving Suggestions
Okay, so you’ve baked your masterpiece – now what? Well, if you happen to have any leftovers (which is rare in my house!), you can store the gluten free apple crisp on the countertop for up to two days, or in the fridge for up to four days. Make sure to cover it tightly to keep it fresh. When you're ready to enjoy it again, you can reheat it in the microwave or in the oven. If you’re using the oven, a low temperature like 300°F (150°C) for about 10 minutes should do the trick. The microwave is faster, but the topping won’t be quite as crispy. If you want to get that crispness back, you can pop it under the broiler for a minute or two. Just watch it carefully so it doesn’t burn!
As for serving, the classic way is to enjoy it warm with a scoop of vanilla ice cream or a dollop of whipped cream. But honestly, it's also fantastic on its own. You can also add a drizzle of caramel sauce or a sprinkle of cinnamon for extra flavor. Another idea is to pair it with a cup of warm tea or coffee for a cozy dessert experience. And if you’re feeling a little fancy, try serving it with a side of homemade custard. No matter how you choose to enjoy it, this gluten free apple crisp is sure to be a hit! Remember, the best part about baking is sharing it with the people you love.