Table of Contents
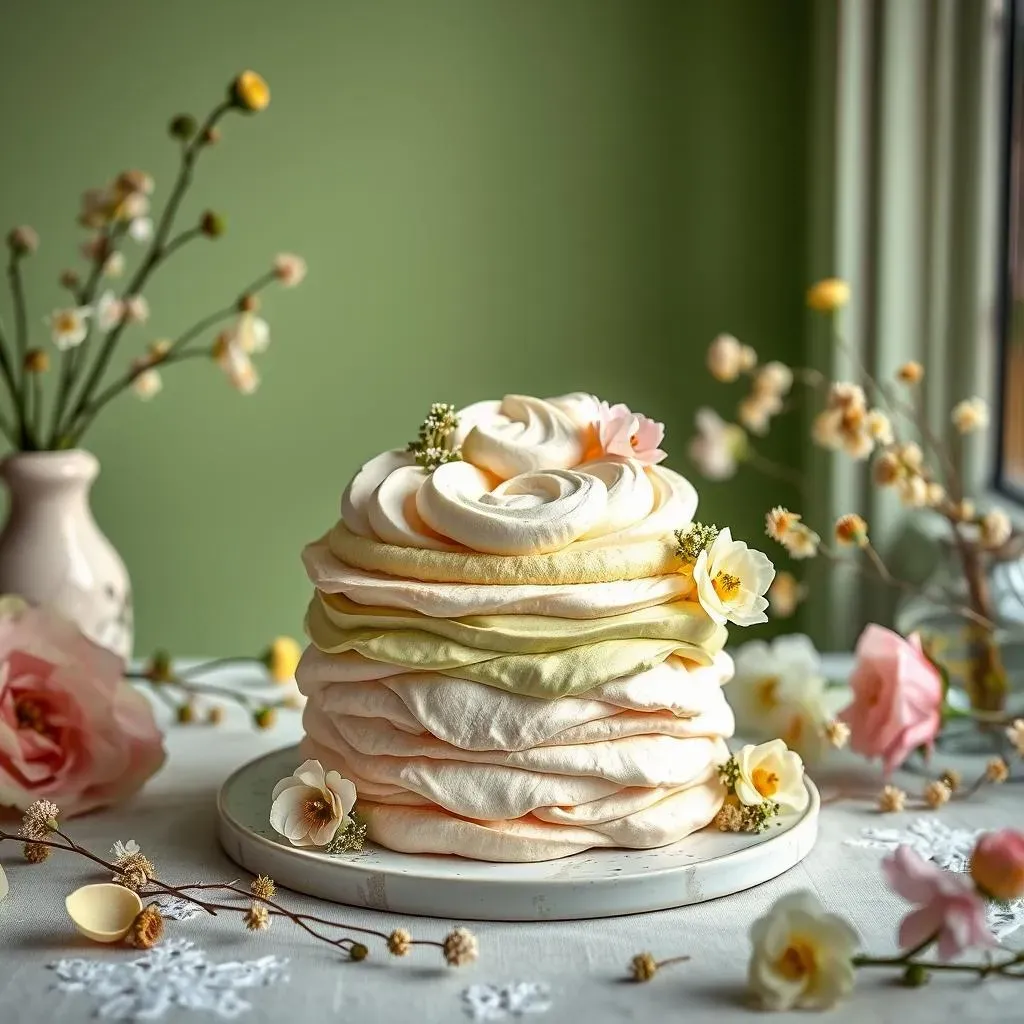
Ever dream of a dessert that's both elegant and surprisingly easy to make? Let's talk about the Pistachio Dacquoise, a delightful french pistachio dessert that's about to become your new favorite. This isn't your average cake; it's a symphony of textures, with crisp meringue layers embracing a luscious pistachio buttercream. We'll start by understanding what exactly a dacquoise is, then we'll gather our ingredients, and I'll show you how to whip up those airy meringue layers. Next, we'll dive into making a rich, silky pistachio French buttercream – the star of the show. Finally, we'll assemble this masterpiece, and I'll share some fun variations, storage tips, and answer some common questions. If you are ready to make a stunning french pistachio dessert, let’s get started! You'll discover that creating this beautiful treat is much more achievable than you might think. Get ready to impress yourself (and maybe some friends) with your new baking skills!
What is Dacquoise?
What is Dacquoise?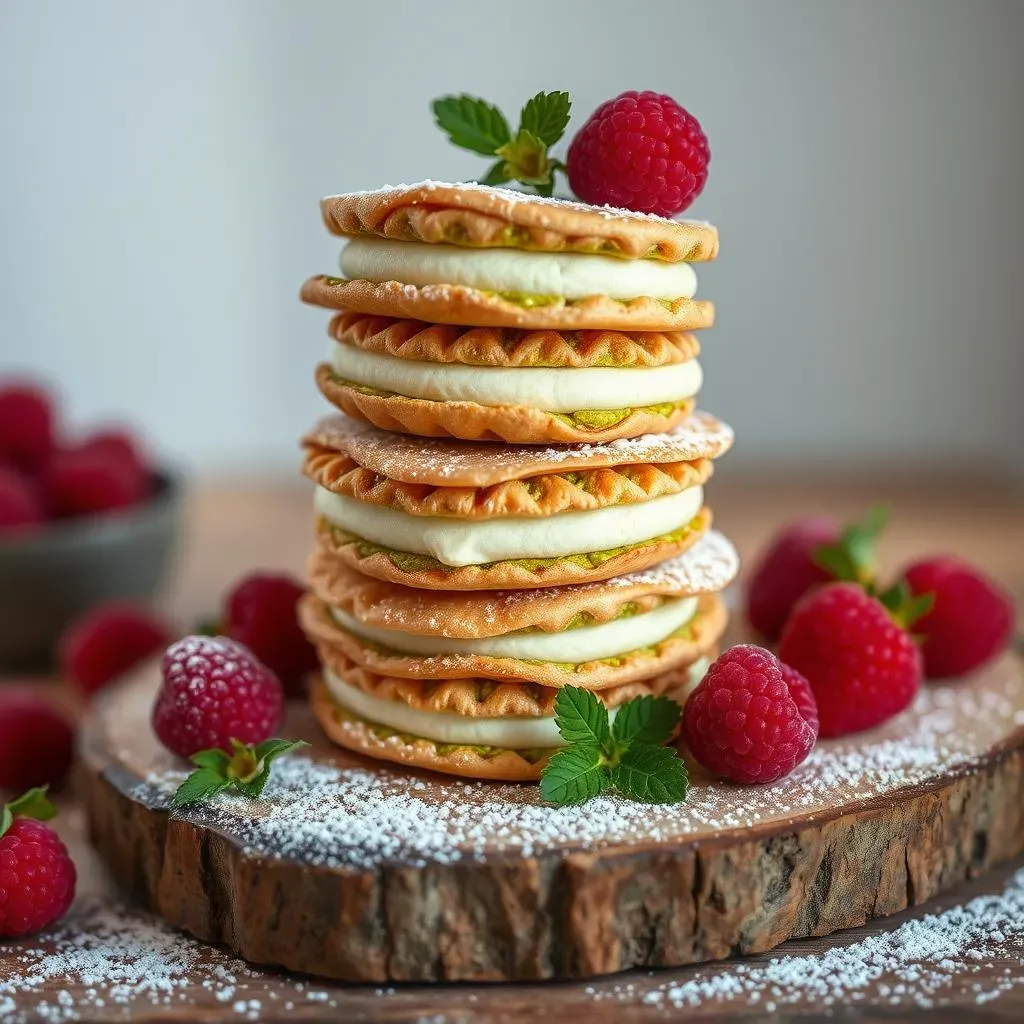
A Meringue Marvel
Okay, so you've heard the word "dacquoise" floating around, and maybe you're picturing some fancy French pastry. Well, you're not wrong! At its heart, a dacquoise is a meringue-based cake. But not just any meringue. It's made with ground nuts, which give it a lovely texture and flavor. Think of it like a super-powered meringue cookie, but instead of being small and crunchy, it's baked into a flat layer that's perfect for stacking and filling. It's like the sophisticated cousin of the macaron, but way less fussy.
The dacquoise is a classic French dessert that often gets overshadowed by its more famous counterparts. I think that's a shame because it is surprisingly versatile. Traditionally made with almonds or hazelnuts, we are about to give it a pistachio twist. It’s all about that delicate balance of crisp meringue and creamy filling, creating a delightful experience with every bite. It’s not as intimidating as it sounds, trust me. It's all about mastering a few key techniques and having fun with it.
Dacquoise Key Features
Feature | Description |
|---|---|
Base | Meringue made with ground nuts (like pistachios!) |
Texture | Light, airy, and slightly crisp |
Usage | Used as layers in cakes, often with buttercream or other fillings |
Flavor | Nutty and slightly sweet, can be customized with different nuts and extracts |
Ingredients for French Pistachio Dessert
Ingredients for French Pistachio Dessert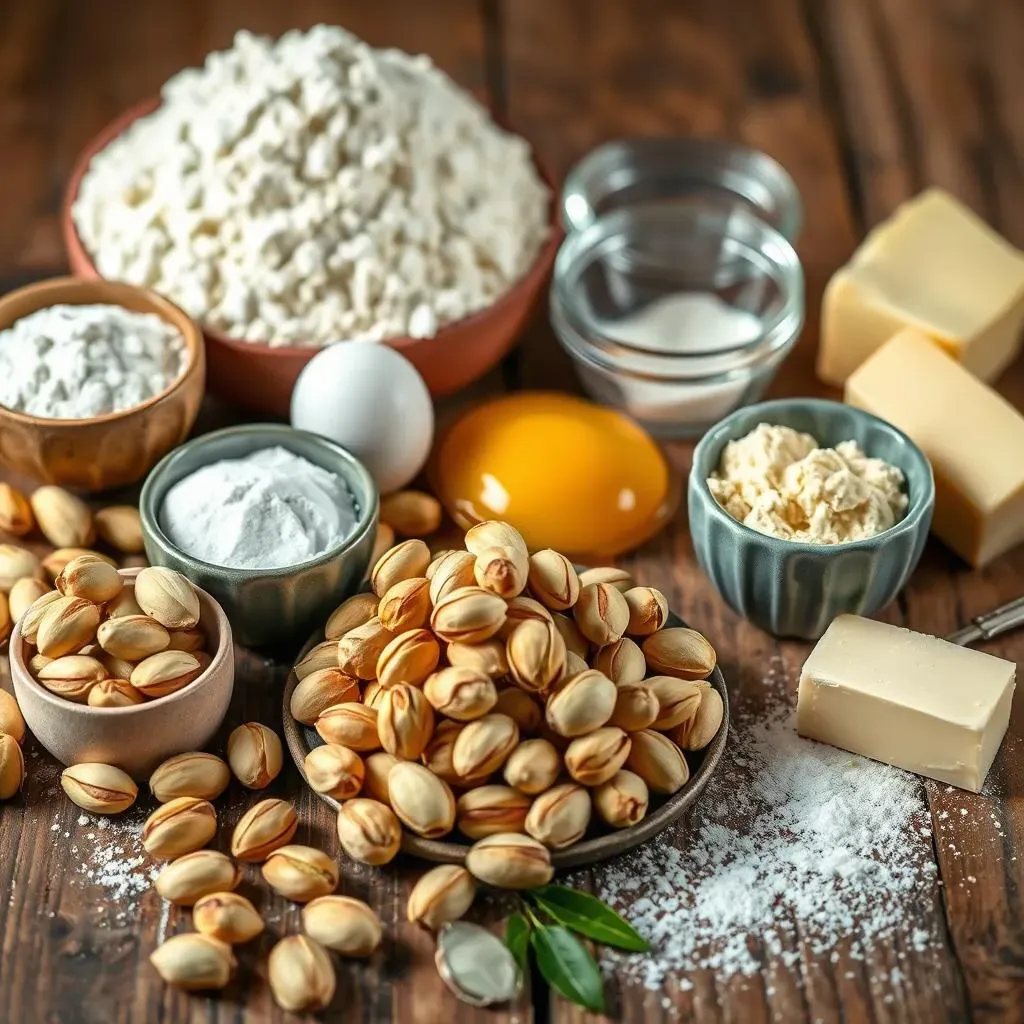
Alright, let's talk about what you'll need to make this amazing french pistachio dessert. For the dacquoise layers, we're keeping it relatively simple. You'll need some shelled pistachios, and I'm talking about the raw, unsalted kind. We'll be grinding them up, so no need to get the fancy roasted ones. Then, we're grabbing some powdered sugar, cake flour, and egg whites. The egg whites are key for that light and airy texture. It’s like the magic that holds the whole thing together. This is where we're building the base of our flavor and texture. Don't worry if you don't have cake flour; I have a solution for that.
Now, for the pistachio French buttercream, things get a little more decadent. We're going to need egg yolks (yes, just the yolks), more granulated sugar, some unsalted butter (make sure it’s softened), and the star: pistachio paste. Now, you might be thinking, "Pistachio paste? Where do I get that?" Don't stress, we'll cover how to make it if you can't find it in stores. These ingredients are what make the filling so rich and smooth, complementing the nutty dacquoise perfectly. It's a beautiful balance of textures and flavors, and each ingredient plays a vital role. It's like an orchestra, where each instrument is essential for the music to be beautiful.
Ingredient | Purpose |
|---|---|
Raw, Unsalted Pistachios | Base flavor and texture for the dacquoise layers |
Powdered Sugar | Sweetener and adds to the light texture of the dacquoise |
Cake Flour | Provides structure and a tender crumb for the dacquoise |
Egg Whites | Creates the airy meringue base of the dacquoise |
Egg Yolks | Adds richness and emulsification to the French buttercream |
Granulated Sugar | Sweetens the French buttercream |
Unsalted Butter | Provides a smooth and creamy base for the buttercream |
Pistachio Paste | Intense pistachio flavor for the buttercream |
How to Make Dacquoise Layers
How to Make Dacquoise Layers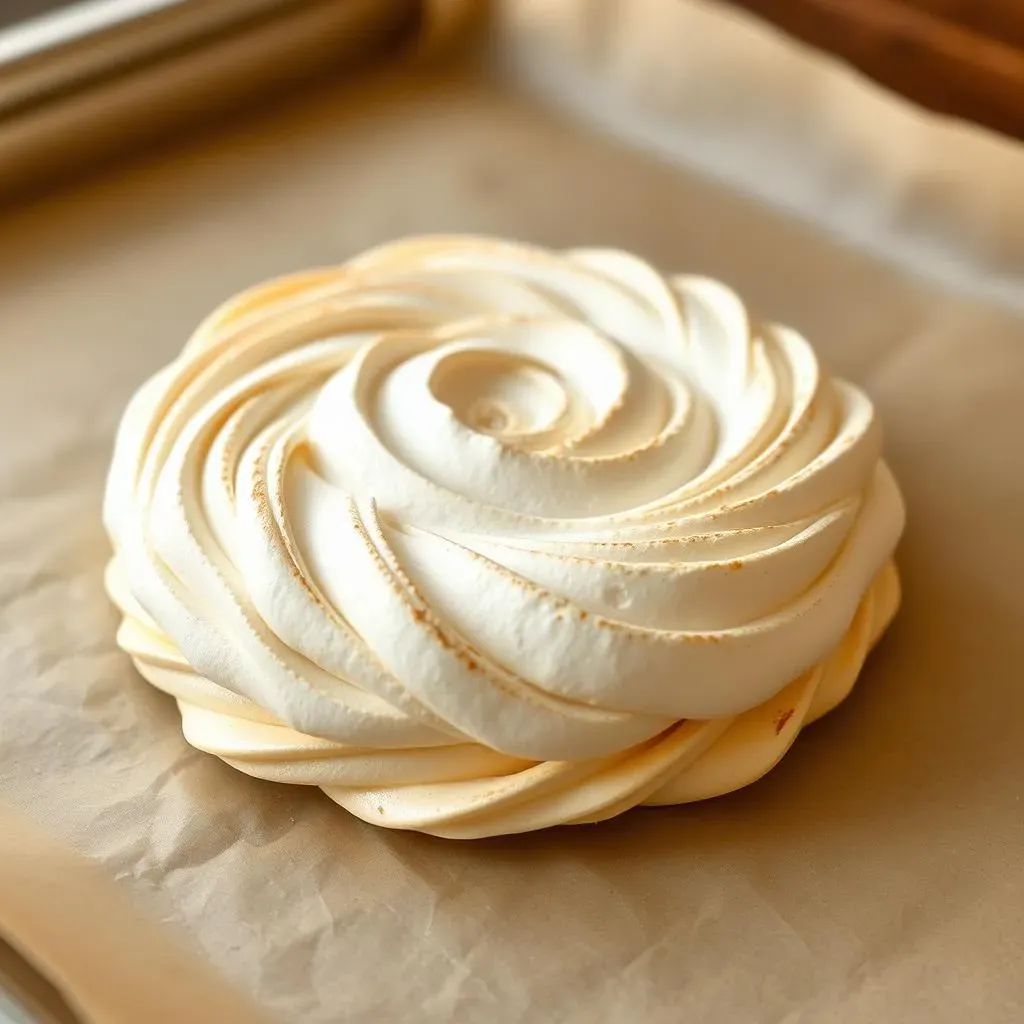
Prepping the Pistachios
Okay, let’s get started! First, you need to grind those pistachios. If you have a food processor, this is a breeze. Just toss them in and pulse until you get a fine, almost flour-like consistency. Be careful not to over-process, or you'll end up with pistachio butter, which is delicious, but not what we want right now. If you don’t have a food processor, don't worry; a blender or even a coffee grinder can do the trick, just make sure to pulse in short bursts. The key is to get them as fine as possible without turning them into a paste. This step is crucial for that delicate texture we’re aiming for.
Once your pistachios are ground, it’s time to sift them together with the powdered sugar and cake flour. Sifting is not just a fancy step; it’s essential for removing any lumps and ensuring that the dry ingredients are perfectly combined. This will help create a smooth, even dacquoise. Think of it like aerating the mix, making it light and fluffy. It’s a small step, but it makes a big difference in the final texture of your layers.
Equipment | Purpose |
|---|---|
Food Processor | Grind pistachios into a fine powder |
Sifter | Combine and aerate dry ingredients |
Whipping Up the Meringue
Now, let's get to the meringue! In a clean, grease-free bowl (this is important!), whip your egg whites with an electric mixer until they form soft peaks. Then, gradually add the granulated sugar while continuing to whip until you get stiff, glossy peaks. This is the moment where the magic happens. The egg whites should be firm enough to hold their shape but still look smooth and shiny. If you over-whip them, they’ll look dry and clumpy, so keep a close eye on them. This meringue is the backbone of our dacquoise, giving it that light, airy texture we crave.
Once the meringue is ready, gently fold in the sifted dry ingredients. I mean gently! You don't want to deflate all that lovely air you just whipped into the egg whites. Use a rubber spatula and fold in a figure-eight motion. Keep folding until everything is just combined. The batter should look light and fluffy. Now you’re ready to shape and bake your dacquoise layers. This part can feel a little intimidating, but just take it slow and enjoy the process. It’s all about being gentle and patient.
“Baking is a science, but it's also an art. The key is to find the balance between precision and creativity.” - A wise baker (probably)
Shaping and Baking
Alright, time to shape your dacquoise layers! If you have cake rings, great! Place them on a baking sheet lined with parchment paper and spread the batter evenly inside each ring. If you don't have cake rings, no worries, you can just spread the batter into even circles or rectangles on the parchment paper. It won't look as neat, but it will taste just as good. The key here is to spread the batter to an even thickness, so it bakes evenly. Aim for about ¼ inch thick. Once they are shaped, bake them in a preheated oven until they're lightly golden and crisp on the edges.
Baking time will vary depending on your oven, so keep a close watch. When they're done, let them cool completely on the baking sheet before carefully peeling them off. Once they’re cool, they’ll be ready for the next exciting step: the pistachio French buttercream. These layers are the foundation of our dessert, and it’s all about getting them light, crisp, and perfectly baked. It's like creating a delicate canvas for our creamy masterpiece.
Crafting Silky Pistachio French Buttercream
Crafting Silky Pistachio French Buttercream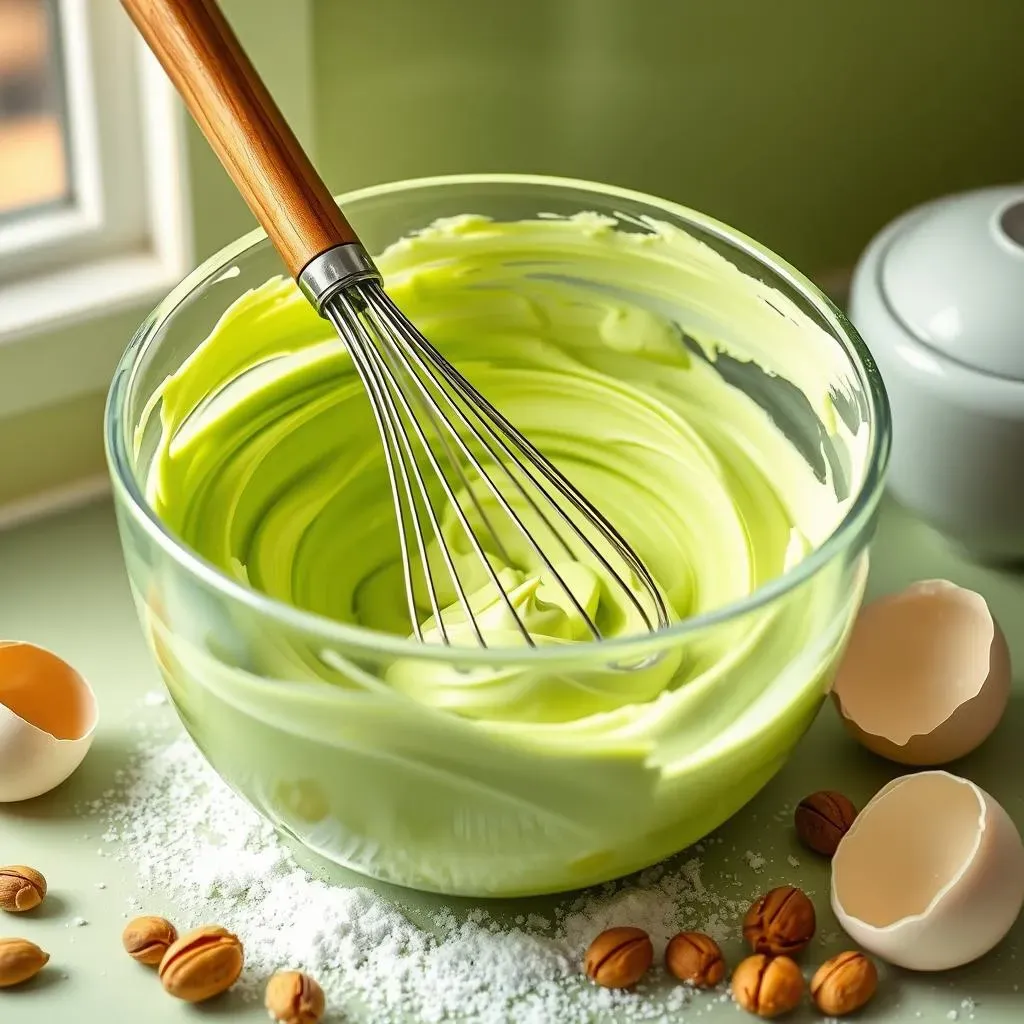
Getting Started with the Base
Alright, let's get into the creamy heart of our french pistachio dessert: the buttercream! We're making a French buttercream, which is a bit different from the American version. Instead of just butter and powdered sugar, we're using egg yolks and a hot sugar syrup. I know, it sounds fancy, but trust me, it's worth it. This method gives you a super smooth and stable buttercream that's not overly sweet. It’s the kind of buttercream that makes you want to lick the bowl clean. First, you'll need to whisk your egg yolks in a clean bowl until they're pale and slightly thickened. This step is important for creating a stable emulsion later on. It's like waking up the yolks and getting them ready for their starring role.
While the yolks are getting ready, it’s time to make the sugar syrup. In a saucepan, combine your granulated sugar and a bit of water. Heat it over medium heat, stirring until the sugar dissolves. Then, let it simmer without stirring until it reaches the soft-ball stage. If you don't have a candy thermometer, don't panic; you can test it by dropping a tiny bit of syrup into cold water. It should form a soft, pliable ball. This hot syrup is the key to cooking the egg yolks and creating that smooth, rich texture. It’s like a science experiment in your kitchen, but the results are delicious.
Step | Description |
|---|---|
Whisk Egg Yolks | Whisk yolks until pale and slightly thickened |
Make Sugar Syrup | Heat sugar and water to soft-ball stage |
Combining the Ingredients
Now for the fun part! Slowly pour the hot sugar syrup into the egg yolks while whisking constantly. Be careful not to pour it too fast, or you might end up with scrambled eggs. Keep whisking until the mixture becomes thick and glossy. This step is crucial for creating that smooth, emulsified base for your buttercream. It’s like creating a perfect foundation for a building – you want it strong and stable.
Once the mixture has cooled slightly (it should still be warm to the touch), start adding the softened butter, a few tablespoons at a time, while continuing to whisk. The buttercream will start to come together, becoming thick and creamy. Don't worry if it looks a little curdled at first; just keep whisking, and it will all come together. This is where the magic of emulsion happens, transforming simple ingredients into a luxurious cream. It’s like watching a caterpillar turn into a butterfly – a beautiful transformation.
"The secret ingredient is always love (and maybe a little extra butter)." - A seasoned baker.
Adding the Pistachio Power
Finally, it's time to add the star: our pistachio paste. Mix in the pistachio paste until the buttercream is evenly colored and flavored. If you’re using store-bought paste, make sure it’s a good quality one. If you’re making your own (which we’ll talk about later), you’ll have complete control over the intensity of the pistachio flavor. Taste and adjust as needed. You want a good balance of sweet and nutty, with that lovely pistachio flavor shining through. This step is like adding the final brushstroke to a painting, bringing everything to life.
Once the pistachio paste is fully incorporated, your buttercream is ready! It should be smooth, silky, and utterly irresistible. If it seems too soft, pop it in the fridge for a bit to firm up. If it seems too stiff, let it sit at room temperature for a few minutes. The key is to get it to the perfect consistency for spreading and piping. Now, you’re ready to assemble your masterpiece, and I promise, it's going to be worth all the effort. This buttercream is like a velvety cloud, ready to envelop our dacquoise layers in nutty bliss.
Assembling Your French Pistachio Dacquoise
Assembling Your French Pistachio Dacquoise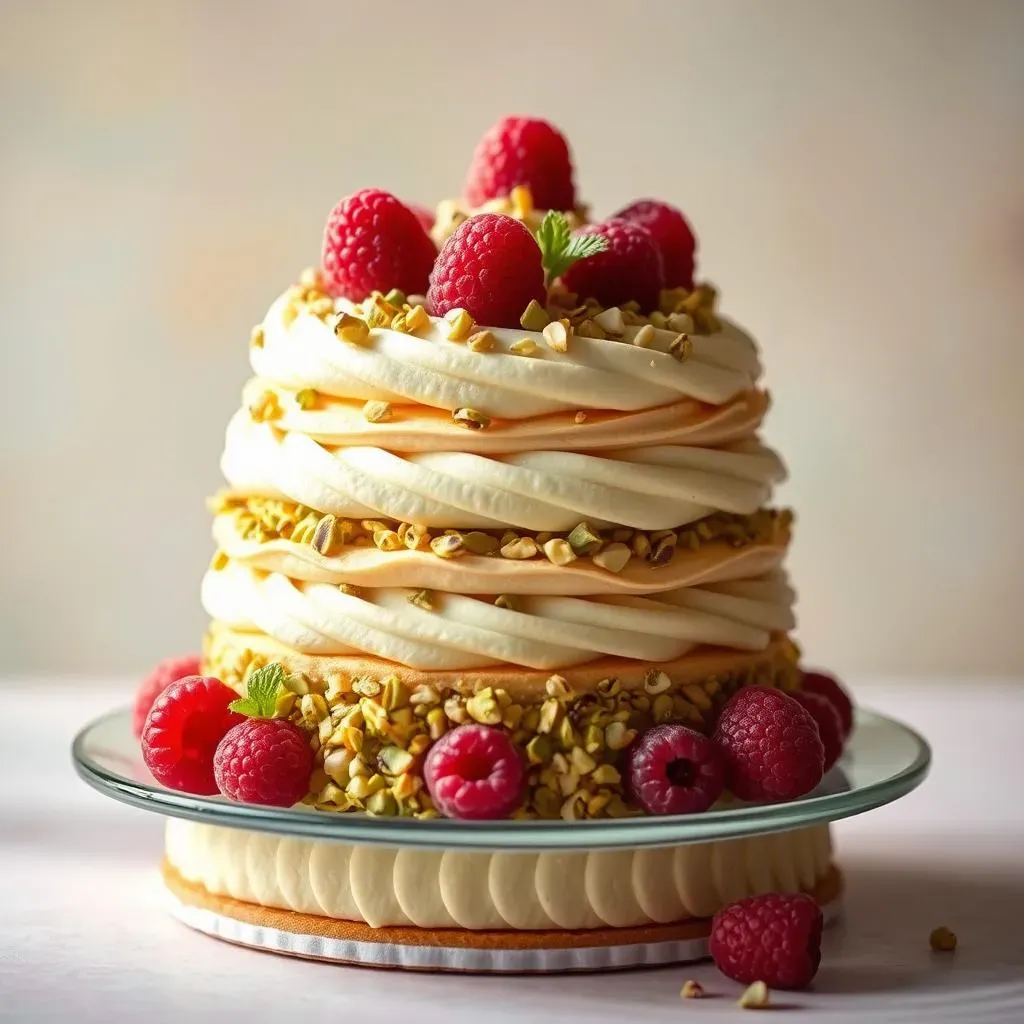
Okay, now for the moment we've all been waiting for: assembling our beautiful french pistachio dessert! It’s like putting together the pieces of a delicious puzzle. Grab your cooled dacquoise layers and that amazing pistachio French buttercream. If you used cake rings, carefully remove the layers from the rings. If not, no worries! Just make sure they are completely cool before starting. Place one layer on your serving plate or cake stand. Using an offset spatula or a butter knife, spread a generous layer of the pistachio buttercream evenly over the dacquoise. Don’t be shy with the buttercream; it’s the glue that holds everything together and adds that creamy goodness we all crave.
Carefully place the second dacquoise layer on top of the buttercream and repeat the buttercream layer. If you have more dacquoise layers, keep stacking them up and adding buttercream between each layer. For the final layer, spread the remaining buttercream on top and around the sides, creating a smooth finish. It doesn't have to be perfect; a rustic look can be quite charming! Now, for the final touches, you can get creative. Sprinkle some chopped pistachios on top for added texture and visual appeal, or add some fresh raspberries for a pop of color and a touch of tartness. You can also pipe some extra buttercream on top to make it look extra fancy. This is where your personal style shines through, so have fun with it! This is where the magic happens, and all your hard work comes together to create a stunning and delicious french pistachio dessert.
“The best part of baking is the joy of sharing it with others.” - Someone who loves to bake.
Step | Description |
|---|---|
Layer 1 | Place a dacquoise layer on your serving plate. |
Buttercream | Spread an even layer of pistachio buttercream. |
Layer 2 | Place the next dacquoise layer on top. |
Repeat | Repeat layering buttercream and dacquoise. |
Final Layer | Spread the remaining buttercream on top and sides. |
Decorate | Add chopped pistachios, raspberries, or other toppings. |
Different Dacquoise Cakes and Variations
Different Dacquoise Cakes and Variations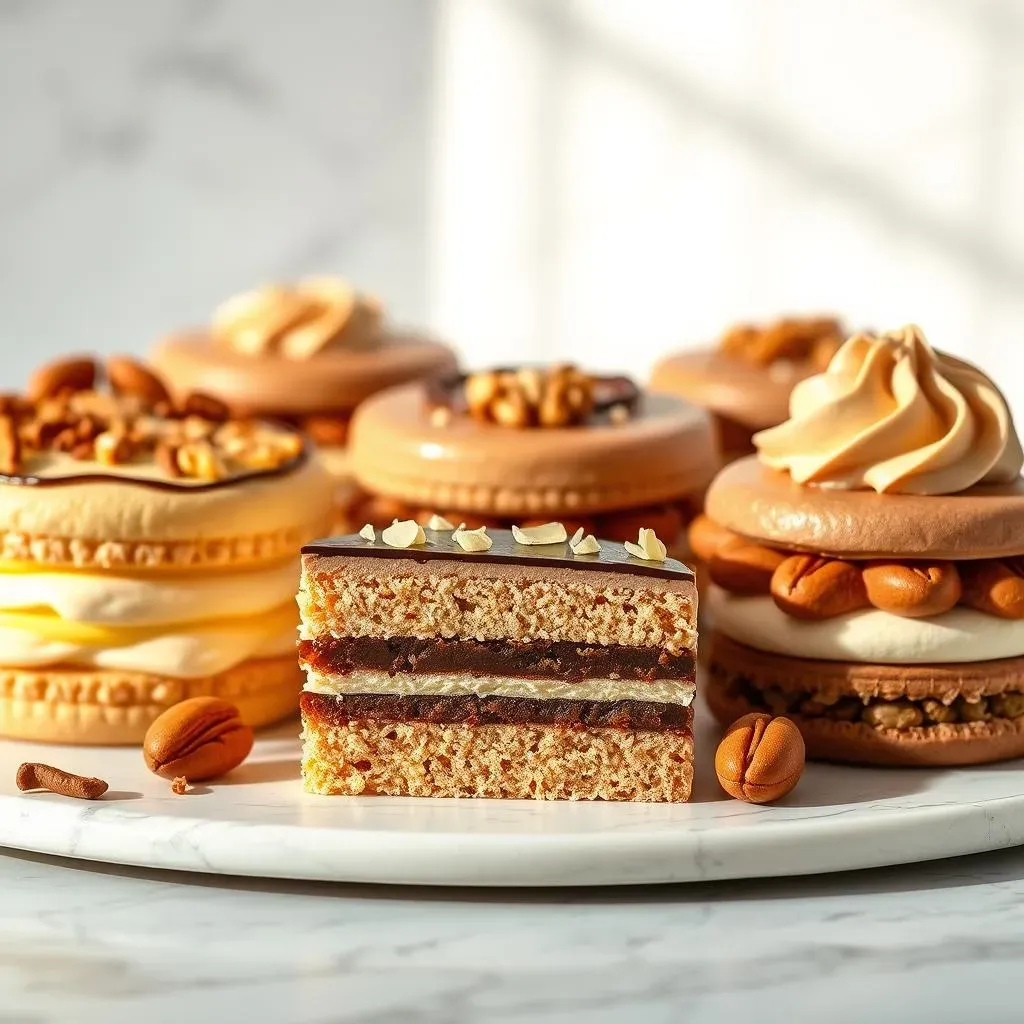
Beyond the Pistachio: Exploring Flavor Combinations
Okay, so we've mastered the pistachio dacquoise, but the fun doesn't have to stop there! The beauty of this french pistachio dessert is its versatility. You can swap out the pistachios for other nuts like almonds, hazelnuts, or even walnuts. Each nut brings its own unique flavor profile, so feel free to experiment! Imagine a hazelnut dacquoise with a rich chocolate buttercream – yum! Or an almond dacquoise with a light lemon cream – so refreshing! And the best part? You can use the same basic method. Just change up the nuts and the fillings, and you have a whole new dessert. It’s like having a blank canvas to create whatever flavor combination you can dream up. Don’t be afraid to get adventurous and see what delicious creations you can come up with!
The filling options are endless too. Instead of just pistachio buttercream, how about a raspberry jam with a mascarpone cream? Or a coffee-flavored buttercream for a little caffeine kick? You can also add different extracts to the meringue layers, like vanilla, almond, or even orange blossom water. The key is to find combinations that complement each other. It's all about balancing the flavors and textures to create something truly special. The dacquoise is a fantastic base for all sorts of creative fillings and toppings. It's not just a cake; it's a playground for your taste buds. So go on, play around and see what you can create!
Nut Variation | Suggested Filling |
|---|---|
Almond | Lemon Cream or Raspberry Jam |
Hazelnut | Chocolate Buttercream or Nutella |
Walnut | Maple Buttercream or Coffee Cream |
Pecan | Caramel Buttercream or Vanilla Bean Cream |
Dacquoise as a Component: Not Just a Cake
Now, here’s a twist, the dacquoise doesn't always have to be the star of the show; it can also be a fantastic supporting player. Imagine using dacquoise layers in a verrine, layered with mousse, fruit, and other delicious elements. It adds a lovely textural contrast to the smooth creams and jellies. It’s like a secret weapon for elevating your desserts. Or think about using mini dacquoise rounds as a base for individual desserts or petit fours. It's such a versatile component that can add a touch of elegance to any sweet creation. The possibilities are endless, and it all comes down to your imagination.
Another fun idea is to use the dacquoise as a base for a larger cake. You could layer it with other cake layers and different fillings to create a multi-layered masterpiece. It adds such a lovely light and airy texture that is different from traditional sponge cakes. The dacquoise can be a bridge between different elements, adding a layer of sophistication and flavor that can’t be beaten. It’s all about thinking outside the box and finding new ways to use this versatile pastry. It's like having a secret ingredient that can transform any dessert, making it more interesting and enjoyable. So go ahead, experiment and see how you can incorporate dacquoise into your creations!
"The only limit to your creativity is your imagination." - A very creative baker.
Essential Equipment for French Pistachio Dessert
Essential Equipment for French Pistachio Dessert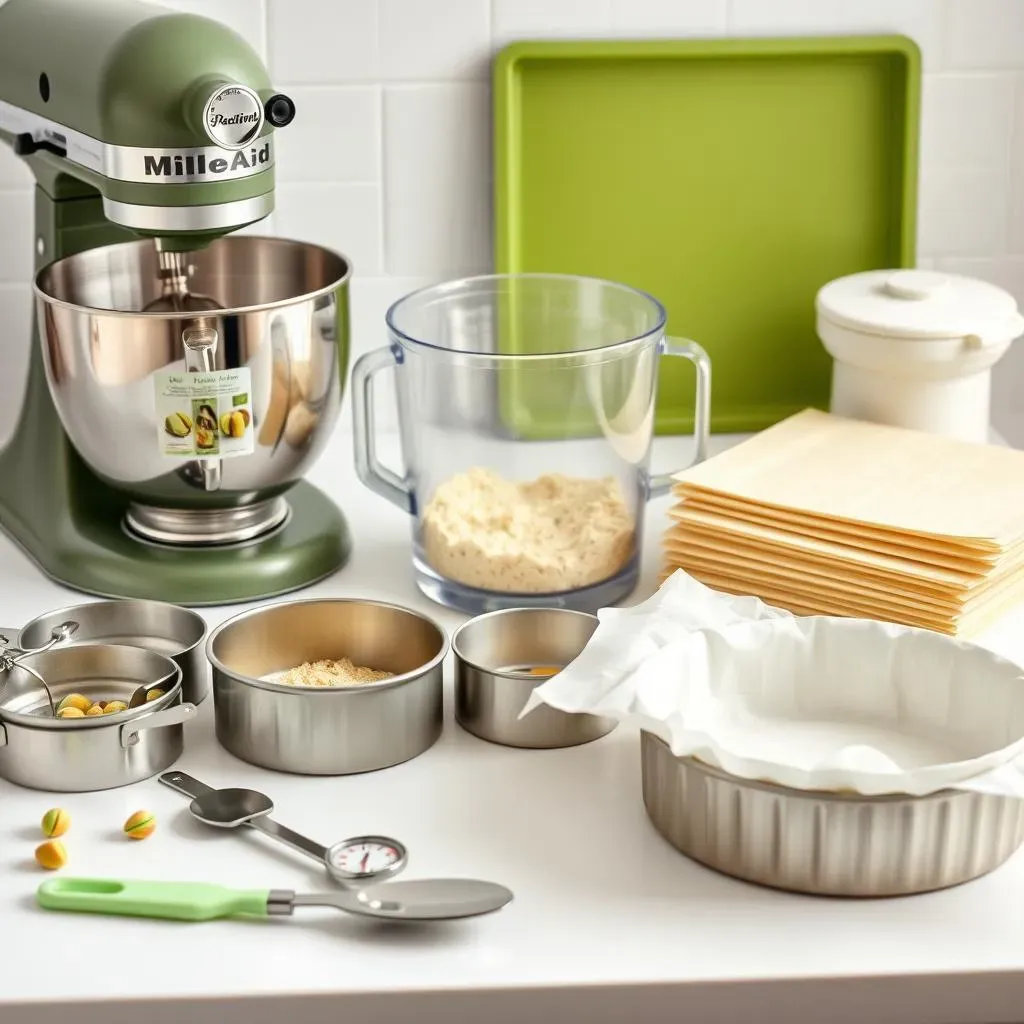
The Must-Have Tools for Dacquoise Success
Alright, let's talk about the gear you'll need to make this french pistachio dessert. You don't need a professional kitchen, but a few key tools will make your life a lot easier. First up, a good stand mixer or hand mixer is essential. Whipping meringue and buttercream by hand is a serious workout, so save yourself some time and elbow grease. A food processor is also super helpful for grinding pistachios into a fine powder. If you don't have one, a blender or even a coffee grinder can work, but you might need to pulse in short bursts to avoid making pistachio butter. And don't forget a good sifter for combining those dry ingredients. These are the workhorses of our operation, and they'll help you get the job done efficiently. It's like having a trusty sidekick in the kitchen, ready to help you conquer any baking challenge.
Next, you'll need some baking sheets, parchment paper, and cake rings. The baking sheets are a given, but the parchment paper is key for preventing your dacquoise layers from sticking. Cake rings aren't strictly necessary, but they do help create those nice, even circles. If you don't have cake rings, you can just freehand it, but the edges might not be as clean. You'll also want a good offset spatula or butter knife for spreading buttercream. And finally, a candy thermometer is useful for making the French buttercream, but you can also use the cold water test if you don't have one. These tools are like the supporting cast, making sure everything looks and tastes amazing. It’s all about having the right tools for the job, so you can focus on creating delicious treats.
Equipment | Purpose |
|---|---|
Stand Mixer or Hand Mixer | Whipping meringue and buttercream |
Food Processor | Grinding pistachios |
Sifter | Combining dry ingredients |
Baking Sheets | Baking dacquoise layers |
Parchment Paper | Preventing sticking |
Cake Rings | Creating even dacquoise layers |
Offset Spatula or Butter Knife | Spreading buttercream |
Candy Thermometer (optional) | Checking sugar syrup temperature |
Nice-to-Have but Not Essential Items
Okay, so we've covered the must-haves, but there are a few other things that can be helpful, though not essential. A kitchen scale is great for precise measurements, especially if you're serious about baking. It's like having a secret weapon for consistency in your baking. A piping bag and tips are nice if you want to get fancy with your buttercream decorations, but a simple spoon or spatula works just fine. A rubber spatula is also super useful for folding the meringue batter. While these aren't essential, they can help elevate your baking and make the process easier. It's like adding some extra flair to your cooking, making it more enjoyable and efficient. They are the extra tools that can help you have more fun in the kitchen.
And finally, a few mixing bowls in different sizes are always handy, and a good set of measuring cups and spoons is a must. You want to have everything you need close at hand. A cake stand is also nice for presenting your finished dacquoise, but a regular plate works just as well. It’s all about making the process as smooth and enjoyable as possible. These items are like the extra touches that make your kitchen more comfortable and functional. It's like having a well-organized workspace that allows you to focus on creating beautiful and tasty desserts. So while they aren't essential, they can definitely make your baking experience a whole lot better.
"A well-equipped kitchen is a happy kitchen." - A baker who knows their stuff.
Tips for Success and Storage
Tips for Success and Storage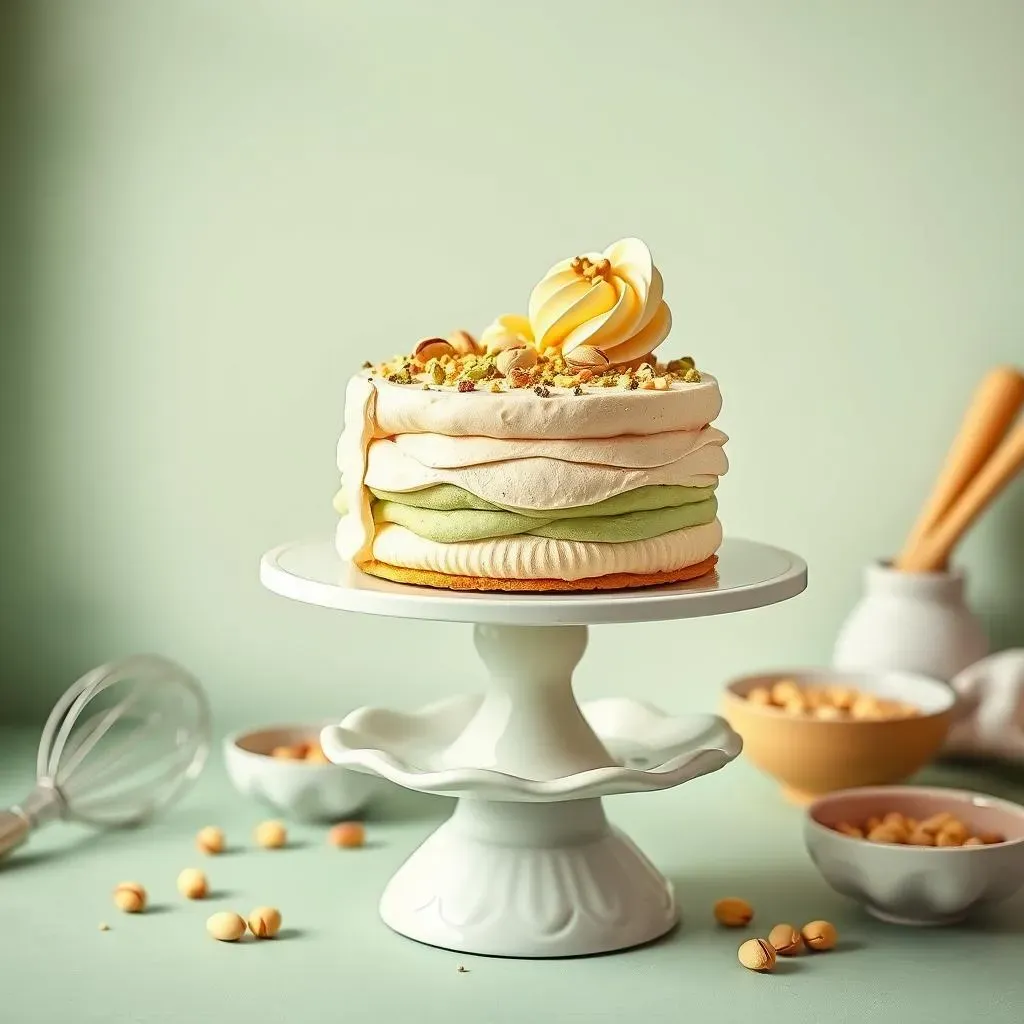
Mastering the Meringue and Buttercream
Okay, let's talk about some tips to make sure your french pistachio dessert turns out amazing. First off, when making the meringue, make sure your bowl and whisk are squeaky clean. Any trace of grease can prevent the egg whites from whipping up properly. It's like trying to build a house on a shaky foundation; it just won't work. Also, don't over-whip the meringue; you want it stiff and glossy, not dry and clumpy. It should look like fluffy clouds! And when folding in the dry ingredients, be gentle! Use a rubber spatula and fold in a figure-eight motion, just until everything is combined. You want to keep all that air in the meringue.
For the French buttercream, make sure your butter is softened but not melted. You should be able to press your finger into it and leave a dent, but it shouldn't be greasy. The hot sugar syrup needs to be at the soft-ball stage. If you don't have a thermometer, use the cold water test. And be sure to pour the syrup into the egg yolks slowly while whisking constantly. It’s like adding fuel to a fire – too much too quickly, and things can go wrong! If the buttercream looks curdled, don't panic! Just keep whisking, and it should come together. These little details can make all the difference between a good and a great dacquoise. It’s all about paying attention and being patient, which is a great skill in baking and in life!
Tip | Description |
|---|---|
Clean Bowls | Ensure bowls and whisks are grease-free for proper meringue |
Meringue Consistency | Whip egg whites until stiff and glossy, avoid over-whipping |
Gentle Folding | Fold dry ingredients into the meringue gently to retain air |
Butter Softness | Use softened butter for smooth buttercream |
Sugar Syrup | Heat sugar syrup to soft-ball stage |
Slow Pouring | Pour hot syrup into yolks slowly while whisking |
Storage Solutions for Your Dacquoise
Alright, let's talk about storing your beautiful french pistachio dessert. If you're not serving it right away, it’s important to store it properly to keep it fresh. The dacquoise layers themselves can be stored in an airtight container at room temperature for a day or two. But if you are not going to use them soon, you should freeze them. Make sure they are fully cooled, and then wrap them individually in plastic wrap and place them in a freezer bag. They can last in the freezer for a couple of weeks. This is a great way to prep ahead of time. It's like having a little stash of deliciousness ready to go whenever you need it.
The pistachio French buttercream can also be stored in an airtight container in the fridge for up to 3 days. If you have made a larger batch, you can also freeze it. Just be sure to thaw it in the refrigerator and then whisk it briefly to bring it back to a smooth consistency. Once your dacquoise is assembled with the buttercream, it’s best to keep it in the refrigerator. It will be fine for a day or two, but it’s best enjoyed fresh. Before serving, take it out of the fridge and let it come to room temperature for about 30 minutes. This will make the buttercream nice and soft. It's all about keeping things fresh and delicious, so you can enjoy your creation at its best. It’s like giving your dessert a little spa treatment, so it’s ready to be enjoyed.
"The art of storage is the secret to extending the pleasure." - A very wise pastry chef.
Component | Storage Method | Duration |
|---|---|---|
Dacquoise Layers | Airtight container at room temperature | 1-2 days |
Dacquoise Layers | Wrapped individually and frozen | Up to 2 weeks |
Pistachio Buttercream | Airtight container in the fridge | Up to 3 days |
Pistachio Buttercream | Frozen in an airtight container | Up to 1 month |
Assembled Dacquoise | Refrigerated, then brought to room temperature before serving | 1-2 days |
French Pistachio Dessert FAQs
French Pistachio Dessert FAQs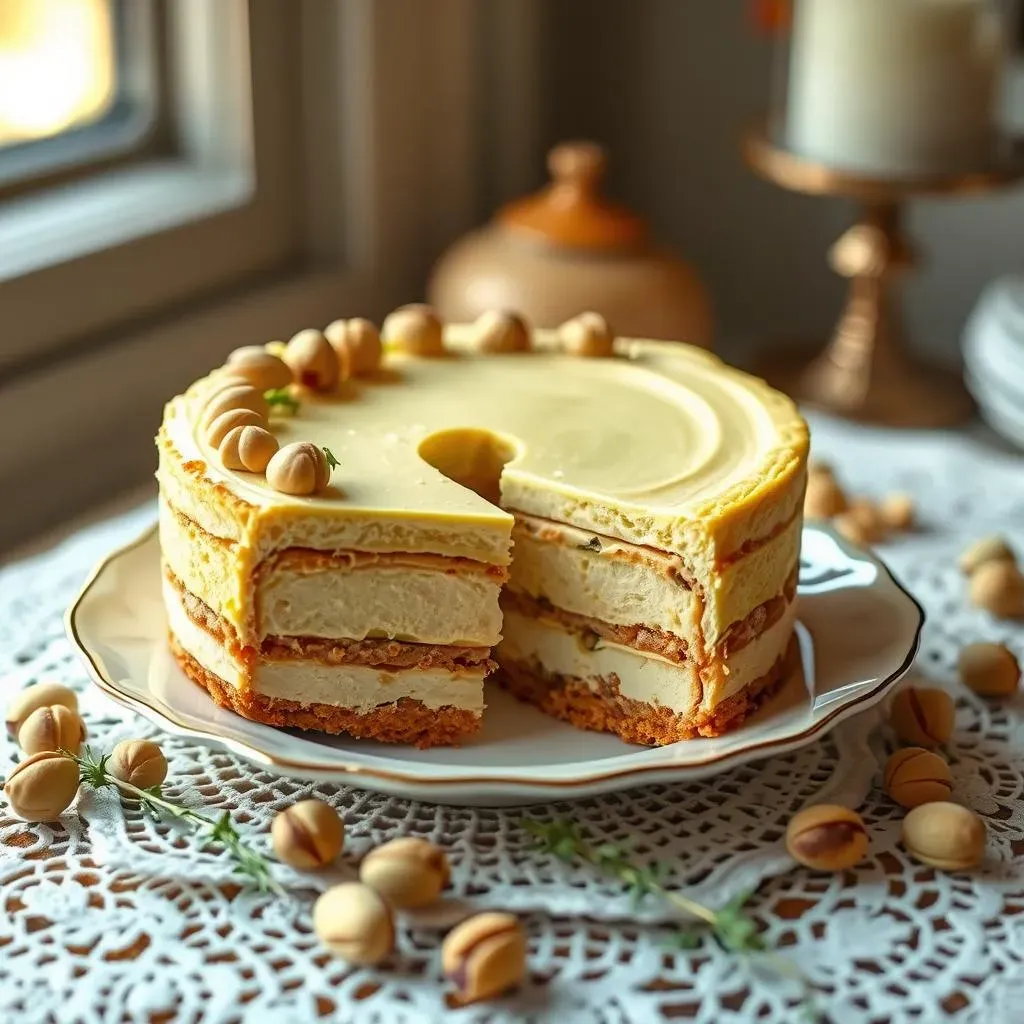
Common Questions About the Dacquoise
Alright, let's tackle some frequently asked questions about our french pistachio dessert. First off, a question I often get is, "Can I use pre-ground pistachios?" Well, you can, but I wouldn't recommend it. Pre-ground nuts often lose their flavor and can be a bit stale. Grinding them fresh gives you the best flavor and texture. So, if you can, take the time to grind them yourself. It's worth the effort, I promise! Another question is, "Can I make the dacquoise layers ahead of time?" Absolutely! In fact, it's a great way to break up the work. Just make sure they are completely cool before wrapping them tightly and storing them at room temperature for a day or two or freezing them for longer. It makes the whole process much less stressful.
Also, many people ask about making the pistachio paste. You can buy it, but homemade is so much better. To make your own pistachio paste, you’ll need to grind the pistachios into a fine powder, then add a touch of oil or water to make a paste. The key is to keep grinding until it reaches the desired consistency. It may take a few minutes, but it's worth it for that intense pistachio flavor. And finally, don't worry if your dacquoise layers aren't perfectly even. It’s all about taste, and a rustic look can be quite charming. It is all part of the charm of homemade baking. It's about having fun and enjoying the process, not about striving for perfection.
Question | Answer |
|---|---|
Can I use pre-ground pistachios? | It's better to grind fresh for best flavor and texture. |
Can I make dacquoise layers ahead of time? | Yes, store cooled layers wrapped tightly at room temperature or frozen. |
How do I make pistachio paste? | Grind pistachios with a touch of oil or water until a paste forms. |
Do the dacquoise layers need to be perfectly even? | No, a rustic look is charming and perfectly fine. |
Troubleshooting Your Buttercream
Let's move on to some common buttercream questions. One of the biggest worries people have is, "What if my buttercream looks curdled?" It’s a common issue with French buttercream, but don’t panic! It usually happens when the butter is too cold or the syrup is added too quickly. Just keep whisking, and it should come back together. If it doesn’t, you can try gently warming the bowl over a pot of simmering water while whisking. This can help the emulsion come together. Just be patient and keep whisking. Another question is, "Can I make the buttercream ahead of time?" Yes, you can! Just store it in an airtight container in the fridge and bring it back to room temperature before using. You might need to whisk it briefly to get it smooth again.
Also, people often ask, "Can I use salted butter?" While unsalted butter is best for baking because it gives you more control over the salt content, if you only have salted butter, you can use it, but reduce the salt in the recipe. The salt in the butter can sometimes make the buttercream taste a bit too salty. Another question is, "Can I add other flavorings?" Absolutely! You can add a bit of vanilla extract or a few drops of almond extract to the buttercream. You can also add other extracts or even a bit of liqueur if you want to get creative. It's all about experimenting and finding the flavors you love. The key is to not be afraid to try new things and have some fun with it!
“The best way to learn is by doing and sometimes making mistakes. It's all part of the process.” - A baker who has seen it all.
Serving and Enjoying Your Creation
Finally, let’s talk about serving and enjoying your french pistachio dessert. A common question is, "How long before serving should I take it out of the fridge?" It’s best to take it out about 30 minutes before serving to let the buttercream soften up a bit. This will make it more pleasant to eat. Also, "Can I decorate it ahead of time?" Yes, you can decorate it ahead of time and keep it in the fridge until you are ready to serve. But keep in mind, some decorations can change in the fridge, so keep that in mind when decorating. For example, fresh berries can sometimes get a bit soggy if they are in the fridge for too long. So, if you are planning to add berries, add them shortly before serving.
And finally, "What is the best way to enjoy a dacquoise?" Well, the best way is to enjoy it with friends and family! It’s a dessert that’s meant to be shared and savored. It’s all about the experience of creating something special and enjoying it with the people you care about. So, gather your loved ones, slice into that beautiful dacquoise, and enjoy the fruits of your labor. It’s a celebration of flavors and textures and all the hard work you put into making it. Remember, baking is not just about following a recipe; it’s about creating memories and sharing joy. It is also about learning from your mistakes and improving your skills each time you bake. So, go ahead, enjoy your delicious french pistachio dessert!
The Sweet Finale: Your French Pistachio Dessert Triumph
So, there you have it – your very own Pistachio Dacquoise, a testament to the fact that you can create a stunning French pistachio dessert right in your kitchen. From the delicate meringue layers to the rich, nutty buttercream, every element of this dessert comes together to create something truly special. Whether you’re celebrating a special occasion or simply want to indulge in something sweet, this dacquoise is sure to impress. Don't be afraid to experiment with different nuts or flavorings to make it your own. Now, go forth and bake, and enjoy the delicious results of your efforts. You've earned it!