Table of Contents
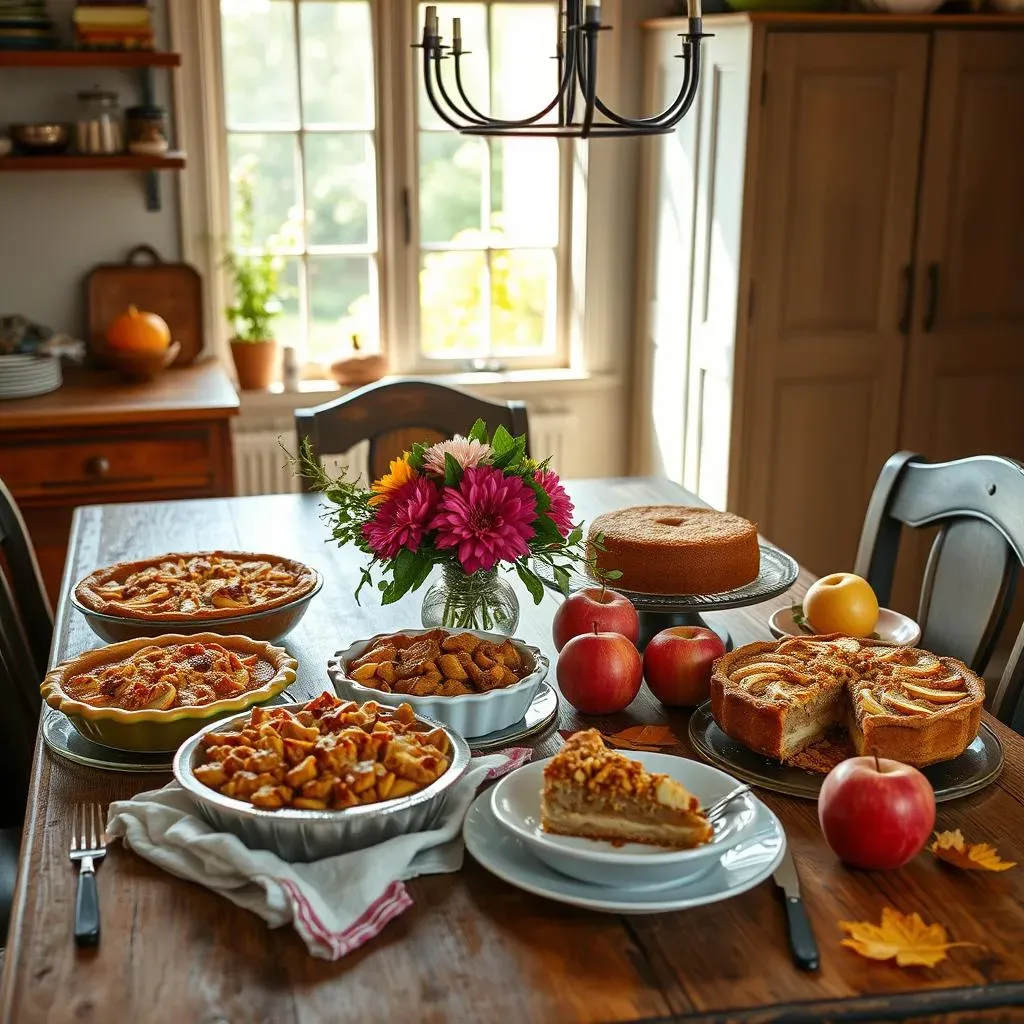
Are you dreaming of warm, comforting apple desserts but need them to be gluten-free? You're not alone! Many of us crave that classic apple pie taste without the gluten. That's why I'm super excited to share some seriously easy gluten free apple dessert recipes. Forget complicated baking processes; we're talking simple steps and delicious results. This isn't about spending hours in the kitchen. Instead, it’s about getting that amazing apple flavor with minimal effort. I've been there, struggling to find gluten-free options that actually taste good, and I've finally cracked the code. We’ll explore everything from gathering the right ingredients to the crucial baking steps. You will also learn some handy tips for making your desserts extra special. Plus, we'll chat about how to store and serve these yummy treats. So, grab your apron, and let's get baking some easy gluten free apple dessert recipes that everyone will love!
Gather Your GlutenFree Goodies: Ingredients for Easy Apple Desserts
Gather Your GlutenFree Goodies: Ingredients for Easy Apple Desserts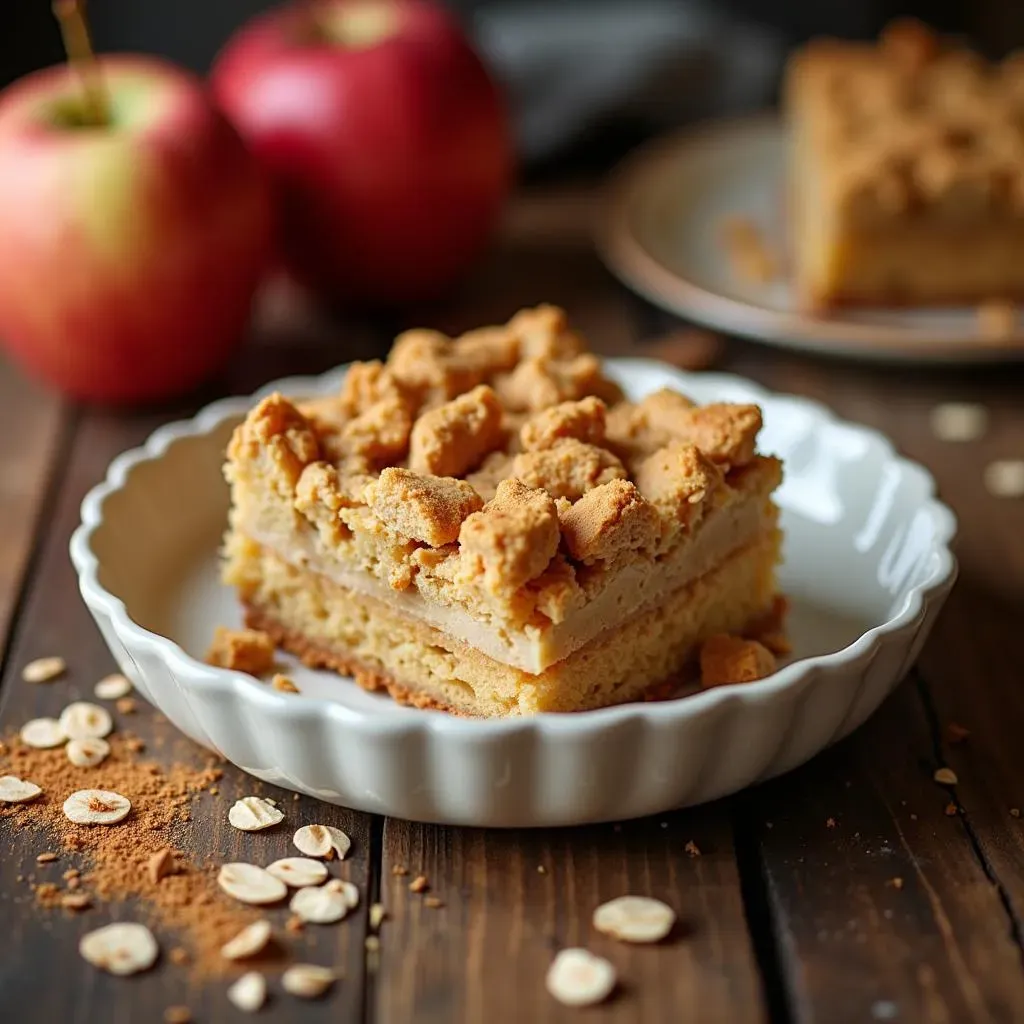
The Gluten-Free Flour Lowdown
so you're ready to bake, but what about flour? Don't just grab any bag! For gluten-free baking, you need a special blend. I've found that a mix of rice flour, tapioca starch, and potato starch works wonders. You can buy these already mixed, or make your own. The key is getting the right balance; too much of one can make your dessert gummy or dry, and nobody wants that! I also like to add a little almond flour for extra flavor and moisture, it makes all the difference. Think of it like choosing the right paint for a masterpiece—it's all about the base.
Don't forget about the gluten-free oats for the topping. Make sure you are using certified gluten-free oats, because sometimes regular oats can have traces of gluten. It's a small detail, but it matters if you're serious about keeping that gluten out! These oats give the crisp that classic crunch we all love. They also add a nice nutty flavor that pairs perfectly with the apples. So, double-check those labels.
Gluten-Free Ingredient | Why It's Important | My Tip |
|---|---|---|
Gluten-Free Flour Blend | Forms the base of the dessert | Look for a mix with rice, tapioca, and potato starch |
Almond Flour | Adds moisture and flavor | Use a small amount for best results |
Gluten-Free Oats | Creates a crunchy topping | Make sure they are certified gluten-free |
Sweetness and Spice: The Flavor Boosters
Now that we've got our flour sorted, let's talk sweetness. Instead of regular white sugar, I prefer light brown sugar. It gives the dessert a lovely caramel-like flavor, which is just perfect for apples. Plus, it adds a bit of moisture, keeping everything nice and gooey. And when it comes to spices, don't hold back! Cinnamon is a must, of course, but I also like to add a dash of nutmeg and a tiny pinch of ginger. These spices warm up the dish and create that cozy, comforting feeling. It’s like wrapping your taste buds in a soft blanket.
And finally, let's not forget the star of the show – the apples! For the best flavor and texture, I'd recommend using a mix of tart and sweet apples. Granny Smiths are great for that tang, and Honeycrisps bring the sweetness. Cut them into slices, not too thick, not too thin, just right. You want them to be soft but still have some bite after baking.
StepbyStep: Baking Your Own GlutenFree Apple Creations
StepbyStep: Baking Your Own GlutenFree Apple Creations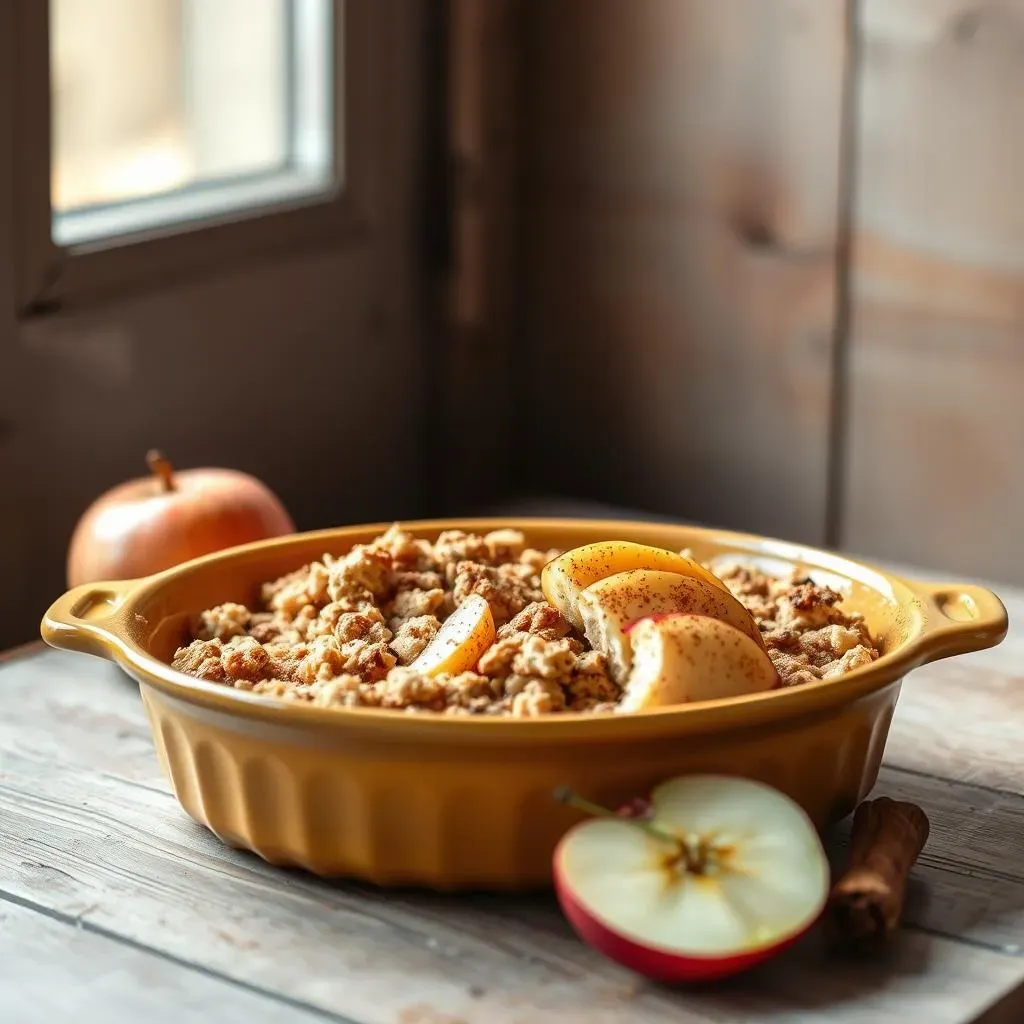
Layering the Goodness
Alright, now for the fun part – putting it all together. First, grab your baking dish. I usually use an 8x8 inch square dish, but a pie plate works just as well. Lightly grease it to make sure nothing sticks. Now, spread your sliced apples evenly at the bottom. Think of it as creating a cozy bed for all the other yummy ingredients. Next, sprinkle about half of your brown sugar over the apples. This will help create a delicious caramel-like sauce as it bakes. It’s like giving the apples a little sugar hug.
Next up, we need to make that crumble topping. In a separate bowl, mix your gluten-free flour, gluten-free oats, the rest of the brown sugar, and those wonderful spices. Add your cold, cubed butter. Now, here’s the trick: use a pastry blender or your fingers to mix it all together until it looks like coarse crumbs. Don’t overmix; you want some nice chunks for that perfect crumble texture. Sprinkle this mixture evenly over the apples. It should cover the entire top, like a cozy blanket on a chilly night.
Baking to Perfection
Time to bake! Preheat your oven to 375°F (190°C). Place your baking dish in the center of the oven and let it bake for about 35-40 minutes. You'll know it’s done when the topping is golden brown and the apples are bubbly. The smell alone will make your mouth water! Keep a close eye on it; ovens can vary, so you might need to adjust the time a bit. If the top starts to brown too quickly, just loosely cover it with foil.
Once it's done, take it out of the oven and let it cool for at least 15 minutes before serving. This helps the filling set a bit, so it’s not too runny. I know it’s tempting to dig in right away, but trust me, the wait is worth it. The flavors will meld together beautifully as it cools. Serve it warm with a scoop of vanilla ice cream or a drizzle of caramel sauce. It's a comforting dessert that is incredibly easy to make.
Step | Action | Why It Matters |
|---|---|---|
1 | Layer apples and some brown sugar in the dish | Creates a base for the flavors |
2 | Mix topping ingredients and crumble over apples | Provides a crunchy, textured top |
3 | Bake until golden and bubbly | Cooks the apples and sets the topping |
4 | Cool before serving | Allows the filling to thicken |
Tips for the Perfect GlutenFree Apple Dessert
Tips for the Perfect GlutenFree Apple Dessert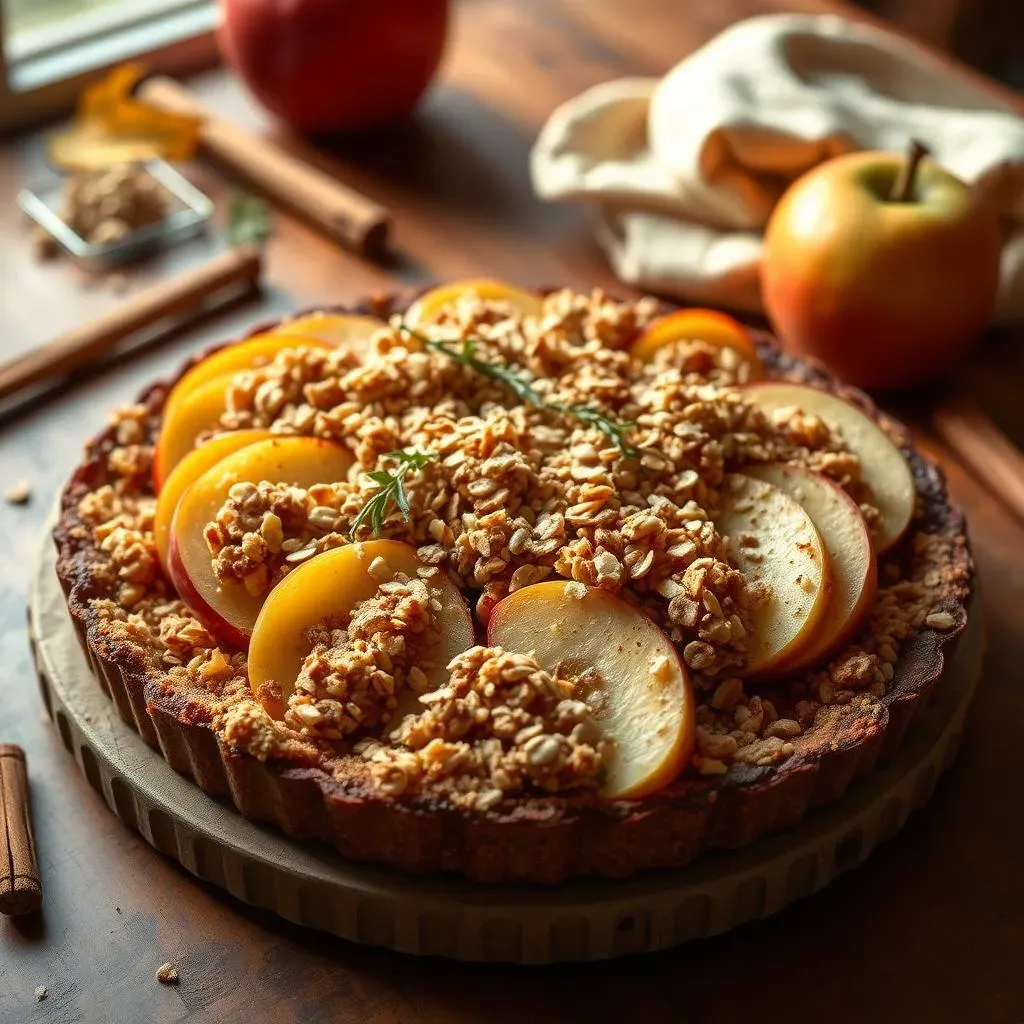
Apple Prep: The Key to Flavor
so we've got the basics down, but let's chat about some tips that can really take your gluten-free apple dessert to the next level. First off, it's all about the apples. Don't just use any old apples; choose ones that are firm and flavorful. I like to use a mix of sweet and tart varieties. For example, Honeycrisp and Granny Smith apples together create a great balance. You should also peel them, but not too thick, just enough to remove the skin. If you prefer to leave the skin on for added fiber, that's fine too, but it may change the texture a bit.
Also, toss your sliced apples with a little lemon juice before layering them in the dish. This prevents them from browning and adds a subtle tang that enhances the overall flavor. Think of it as adding a little extra sparkle to your apple creation. And here’s a pro tip: don’t slice them too thick or too thin. You want them to be soft but still hold their shape after baking. If they're too thick, they won't cook through properly, and if they're too thin, they'll turn to mush.
Topping Tactics: Achieving the Perfect Crumble
Now, let’s talk about that crumble topping. It’s the best part, right? The key to a good crumble is cold butter. I mean, really cold. Cut it into small cubes and keep it in the fridge until you're ready to use it. This will help create those nice, crumbly pieces instead of a flat, doughy mess. I've tried it with melted butter before, and trust me, it's not the same. The cold butter creates pockets of air as it melts in the oven, resulting in a light and crispy topping.
Don't be afraid to experiment with the topping too. You can add chopped nuts like pecans or walnuts for extra crunch. Or, try adding a pinch of sea salt to balance out the sweetness. I also like to use a little bit of cinnamon and nutmeg in the topping to enhance the warm, cozy flavor. And remember, don't overmix the topping ingredients. Just use your fingers or a pastry blender until it forms coarse crumbs. You want some chunky bits for that perfect texture.
- Use a mix of sweet and tart apples for the best flavor.
- Toss sliced apples with lemon juice to prevent browning.
- Use very cold butter for a crumbly topping.
- Add nuts or sea salt for extra flavor and texture.
Baking Wisdom: Tips for a Golden Finish
Alright, so you've prepped your apples, made your crumble, and you're ready to bake. Here's a crucial tip: don't overcrowd the baking dish. If you cram too many apples in, they won't cook evenly, and the topping might get soggy. Make sure there’s enough space for the heat to circulate. Also, keep an eye on the baking time. Ovens can vary, so start checking at around 30 minutes. You're looking for a golden-brown topping and bubbly apples. If the top starts to brown too quickly, just loosely cover it with foil.
Another tip: let the dessert cool for at least 15 minutes before serving. This allows the filling to set a bit, so it's not too runny. Trust me, it's worth the wait. And finally, don’t be afraid to experiment. Baking is all about having fun and trying new things. Maybe next time, you'll try adding a different spice or a different type of nut. That’s the joy of baking, you can make it your own.
Tip | Why It's Important |
|---|---|
Don't overcrowd the baking dish | Ensures even cooking and prevents a soggy topping |
Monitor baking time and temperature | Prevents over-browning or under-baking |
Cool before serving | Allows the filling to set and flavors to meld |
Storing and Serving Your Easy GlutenFree Apple Dessert Recipes
Storing and Serving Your Easy GlutenFree Apple Dessert Recipes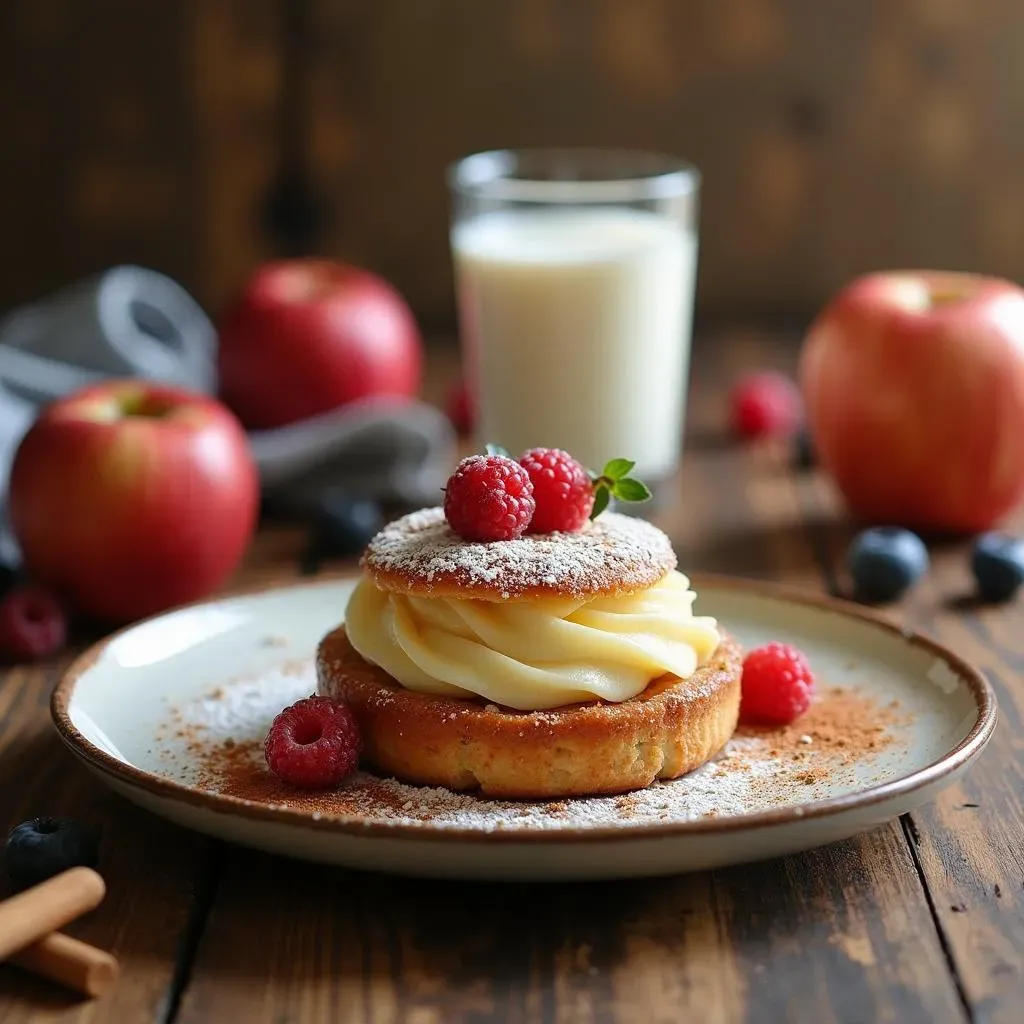
Keeping It Fresh: Storing Your Apple Dessert
so you've baked this amazing gluten-free apple dessert, and maybe, just maybe, you have some leftovers. Don't worry, they won't go to waste! If you plan to eat it within a couple of days, simply cover the baking dish tightly with plastic wrap or foil and store it in the refrigerator. This will keep it fresh and prevent it from drying out. I've found that it tastes just as good, if not better, the next day after the flavors have had a chance to meld together even more. It's like a little flavor party in your fridge!
But what if you want to keep it longer? No problem! You can absolutely freeze your gluten-free apple dessert. Just make sure it's completely cooled first. Then, wrap it tightly in plastic wrap, followed by a layer of aluminum foil, or place it in an airtight freezer-safe container. This will prevent freezer burn and keep it tasting delicious for up to three months. When you're ready to enjoy it, simply thaw it in the refrigerator overnight and then warm it up in the oven or microwave. It's like having a little slice of fall anytime you want.
Storage Method | Duration | Tips |
|---|---|---|
Refrigerator | 2-3 days | Cover tightly to prevent drying |
Freezer | Up to 3 months | Wrap well to avoid freezer burn |
Serving Suggestions: The Perfect Finishing Touch
Now, let's talk about the best part – serving! While this gluten-free apple dessert is delicious on its own, there are a few ways to make it even more special. My favorite way to serve it is warm, with a big scoop of vanilla ice cream melting on top. The contrast between the warm, gooey apples and the cold, creamy ice cream is just heavenly. It’s like a warm hug on a cold day. If you're feeling fancy, you can drizzle some caramel sauce over the top. I've also tried it with a sprinkle of cinnamon and a few chopped nuts.
And don't forget about presentation! A little garnish can go a long way. I like to add a sprig of mint or a dusting of powdered sugar before serving. It makes it look like you spent hours in the kitchen, even if it was super easy to make. You can also serve it with a side of whipped cream or a dollop of Greek yogurt. The possibilities are endless! It's all about making it your own and enjoying every single bite.
- Serve warm with vanilla ice cream.
- Drizzle with caramel sauce for extra sweetness.
- Add a sprinkle of cinnamon or chopped nuts.
- Garnish with mint or powdered sugar for presentation.
Wrapping Up Your Gluten-Free Apple Dessert Adventure
So, there you have it! Creating delicious, easy gluten-free apple desserts doesn't have to be a daunting task. With a few simple ingredients and a little know-how, you can whip up treats that will impress everyone, gluten-free or not. Remember, the key is in the quality of your apples and not being afraid to experiment with spices to find your perfect flavor profile. Whether you’re storing leftovers for a treat later or serving up a warm crisp with a scoop of ice cream, these recipes are sure to satisfy your cravings. Now, go forth and bake with confidence, knowing that you've got the tools to create gluten-free apple magic in your own kitchen.