Table of Contents
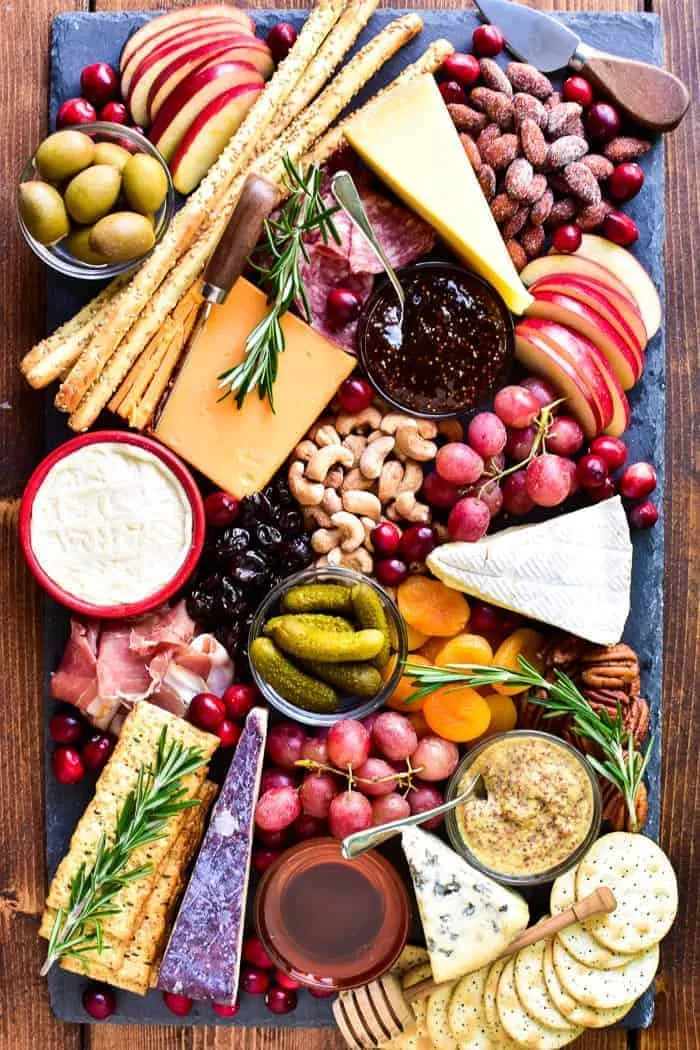
Staring at a block of cheese and wondering how to make it look less, well, like a block? You've got the delicious cheese sorted, but presenting it feels like another task entirely. Nobody wants a sad, uninspired pile of dairy, right? You want that 'wow' factor when guests arrive, something that says you put in a little effort without actually spending hours fussing. That's exactly where the concept ofdecoration cheesesteps in – it's about making your cheese display as appealing to the eyes as it is to the palate. Forget complicated carvings or edible glitter. We're talking practical, achievable ways to make your cheese board or platter look its absolute best. Think simple cuts, smart pairings, and clever arrangements that transform everyday cheese into a feast for the senses. This guide will show you how to easily elevate yourdecoration cheesegame, from quick tricks for individual pieces to building a show-stopping spread that everyone will remember (and photograph). Let's make your cheese the undeniable star of the show.
Making a Statement with Decoration Cheese
Making a Statement with Decoration Cheese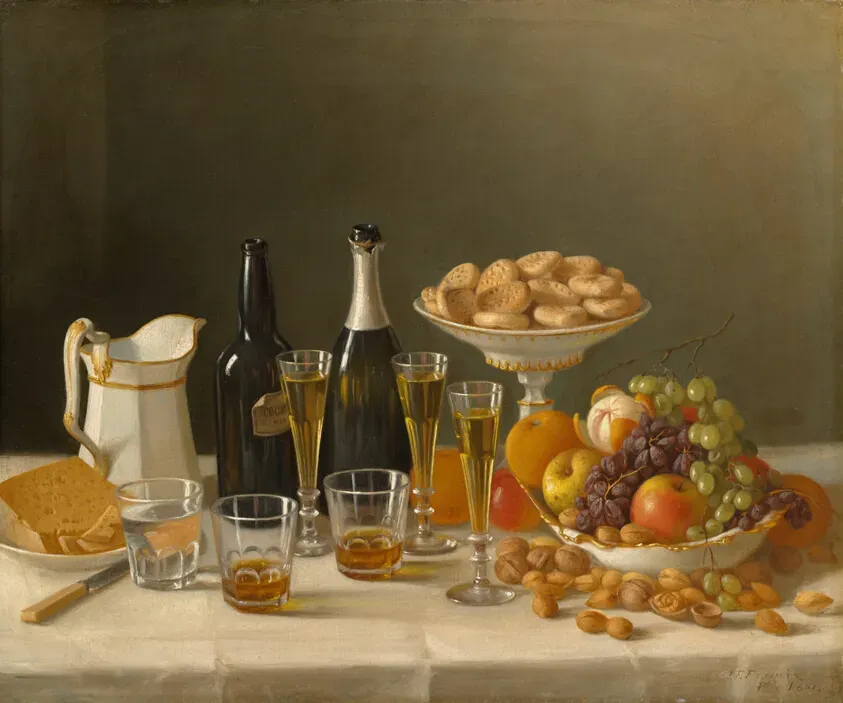
First Impressions Matter: It's All About the Cut
Let's be honest, nobody gets excited about a plain block of cheddar sitting there like a brick. Making a statement withdecoration cheesestarts with how you slice it. A wedge of Brie looks elegant, sure, but cut it into generous triangles. Hard cheeses like Parmesan? Break off craggy, irregular chunks – it shows off that beautiful crystalline texture. Gouda or cheddar works well cubed, but try stacking the cubes slightly off-kilter or arranging them in a pattern instead of just dumping them in a pile. Simple cuts make a huge difference in visual appeal and signal to your guests that this isn't just any old cheese; it's been considered.
Beyond the Slice: Simple Visual Flourishes
Once the cheese is cut, it needs friends. This isn't about clutter; it's about contrast and color. Tuck some fresh rosemary sprigs or a few basil leaves between cheese pieces. The green pops against the creamy or aged tones. A scattering of pomegranate seeds or some bright red grapes adds a burst of color and freshness. Don't just pile things on top; think about negative space on your board or platter. Let the cheese breathe a little. A drizzle of honey over a hard cheese or a soft goat cheese just before serving adds a glossy finish and hints at the flavor pairing. These small touches are what elevate it from a basic cheese plate to a deliberatedecoration cheesedisplay.
- Cut hard cheeses into irregular chunks.
- Slice soft cheeses into elegant wedges or triangles.
- Arrange cubes in patterns, not just piles.
- Use fresh herbs for color contrast.
- Add fruit like grapes or pomegranate seeds.
- Consider a last-minute drizzle of honey or balsamic glaze.
Easy Decoration Cheese Ideas That Impress
Easy Decoration Cheese Ideas That Impress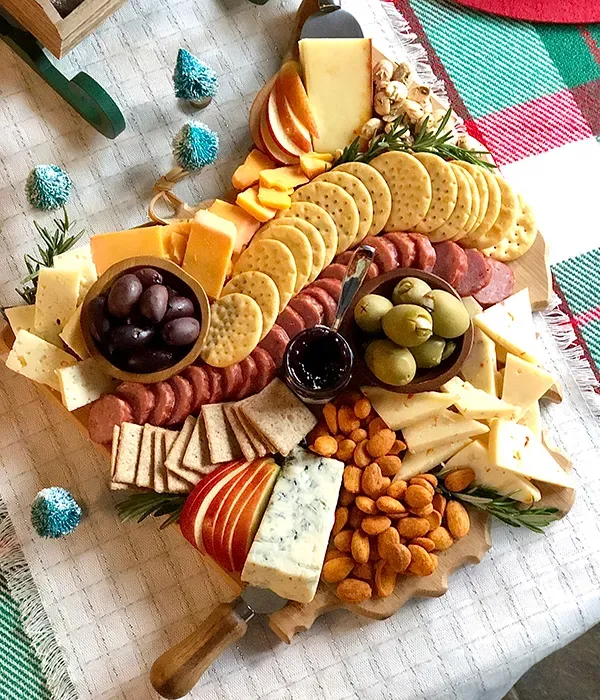
Turning Simple Shapes into Stars
so you've cut the cheese nicely, but how do you make it *pop* without needing a degree in culinary sculpture? It's simpler than you think. Grab some cookie cutters. Seriously. Small star shapes or hearts pressed into slices of firmer cheese like provolone or even thick cheddar can look surprisingly charming scattered across a board. Or, take a round of goat cheese and roll the edge in chopped fresh herbs like chives or parsley – suddenly it's got texture and a little visual flair. Nobody expects you to carve a swan out of Gouda, but a few intentional shapes or a quick roll in something green signals you've gone the extra mile. It's all part of making yourdecoration cheesefeel special, not just served.
Quick Pairings for Visual Punch
Beyond the cheese itself, what you put *around* it does heavy lifting in theeasy decoration cheese ideas that impressdepartment. Think about color and texture contrasts. A vibrant red pepper jelly next to a stark white cream cheese, or dark purple figs sliced alongside a pale blue cheese. A small cluster of olives, a handful of roasted nuts, or a pile of crackers aren't just for eating; they are part of the visual story. Don't just plop them down. Arrange the crackers fanned out, nestle the nuts in a small bowl, or scatter the olives artfully. It takes seconds but makes the whole spread look considered and inviting. It’s like giving your cheese board accessories that actually enhance its look.
- Use small cookie cutters for fun shapes in firm cheeses.
- Roll soft cheese edges in chopped herbs or nuts.
- Pair cheeses with brightly colored jams or fruits.
- Arrange crackers and accompaniments deliberately, not randomly.
- Add small bowls for dips or nuts to create height variation.
Building Beautiful Decoration Cheese Boards
Building Beautiful Decoration Cheese Boards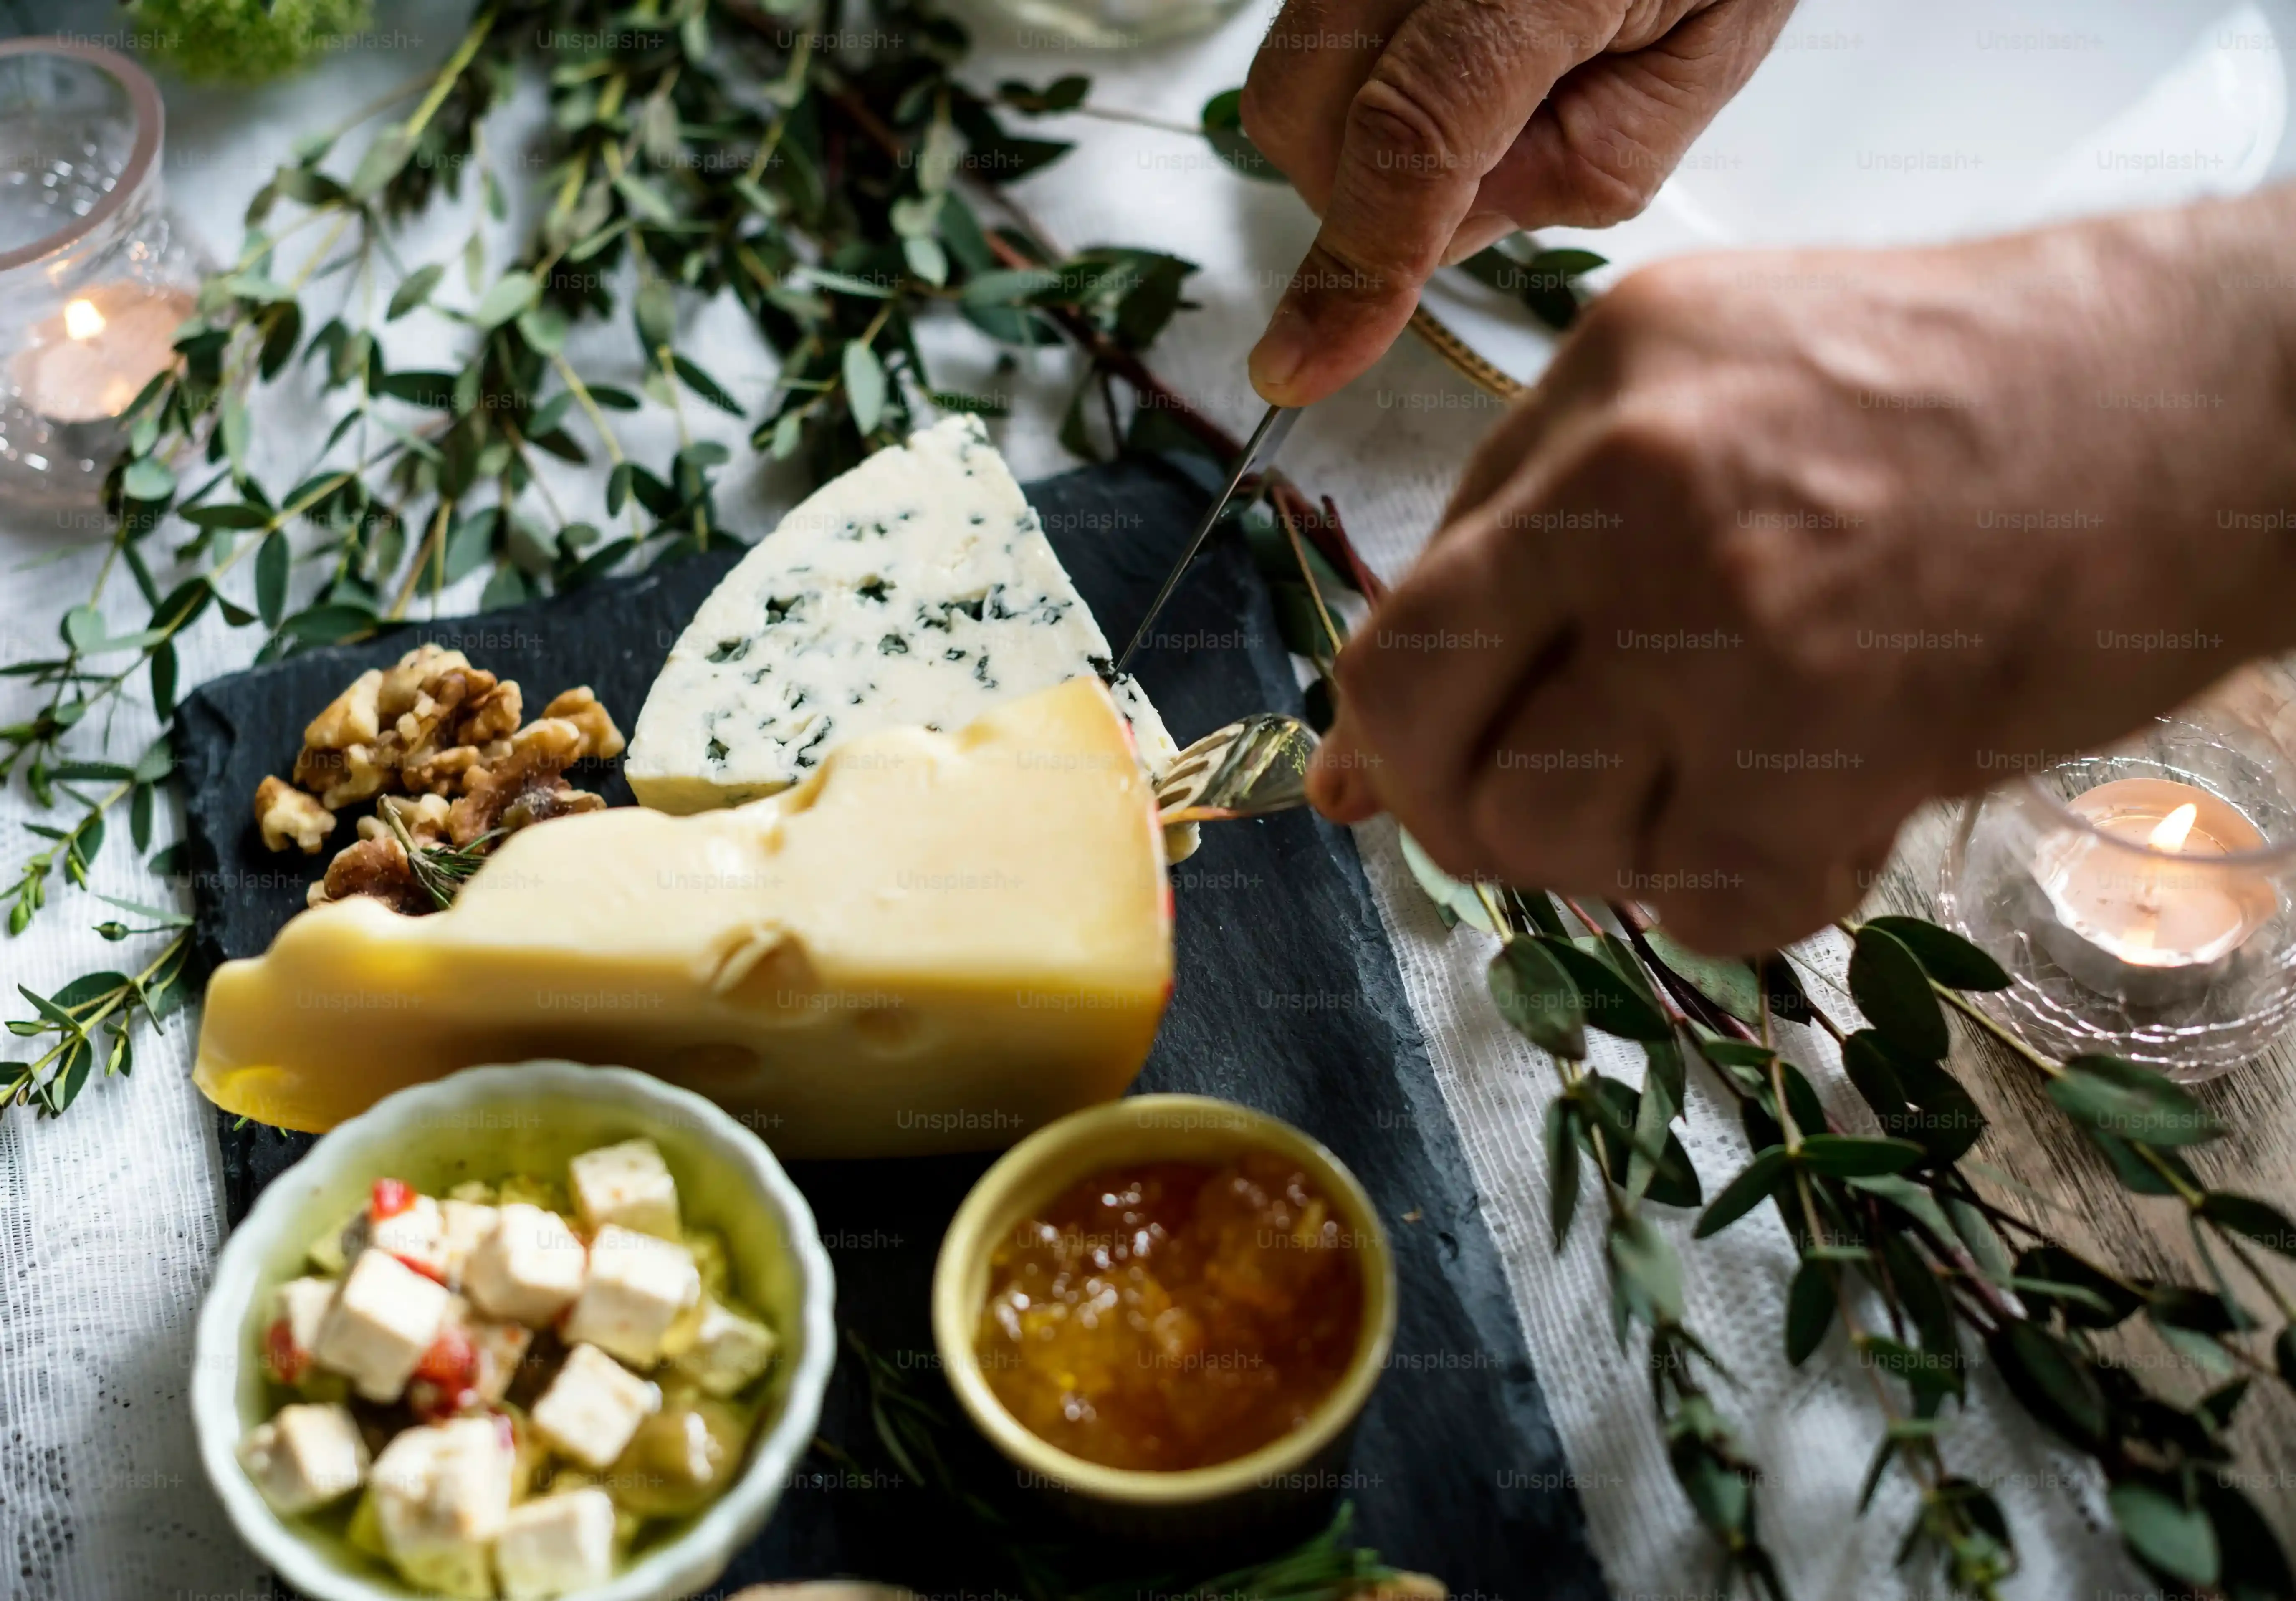
so you've got your lovely, well-cut cheese pieces ready. Now comes the fun part: arranging them on the board. Think of your board as a canvas. When you'reBuilding Beautiful Decoration Cheese Boards, it's not just about piling stuff on; it's about flow and balance. Start by placing your cheeses first, spacing them out. Don't put all the hard cheeses together or all the soft ones. Mix them up visually. Then, start filling in the gaps with your accompaniments – crackers, fruit, nuts, olives, maybe a little bowl of dip or jam. Vary the textures and colors. Pile things a little higher in some spots to add visual interest. Don't be afraid to let things spill over slightly or tuck things under the edge of a cheese wedge. It makes it look abundant and inviting, not stiff and formal.
- Place cheeses first, spaced evenly.
- Mix different types of cheese visually across the board.
- Fill in gaps with accompaniments like crackers, fruits, and nuts.
- Vary textures and colors for visual interest.
- Create height with piles or small bowls.
Decoration Cheese: Creative Displays Beyond the Board
Decoration Cheese: Creative Displays Beyond the Board
Thinking Vertically and Unconventionally
so you've mastered the board. What happens when you want to go a bit further, maybe for a party or just because you're feeling fancy?Decoration Cheese: Creative Displays Beyond the Boardis where things get interesting. Forget the flat surface for a minute. Think about stacking. Using different sized wheels of cheese to create a "cheese cake" is surprisingly simple and makes a dramatic centerpiece. You can decorate the layers with herbs, flowers (make sure they're food-safe!), or even thin ribbons of prosciutto. Another idea is using tiered stands, like those meant for cupcakes or pastries, to display different cheeses and their pairings at varying heights. It adds dimension and makes the whole setup feel more dynamic than just laying everything flat. It's about making the cheese part of the overall decor, not just a dish sitting on the table.
- Create a "cheese cake" centerpiece using stacked wheels.
- Decorate cheese cake layers with food-safe herbs or flowers.
- Utilize tiered stands for a multi-level display.
- Hang small cheese balls from branches for a whimsical touch.
- Use clear jars or glasses to layer soft cheeses with colorful dips or pesto.
Keeping Your Decoration Cheese Looking Its Best
Keeping Your Decoration Cheese Looking Its Best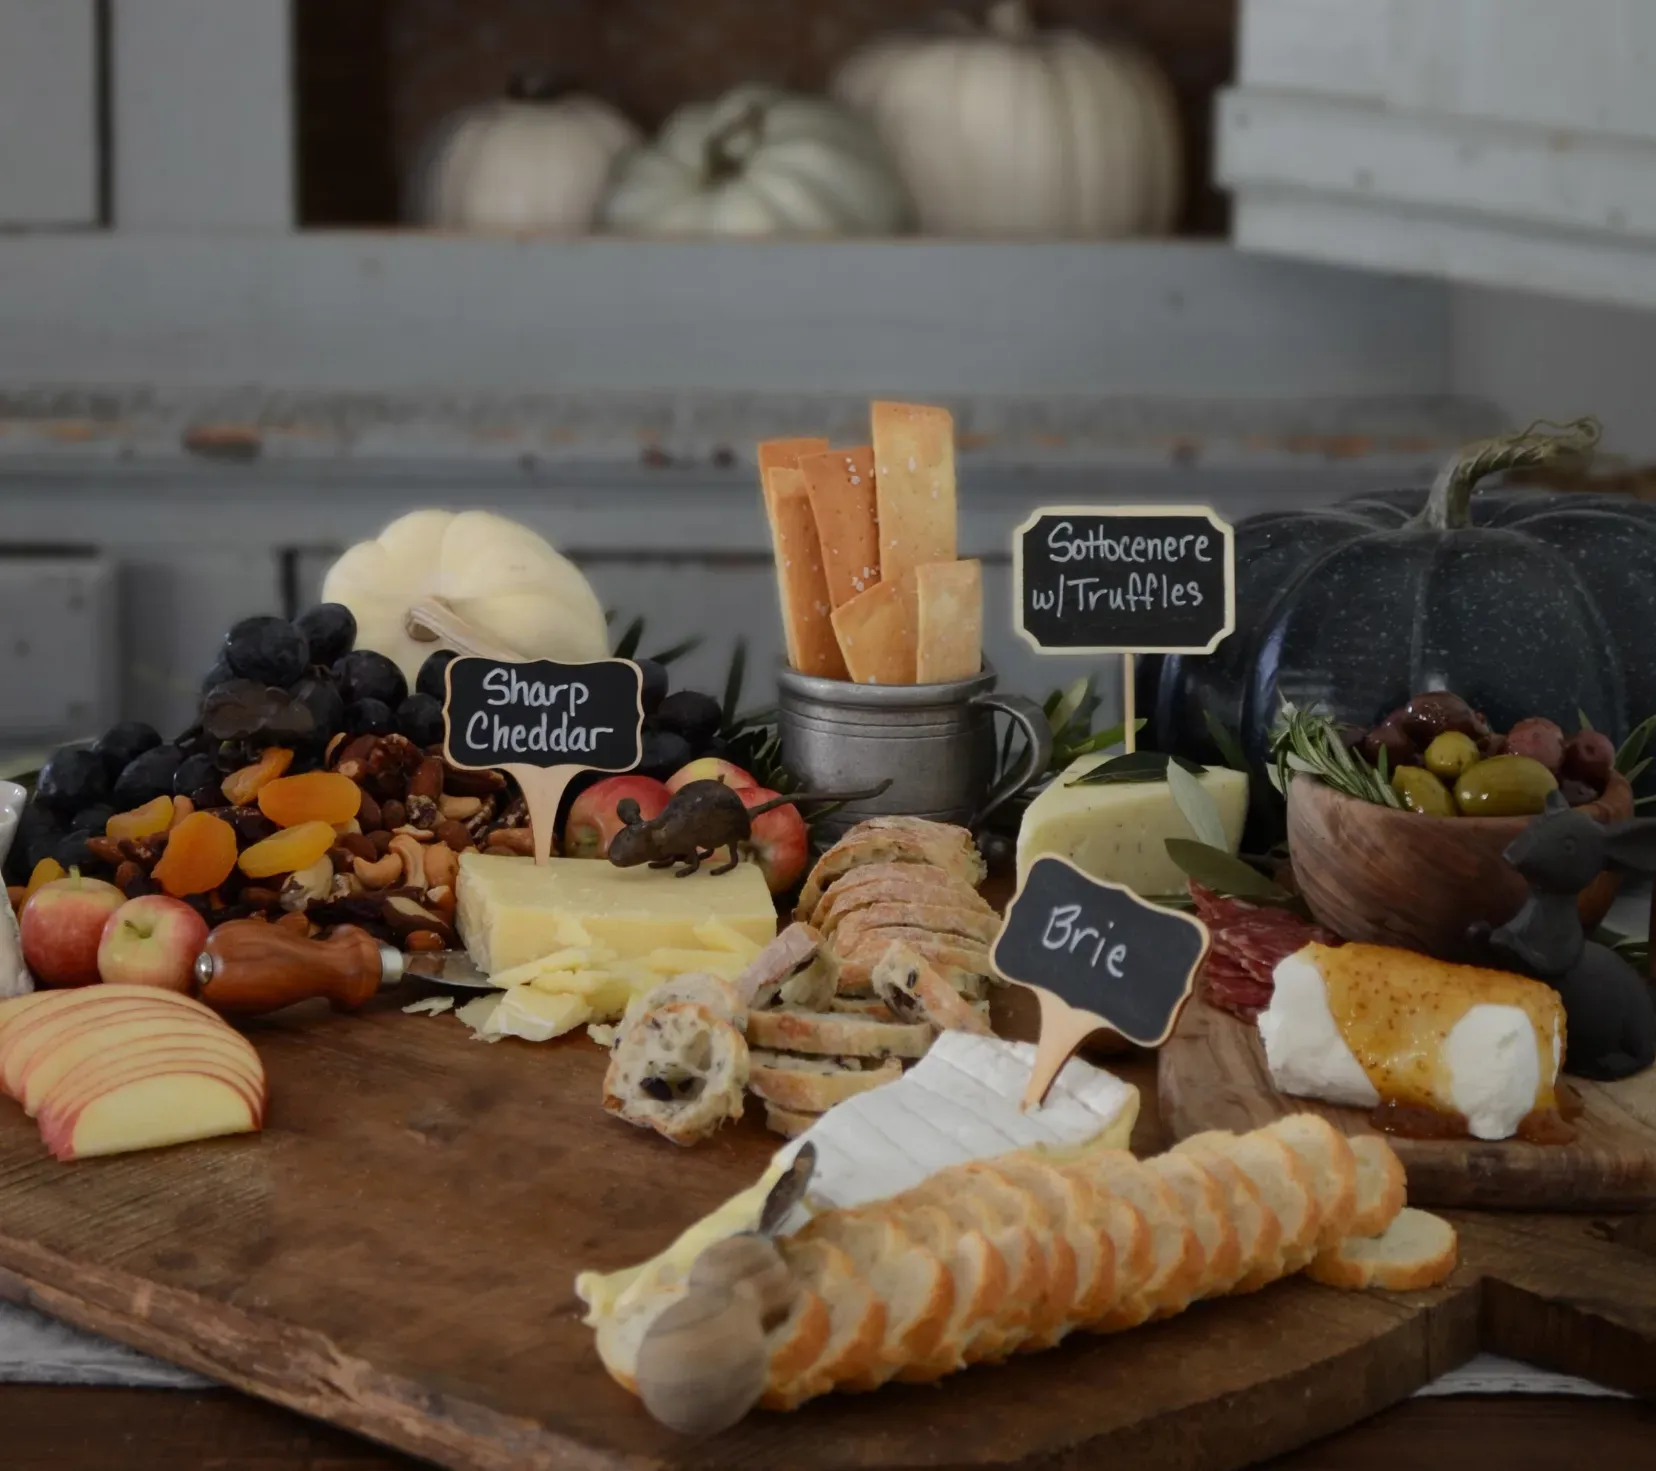
Temperature Control is Your First Line of Defense
you've spent time making that cheese board look spectacular. The last thing you want is for the brie to start melting into a sad puddle or the cheddar to sweat like it just ran a marathon. The absolute key toKeeping Your Decoration Cheese Looking Its Bestis temperature. Pulling cheese straight from the fridge and putting it out for hours is a rookie mistake. Cheese tastes better and looks better when it's served at room temperature, but "room temperature" doesn't mean "warm and gooey" for hours on end. Aim to take cheeses out about 30-60 minutes before guests arrive, depending on the ambient temperature. If your party is going to last longer than a couple of hours, especially in a warmer room, consider having a backup supply in the fridge to swap out pieces as needed. A cheese that's too cold is bland; a cheese that's too warm is a structural disaster and frankly, a bit unappetizing to look at.
Fighting the Dreaded Dry-Out and Sweat
Ever notice how the edges of sliced cheese start to look dry and sad after a while? Or how some cheeses get that weird, oily sheen? This is the enemy of beautifuldecoration cheese. For longer events, loosely covering the board with plastic wrap can help, but that kills the visual appeal you worked so hard for. A better trick? Use damp paper towels wrung out tightly and placed *under* the board or platter (if it's on a larger serving area) to create a microclimate, or strategically place small, cool elements like chilled grapes or olives near the cheese to help keep things slightly cooler locally. For cut pieces that will sit out, consider cutting smaller batches more frequently rather than putting everything out at once. This keeps the majority of your cheese fresh and ready for a quick swap. Nobody wants to pick at a piece of cheese that looks like it's been fossilized.
Cheese Type | Common Issue | Quick Fix for Display |
|---|---|---|
Soft Cheeses (Brie, Camembert) | Melting/Getting too soft | Serve slightly cooler initially, use a small ice pack under the board if hidden. |
Hard Cheeses (Cheddar, Gouda) | Drying out at edges | Cut smaller batches, cover lightly if left out for extended periods (unideal for presentation). |
Blue Cheeses | Sweating/Oiling | Serve at proper room temp, avoid direct heat/sunlight. |
Handling Leftovers and Prepping Ahead
So the party's winding down, and you have glorious remnants of yourdecoration cheesespread. Don't just shove the whole board back in the fridge. Proper storage is crucial for taste and safety. Wrap each type of cheese individually, preferably in cheese paper or wax paper, then in plastic wrap. This helps the cheese breathe a little while preventing it from drying out or absorbing fridge odors (nobody wants garlic-flavored gouda). Avoid tight plastic wrap directly on the cheese if possible, as it can trap moisture and encourage mold. If you're prepping a board ahead of time, cut the cheeses and store them wrapped in the fridge. Assemble the board just before serving, adding the accompaniments and final flourishes then. This ensures everything looks its absolute freshest when your guests see it.
Your Cheese, Elevated
So there you have it. Taking a little time withdecoration cheeseisn't about being fancy; it's about respecting the food and making the experience better for everyone involved. It’s the difference between tossing some cheese on a plate and creating an inviting spread that makes people want to linger and explore. You don't need to be an artist or spend a fortune on elaborate tools. Simple cuts, smart pairings, and a bit of thoughtful arrangement go a long way. Your cheese is already delicious. A little decoration just ensures it gets the visual fanfare it deserves before it disappears.