
Table of Contents
Ever crave something sweet but don't want a whole production? Or maybe you're hosting and need a dessert that looks impressive but doesn't require hours slaving over a hot oven? We get it. That's where the magic of a no bake cheese cake kiwi comes in. Forget the stress of water baths and cracked tops. This isn't your grandma's finicky cheesecake. We're talking about individual, perfectly portioned treats that are deceptively simple to pull off.
Why Go Mini with No Bake Cheesecake?
Why Go Mini with No Bake Cheesecake?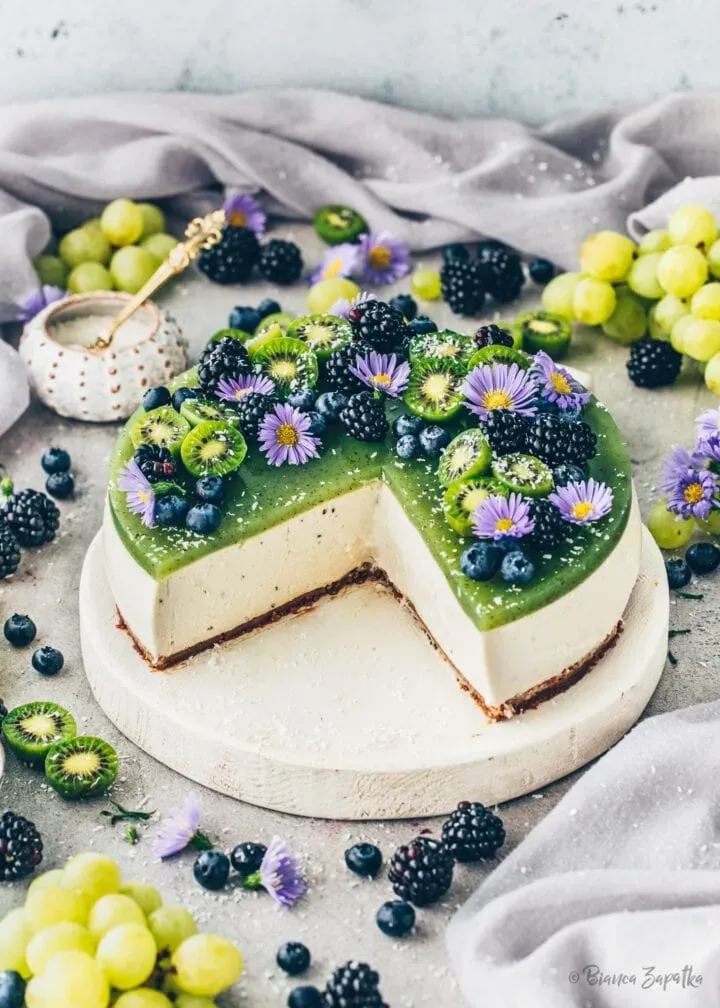
The Appeal of the Perfectly Portioned Treat
Let's be honest. A full-size cheesecake is a commitment. It's glorious, yes, but carving into it often leads to questionable slice sizes and the inevitable "just one more bite" spiral. Going mini with your no bake cheese cake kiwi solves this problem neatly. Each person gets their own delightful little dessert, perfectly formed and ready to eat. No awkward slicing, no judgment on portion size (well, maybe a little), just pure, unadulterated cheesecake bliss in a manageable bite.
It's also a presentation win. Picture a tray of these vibrant, individual no bake cheese cake kiwi cups lined up. They look sophisticated, thoughtful, and frankly, adorable. Much more appealing than a single large cake that's been attacked with a knife. Plus, they're infinitely easier to transport if you're heading to a potluck or party. Less chance of a cheesecake-related road disaster.
Less Stress, More Dessert: Embracing No Bake
Baking a traditional cheesecake can feel like navigating a minefield. Will it crack? Did I overmix? Is the water bath deep enough? It's enough to make you sweat before you even turn on the oven. Opting for a no bake cheese cake kiwi eliminates most of this anxiety. You're essentially just assembling layers and letting the fridge do the heavy lifting.
This makes the whole process faster and far less intimidating, especially for dessert novices. It’s also a lifesaver during warmer months when turning on the oven feels like a cruel form of punishment. You still get that rich, creamy texture you crave, but without the drama. It's a smart move for anyone who prefers their dessert creation process to be more chill and less thrilling.
- Individual portions mean built-in portion control.
- They look fantastic and are easy to serve.
- Transporting them is much simpler.
- No oven required – great for hot weather.
- Significantly reduces the risk of baking fails like cracks.
- Faster to assemble than a traditional baked cheesecake.
Building the Perfect Base for Your Cheese Cake Kiwi
Building the Perfect Base for Your Cheese Cake Kiwi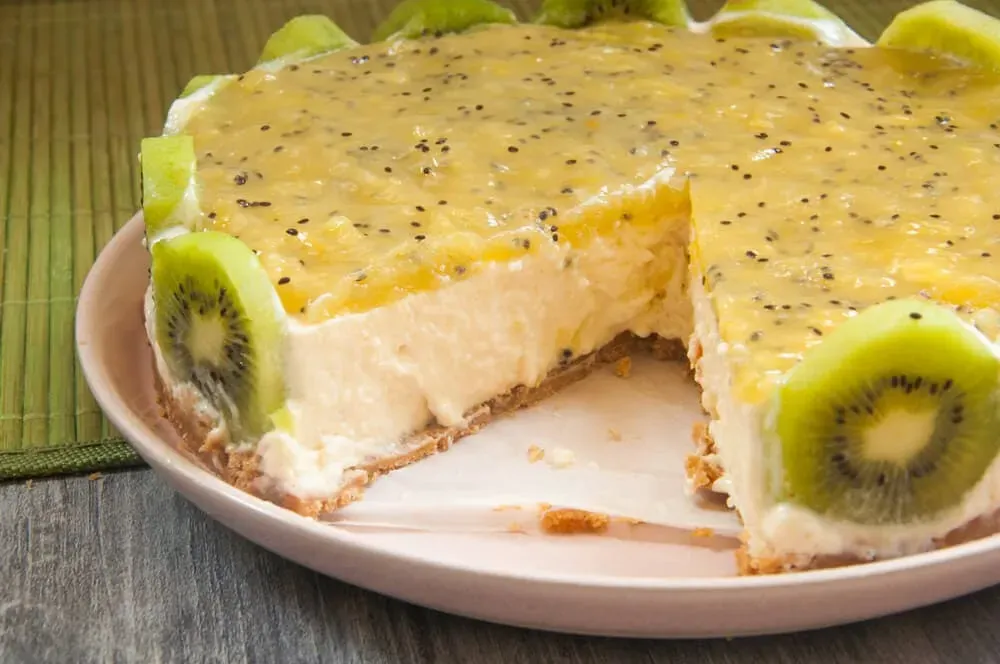
Picking the Right Crumbs for the Job
Alright, let's talk crust. For a no bake cheese cake kiwi, you need a base that's sturdy enough to hold up to the creamy filling but still gives you that satisfying crunch. Graham crackers are the classic choice for a reason. They have that perfect slightly sweet, slightly salty balance that just works with cheesecake. You can buy pre-crushed crumbs, which is a time-saver, or just throw a sleeve of crackers in a food processor. Don't have graham crackers? Vanilla wafers or even shortbread cookies can work, but graham crackers are the gold standard for this specific cheese cake kiwi vibe.
You'll also need butter. Melted butter, specifically. This is the glue that holds it all together. Too little, and your crust will be crumbly chaos. Too much, and it's a greasy mess. We're aiming for that "wet sand" consistency – you know, when you can squeeze it and it holds its shape but isn't dripping.
Mixing and Pressing for Success
Once your crumbs are finely ground, dump them into a bowl. Pour the melted butter over the top. Add a little sugar – just a tablespoon or two – to enhance the sweetness, though some purists skip this. Mix it all together until every crumb is coated in buttery goodness. It should look uniformly damp.
Now comes the crucial part: pressing it into your mini cheesecake cavities. If you're using a muffin tin, paper liners make life easier, but you can grease the tin too. Spoon a tablespoon or two of the mixture into the bottom of each cup. Then, you need to compact it. Use the bottom of a small glass, a tart tamper, or even your fingers to press it down firmly and evenly. You want a solid, compact layer. This compression is key to a base that won't fall apart when you add the filling or try to remove the cheese cake kiwi.
- Use fine graham cracker crumbs for the best texture.
- Melted butter binds the crumbs – aim for "wet sand."
- A little sugar boosts flavor but isn't strictly necessary.
- Press the mixture firmly and evenly into the molds.
- A small glass or tamper works well for pressing.
A Quick Trip to the Oven (Yes, Even for No Bake)
here's a tip that elevates a good no bake base to a great one: give it a quick bake. I know, I know, it's a *no bake* cheese cake kiwi. But hear me out. Baking the crust for just 5-7 minutes at around 350°F (175°C) does two things: it toasts the crumbs slightly, deepening their flavor, and it helps the butter really bind everything together, making for a much more stable base. It's a small step that makes a big difference in preventing a crumbly disaster when you try to serve these little guys.
Let the crusts cool completely in the muffin tin before you even think about adding the filling. Warm crust plus cold filling equals a bad time. Patience here pays off. Once they're cool, they're ready for the creamy, dreamy next layer of your cheese cake kiwi adventure.
Whipping Up the Creamy Cheese Cake Kiwi Filling
Whipping Up the Creamy Cheese Cake Kiwi Filling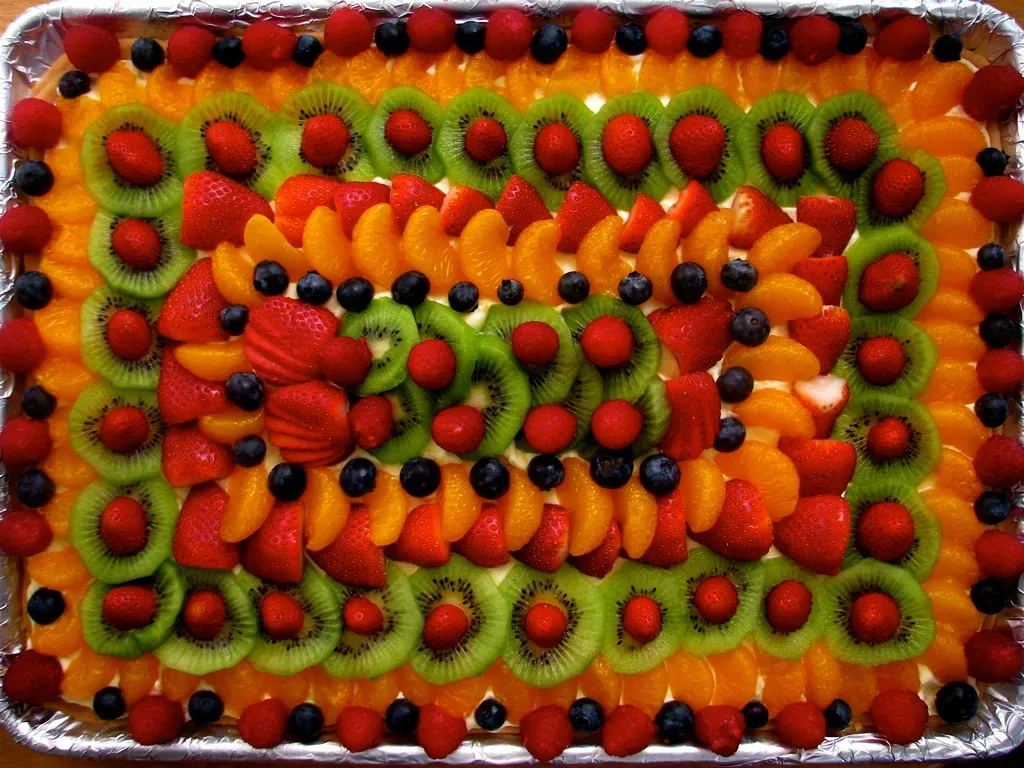
Getting Your Cream Cheese Ready
the crust is cooling. Now for the star of the show: the filling. For a truly smooth, lump-free no bake cheese cake kiwi filling, your cream cheese absolutely *must* be at room temperature. Pull it out of the fridge at least an hour before you plan to mix. Trying to beat cold cream cheese is like trying to reason with a toddler – frustrating and ultimately fruitless. You'll just end up with stubborn little pockets of unmixed cheese. Trust me on this; patience here prevents a lot of headaches (and extra whisking).
You'll need full-fat block cream cheese for the best texture and flavor. None of that low-fat or whipped stuff for this job. You're making cheesecake, not diet food. We're aiming for indulgence, even in a mini package. Besides the cream cheese, gather your powdered sugar and vanilla. Powdered sugar dissolves easily, which is crucial for a no-bake filling, and vanilla adds that essential warm, comforting note that makes cheesecake, well, cheesecake.
Mixing for Smoothness, Not Stiffness
Once your cream cheese is soft and pliable, put it in a large bowl. Give it a quick whip with an electric mixer (or a sturdy whisk and some elbow grease) until it's smooth. Now, gradually add the powdered sugar. Do this slowly, or you'll have a cloud of sugar dust coating your kitchen (and yourself). Beat until it's fully incorporated and the mixture is smooth and creamy. Don't overmix at this stage; you're just bringing it together.
Stir in the vanilla extract. A good quality vanilla makes a difference. At this point, you have a thick, rich cream cheese base. But for a no bake cheese cake kiwi filling that's light and airy, you need one more element.
- Use full-fat block cream cheese.
- Ensure cream cheese is at room temperature.
- Gradually add powdered sugar to avoid a mess.
- Mix until smooth, but don't overbeat the cream cheese alone.
- Add good quality vanilla extract.
Folding in the Whipped Cream
The secret to that lovely, light texture in a no bake cheese cake kiwi filling is whipped cream. You'll want to whip some heavy cream in a separate bowl until it holds soft peaks. Don't go all the way to stiff peaks; you want it pliable enough to fold in easily. Now, gently fold the whipped cream into your cream cheese mixture. Use a spatula and a light hand, cutting through the center and folding the mixture over on itself. The goal is to incorporate the whipped cream without deflating it.
Fold until no streaks of cream cheese remain and the mixture is uniform and airy. It should be thick but scoopable. Taste it – need a tiny bit more sugar? A splash more vanilla? Adjust now before you fill the crusts. This creamy, dreamy filling is what makes the cheese cake kiwi so delightful.
Adding the Fresh Kiwi Topping and Letting Your Cheese Cake Kiwi Set
Adding the Fresh Kiwi Topping and Letting Your Cheese Cake Kiwi Set
Cooking and Preparing the Kiwi Layer
Now for the vibrant green crown on your no bake cheese cake kiwi. Fresh kiwi can be a bit tricky directly on cheesecake because it contains enzymes that can break down dairy proteins, leaving you with a watery mess. The solution? A quick cook. Peel and chop your kiwis – you'll need enough to make about a cup or so of purée. Toss them in a small saucepan with a tablespoon or two of sugar. How much sugar depends on how sweet your kiwis are and how sweet you like your topping. Cook over medium heat, stirring, until the kiwis soften and break down, about 5-7 minutes.
Once softened, you have a couple of options. For a smooth, glossy topping, blend the cooked kiwi mixture until perfectly smooth. If you prefer a little texture, you can mash it lightly with a fork instead. The crucial step is next: incorporating gelatin. This is what gives the kiwi layer its set and prevents it from running all over your beautiful cheese cake kiwi. Follow the package directions for unflavored gelatin, usually involving softening it in cold water and then dissolving it in the warm kiwi mixture. Stir until completely dissolved. Let this mixture cool down significantly – you don't want to pour hot liquid onto your delicate cheesecake filling.
Layering and Assembling Your Mini Treats
Your crusts are cool, your filling is whipped and ready, and your kiwi mixture is cooled but still pourable. Time to bring it all together into those adorable little no bake cheese cake kiwi cups. Carefully spoon or pipe the cheesecake filling into each crust-lined cavity. Fill them about two-thirds to three-quarters of the way full. Smooth the tops gently with the back of a spoon or an offset spatula. Don't overwork it; you just want an even surface.
Now, spoon the cooled kiwi topping over the cheesecake filling. Go slowly and fill each cup evenly. You want a distinct layer of that bright green goodness. If your kiwi mixture has thickened too much as it cooled, you can gently warm it for a few seconds, but don't make it hot. Aim for a consistency that spreads easily but won't just run off the sides. You're building layers here, not a swamp.
- Cook chopped kiwi with sugar to prevent enzymatic breakdown.
- Blend or mash the cooked kiwi for desired texture.
- Dissolve gelatin in the warm kiwi mixture to help it set.
- Cool the kiwi topping before adding it to the filling.
- Spoon or pipe cheesecake filling into cooled crusts.
- Carefully spoon the cooled kiwi topping over the filling.
The Critical Chilling Period
This is where the "no bake" part really shines, but it requires patience. Once your cheese cake kiwi is assembled with its crust, filling, and kiwi topping, it needs serious fridge time. Pop the entire muffin tin (or whatever molds you used) into the refrigerator. They need at least 2-3 hours to set properly. This isn't a suggestion; it's a requirement. The gelatin in the kiwi layer needs time to firm up, and the cream cheese filling needs to chill and stabilize.
Trying to remove or eat them too soon will result in a sad, collapsed mess. Trust the process. Walk away. Find something else to do. The longer they chill, up to overnight, the firmer and more stable they will be. When they're fully set, you can gently lift them out of the muffin tin (or peel away the liners). You'll have a batch of perfectly formed, visually stunning no bake cheese cake kiwi treats ready to impress, or just to hoard for yourself. No judgment here.
Your Perfect No Bake Cheese Cake Kiwi Awaits
So there you have it. Making these mini no bake cheese cake kiwi treats isn't some culinary marathon. It's a straightforward process resulting in individual desserts that look far more complex than they are. You get that satisfying graham cracker crunch, the smooth, cool tang of the cheesecake filling, and the bright, slightly tart kick of fresh kiwi. They hold up well in the fridge, meaning you can make them ahead, which is always a win. Skip the stress, get the reward. These small cheesecakes deliver on flavor without demanding your entire afternoon.