
Table of Contents
Let's be honest. When you crave cheesecake, you don't want some wobbly, cracked mess. You want that dense, creamy, smooth slice that makes you close your eyes and sigh. The kind with the perfect buttery graham cracker crust holding it all together. For many, mastering that classic dessert feels like scaling Everest in oven mitts. But really, it’s not rocket science, just a bit of precision and knowing a few tricks.
Cheese Cake How to Make: Gathering Your Ingredients
Cheese Cake How to Make: Gathering Your Ingredients
so you're ready to tackle this cheese cake how to make journey, right? First things first, let's talk ingredients. This isn't the time to skimp or grab whatever's cheapest; the quality here really shines through in the final bite. Think of your cream cheese as the absolute star – you need full-fat block cream cheese, period. No whipped stuff, no low-fat imposters trying to sneak in. And for the love of all that is creamy and wonderful, make sure your cream cheese and eggs are at *room temperature*. Seriously, this is non-negotiable for a smooth, lump-free batter. Cold ingredients just won't incorporate properly, leaving you with frustrating little cheese bits that no one wants in their perfect slice. You'll also need granulated sugar, some sour cream for that signature tang and velvety richness, a splash of good vanilla extract (don't use imitation, it makes a difference!), and a couple of large eggs. For the foundation, it's classic graham cracker crumbs, melted butter, and a little sugar. Simple list, but getting these basics right is key to mastering cheese cake how to make it like a pro.
Building the Base: The Crucial First Step in Making Cheesecake
Building the Base: The Crucial First Step in Making Cheesecake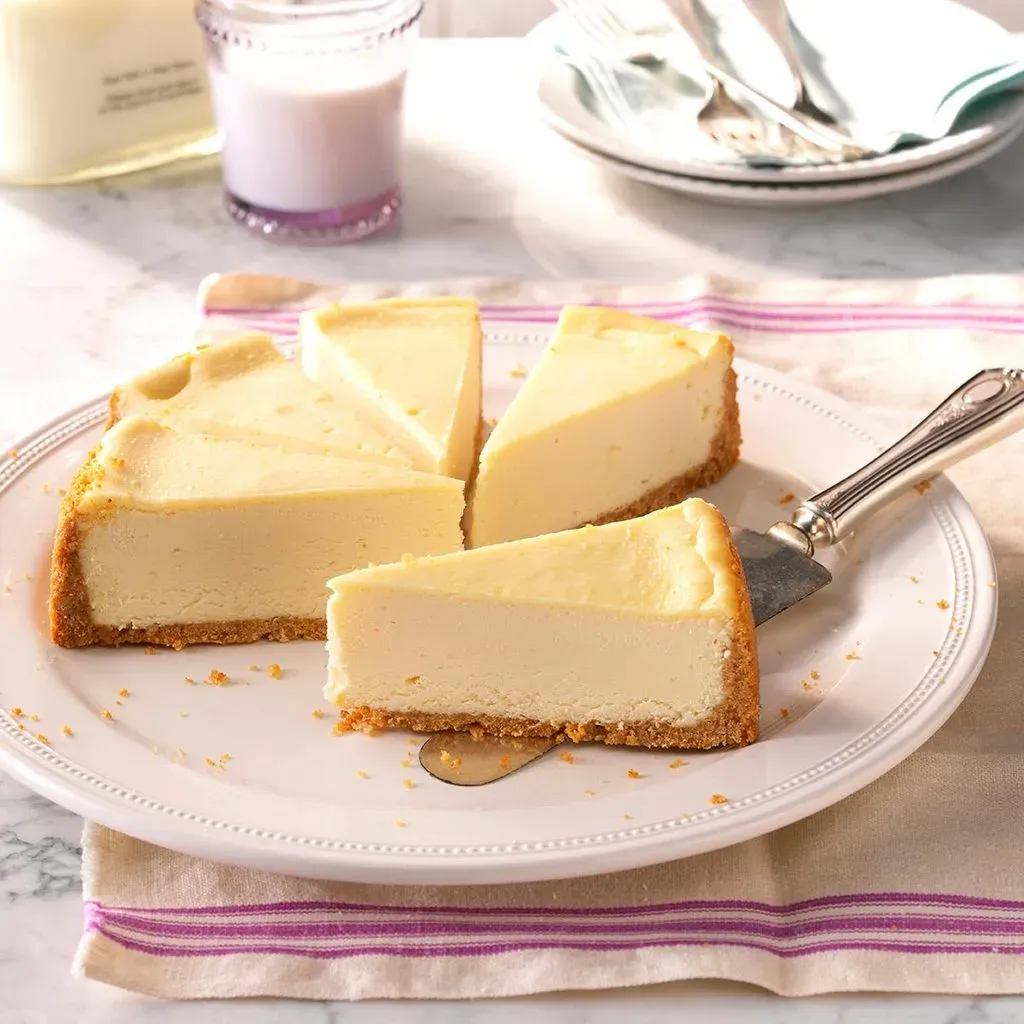
Crust Ingredients: The Foundation of Flavor
you've got your room-temp cream cheese ready. Now, let's talk about what holds that creamy goodness up: the crust. The classic choice, and arguably the best, is graham cracker. You need fine crumbs. You can buy them pre-crushed, which is convenient, or blitz whole crackers yourself in a food processor. Honestly, doing it yourself takes seconds and ensures you get the texture you want. You'll mix these crumbs with granulated sugar and melted butter. Not just warm butter, fully melted. The sugar helps bind the crumbs and adds a touch of sweetness, while the melted butter is the glue that brings it all together. Get the proportions right, and you'll have a sturdy, flavorful base that doesn't crumble into dust when you cut it.
Mixing and Pressing: Getting it Tight
Combine your graham cracker crumbs, sugar, and melted butter in a bowl. Stir it with a fork until it looks like wet sand. Every crumb should be coated in butter. This is where the magic happens. Now, dump this mixture into your springform pan. Springform is key because you need to release the sides easily later. Don't even think about a regular cake pan unless you plan on serving it with a spoon. Use the bottom of a glass or a flat measuring cup to press the crumb mixture firmly and evenly into the bottom of the pan and slightly up the sides. Aim for about an inch up the sides. Press *hard*. The tighter you pack it, the less likely it is to fall apart when you slice. A well-pressed crust is a sign of a cheesecake maker who knows what they're doing.
- Use the bottom of a flat glass or measuring cup to press the crust.
- Press firmly and evenly across the bottom and up the sides.
- Ensure the crust is packed tightly against the pan edges.
- Aim for a consistent thickness for even baking.
Pre-Baking the Crust: Setting it Up for Success
Once your crust is packed in tight, you need to pre-bake it. This step is non-negotiable if you want a truly great crust. It toasts the crumbs, deepens the flavor, and sets the structure so it doesn't get soggy from the filling. Pop the pan into a preheated oven, usually around 350°F (175°C), for about 8-10 minutes, or until it smells fragrant and looks slightly golden around the edges. Don't let it burn; graham crackers go from golden to charcoal fast. Take it out of the oven and let it cool completely on a wire rack while you make the filling. Starting with a cool, set crust prevents the hot filling from immediately making it mushy.
Mixing the Magic: Crafting the Perfect Cheese Cake Filling (How to Make)
Mixing the Magic: Crafting the Perfect Cheese Cake Filling (How to Make)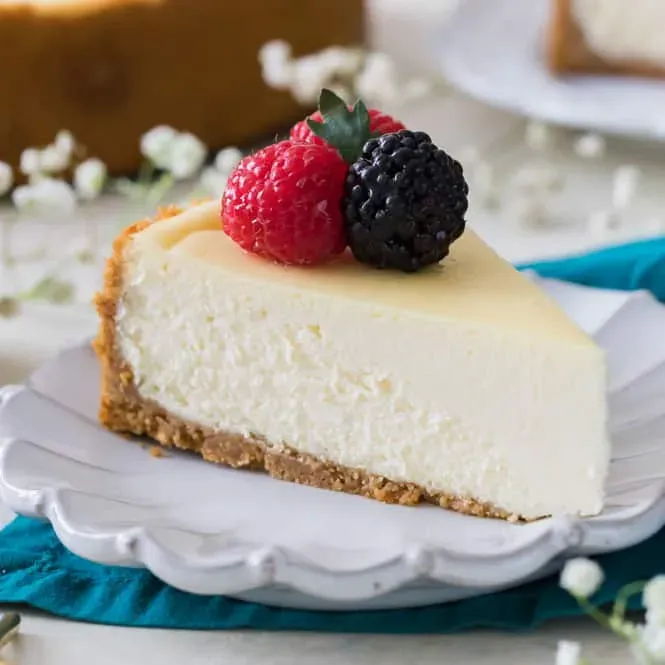
Alright, crust is cooling, looking good. Now for the main event: the filling. This is where your room-temperature ingredients become your best friends. Get out your stand mixer with the paddle attachment, or a hand mixer if that's what you have. Beat the softened block cream cheese on medium speed until it's completely smooth and creamy, no lumps allowed. Scrape down the bowl and the paddle often. Add the sugar gradually, beating until it's fully incorporated and the mixture is light and fluffy – this takes a few minutes. Next, mix in the sour cream and vanilla extract. Beat just until combined. Now, the critical part for learning cheese cake how to make it without a disaster: add the eggs one at a time. Beat on *low* speed just until the yolk disappears into the batter. Seriously, just until combined. Over-mixing here is the express train to cracked, sad cheesecake town because you're whipping in too much air. Gentle is the name of the game now.
Baking Basics for Your Cheese Cake: How to Make It CrackFree
Baking Basics for Your Cheese Cake: How to Make It CrackFree
Gentle Heat is Your Friend
you've got that beautiful, smooth batter poured into your pre-baked crust. Don't just shove it into a hot oven and hope for the best. Cheesecake is a delicate creature; it hates sudden changes in temperature. Baking it low and slow is key. High heat makes the outside set too fast while the inside is still jiggly, leading to those dreaded cracks. Think of it like a gentle hug, not a fiery furnace. You're aiming for a creamy texture throughout, not a dry, crumbly edge.
The Water Bath: Your Crack Prevention Superhero
Now, the absolute best defense against cracks when you're learning cheese cake how to make it perfectly: the water bath. This isn't optional; it's essential. Wrap the outside of your springform pan *tightly* in several layers of heavy-duty aluminum foil. Make sure it's sealed well around the bottom and sides so no water leaks in. Place the foiled pan in a larger roasting pan. Carefully pour hot water into the roasting pan, enough to come at least halfway up the sides of the cheesecake pan. This creates a humid, even cooking environment that helps the cheesecake bake gently and prevents the edges from drying out and cracking before the center is done. It's a bit of extra effort, but it makes a world of difference.
- Wrap pan tightly with heavy-duty foil.
- Place foiled pan in a larger roasting pan.
- Pour hot water into the roasting pan, halfway up the cheesecake pan.
- Ensure water level stays consistent during baking if possible.
Cooling Your Creation: Finishing Your Homemade Cheese Cake
Cooling Your Creation: Finishing Your Homemade Cheese Cake
The Oven Rest: A Gentle Transition
your cheesecake is baked. How do you know? The edges should look set, maybe slightly puffed, and the center should still have a little jiggle – not liquid, but a gentle wobble when you nudge the pan. This is where patience comes in. Resist the urge to yank it out immediately. Sudden temperature shifts are the enemy of a smooth, crack-free surface. Turn off the oven, open the door slightly (you can prop it open with a wooden spoon), and let the cheesecake hang out in the cooling oven for about an hour. This gradual cooling process helps prevent that dreaded shrinking and cracking as it transitions from hot to room temperature. It’s like letting it ease into retirement instead of kicking it off a cliff.
Refrigerator Chill: The Final Set
After its oven rest, take the cheesecake out of the roasting pan (carefully, that water might still be warm!) and remove the foil. Let it cool completely on a wire rack at room temperature. This can take another hour or two. Once it's no longer warm to the touch, cover it loosely with plastic wrap – don't let the plastic touch the top or you'll get condensation marks – and transfer it to the refrigerator. This is the longest part, but arguably the most important for achieving that dense, creamy texture. It needs to chill for at least 6-8 hours, but overnight is even better. Trying to slice a warm or even slightly cool cheesecake results in a gooey mess, not clean slices. Give it the time it deserves to set up properly.
- Turn off oven, open door slightly.
- Let cheesecake cool in oven for 1 hour.
- Remove from oven and water bath, discard foil.
- Cool completely on a wire rack at room temperature (1-2 hours).
- Cover loosely and refrigerate for at least 6-8 hours, ideally overnight.
- Do not slice until fully chilled.
Your Perfect Cheese Cake Awaits
So there you have it. Making a truly great cheesecake isn't some arcane baking ritual reserved for pastry chefs. It’s about paying attention to the details: room temp ingredients, a gentle mix, that crucial water bath, and letting it cool down like it's got all the time in the world. You followed the steps, avoided the common pitfalls, and now you've got something impressive chilling in your fridge. Go ahead, slice into that creamy goodness. You earned it. And yes, everyone will ask you cheese cake how to make it this good from now on. Just smile and tell them it's your little secret (or send them the link).