Table of Contents
Ever chased that dream of a truly classic, New York-style cheesecake? You know the one – impossibly smooth, rich, with just a hint of bright lemon cutting through the creamy sweetness. It feels like a baking Everest sometimes, doesn't it? Getting that texture right, avoiding cracks, and ensuring it’s cooked through without being dry. Well, you’re not alone in that quest.
Chasing the Dream: The Elusive Creamy Cheesecake Texture
Chasing the Dream: The Elusive Creamy Cheesecake Texture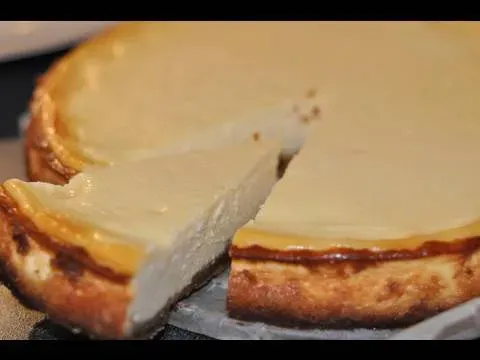
Let's be honest, who hasn't stared wistfully at a photo of a perfect cheesecake slice, that impossibly smooth, dense, yet somehow light texture staring back? Achieving that elusive creamy consistency isn't just about mixing ingredients; it's a battle against curdling, cracking, and that dreaded grainy mouthfeel. It's the difference between a dessert that gets polite nods and one that elicits actual gasps of delight. We're not aiming for something that tastes vaguely of cream cheese and sugar; we're chasing the gold standard, the kind of texture that makes you close your eyes and just savor it.
What stands between you and creamy perfection?
- Over-mixing the batter, whipping in too much air.
- Ignoring ingredient temperatures (everything needs to be room temp!).
- Baking too hot, too fast, leading to cracks and dryness.
- Not using a water bath (seriously, don't skip this).
- Impatience – cutting into it before it's fully chilled.
Unpacking the Classic Cheese Cake Herve Cuisine Method
Unpacking the Classic Cheese Cake Herve Cuisine Method
Getting the Ingredients Right: It's Not Just Any Cream Cheese
so you've committed to chasing that creamy dream. The first step, naturally, involves the ingredients. For the classiccheese cake herve cuisine, Herve isn't just grabbing the cheapest block at the store. He specifies using a good quality, full-fat cream cheese. This isn't the whipped stuff or the low-fat version; you need that fat content for richness and structure. Beyond the star player, he incorporates crème fraîche, which adds a subtle tang and helps contribute to that smooth mouthfeel, distinguishing it from some denser versions. Lemon zest is non-negotiable – it's the bright counterpoint to the richness.
Mixing with Precision: Less Air, More Creaminess
Once you've got your ingredients lined up and, crucially, at room temperature (I cannot stress this enough – cold cream cheese is the enemy of smooth batter), the method really begins with how you handle the mix. Herve emphasizes beating the cream cheese just until smooth before adding other ingredients. The goal isn't to whip air into it like you would a cake batter. Over-mixing introduces bubbles that expand and burst during baking, contributing to cracks and a less dense texture. You incorporate the sugar, eggs one by one, then the crème fraîche, flour, and milk, mixing just until combined after each addition. Gentle does it here.
What happens if you over-mix the batter?
- You incorporate excess air, leading to a puffy cake that can sink later.
- Air bubbles can cause cracks on the surface as they try to escape during baking.
- The texture becomes less dense and creamy, leaning towards cakey.
- Gluten can develop from the flour (if used), resulting in a tougher texture.
Baking Your Cheese Cake Herve Cuisine: Temperatures, Times, and Patience
Baking Your Cheese Cake Herve Cuisine: Temperatures, Times, and Patience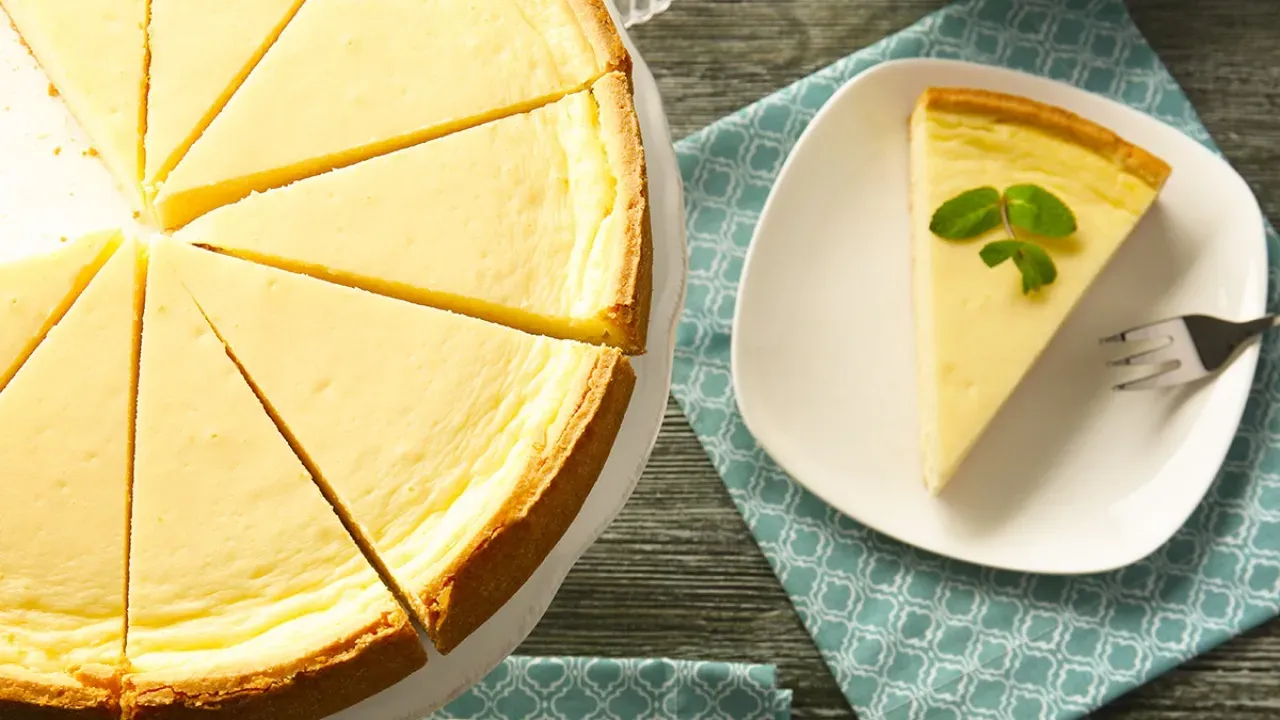
The Initial Blast: Setting the Crust and Edges
Alright, you've got that beautifully smooth batter poured over your crust (which, by the way, Herve often uses a speculoos crust for – a nice touch). Now comes the heat. The classiccheese cake herve cuisinemethod kicks off with a relatively high temperature for a short burst. Think 410°F (210°C) for about 10 minutes. What's happening here? This initial high heat helps to quickly set the edges of the cheesecake and the crust. It creates a slight barrier, preventing the edges from overcooking later while the center is still gently baking. It's like a quick sear for your dessert, locking things in before the slow, gentle cooking begins.
The Long, Slow Cook: Low Heat and the Water Bath Ritual
After that initial blast, you immediately drop the temperature dramatically. We're talking way down to 195°F (90°C) for a full hour. This is where the magic happens – the gentle cooking that ensures that creamy, even texture all the way through. But the low temp isn't enough on its own. The water bath is non-negotiable. Placing your springform pan (carefully wrapped in foil to prevent leaks, obviously) inside a larger pan filled with hot water creates a humid, even cooking environment. This prevents the top from setting too quickly and cracking, and it helps the cheesecake cook uniformly without drying out. It’s a bit of a faff, sure, but skip it at your peril if you value that smooth surface and creamy interior.
Why bother with the water bath?
- Provides even heat distribution, preventing hot spots.
- Adds humidity to the oven, reducing the risk of cracks.
- Ensures the edges don't overcook before the center is done.
- Results in a smoother, creamier texture.
Patience, My Friend: The Crucial Resting Period
So the hour is up, and the cheesecake looks mostly set but maybe still a little jiggly in the center. Resist the urge to pull it out! Herve's method includes another crucial step: turning the oven off and leaving the cheesecake inside for another hour. The residual heat continues to gently cook the center while the oven cools down slowly. This gradual temperature change prevents the cheesecake from collapsing or cracking due to a sudden temperature drop. After that hour, take it out, let it cool completely on a wire rack, and *then* – and only then – does it head to the fridge. It needs a whole night in the cold to firm up properly and let those flavors meld. Rushing this chilling phase is the quickest way to end up with a sad, slumping slice.
Beyond the Basic Slice: Finishing Your Herve Cuisine Cheesecake
Beyond the Basic Slice: Finishing Your Herve Cuisine Cheesecake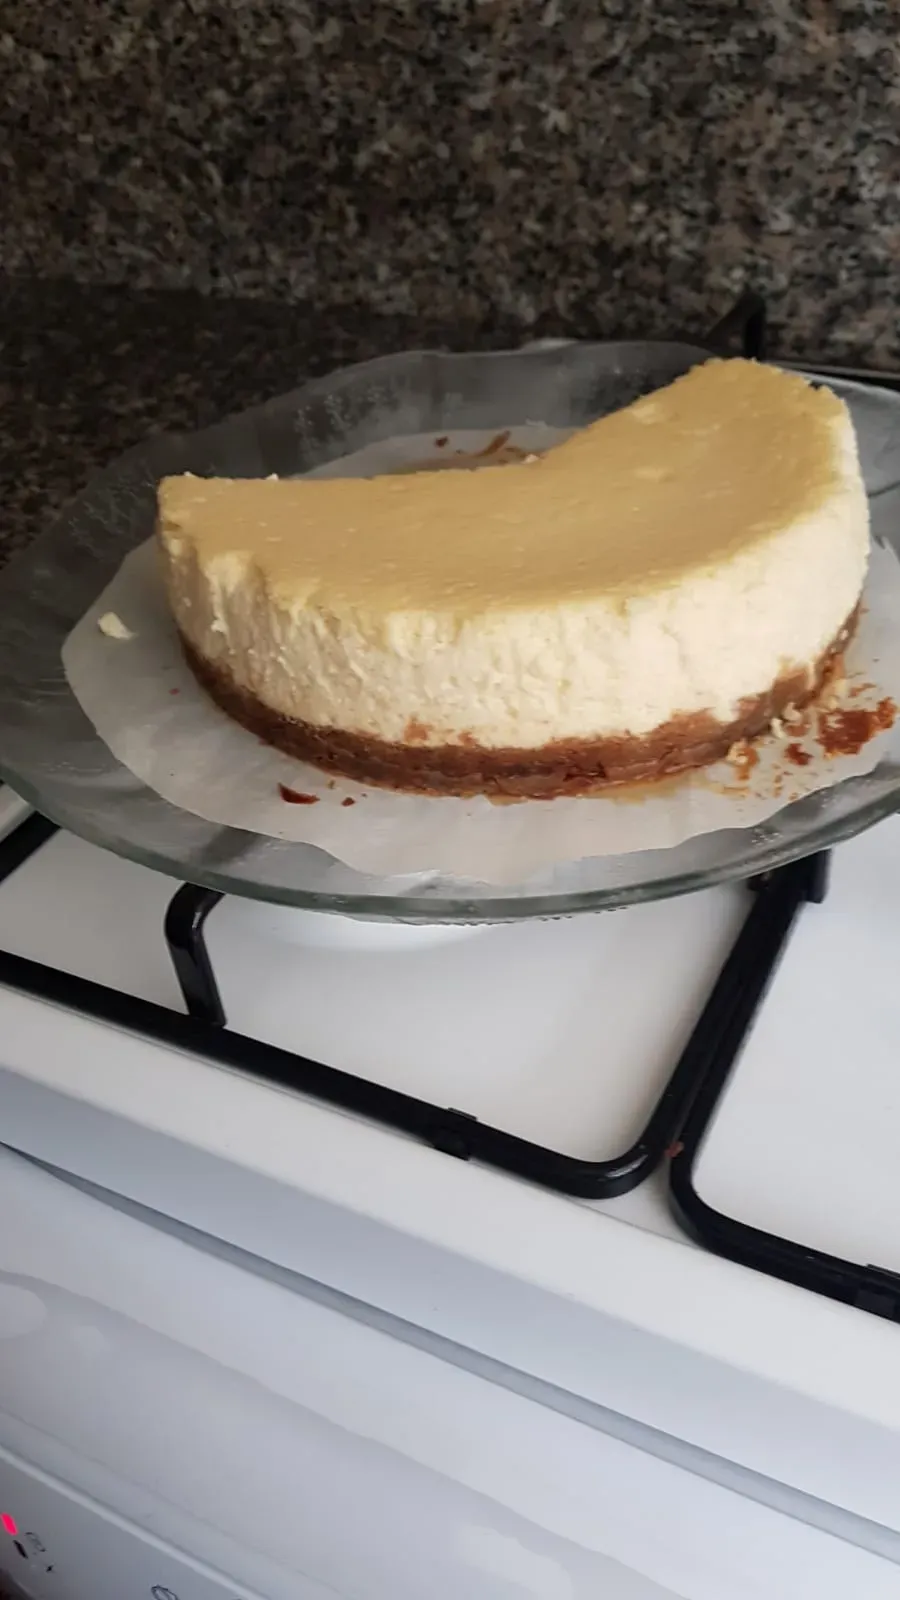
The Big Reveal: Getting it Out of the Pan
it’s been a long night (for the cheesecake, anyway) in the fridge. Now comes the moment of truth: getting this beautiful creation out of the springform pan without disaster. You want those clean, sharp edges. The key is ensuring it's *completely* chilled. If it's still remotely warm, you're asking for trouble. Run a thin, sharp knife carefully around the edge between the cheesecake and the pan ring before releasing the latch. Do it gently, keeping the knife straight. Some folks like to warm the sides of the pan briefly with a hot towel, but honestly, if it's cold enough, the knife should glide through. Lift the ring straight up and off. Then, you need to decide if you're serving it on the base or trying to transfer it. The base is usually the safer bet unless you're a cheesecake-transferring ninja.
Classic Toppings: Simple is Often Best
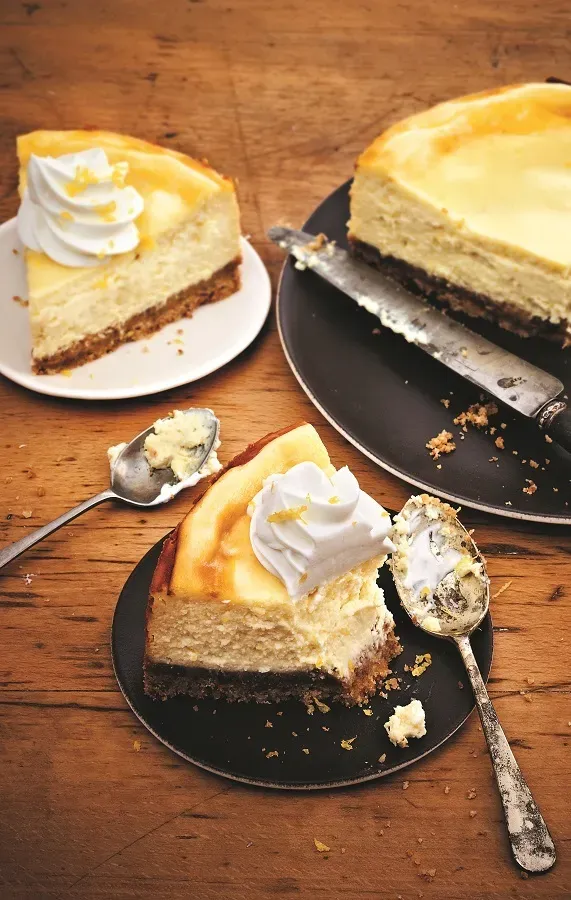
The beauty of a well-madecheese cake herve cuisineis that it honestly doesn't need much fuss. Its creamy texture and subtle lemon lift can stand alone. However, a classic topping elevates it without overpowering. Herve often suggests a simple lemon glaze, which reinforces that citrus note. Melted apricot jam, strained and brushed over the top, gives it a lovely sheen and subtle sweetness. Fresh berries are always a winner – their slight tartness is a perfect foil for the richness. Keep it simple, let the cheesecake be the star.
Simple, effective topping ideas:
- Fresh berries (strawberries, raspberries, blueberries)
- A thin layer of strained apricot jam
- Simple lemon glaze (lemon juice, powdered sugar)
- A dollop of lightly sweetened whipped cream
- A drizzle of fruit coulis
Stepping Up Your Game: More Ambitious Finishes
Feeling a bit more adventurous after mastering the base cheesecake? You can certainly venture into slightly more complex territory with your finishes. Think about a chocolate ganache swirl, though be careful not to make it too thick or rich. A salted caramel drizzle is popular, adding a salty counterpoint to the sweet. You could pipe decorative whipped cream borders or arrange fruit in intricate patterns. Just remember that the cheesecake itself took time and effort; don't bury that lovely texture under a pound of elaborate, distracting toppings. I once saw a cheesecake completely obscured by what looked like a fruit salad glued on with gel. It tasted fine, probably, but it felt like a crime against the cheesecake's inherent elegance. What's the most over-the-top cheesecake topping you've encountered?
Your Classic Cheesecake Awaits
So there you have it. Building a truly great cheesecake, the kind Herve Cuisine champions, isn't magic; it's a process. It requires precise measurements, mindful mixing, and a healthy respect for oven temperatures and cooling times. Skip a step, rush the process, and you'll likely end up with something less than ideal – maybe cracked, maybe dense. But put in the effort, follow the method, and you'll pull a cheesecake from your fridge that looks and tastes like the real deal. No guarantees it will solve all your problems, but a slice of that creamy, tangy perfection certainly doesn't hurt.