Table of Contents
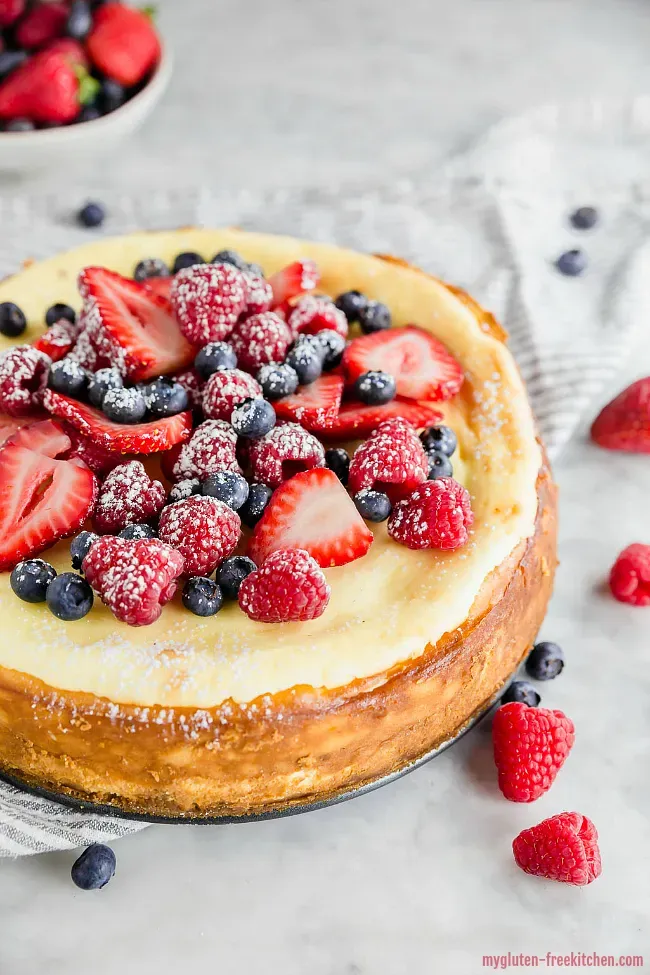
Let's face it, the idea of a perfect, creamy cheesecake often comes with a gluten-filled crust. For anyone navigating a gluten-free lifestyle, that can feel like a cruel joke. But what if you could have that slice of heaven without the gluten? Making a truly delicious cheese cake gluten-free might seem daunting, like trying to herd cats, but it's absolutely doable. Forget the crumbly, flavorless imposters you might have encountered. We're talking about a proper, classic cheese cake gluten version that holds its own against the traditional kind.
Mastering the Classic Gluten Free Cheesecake Crust
Mastering the Classic Gluten Free Cheesecake Crust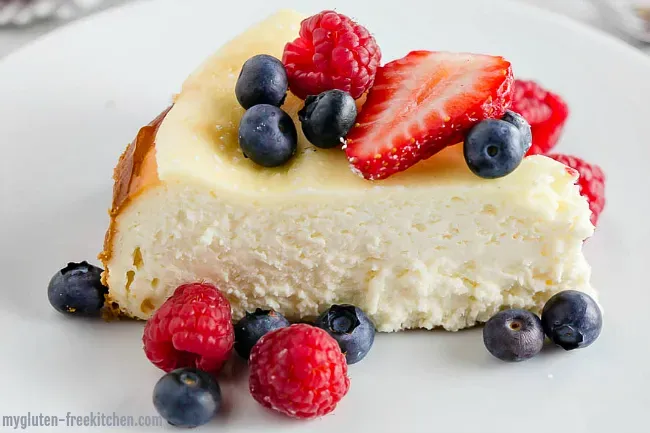
Alright, let's talk crusts. This is often where people get tripped up when making a cheese cake gluten version. You don't want a crust that disintegrates the second you try to slice it, right? The key to mastering the classic gluten free cheesecake crust is starting with the right foundation and treating it with respect. Most folks go for gluten-free graham crackers or other gluten-free cookies, crushed up fine. Think shortbread, gingersnaps, or even plain butter cookies – whatever flavor vibe you're going for. You blitz them into fine crumbs, then mix in melted butter. Simple enough, but here's the crucial part: you have to press that mixture firmly into the bottom and up the sides of your springform pan. I mean, *really* press it. Use the bottom of a glass or a flat-bottomed measuring cup to pack it down tightly. This compression is what gives you a crust that holds together and provides a satisfying counterpoint to the creamy filling.
Crafting the Creamy Filling for Your Gluten Free Cheesecake
Crafting the Creamy Filling for Your Gluten Free Cheesecake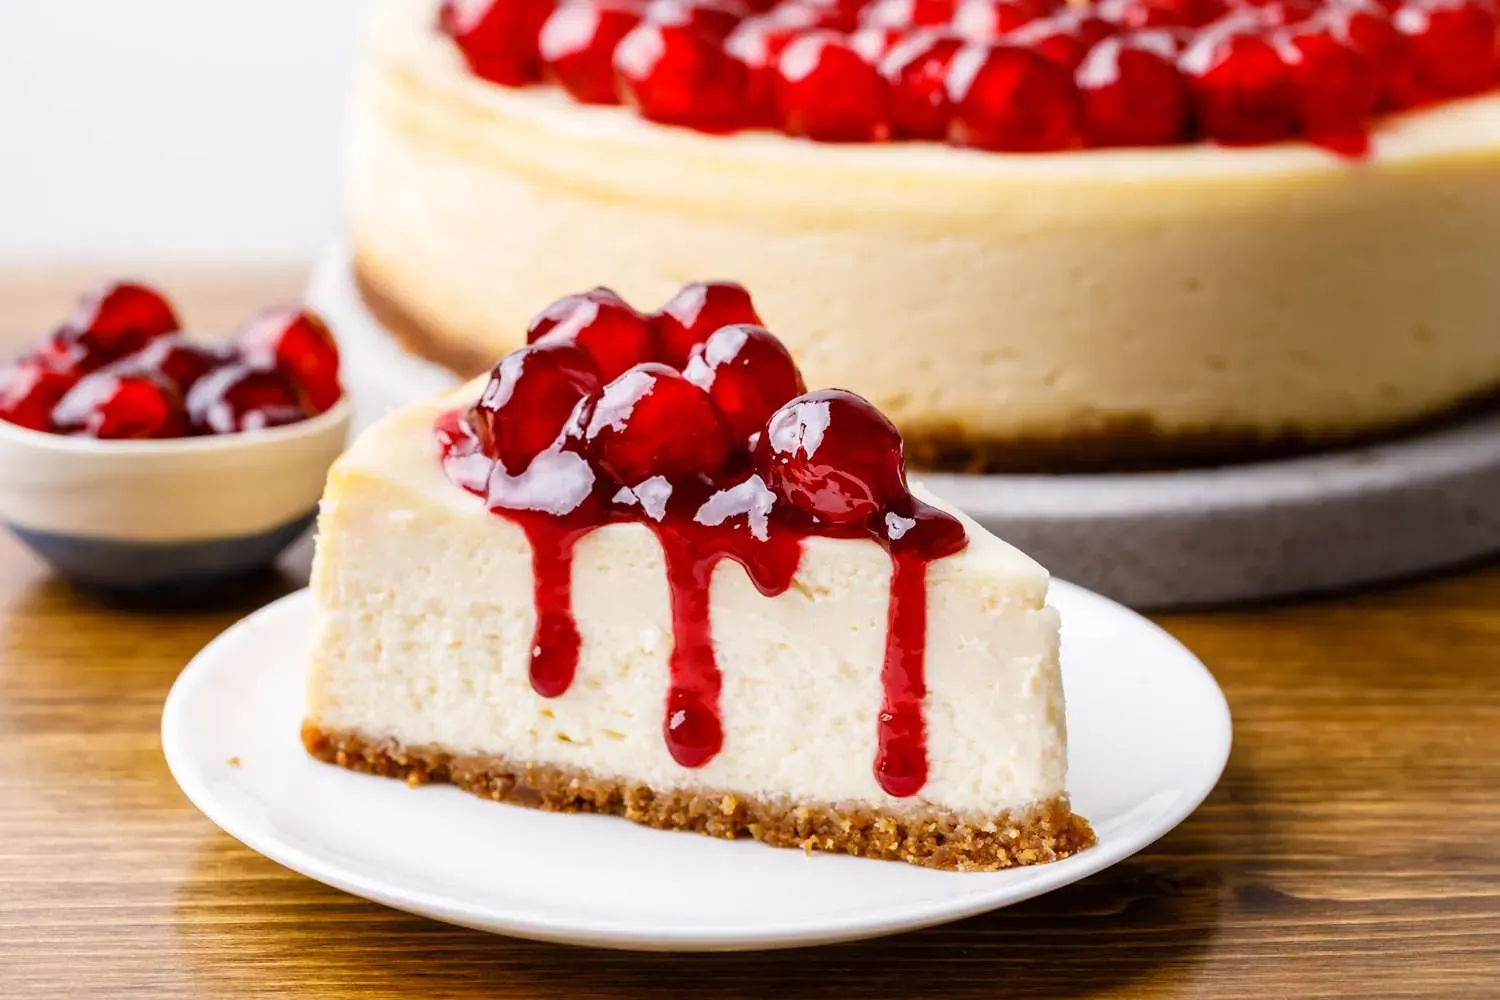
Getting Your Ingredients Right (and Ready)
crust handled. Now for the star of the show: the filling. Crafting the creamy filling for your gluten free cheesecake is all about starting with the right ingredients and, crucially, getting them to the right temperature. Your cream cheese, eggs, and any sour cream or heavy cream absolutely need to be at room temperature. Seriously, pull them out of the fridge at least an hour, maybe two, before you plan to mix. Cold cream cheese is lumpy cream cheese, and lumps mean a less-than-silky filling. Think of it like trying to mix cold butter into sugar – a lumpy mess. Room temperature ingredients blend smoothly and evenly, which is exactly what you want for that classic, dense, yet creamy cheesecake texture. Don't rush this step; it’s foundational.
Mixing Gently is Key (No, Seriously)
Once your ingredients are ready, it's tempting to just blast everything together with a mixer on high speed. Resist that urge! This is where you can ruin all your hard work and end up with cracks later. When crafting the creamy filling for your gluten free cheesecake, gentle mixing is non-negotiable. You want to mix just until everything is combined and smooth. Over-mixing incorporates too much air into the batter. That air expands as it bakes, and then collapses as it cools, leading to those frustrating cracks on the surface. Use a stand mixer on low speed, or even a hand mixer on its lowest setting. Scrape down the sides of the bowl often to make sure everything is fully incorporated without overworking the batter. Aim for smooth, not airy.
What's your go-to secret ingredient for extra creamy cheesecake filling?
Baking Your Gluten Free Cheesecake to Perfection
Baking Your Gluten Free Cheesecake to Perfection
Setting the Stage for Baking Success
you've got your perfectly mixed, creamy filling poured into that sturdy gluten-free crust. Now comes the moment of truth: baking your cheese cake gluten masterpiece. This isn't like baking cookies; you need a controlled environment. Preheat your oven properly, usually to a moderate temperature, around 300-325°F (150-160°C). Lower and slower is generally the name of the game for cheesecake. Too hot, and you risk a rubbery texture and those dreaded cracks. Some bakers swear by wrapping the outside of their springform pan in foil. It's supposed to help regulate the temperature. Give it a shot if you want, but the real battle is the heat itself and how evenly it's distributed.
Considering the Water Bath (or Not)
The water bath. It’s the classic technique for baking a smooth, crack-free cheesecake, and it works for a cheese cake gluten version too. You place your foil-wrapped springform pan inside a larger baking dish and fill the outer dish with hot water halfway up the sides of the cheesecake pan. The steam creates a humid environment, helping the cheesecake bake evenly and preventing the top from drying out and cracking. It’s effective, but honestly, it can also be a royal pain to maneuver a pan full of hot water. An alternative, less fussy method is placing a separate pan filled with hot water on the rack below your cheesecake. It provides some humidity without the risk of sloshing water into your dessert. Pick your poison, but humidity helps.
What's the most frustrating thing about baking cheesecake for you?
Knowing When It's Done and How to Cool It
Figuring out when your gluten free cheesecake is perfectly baked takes a little finesse. You’re looking for the edges to appear set, maybe slightly puffed, while the center still has a slight wobble when you gently nudge the pan. It shouldn't look liquid, but it shouldn't be completely firm either. Overbaking is a one-way ticket to dry, cracked cheesecake. Once it reaches that point, turn off the oven, crack the door open slightly, and let the cheesecake cool gradually inside the oven for about an hour. This slow cooling helps prevent drastic temperature changes that can cause cracking. After that, take it out, let it cool completely on a wire rack, and then – this is crucial – refrigerate it for at least 4 hours, preferably overnight. Patience is a virtue when it comes to setting that creamy texture.
Tips and Tricks for the Best Gluten Free Cheesecake
Tips and Tricks for the Best Gluten Free Cheesecake
Alright, so you've got the crust packed tight, the filling mixed smooth, and the oven set just right for your cheese cake gluten adventure. Now, let's talk about the little things that push a good cheesecake into "wow, how is this gluten-free?" territory. First off, don't skimp on the quality of your cream cheese. Go full-fat, the good stuff. It makes a tangible difference in texture and richness. Also, consider a splash of lemon juice or a bit of vanilla extract in the filling; it brightens everything up without making it taste lemony or overtly vanilla. Some folks swear by a tiny pinch of salt to balance the sweetness. And remember that chilling time? It's non-negotiable. Trying to slice a warm cheesecake is like trying to nail jelly to a tree – messy and pointless. Patience is your friend here.
Storing and Serving Your Gluten Free Cheesecake
Storing and Serving Your Gluten Free Cheesecake
Keeping Your Masterpiece Fresh in the Fridge
So, you've successfully navigated the treacherous waters of baking a cheese cake gluten masterpiece. Now, how do you keep it from turning into a sad, dry hockey puck? Proper storage is critical. Once your cheesecake is completely chilled – and I mean *completely* chilled, ideally overnight – you need to cover it properly before tucking it away in the fridge. A loose piece of plastic wrap just isn't going to cut it. Air is the enemy of creamy cheesecake. Use plastic wrap pressed directly onto the surface to prevent a skin from forming, and then wrap the whole thing tightly in another layer of plastic wrap or aluminum foil, or pop it into an airtight container. This shield protects that delicate texture and keeps it tasting fresh for about 5 to 7 days. Don't just shove it in there uncovered next to last night's leftovers; it'll absorb weird fridge smells faster than you can say "gluten-free."
Freezing for Later (and the Art of Serving)
Sometimes, you just can't eat a whole cheesecake in a week, no matter how good it is. Freezing is your friend here, and yes, a cheese cake gluten freezes remarkably well. For best results, freeze individual slices or the whole cheesecake (well-wrapped, of course) after it's been fully chilled in the fridge. Wrap slices individually in plastic wrap, then foil, and place them in a freezer bag or container. For a whole cheesecake, ensure it's double-wrapped tightly in plastic wrap and then foil. It'll keep in the freezer for up to 3 months. When you're ready for a slice (or the whole thing), thaw it slowly in the refrigerator. Don't rush it on the counter; that temperature shock can mess with the texture. As for serving, pull it out of the fridge about 30-60 minutes before slicing to let it soften just slightly. Use a sharp knife dipped in hot water and wiped clean between slices for those picture-perfect cuts. Because after all that work, you deserve a clean slice.
Quick Guide to Cheesecake Shelf Life:
- Refrigerator (Properly Stored): 5-7 days
- Freezer (Properly Stored): Up to 3 months
- Left out at room temperature: About 2 hours (then it's questionable territory)
Enjoying Your Gluten Free Cheesecake Victory
So there you have it. Crafting a cheese cake gluten-free doesn't require culinary acrobatics or sacrificing flavor. You've built a solid crust, whipped up a silky filling, navigated the baking process, and now you know how to store your creation. It's not about settling for less; it's about making smart choices that still deliver that satisfying, rich dessert experience. Share it, hoard it, drizzle it with something fancy – the point is, you've earned that perfect slice.