Table of Contents
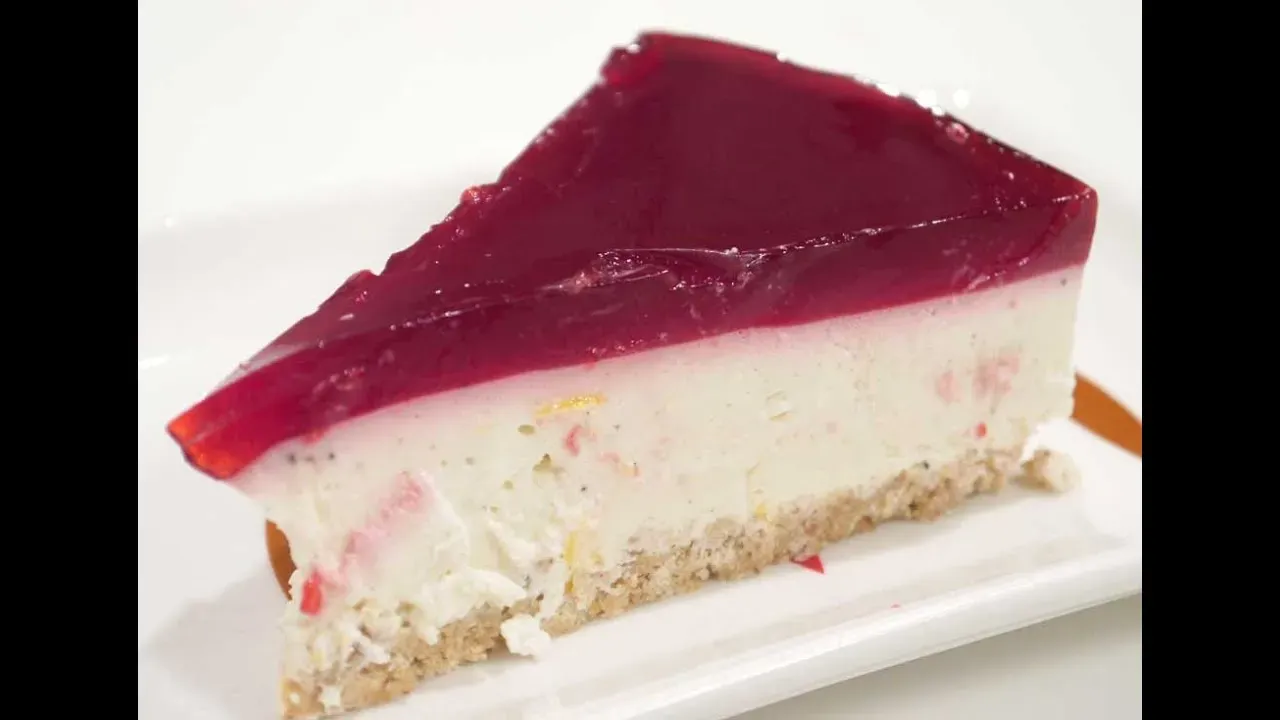
Ever whipped up a no-bake cheesecake, chilled it for hours, only to find it's more like a creamy soup than a sliceable dessert? You're not alone. It's a common frustration in the world of easy desserts. The culprit? Often, it's the missing ingredient that provides structure without baking: cheese cake gelatine.
Why Your NoBake Cheesecake Needs Cheese Cake Gelatine
Why Your NoBake Cheesecake Needs Cheese Cake Gelatine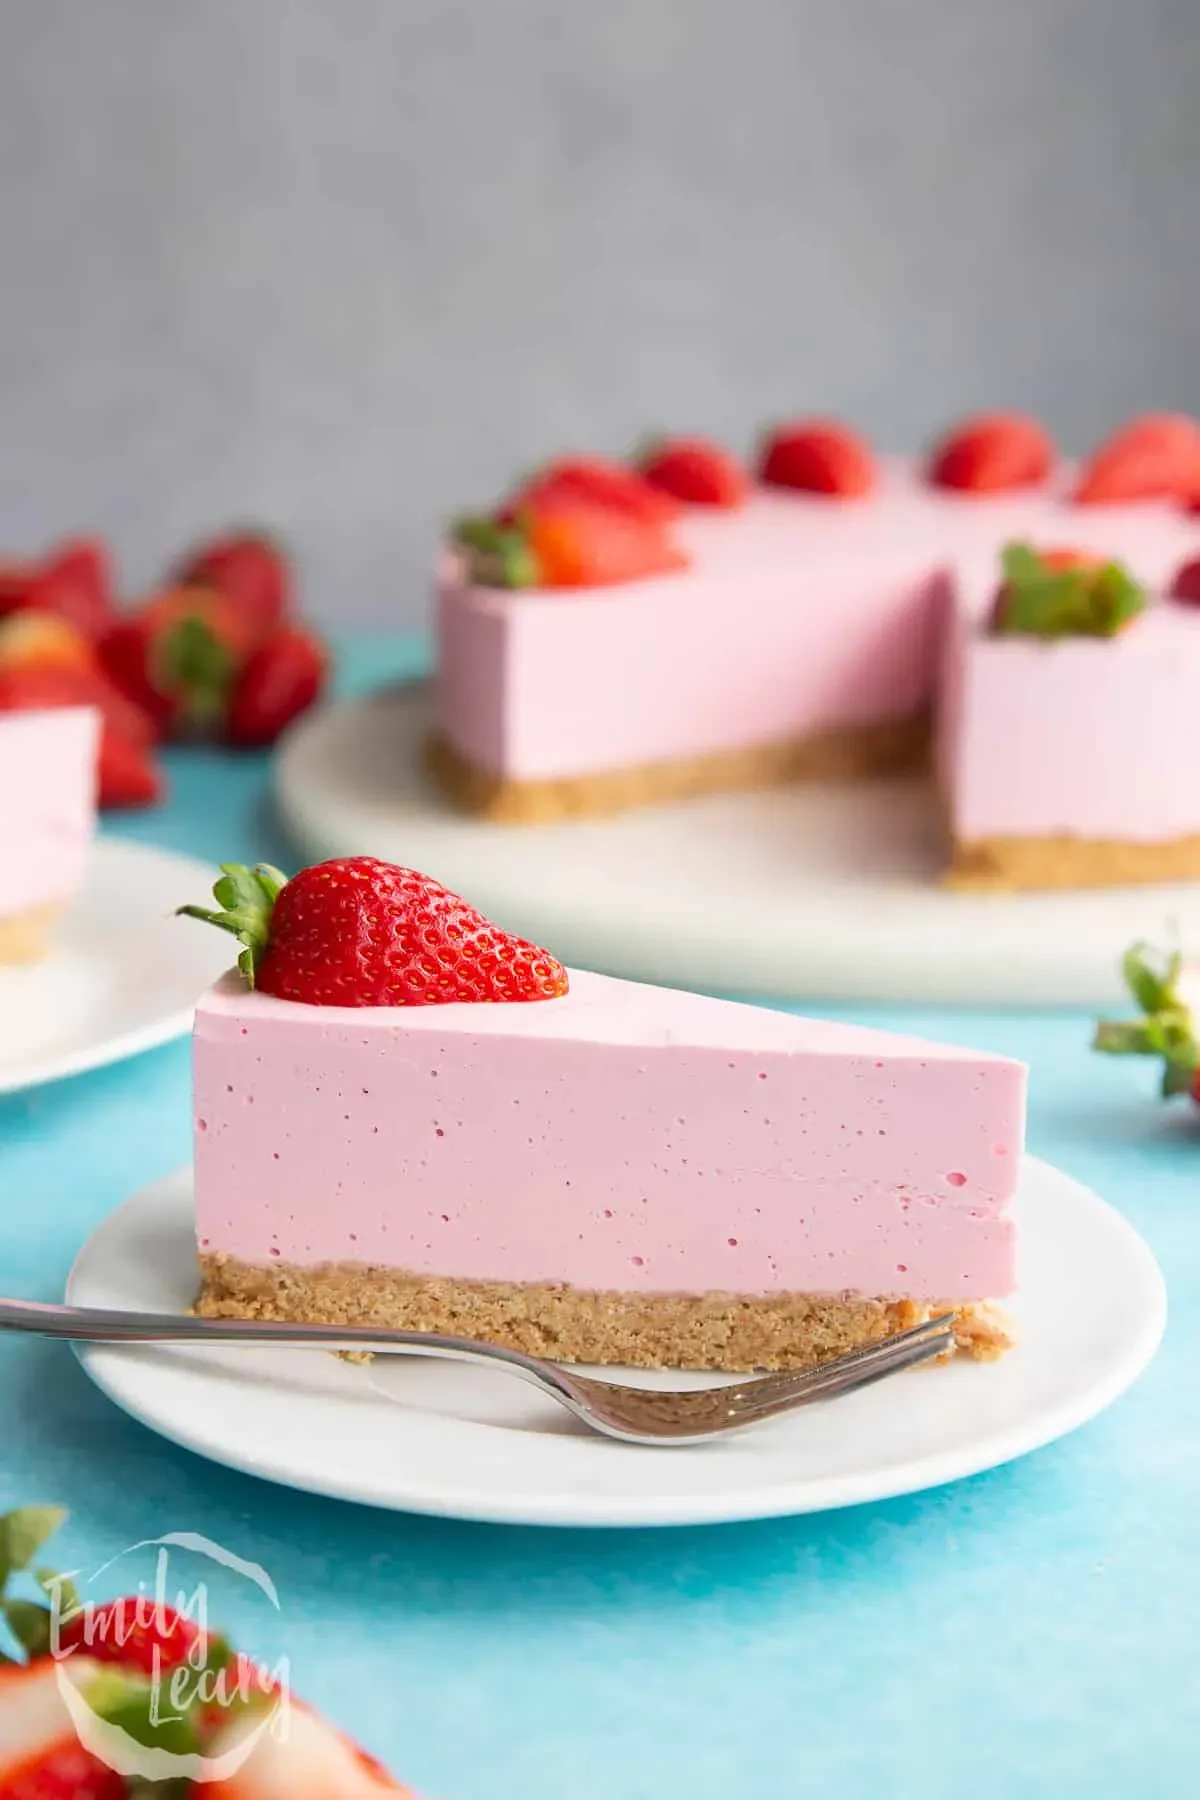
Alright, let's talk no-bake cheesecake. We've all been there, right? You spend time mixing up that dreamy, creamy filling, pour it into a beautiful crust, chill it overnight, and then... disappointment. It slumps, it oozes, it refuses to hold its shape. That's precisely why your no-bake cheesecake needs cheese cake gelatine. Unlike a baked cheesecake, which relies on eggs and oven heat to set, a no-bake version requires an external agent to give it structure. Without that little boost from cheese cake gelatine, your glorious creation just won't firm up enough to slice cleanly, turning your elegant dessert into something you might need a spoon for.
Understanding How Cheese Cake Gelatine Works
Understanding How Cheese Cake Gelatine Works
So, how does this seemingly simple powder rescue your cheesecake dreams? It all comes down to protein. Cheese cake gelatine is essentially processed collagen, the stuff that gives structure to animal tissues. When you dissolve it in hot liquid (like a bit of milk or water, as the package directions usually say), those protein strands unwind. As the liquid cools, these strands start linking back up, forming a microscopic 3D mesh or net. This net traps the liquid and all the lovely fat and dairy solids from your cream cheese and sour cream, creating a stable gel structure. It's like building a tiny, invisible scaffold inside your cheesecake filling, holding everything firmly in place so you can actually cut a clean slice instead of watching it puddle.
StepbyStep: Mixing and Using Cheese Cake Gelatine
StepbyStep: Mixing and Using Cheese Cake Gelatine
Blooming Your Cheese Cake Gelatine: The Essential First Move
so you've got your little packet or jar of cheese cake gelatine. Don't just dump it straight into your creamy filling! That's a surefire way to end up with grainy bits. The absolute first step, and one people often mess up, is called "blooming." You need to sprinkle the dry gelatin powder over a small amount of cold liquid – usually water or milk, as specified in your recipe. Use a shallow dish for this. The cold liquid allows the gelatin granules to absorb moisture and swell up evenly. Think of it like waking the gelatin up gently. This prevents clumps later on. Give it about 5-10 minutes to sit and do its thing. It'll turn into a sort of wobbly, jelly-like mass. That's exactly what you want.
Dissolving the Bloom: Warming it Up Right
Once your cheese cake gelatine is bloomed and looking all jiggly, the next crucial step is dissolving it completely. You need heat for this, but not too much. Gently heat the bloomed gelatin. This could be over a double boiler, in a small saucepan over very low heat, or even carefully in the microwave for just a few seconds. Whisk it constantly as it heats. You're looking for it to turn back into a clear, smooth liquid with no grainy bits left. If you overheat it, you can actually weaken its gelling power, so low and slow is the name of the game here. Make sure it's completely dissolved before moving on.
- Always use cold liquid to bloom gelatin.
- Give it sufficient time (5-10 mins) to bloom properly.
- Heat gently to dissolve, stirring constantly.
- Ensure no granules remain before adding to filling.
Incorporating the Dissolved Gelatine: The Final Blend
Now for the moment of truth: adding the dissolved, still-warm (but not hot!) cheese cake gelatine mixture to your main cheesecake filling. This is where temperature control is key. Your cream cheese mixture should be at room temperature or slightly chilled, not cold straight from the fridge. Why? If the filling is too cold, the warm gelatin will hit it and seize up instantly, creating those dreaded gelatin strands or clumps throughout your otherwise smooth cheesecake. Pour the dissolved gelatin in a slow, steady stream into your cream cheese mixture while you are gently mixing it. A stand mixer on low speed or an electric hand mixer works perfectly for this, or even vigorous whisking by hand if you're feeling strong. Mix just until it's fully combined and smooth. Don't overmix, but make sure that gelatin is evenly distributed throughout the entire batch. Once it's all mixed in, pour the filling into your prepared crust and get it into the fridge quickly to start setting.
Avoiding Pitfalls: Troubleshooting Cheese Cake Gelatine Issues
Avoiding Pitfalls: Troubleshooting Cheese Cake Gelatine Issues
so you've mastered blooming and dissolving your cheese cake gelatine, you've mixed it in, and you're waiting for that glorious set. But sometimes, things still go sideways. Maybe you get those weird, rubbery strands throughout your filling, or worse, the whole thing just doesn't firm up. These are the classic troubleshooting moments when working with cheese cake gelatine, and trust me, everyone who's ever made a no-bake cheesecake has probably hit one of these snags. It's not a reflection on your baking skills, just a sign that gelatin can be a bit finicky if you don't respect its simple rules, mainly around temperature and how you introduce it to your base.
Creative Uses for Cheese Cake Gelatine Beyond the Classic
Stabilizing Other Creamy Desserts
so you've got your no-bake cheesecake game locked down thanks to cheese cake gelatine. But don't stop there. That same stabilizing superpower works wonders in other creamy, no-bake treats that tend to be a bit... relaxed. Think about panna cotta – it absolutely relies on gelatin for that signature silky, wobbly texture. Mousses, especially fruit mousses that don't have the inherent stability of chocolate or egg yolks, often benefit from a touch of gelatin to keep them from collapsing. Even homemade ice cream bases, before churning, can sometimes get a smoother texture with a tiny bit of gelatin added, preventing ice crystals. It's about giving that delicate structure without making things rubbery, which is the fine line you walk, but once you get the hang of it with cheesecake, applying it elsewhere is a breeze.
Creating Clear Glazes and Terrines
Moving beyond just creamy fillings, cheese cake gelatine is also the secret weapon for those crystal-clear, mirror-like glazes you see on fancy pastries, or for binding together savory terrines. A fruit tart glaze, for example, made with fruit juice or puree and gelatin, sets up beautifully clear and shiny, locking in moisture and giving your fruit a professional sheen. On the savory side, gelatin helps bind chopped meats, vegetables, or even seafood into a sliceable terrine, perfect for charcuterie boards. It's a completely different application from cheesecake, sure, but it highlights the versatility of this ingredient. It proves gelatin isn't just for making things wobbly; it's about controlled structure and visual appeal too.
- Fruit glazes for tarts
- Savory terrines (meat, vegetable, seafood)
- Stabilizing mousses and panna cotta
- Adding body to homemade marshmallows
- Clarifying stocks (though this is a more advanced technique)
The Final Set: Confidence with Cheese Cake Gelatine
So there you have it. No more crossing your fingers and hoping your no-bake cheesecake decides to hold its shape. Understanding and properly using cheese cake gelatine isn't some advanced pastry chef secret; it's a fundamental step for a reliable dessert. It provides the necessary scaffolding, turning a potentially runny mess into a sliceable treat. With a little attention to the mixing process and knowing how to spot potential issues, you've got the tool to nail that classic creamy texture every time. Go forth and make cheesecake that actually cuts clean.