Table of Contents
Ever get that craving for something sweet, creamy, and just a little bit fancy, but the thought of turning on the oven or spending hours in the kitchen makes you want to just grab a sad granola bar? Yeah, we’ve all been there. Traditional cheesecake? Delicious, absolutely. But let's be honest, it's a project. That's where the magic of cheese cake en verre swoops in like a dessert superhero. This isn't your grandma's baked-for-three-hours cheesecake; this is a speedy, no-fuss wonder served up in individual glasses.
Why Cheese Cake En Verre is Your New GoTo Dessert
Why Cheese Cake En Verre is Your New GoTo Dessert
Speed and Simplicity: Ditch the Oven Drama
Look, traditional cheesecake is a commitment. You've got the water bath, the potential for cracks, the hours of baking and cooling. It's great for a special occasion, sure, but for a Tuesday night when you just want something sweet after dinner? Forget it. This is where cheese cake en verre shines. It's the ultimate no-bake wonder. You’re essentially mixing a few things together, crushing some biscuits, and layering it all in a glass. Fifteen minutes, maybe twenty if you're feeling particularly slow, and you've got a dessert that looks and tastes like you put in way more effort than you did. It’s the culinary equivalent of showing up in sweatpants but telling everyone you're wearing athleisure.
Portion Control and Presentation Perfection
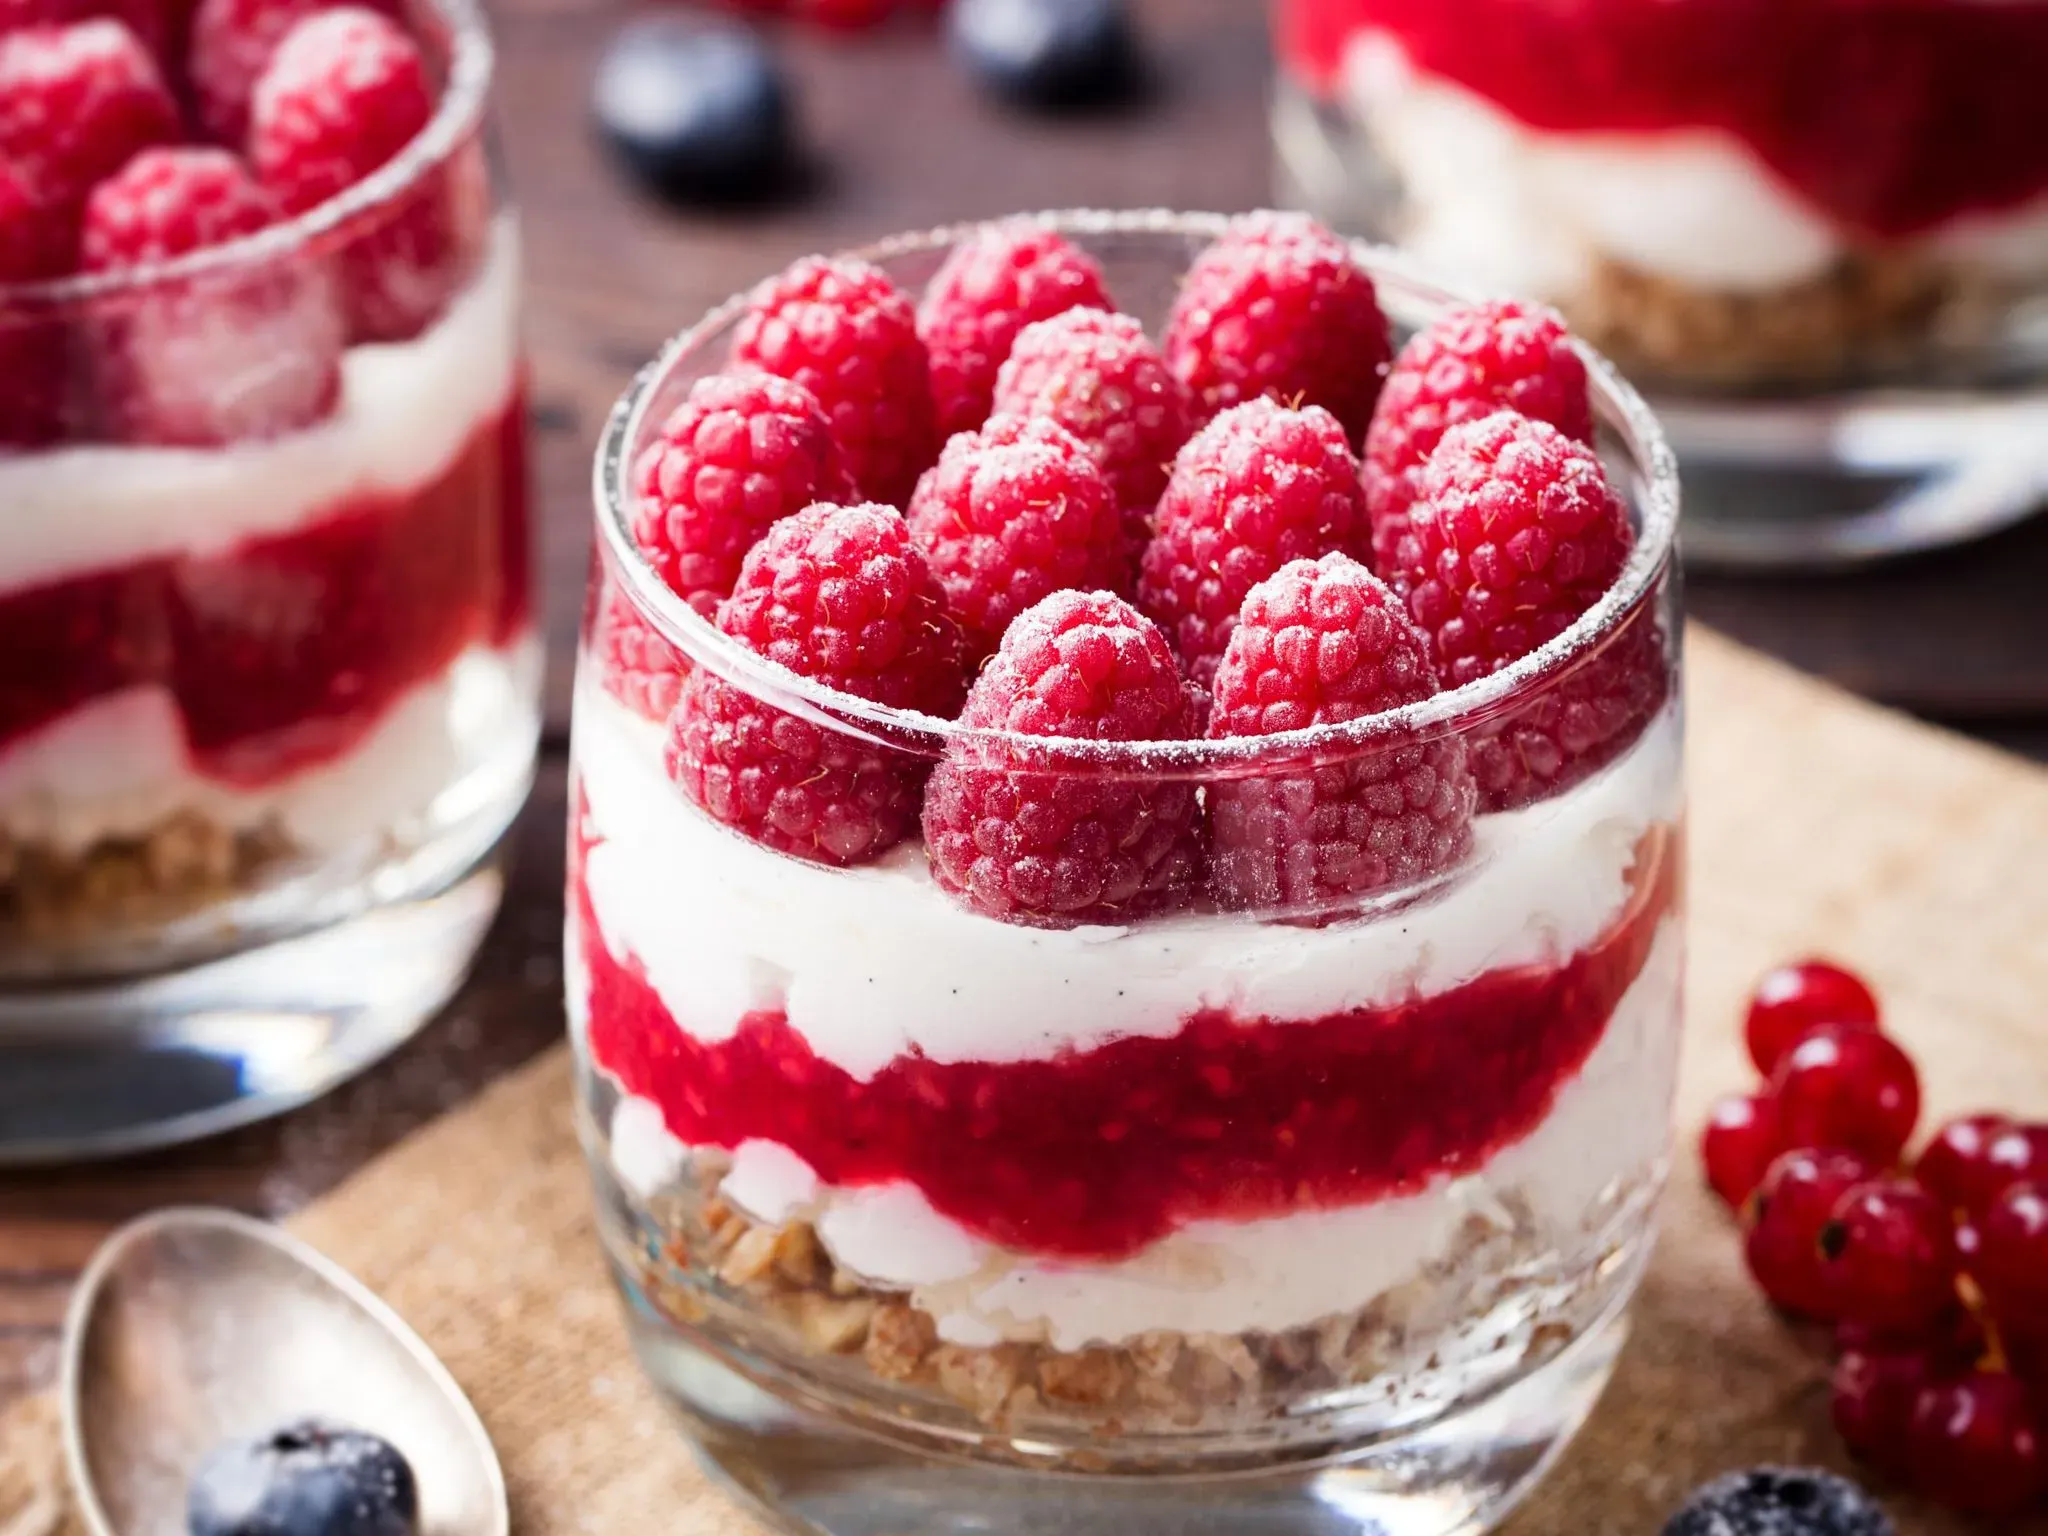
Serving a whole cheesecake can be tricky. Cutting neat slices? A nightmare. Plus, you're often stuck with a giant leftover situation, which isn't always a bad thing, but sometimes you just want individual servings. Cheese cake en verre solves both problems. Each dessert is its own self-contained unit, perfectly portioned in a glass. No messy slicing required. And honestly, layering those creamy, crumbly, fruity bits in a clear glass looks incredibly appealing. It’s automatically Instagram-ready without needing any fancy plating skills. Guests always seem impressed, and you just smile, knowing it took less time than deciding what to watch on Netflix.
Here’s why you should make this your default sweet treat:
- No baking required
- Takes minimal time to assemble
- Easy to customize with different fruits and biscuits
- Looks fancy without any fuss
- Perfectly portioned servings
- Less cleanup than a full cheesecake pan
Essential Ingredients for Your Quick Cheese Cake En Verre
Essential Ingredients for Your Quick Cheese Cake En Verre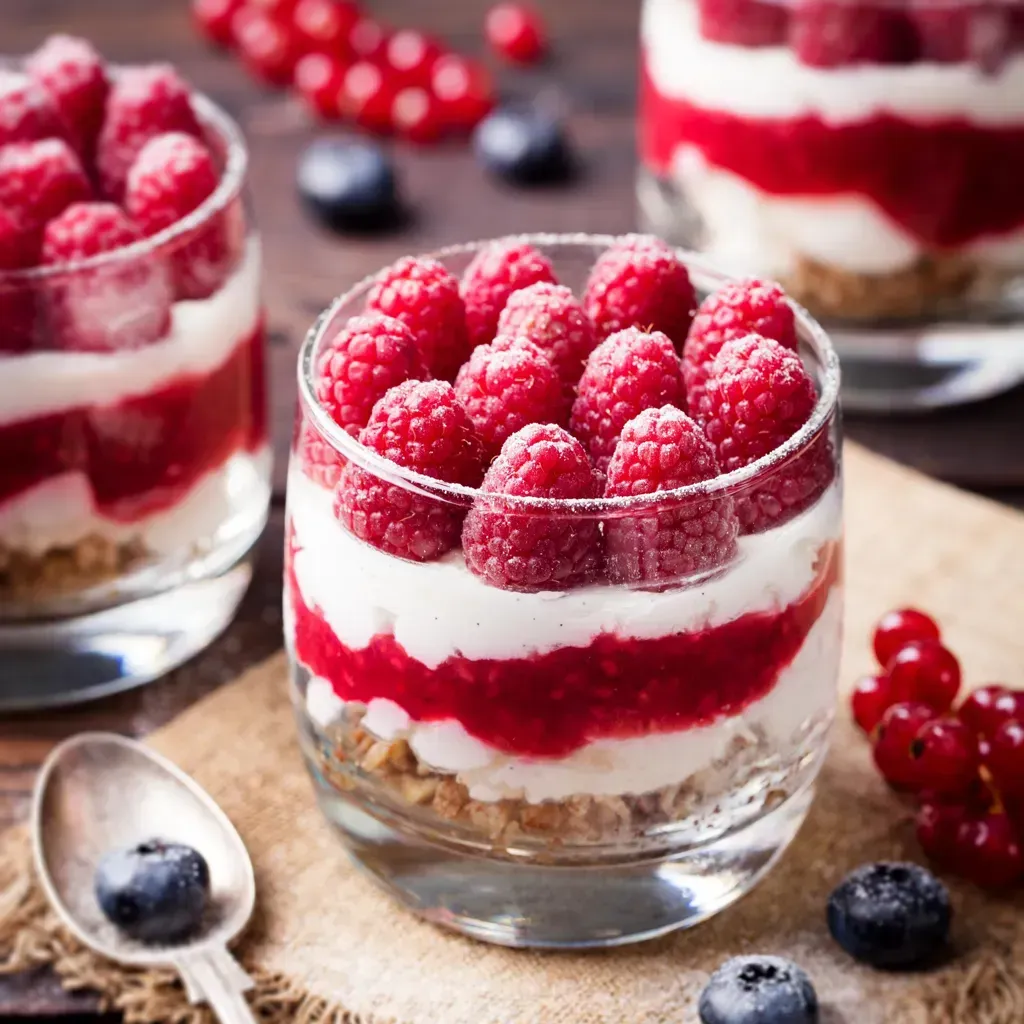
The Simple Staples for Your Glass Dessert
Alright, so you're sold on the idea of making a speedy cheese cake en verre. Great choice. Now, what do you actually need to pull this off? The beauty here is the simplicity. You're not tracking down obscure ingredients. At its core, you need a creamy component – think fresh cheese like ricotta or mascarpone, or even just good quality Greek yogurt for a lighter take. Then comes the sweetener, plain old sugar works perfectly. A little bit of acid, usually lemon juice, cuts through the richness and gives it that classic cheesecake tang. And finally, the base: crushed biscuits. Speculoos are popular because they have that lovely spiced flavor, but honestly, any plain biscuit you like will do the job. That's it. Cream, sweet, tang, crunch. You probably have most of this lurking in your fridge and pantry right now.
Layering Magic: Crafting Your Cheese Cake En Verre
Layering Magic: Crafting Your Cheese Cake En Verre
Prepping Your Perfectly Portioned Components
you've got your simple ingredients lined up for your cheese cake en verre. Now comes the fun part: getting them ready to stack. For the creamy layer, you've mixed your cheese/yogurt, sugar, and lemon juice. Give it a good whisk until it's smooth and lump-free. Taste it – does it need a tiny bit more tang? A touch more sweet? Adjust it to your liking. For the biscuit layer, the easiest way is to put your biscuits in a Ziploc bag and bash them with a rolling pin. You want crumbs, not dust. Some people like them finely powdered, others prefer chunkier bits for more texture. It's your dessert, do what feels right. If you're adding fruit, get it prepped now – wash and slice strawberries, hull raspberries, whatever your fruit of choice requires.
Building Your Beautiful Layers
Now for the assembly line! Grab your glasses – clear ones are best so you can see those pretty layers. Start with a spoonful of your crushed biscuit base at the bottom. Don't pack it down too hard; you want it to be easy to eat with a spoon. Next, carefully spoon or pipe a layer of your creamy mixture over the biscuits. Try not to let it smear too much on the sides if you want those clean lines. If you're using fruit, add a layer of that next. Then repeat: more biscuits, more cream, more fruit. How many layers? Totally up to you and the size of your glass. Two layers of each usually works well, finishing with a final dollop of cream and whatever topping you choose. The key is gentle handling to keep those layers distinct.
Here’s a typical layering sequence to try:
- Biscuit crumbs
- Cream mixture
- Fruit (optional)
- Biscuit crumbs
- Cream mixture
- Garnish (fruit, extra crumbs, mint leaf)
Finishing Touches and Chill Time
Once your glasses are layered up with that delightful cheese cake en verre goodness, it's time for the final touches. Add your chosen garnish on top – maybe a few whole berries, a sprinkle of extra biscuit crumbs, a fresh mint leaf for color, or a tiny twist of lemon zest. These little details make a big difference in presentation. Now, the crucial step: chilling. While it's no-bake, this dessert needs time in the fridge for the creamy layer to set up a bit and for the flavors to meld. At least 30 minutes is good, but an hour or two is even better. This also gives the biscuit layer a chance to soften slightly from the moisture of the cream, creating that perfect texture contrast. Don't skip the chill!
Flavor Twists and Tips for Cheese Cake En Verre Success
Flavor Twists and Tips for Cheese Cake En Verre Success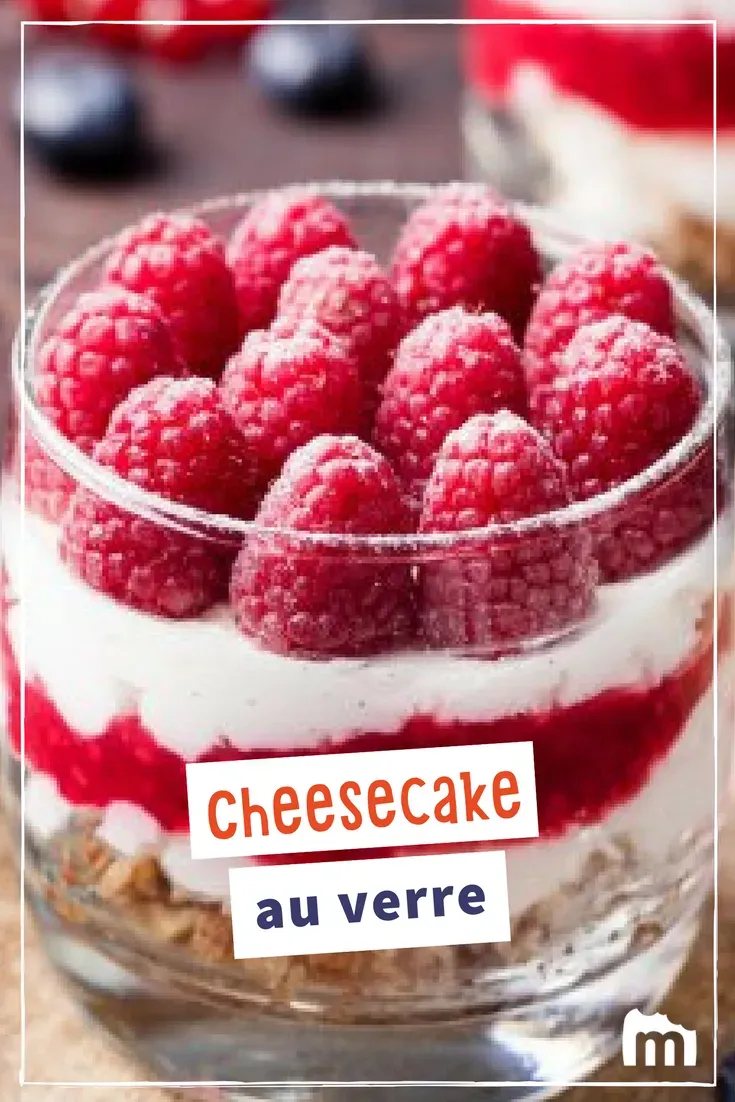
Mixing Up Your Creamy Base
The classic base for cheese cake en verre is usually cream cheese, or maybe mascarpone or ricotta. But who says you have to stop there? You can totally play around with the creamy layer. For a lighter, tangier version, mix some Greek yogurt into your cream cheese. Or go full-on decadent with just mascarpone. Want a little something extra? Swirl in some melted white chocolate (let it cool slightly first!) for a richer flavor, or a spoonful of peanut butter for a nutty kick. You could even infuse the cream with a little lemon zest or vanilla bean paste while you're mixing it up. Don't be afraid to experiment with the dairy base itself before you even get to the mix-ins.
Biscuit Bases Beyond the Basics
Speculoos are great for the biscuit layer in your cheese cake en verre, no doubt. They have that lovely spice. But think about other options. Crushed shortbread cookies give you a buttery base. Graham crackers are classic for a reason. Fancy something chocolatey? Oreos (scrape out the filling if you want a cleaner flavor, or leave it in for extra sweetness) crushed up work wonderfully. You can even mix different types of biscuits together for a more complex flavor and texture. Some folks even add a pinch of cinnamon or a tiny bit of melted butter to their crushed biscuits before layering, though it's not strictly necessary for this no-bake version.
Here are some biscuit base ideas to get you started:
- Speculoos (spiced, crunchy)
- Graham Crackers (classic, slightly sweet)
- Shortbread (buttery, crumbly)
- Oreo Cookies (chocolatey, can be very sweet)
- Digestive Biscuits (wheaty, slightly sweet)
- Almond Biscotti (nutty, firm texture)
Adding Fruit, Sauces, and Other Goodies
This is where your cheese cake en verre really comes alive. Fresh berries are a go-to for a reason – strawberries, raspberries, blueberries, they all work. But consider other fruits too. Sliced peaches or apricots in the summer, maybe some stewed apples with cinnamon in the fall. A tart cherry sauce swirled in or layered on top can be phenomenal. Beyond fruit, think about textures. A sprinkle of chopped nuts adds crunch. A drizzle of caramel or chocolate sauce makes it more indulgent. Even a layer of lemon curd adds a bright, zesty punch. The key is to balance the sweetness and richness of the cream with something a little tart or texturally interesting.
Beyond the Spoon: Presenting Your Cheese Cake En Verre
Beyond the Spoon: Presenting Your Cheese Cake En Verre
Choosing the Right Vessel Matters
you've made your glorious cheese cake en verre. It tastes amazing, you know it does. But presentation? That's half the fun, right? Don't just plop it in any old cup. The glass you choose makes a difference. Clear glasses are your friend here because you want to show off those beautiful layers you worked (okay, maybe not *worked*, more like *assembled*) so hard on. Think wine glasses, martini glasses, small tumblers, or even little jam jars for a rustic vibe. The shape can impact how easy it is to spoon into, so consider that. A wider opening is generally better than a tall, narrow one unless you have tiny spoons or particularly dedicated eaters.
Garnishes: The Crown Jewels of Your Dessert
Your cheese cake en verre is chilling, looking pretty decent already. But a little garnish takes it from "homemade" to "did you get this from a fancy patisserie?" This is your chance to add a final flourish. Fresh berries are a classic for a reason – they add color and a pop of freshness. A sprig of mint looks surprisingly elegant and smells great. A dusting of cocoa powder or a sprinkle of cinnamon can add visual interest and a hint of flavor. If you used crushed biscuits as the base, reserve a few crumbs to sprinkle on top. A drizzle of fruit sauce or a tiny square of chocolate can also work. Don't overthink it; sometimes the simplest garnish is the most effective.
What's your favorite way to finish a dessert?
Is it fresh fruit, a sprinkle of something crunchy, or maybe a drizzle of sauce?
Serving with Style and Ease
Serving cheese cake en verre is blessedly simple compared to wrestling a whole cake. Just pull them out of the fridge a few minutes before you plan to serve, grab some spoons, and you're done. Because they're in individual glasses, they're perfect for a party – guests can just grab one. If you're transporting them, make sure they're in a container where they won't tip over. Chilling them well helps them hold their shape during transit. You can even make them ahead of time, which is a lifesaver for entertaining. Just add any delicate garnishes right before serving.
Your Spoon's New Best Friend: Wrapping Up Cheese Cake En Verre
So there you have it. No oven required, minimal dishes, and a seriously tasty result. Making cheese cake en verre cuts out all the fuss of traditional baking but keeps the creamy, dreamy goodness you crave. Whether you go classic with strawberries and speculoos or experiment with apricots and different biscuits, this dessert is incredibly forgiving and always looks like you put in way more effort than you did. It’s proof that you don't need a culinary degree or hours of free time to whip up something genuinely delightful. Just grab some glasses, layer it up, and enjoy your personal little pot of happiness.