Table of Contents
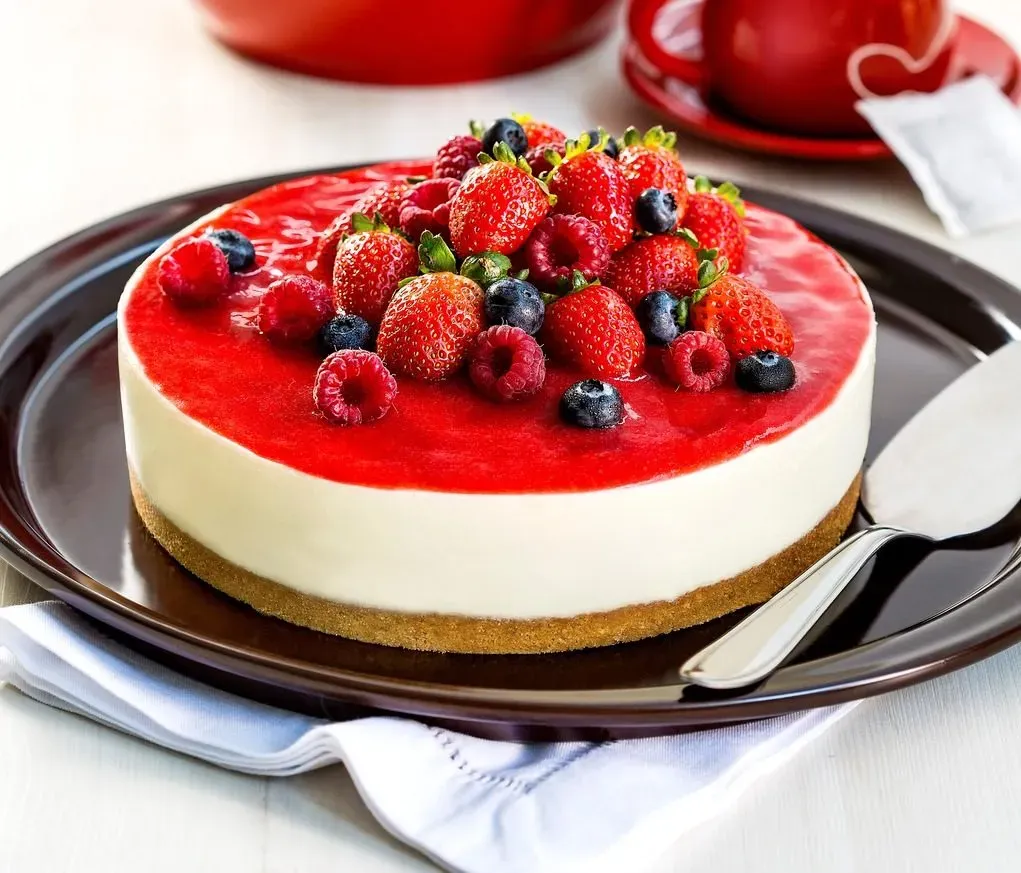
Craving that perfect dessert that balances rich creaminess with bright, tart fruit? Look no further than the classic cheese cake de frutas vermelhas. This beloved treat, with its vibrant red berry topping cascading over a smooth, cool cheesecake, is a showstopper at any gathering, yet surprisingly achievable for the home baker. Forget complicated techniques and intimidating ingredient lists. We're breaking down this iconic recipe into simple, manageable steps.
Making the Perfect Base for Your Cheesecake de Frutas Vermelhas
Making the Perfect Base for Your Cheesecake de Frutas Vermelhas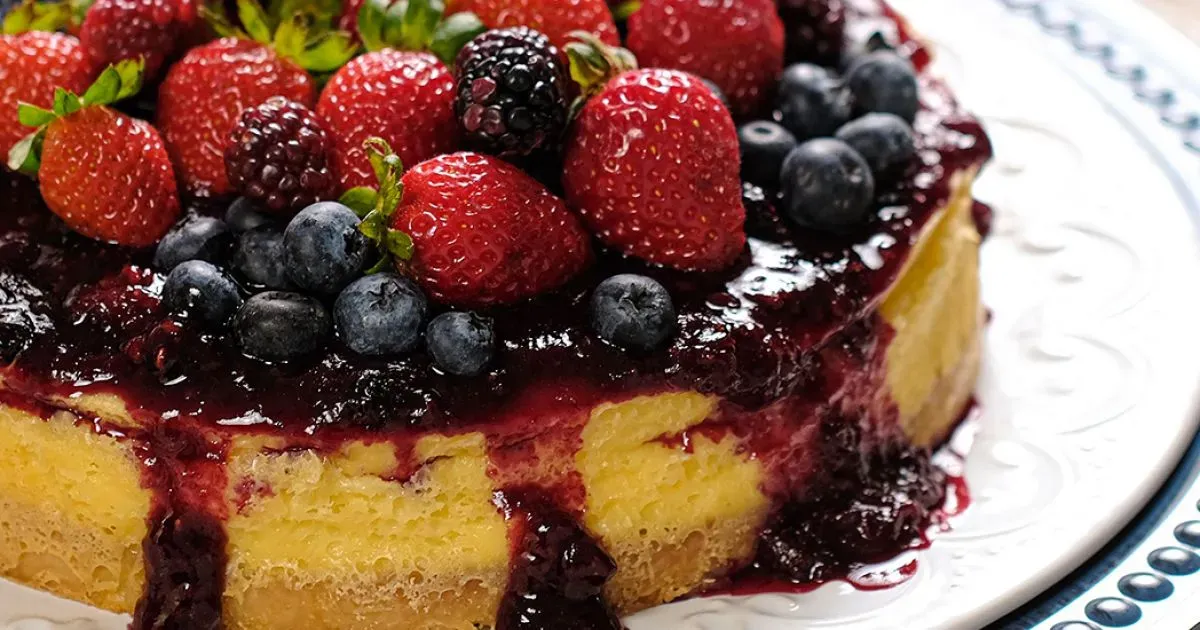
Picking the Right Crumb
Alright, let's talk about the foundation for your glorious cheese cake de frutas vermelhas. You can't just use any old biscuit sitting in the pantry. You need something that crushes well and holds together. Graham crackers are the classic choice for a reason in many cheesecake recipes – they have that perfect crumb texture and a mild sweetness that plays nice with everything else. But don't feel boxed in. Shortbread cookies work beautifully for a buttery, slightly more refined base. Even some basic digestive biscuits can do the trick if you're in a pinch. The key is getting a fine, even crumb. A food processor is your best friend here; it turns a stack of cookies into sandy perfection in seconds. If you don't have one, a zip-top bag and a rolling pin require a bit more effort but get the job done. Just make sure there are no big chunks left behind.
Binding It All Together
Once you've got your lovely pile of crumbs, it's time to introduce the binder: melted fat. Unsalted butter is the standard, and honestly, it's hard to beat that rich flavor. Margarine works too, but check the label – some have a lot of water, which isn't ideal for a firm base. You need just enough melted butter or margarine to coat every crumb, making it look like wet sand. Too little, and your base will crumble when you slice it. Too much, and it will be greasy and hard. Mix it thoroughly until there's no dry crumb left. Then, dump this mixture into your springform pan. A springform pan is crucial because trying to get a cheesecake out of a regular cake pan is an exercise in frustration and structural failure. Press the crumb mixture firmly and evenly across the bottom and slightly up the sides. Use the bottom of a glass or a flat measuring cup to really compact it. The harder you press, the sturdier your cheese cake de frutas vermelhas base will be.
- Classic Graham Crackers
- Buttery Shortbread Cookies
- Simple Digestive Biscuits
- Vanilla Wafers for a sweeter touch
Setting the Scene
Now that your base is pressed into submission, it needs to set. Some recipes call for baking the base for about 10-15 minutes. This helps toast the crumbs slightly and makes the base extra sturdy, almost like a cookie crust. Other recipes skip the bake and just recommend chilling the base in the fridge or freezer. Chilling works, but baking gives you that extra layer of security against a crumbly base, especially important when you're dealing with the weight of a creamy filling and a fruit topping for your cheese cake de frutas vermelhas. Whichever method you choose, make sure the base is firm and cool before you even think about adding the cheesecake filling. A warm base will melt the filling and create a soggy mess, and nobody wants that.
Whipping Up the Silky Smooth Cheesecake Cream
Whipping Up the Silky Smooth Cheesecake Cream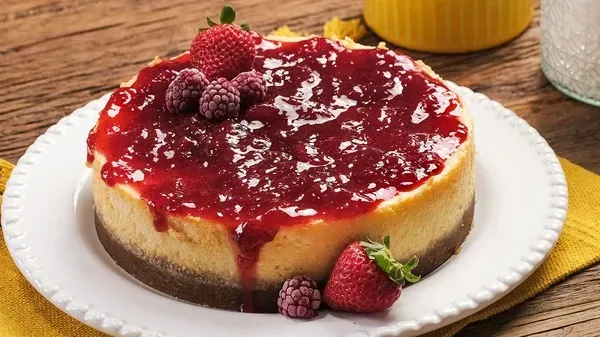
The Creamy Trio: Your Core Ingredients
Alright, now for the good stuff, the heart of your cheese cake de frutas vermelhas: the filling. This isn't some flimsy pudding; we're aiming for pure, unadulterated silkiness. The main players here are cream cheese, condensed milk, and cream. You absolutely must start with full-fat cream cheese. Seriously, trying to make a truly smooth, rich cheesecake with low-fat cheese is like trying to win a race on a tricycle – possible, maybe, but why bother? Make sure it's softened to room temperature; cold cream cheese is the enemy of smooth batter, leaving you with annoying little lumps no amount of beating will fix. Condensed milk adds sweetness and contributes significantly to that dense, creamy texture. And the cream, be it table cream or heavy cream, lends extra richness and helps achieve that dreamy consistency we're after.
The Art of the Blend
Getting this mixture right is less about brute force and more about finesse. Start by beating the softened cream cheese on its own until it's completely smooth and there are no lumps hiding anywhere. Then, gradually add the condensed milk, scraping down the sides of the bowl often to make sure everything is incorporated. Next comes the cream. Mix it in until just combined. You don't want to whip air into this; that can cause cracking later. Finally, gently beat in your eggs, one at a time. This is crucial: don't overmix once the eggs are in. Overmixing develops gluten in the eggs and introduces too much air, which leads to cracks on the surface of your cheese cake de frutas vermelhas as it cools. Mix only until the yolk disappears into the batter.
What's the biggest mistake people make with cheesecake batter?
- Using cold cream cheese
- Overmixing, especially after adding eggs
- Not scraping down the bowl
- Using low-fat ingredients
Finishing Touches and Pouring
Before you pour that beautiful, smooth batter into your prepared cookie base, add a splash of vanilla extract. It might seem small, but vanilla is a game-changer, enhancing all those creamy flavors. Give the batter one final gentle stir by hand with a spatula, making sure to scrape the bottom and sides of the bowl to catch any sneaky unmixed bits. Pour the batter carefully into the springform pan over the chilled or baked base. Once it's all in, give the pan a few gentle taps on the counter. This helps any trapped air bubbles rise to the surface and pop, preventing unsightly holes in your finished cheese cake de frutas vermelhas. Your silky smooth canvas is now ready for the oven (or the fridge, depending on your recipe style).
Creating the Vibrant Frutas Vermelhas Topping
Creating the Vibrant Frutas Vermelhas Topping
Picking and Prepping Your Berries
Now, the part that gives your cheese cake de frutas vermelhas its signature pop: the vibrant topping. You need red fruits, obviously. The classic choice is a mix of raspberries and strawberries. Why? Raspberries break down beautifully and have that lovely tartness, while strawberries add sweetness and body. You can use fresh or frozen berries. If using frozen, don't bother thawing them first; just toss them straight into the pot. Rinse fresh berries gently and hull the strawberries, maybe slicing larger ones in half. Blueberries can work too, adding a deeper color and different texture, but stick mainly to the red guys for that traditional look. Blackberries are another option if you like their slightly earthier flavor, but be mindful of the seeds.
Cooking Up That Glossy Goodness
Making the topping is simple simmering. Grab a medium saucepan and toss in your prepped red fruits. Add some sugar. How much sugar depends on how sweet your berries are and how tart you want the topping. Start with maybe half a cup for a couple of cups of berries, then taste and adjust. A squeeze of lemon juice isn't strictly necessary but brightens everything up and helps with gelling. Heat the mixture over medium heat, stirring occasionally. The fruit will start to break down and release its juices. Bring it to a gentle simmer. You want it to cook down until the fruit is soft and the liquid has thickened slightly, maybe 10-15 minutes. Some people like a chunky topping, others prefer it smoother; you can mash some of the fruit against the side of the pan if you like. It will thicken more as it cools. Let it cool completely before spooning it over your finished cheese cake de frutas vermelhas. Pouring hot topping onto a cold cheesecake is just asking for trouble.
- Raspberries (great for texture and tartness)
- Strawberries (add sweetness and body)
- Blueberries (for color and a different flavor note)
- Blackberries (if you don't mind the seeds)
- A little lemon juice (brightens flavor)
Assembling and Chilling Your Cheesecake de Frutas Vermelhas
Assembling and Chilling Your Cheesecake de Frutas Vermelhas
Bringing It All Together Before the Chill
So, you've got your perfectly set base in the springform pan and your silky smooth cheesecake batter ready to go. This is where it starts feeling real. Carefully pour the batter over the cooled or baked base. Don't just dump it; pour it gently from a low height to minimize introducing unnecessary air bubbles. Once the batter is in the pan, level the top with an offset spatula or the back of a spoon. Give the pan a few firm taps on the counter again. Remember those sneaky air bubbles? This is your last chance to persuade them to surface and pop. You're aiming for a smooth, even surface that will be the perfect canvas for your cheese cake de frutas vermelhas topping later.
The Long Wait: Chilling is Non-Negotiable
Here's the hard part: waiting. Once your cheesecake is baked (or if it's a no-bake version, right after assembling), it needs serious chilling time. This isn't a suggestion; it's a command. Skipping the chilling step is perhaps the fastest way to ruin all your hard work, resulting in a sad, slumped mess instead of a firm, sliceable cheese cake de frutas vermelhas. Pop the assembled cheesecake into the refrigerator, uncovered at first to allow steam to escape if baked, then cover loosely with plastic wrap once cooled. A minimum of 4-6 hours is required, but overnight is truly your best bet. This time allows the structure to set, the flavors to meld, and the cheesecake to become firm enough to slice cleanly. Don't rush it; patience is a virtue, especially in cheesecake making.
How long should you really chill your cheesecake?
- Minimum 4-6 hours
- Ideally, overnight (8+ hours)
- Until the center is firm and doesn't jiggle
Serving and Enjoying Your Homemade Delight
Serving and Enjoying Your Homemade Delight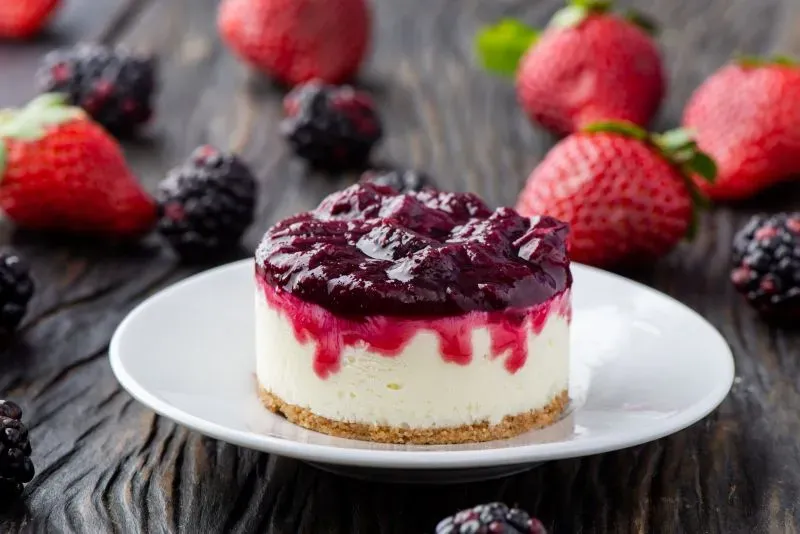
Getting That Perfect Slice
After all that patient waiting, the moment of truth arrives: slicing your beautiful cheese cake de frutas vermelhas. Don't just hack at it with any old knife. For clean, elegant slices, you need a sharp knife, preferably one with a thin blade. Dip the knife in hot water and wipe it dry between each slice. This is crucial. A warm, clean blade glides through the dense cream cheese filling without dragging or sticking, giving you those picture-perfect edges. Start from the center and slice outwards. Remember, this isn't a fluffy sponge cake; it's substantial. Take your time and let the knife do the work. Getting a clean slice is half the presentation battle, and frankly, a messy slice just feels like disrespecting the dessert you worked hard on.
Enjoying Every Bite (And Storing Leftovers)
Now, the best part – eating it. Serve your cheese cake de frutas vermelhas chilled, straight from the refrigerator. The cold temperature enhances the firmness and the refreshing contrast with the fruit topping. It pairs wonderfully with a cup of coffee, a glass of dessert wine, or even just a simple glass of milk. Leftovers? If there are any, which is a big "if" with a good cheese cake de frutas vermelhas, store them in an airtight container in the fridge. It should keep well for 3-4 days. Freezing is also an option, but the texture can sometimes change slightly upon thawing, becoming a bit grainier. To freeze, wrap individual slices or the whole remaining cake tightly in plastic wrap, then aluminum foil. Thaw in the refrigerator overnight before serving. Don't let your hard work go to waste.
Best ways to serve your cheese cake de frutas vermelhas:
- Chilled, straight from the fridge
- With a clean, hot knife for slicing
- Paired with coffee or dessert wine
- Garnished with a few fresh berries if desired
Your Homemade Cheesecake de Frutas Vermelhas Awaits
So there you have it. You've crushed the cookies, blended the cream cheese mixture until it was just right, and coaxed those red fruits into a vibrant, tangy topping. Making a cheese cake de frutas vermelhas isn't rocket science, but it does require a bit of patience, mostly while it chills. The result? A dessert that looks impressive and delivers on taste, proving that sometimes, the classics stick around for a reason. Go ahead, slice into your creation and see for yourself.