
Table of Contents
Ever pulled a cheesecake from the oven, proud of your work, only to watch cracks spiderweb across the top as it cools? It’s a common heartbreak in the baking world. We’re here to talk about mastering the *cheese cake cuit* – that classic, baked style that promises a dense, creamy slice of heaven. But getting there often feels like navigating a minefield, and the journey to that perfect slice can be fraught with peril.
What Exactly is Cheese Cake Cuit?
What Exactly is Cheese Cake Cuit?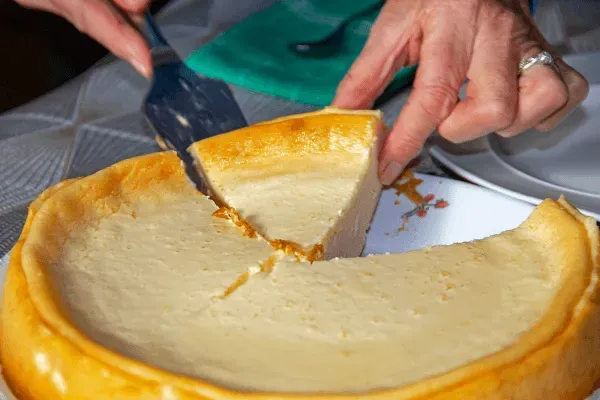
So, you're diving into the world of cheesecake, huh? And you've stumbled upon this term, "cheese cake cuit." Let's cut through the fluff. What Exactly is Cheese Cake Cuit? Simply put, it's the classic, baked version. Think of the dense, creamy, often slightly tangy dessert you picture when someone says "New York style cheesecake." It's cooked in an oven, usually in a springform pan, relying on heat to transform a simple mixture of cream cheese, sugar, eggs, and sometimes sour cream or heavy cream into that unmistakable rich, smooth texture. Unlike its no-bake cousin, which relies on gelatin or refrigeration to set, the cuit method develops a deeper flavor and firmer structure. It’s the kind of cheesecake that requires patience – both in baking and cooling – but rewards you with a slice that holds its shape beautifully, offering a decadent contrast to a simple graham cracker crust.
Why Bake? The Appeal of Cheese Cake Cuit Texture
Why Bake? The Appeal of Cheese Cake Cuit Texture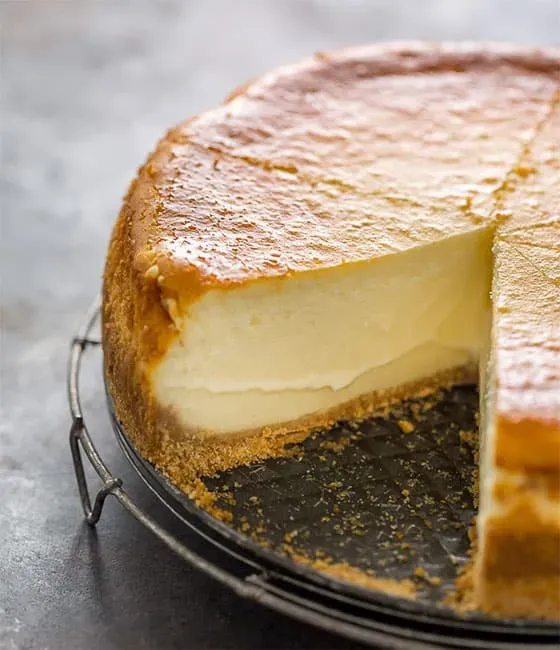
The Unmistakable Creaminess of Cheese Cake Cuit
Alright, so why bother with the oven and the water bath and all that fuss for a cheese cake cuit? It boils down to texture, plain and simple. A baked cheesecake develops this incredible, dense, yet velvety smooth consistency that's hard to replicate with gelatin. It’s not airy or mousse-like; it’s substantial. Think of a perfectly baked custard – it has that slight jiggle, that melt-in-your-mouth quality. When you slice into a cheese cake cuit, the knife should go through cleanly, leaving a smooth surface, not a sticky or crumbly mess. This texture holds up beautifully, whether it’s served cold or at room temperature, making it the star of any dessert table.
Depth of Flavor Developed Through Baking
Beyond texture, baking your cheesecake does something magical to the flavor. The gentle heat allows the tang of the cream cheese to mellow slightly while deepening the richness. It's a more complex taste than a no-bake version, which can sometimes taste simply like sweetened cream cheese. Baking introduces subtle caramelization around the edges and crust, adding another layer of flavor complexity. It’s the difference between a quick weeknight dinner and a slow-cooked meal – both satisfy, but one offers a more nuanced and memorable experience. That signature flavor profile is a key reason many bakers swear by the cheese cake cuit method.
Comparing the two main styles?
- Baked (Cheese Cake Cuit): Dense, smooth, creamy, rich, deeper flavor, often requires water bath.
- No-Bake: Lighter, airy, relies on gelatin or chilling, quicker to make, simpler flavor.
StepbyStep Guide to Baking Your Perfect Cheese Cake Cuit
StepbyStep Guide to Baking Your Perfect Cheese Cake Cuit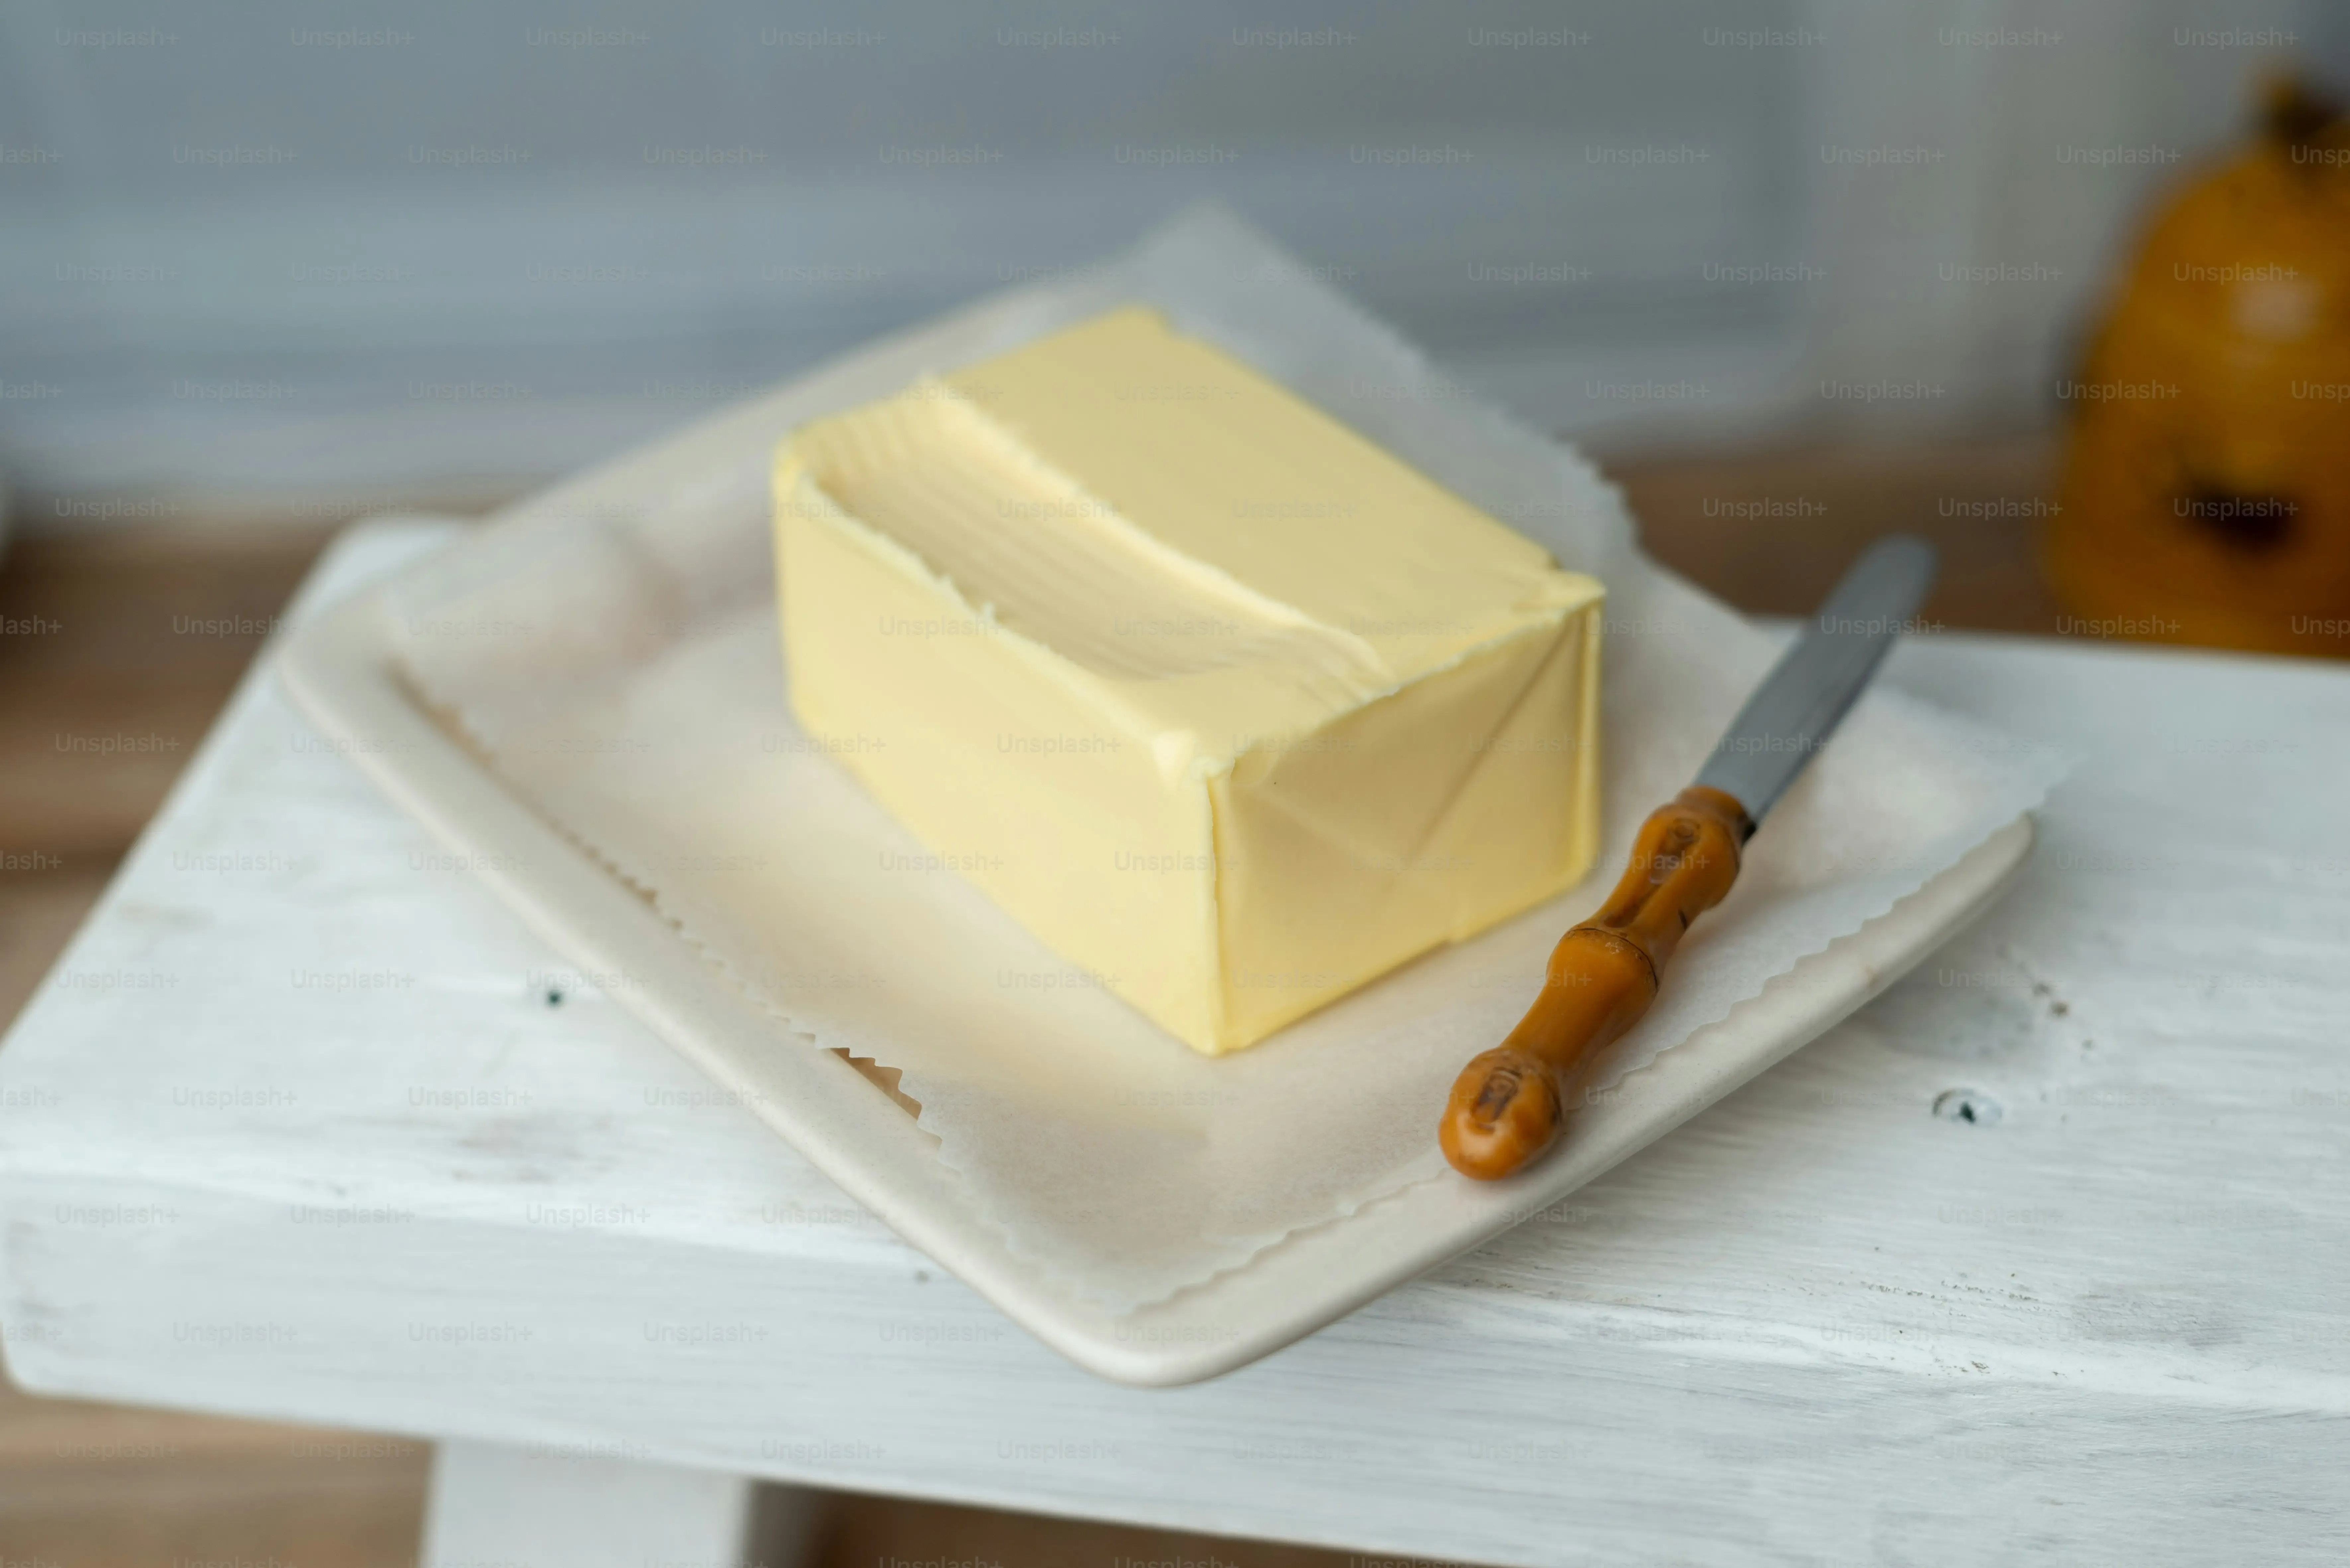
Get Your Gear and Goods Ready
let's actually *do* this. First things first: get your ingredients out. I mean *all* of them. Cream cheese, eggs, sour cream if you're using it – they need to sit on the counter for a couple of hours. Cold ingredients are the enemy of a smooth cheese cake cuit batter, leading to lumps and uneven mixing. While they're warming up, prep your springform pan. Grease it well. Some folks line the bottom with parchment paper; I find it helps ensure it doesn't stick later and makes transferring easier. And the crust? Graham cracker is classic for a reason. Crush those crackers fine, mix with melted butter and maybe a touch of sugar. Press it firmly into the bottom. To pre-bake or not? Pre-baking for about 8-10 minutes at 350°F (175°C) gives you a firmer crust that's less likely to get soggy, which I definitely prefer. Let it cool slightly before adding the filling.
Mix it Like You Mean It (Gently)
Now for the main event: the batter. Use a stand mixer with the paddle attachment, or a hand mixer, but listen closely: *do not overmix*. This is where many cheese cake cuit dreams die a foamy, cracked death. Start with the softened cream cheese alone. Beat it on low speed until it's completely smooth and creamy, no lumps whatsoever. *This* is where you can beat it a bit to ensure smoothness. Then gradually add the sugar, mixing on low until *just* combined. Scrape down the bowl and the paddle frequently. Add the eggs *one at a time*, mixing only on low speed until the yolk just disappears before adding the next. Don't whip air into it. Finally, gently mix in any liquids like sour cream, heavy cream, or vanilla extract. The goal is a smooth, homogenous batter with minimal air bubbles trapped inside. Stop mixing as soon as everything is incorporated. Seriously, walk away from the mixer before you're tempted to give it "just one more spin."
Mixing the perfect cheese cake cuit batter requires restraint. Here’s a quick rundown:
- Ensure cream cheese is *very* soft.
- Beat cream cheese alone until smooth first.
- Add sugar gradually, mix on low.
- Add eggs one at a time, mixing *only* until combined.
- Scrape the bowl often.
- Mix liquids in last, gently.
- Stop mixing *as soon as* ingredients are incorporated.
Into the Heat and Out to Cool
Alright, the scary part: the oven. Pour your carefully mixed cheese cake cuit batter into the prepared pan. Now, the water bath is your best friend for a smooth, crack-free top. Wrap the outside of your springform pan tightly with heavy-duty foil – often two layers is wise – to prevent water from seeping in. Place the wrapped pan in a larger baking pan. Carefully add hot water to the larger pan until it comes about halfway up the sides of the cheesecake pan. This water bath ensures even, gentle cooking and adds crucial humidity to the oven, both vital for preventing cracks and ensuring that signature creamy texture. Bake at a relatively low temperature, often around 325°F (160°C) to 350°F (175°C), depending on your recipe and oven. How long? Until the edges are set, maybe slightly golden, but the center still has a slight jiggle when you gently tap the side of the pan. This usually takes 60-90 minutes or even more for larger cakes. Don't overbake! Once done, turn off the oven, prop the door open slightly, and let the cheesecake cool inside for an hour. This slow transition prevents sudden temperature shock that causes cracks. Then, remove it from the water bath and oven and let it cool completely on a wire rack before chilling it in the fridge for at least 4-6 hours, preferably overnight. Patience is key to the perfect slice.
Avoiding Cheesecake Calamities: Tips for Success
Avoiding Cheesecake Calamities: Tips for Success
Cracks: The Scourge of the Cheese Cake Cuit Baker
let's talk about the elephant in the room: cracks. You've followed the steps, your cheese cake cuit looks perfect in the oven, and then... disaster strikes as it cools. Most cracks happen because of sudden temperature changes or overbaking. Think of it like pulling a tight rubber band – if you stretch it too far or let it snap back too fast, it breaks. Your cheesecake is similar. Baking in a water bath is non-negotiable for preventing this; it keeps the temperature even and adds moisture. Don't skip it. Also, resisting the urge to yank the finished cake straight out of a hot oven into a cool kitchen is crucial. Let it cool down gradually inside the turned-off oven with the door ajar. It feels slow, but patience here saves you from patching up later.
Lumps and Bumps? It's All in the Prep
Nobody wants a lumpy cheese cake cuit. The texture should be smooth, like silk. The main culprit here? Cold cream cheese. I know, I hammered this earlier, but it's worth repeating. If your cream cheese isn't *very* soft, you will fight lumps, and beating it longer to smooth them out just incorporates more air – which, as we discussed, is bad news. Get those ingredients to room temperature! The other key is your mixing technique. Beat the cream cheese until it's smooth *before* adding anything else. Then, add subsequent ingredients on low speed, mixing *just* until they are incorporated. Don't go to town on it like you're whipping meringue. Gentle is the name of the game for that signature dense cheese cake cuit creaminess.
Common Cheesecake Crimes (and how to avoid them):
- Cracks: Sudden temperature changes, overbaking, no water bath. (Fix: Water bath, slow cooling in oven, don't overbake).
- Lumps: Cold ingredients, overmixing after adding eggs. (Fix: Room temp ingredients, mix cream cheese smooth first, gentle mixing).
- Sunken Center: Opening oven door too early, underbaking. (Fix: Don't peek constantly, bake until edges are set but center slightly jiggles).
- Soggy Crust: Not pre-baking crust, water seeping into pan. (Fix: Pre-bake crust, wrap pan *tightly* in foil for water bath).
The Sagging Middle and Soggy Bottom Blues
Another classic cheese cake cuit woe: the center sinks, or the crust turns into a sad, damp mess. A sunken center usually means you either underbaked it slightly (it needed a few more minutes for that center to set) or, more likely, you kept opening the oven door to check on it. Every time you open the door, you lose heat and disrupt that gentle, even cooking environment. Trust the process and the recommended baking time, checking only towards the end. For the soggy crust, make sure you pre-bake it. It gives it a head start and a firmer structure. And, critically, when using a water bath, wrap that springform pan like you're protecting state secrets. Use heavy-duty foil, wrap it high up the sides, and maybe even double-wrap it. Water in the pan equals sad, soggy crust.
Delicious Twists and Serving Suggestions for Your Cheese Cake Cuit
Delicious Twists and Serving Suggestions for Your Cheese Cake Cuit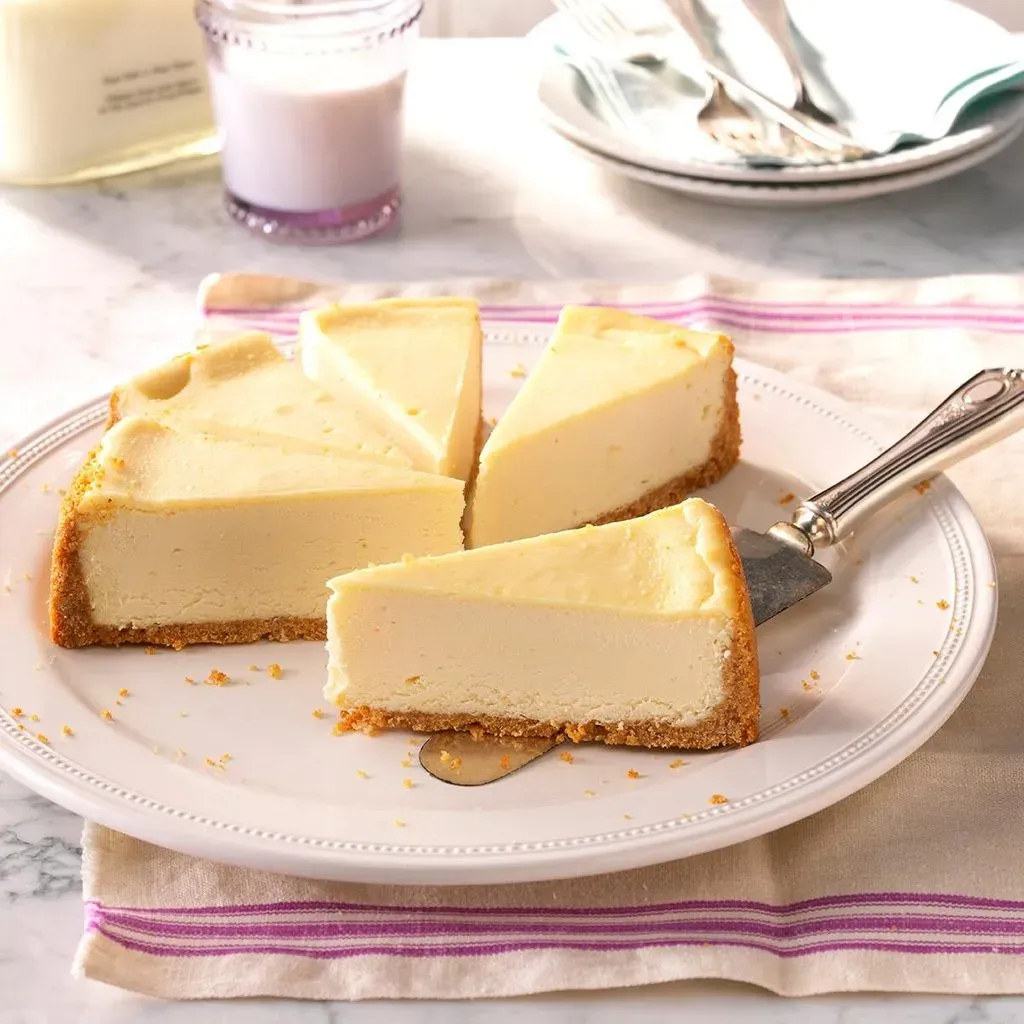
Infusing Flavor into the Cheese Cake Cuit Base
Once you've nailed the classic cheese cake cuit, you might start thinking, " what else can this thing do?" The beauty of this baked base is that it's a fantastic canvas for other flavors. You're not just stuck with plain vanilla. Want lemon? Zest some lemons right into the cream cheese. Craving chocolate? Melt some good quality dark chocolate and swirl it in gently at the end of mixing. Espresso powder? Mix it with a tablespoon of hot water and add it for a coffee kick. You can also incorporate fruit purees (make sure they aren't too watery) or even liqueurs like Grand Marnier or Kahlúa. The key is to add these flavorings *after* the main batter is smooth and mixed, incorporating them gently on low speed or by hand with a spatula. Don't go crazy and add half a cup of liquid, though; too much moisture can mess with the set.
Beyond Graham: Crust Variations and Swirls
The graham cracker crust is iconic for a reason, but your cheese cake cuit isn't limited to it. Get creative! Try crushed Oreos for a chocolate base. Use shortbread cookies for a buttery, refined feel. Ginger snaps add a spicy warmth, especially nice with pumpkin or spice-flavored cheesecakes. You can even skip cookies altogether and do a simple press-in pastry crust or a nut-based crust (like crushed pecans or almonds mixed with butter). As for the filling itself, adding swirls is an easy way to impress. Melted chocolate, fruit purees, or even caramel can be dolloped onto the top of the batter in the pan and then swirled with a knife or skewer for a marbled effect. Just be careful not to drag the swirl all the way to the crust, or it can make slicing messy.
Easy Cheese Cake Cuit Swirl Ideas:
- Melted dark or white chocolate
- Raspberry or strawberry puree
- Salted caramel sauce
- Nutella
- Lemon curd
Toppings and Pairings for Your Perfect Slice
You've waited hours, perhaps overnight, and your cheese cake cuit is finally chilled and ready. Now for the fun part: serving. While a plain slice is perfectly acceptable, toppings elevate the experience. Fresh berries are a no-brainer – their slight tartness cuts through the richness. A simple fruit compote (berries, cherries, or apples simmered with a little sugar and lemon juice) is also fantastic. Chocolate ganache poured over the top, a dollop of whipped cream, toasted nuts, or a drizzle of that leftover caramel sauce from swirling are all great options. Think about balancing the richness of the cheese cake cuit with something bright, tangy, or texturally interesting. A strong cup of coffee or a dessert wine makes a classic pairing, too.
Achieving Your Cheese Cake Cuit Goal
Baking a cheese cake cuit isn't about blind luck; it's about understanding the science and technique involved. We've covered the essentials, from ingredient temperature to the gentle hand needed when mixing and the critical role of a water bath. Cracks happen, uneven textures occur, and sometimes the results fall short. But with attention to detail and a willingness to learn from the inevitable missteps, that sought-after dense, creamy interior and smooth top are well within reach. Stop fearing the oven and start baking with purpose. Your next cheese cake cuit might just be your best one yet, provided you pay attention.