Table of Contents
Ever stare at a bakery window, eyes glued to that slice of decadent cheese cake caramel? You know the one. The creamy, smooth texture contrasting with that rich, gooey, sweet-and-slightly-salty caramel topping. It looks impossible to make at home, right? Like some kind of culinary magic reserved for pros. Well, banish that thought right now. Creating your own show-stopping cheese cake caramel is absolutely within reach. This isn't some overly complicated, fussy recipe designed to make you cry into your mixing bowl. We're going to walk through it together, step-by-step. We'll cover everything from building that perfect crust foundation to achieving that silky, crack-free cheesecake and, of course, crafting the star of the show: that glorious caramel sauce. Get ready to impress yourself, and anyone lucky enough to get a forkful, with a homemade cheese cake caramel that rivals anything you've ever tasted. Let's get baking.
Why Your Caramel Cheesecake Recipe Needs This Guide
Why Your Caramel Cheesecake Recipe Needs This Guide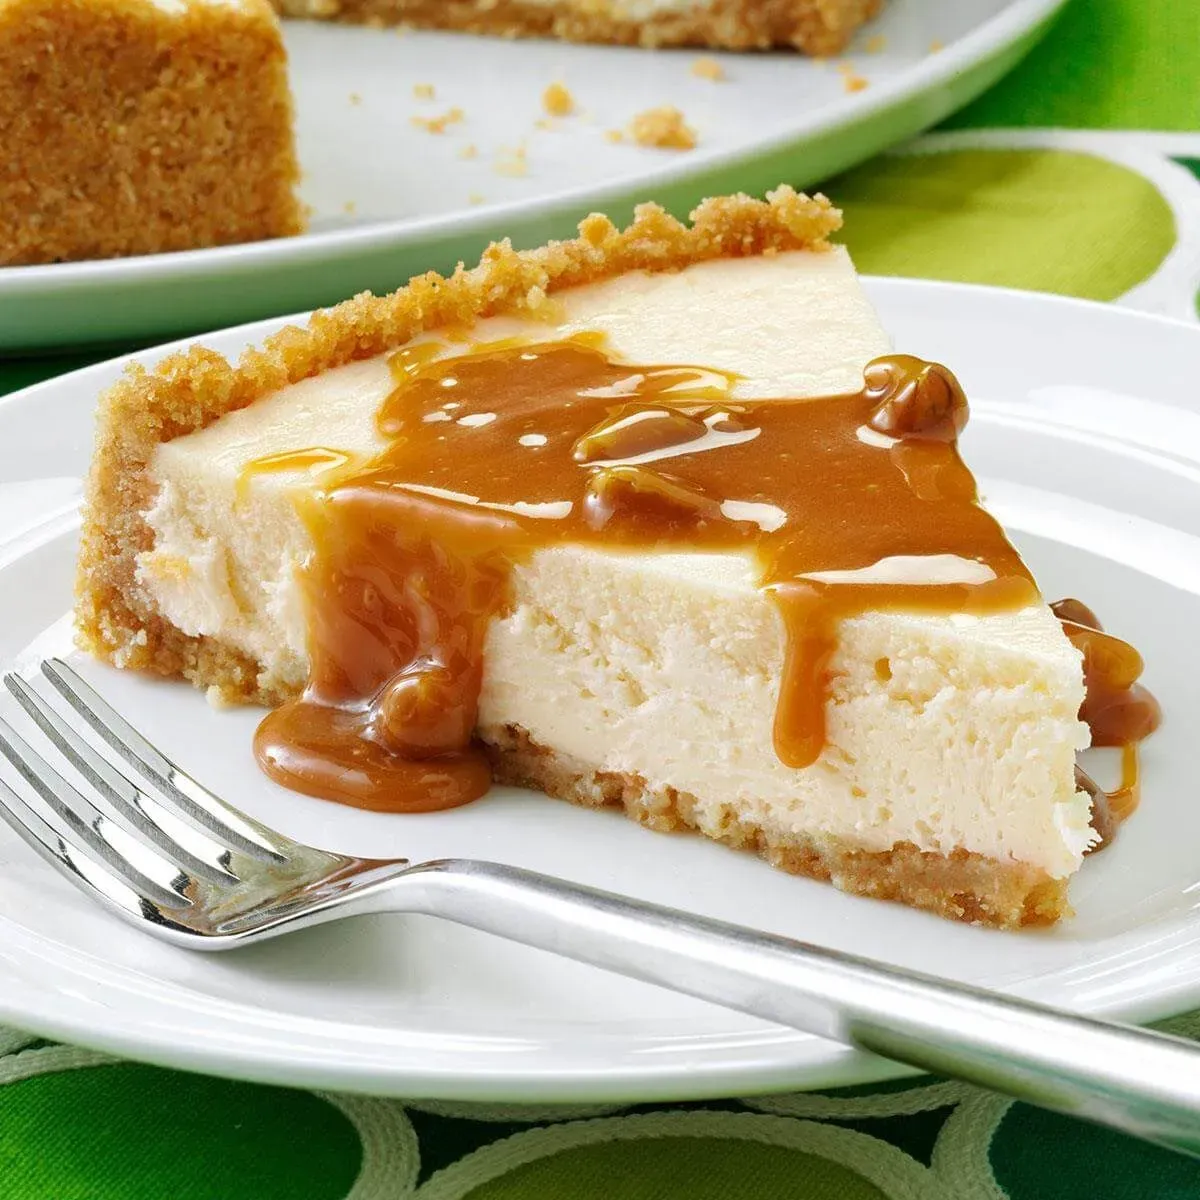
Stop the Cheesecake Cracks and Caramel Chaos
Let's be honest, making a truly great cheese cake caramel can feel like navigating a minefield. You picture that smooth, creamy dessert, the kind you see in magazines, only to pull it from the oven and find a Grand Canyon running across the top. Or maybe the caramel sauce hardens into a toffee brick, or worse, it's too thin and just slides off the slice. I've been there. I've wasted ingredients, time, and my patience on sad, sunken cheesecakes and stubborn caramel. You follow a recipe, but it skips crucial details, assuming you just *know* things like how to properly temper ingredients or recognize the exact shade of amber for perfect caramel. That's exactly why this guide exists.
Beyond the Basics: Achieving Cheesecake Caramel Perfection
This isn't just another recipe telling you to mix stuff and bake. We're diving into the 'why' behind the steps. Why a water bath is your best friend for preventing cracks. Why the temperature of your cream cheese matters more than you think. We'll tackle the notorious caramel challenge – getting that perfect balance of pourable richness that doesn't turn to stone or soak into the crust like a sponge. Think of this as your backstage pass to cheesecake success. We're cutting through the confusion and giving you the practical knowledge and specific techniques to make your cheese cake caramel dreams a reality, not a crumbly, cracked nightmare.
Still wondering if this guide is for you? Ask yourself:
- Have you ever had a cheesecake crack on you?
- Does your homemade caramel turn out too hard or too runny?
- Are you tired of guessing why your cheesecake isn't perfectly creamy?
The Building Blocks: Crust and Filling for Your Cheesecake Caramel
The Building Blocks: Crust and Filling for Your Cheesecake Caramel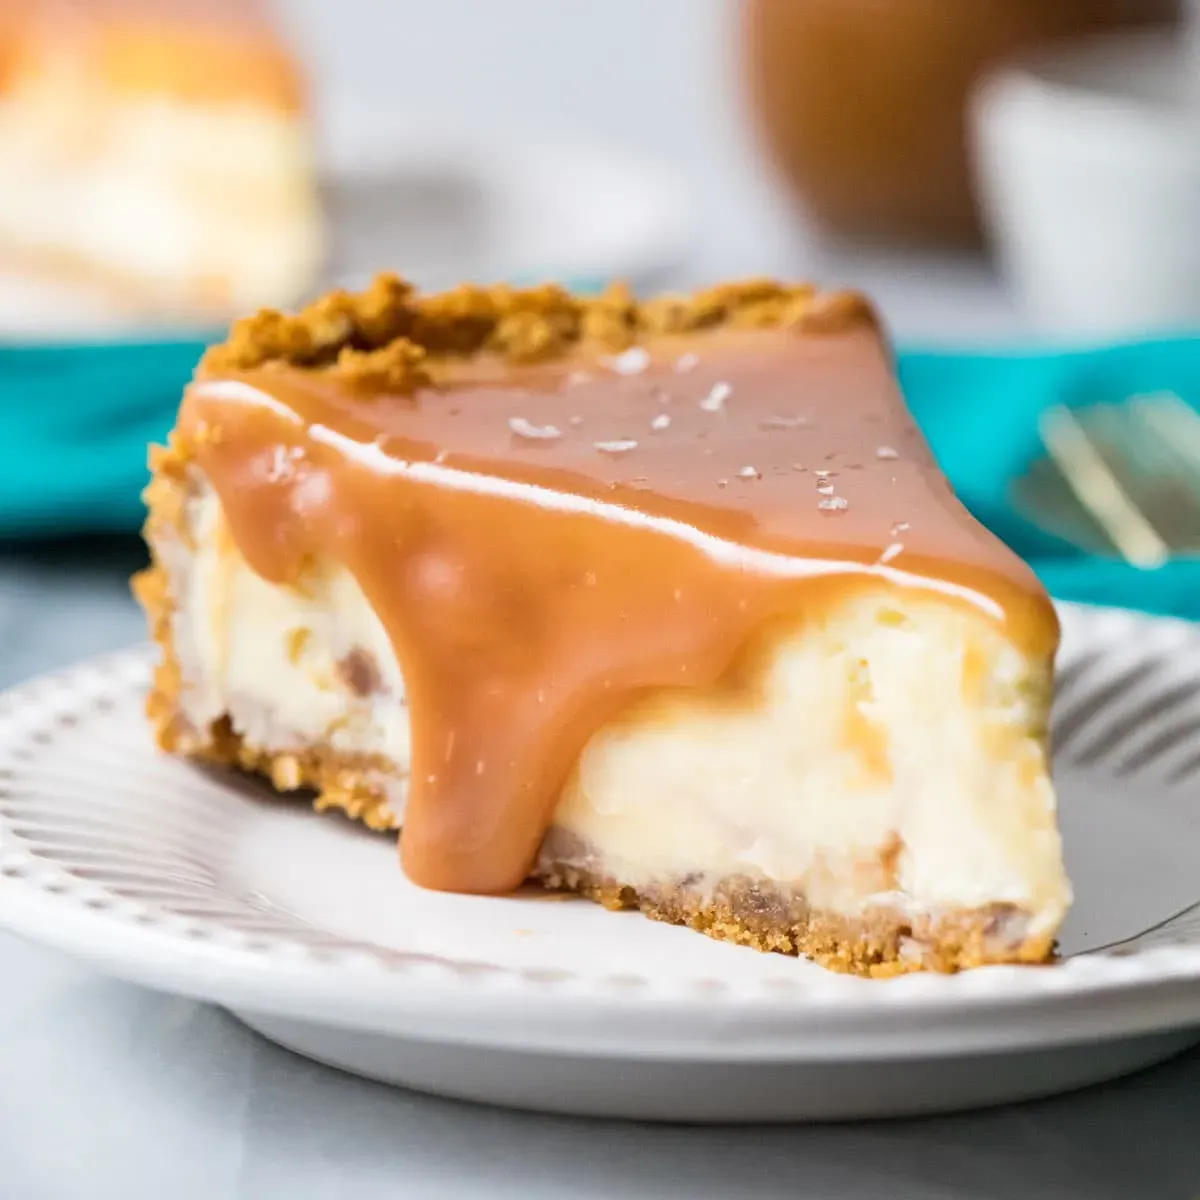
Starting Strong: The Crucial Crust
let's talk crust. It's the unsung hero of any cheese cake caramel. Too often, people just mush some crumbs and butter together and call it a day. But a truly great crust provides a sturdy, flavorful base that complements the rich filling and caramel. We're not just using graham crackers here, though they work. Think vanilla wafers, shortbread, or even a mix. The key is getting the right texture – fine crumbs, not chunky bits. And the butter? Melted, yes, but don't drown the crumbs. Just enough to make it hold together when you press it. Pressing it firmly into the pan, bottom and sides, is non-negotiable. Use the bottom of a glass or a flat measuring cup. A quick pre-bake sets it up so it doesn't get soggy later. Trust me, a little effort here pays off big time.
Cream Cheese Chemistry: Getting the Filling Right
Now for the heart of the cheese cake caramel: the filling. This is where things can go south fast if you're not paying attention. The absolute number one rule? Room temperature cream cheese. Not slightly soft, not mostly soft, but genuinely room temperature. I mean, leave it on the counter for a couple of hours. Trying to beat cold cream cheese is like trying to reason with a toddler – it just won't cooperate and you'll end up with lumps. And lumps mean a less-than-silky cheesecake. You want to beat it until it's smooth and creamy *before* you add anything else. This builds the foundation for that dreamy texture we're aiming for.
- Why Room Temperature Cream Cheese?
- Blends smoothly, no lumps.
- Incorporates air evenly for lighter texture.
- Prevents overmixing later.
Adding Sweetness and Structure: Sugar, Eggs, and More
Once your cream cheese is velvety smooth, you gradually add the sugar. Don't dump it all in at once. Beat it in bit by bit until it's fully incorporated. Then comes a little flour or cornstarch – this is your secret weapon against cracks, providing just enough structure. Vanilla extract, of course, for that essential flavor. Finally, the eggs. This is critical: add them one at a time and mix on low speed just until the yellow disappears. Overmixing after the eggs are added is a one-way ticket to a cracked cheesecake. You're not trying to whip air into it; you're just bringing it together. Gentle is the name of the game here. This careful approach ensures your cheese cake caramel filling is smooth, dense, and ready for its date with the oven.
Ingredient | Purpose in Cheesecake |
|---|---|
Cream Cheese | Base, Creaminess |
Sugar | Sweetness, Tenderness |
Flour/Cornstarch | Structure, Crack Prevention |
Eggs | Binding, Richness |
Vanilla Extract | Flavor Enhancement |
Mastering the Caramel Sauce for Your Cheesecake Caramel
Mastering the Caramel Sauce for Your Cheesecake Caramel
The Sticky Situation: Making Perfect Caramel
let's talk caramel. This is where some people get nervous, and yeah, it can be a little finicky, but mastering the caramel sauce is absolutely key to a killer cheese cake caramel. You're essentially melting sugar until it turns into a beautiful, amber liquid. Sounds simple, right? The trick is patience and heat control. You can use the dry method (just sugar) or the wet method (sugar and water). I lean towards the wet method when I'm feeling cautious; the water helps the sugar dissolve evenly, reducing the chance of burning. But either way, once that sugar starts melting and changing color, do not walk away. Seriously. It goes from perfect amber to burnt disaster faster than you can say "cheese cake caramel." Watch it like a hawk, aiming for a deep, rich color that smells nutty, not acrid.
Baking Your Cheesecake Caramel to Perfection
Baking Your Cheesecake Caramel to Perfection
Low and Slow: The Water Bath Method
you've got your beautiful crust and your smooth filling ready to go. Now comes the baking part for your cheese cake caramel. And if you take away one thing from this whole guide, let it be this: use a water bath. Seriously. It's not optional if you want that perfectly smooth, crack-free top. A water bath creates a humid environment in your oven, which helps the cheesecake cook gently and evenly. Think of it like a spa day for your cheesecake. Wrap the outside of your springform pan *really* well with heavy-duty aluminum foil, like several layers, to prevent leaks. Place the wrapped pan in a larger roasting pan. Carefully pour hot water into the roasting pan until it comes about halfway up the sides of the cheesecake pan. Then, and only then, slide the whole contraption into the oven. This low and slow approach at a moderate temperature is your best defense against the dreaded crack.
Knowing When It's Done (And When to Leave It Alone)
So, how do you know your cheese cake caramel is baked? Don't just rely on the clock. Ovens lie. You're looking for the center to be *just* slightly jiggly when you gently nudge the pan. The edges should look set and maybe slightly puffed. If the whole thing shimmies like Jell-O, it needs more time. If the center is firm and cracked, you've probably overbaked it. The real magic happens during the cooling process. Once it's baked, turn off the oven, crack the door open slightly (you can use a wooden spoon), and let the cheesecake cool *inside* the oven for an hour or two. This gradual cooling prevents drastic temperature changes that can cause cracks. Then, take it out, let it cool completely on a wire rack, and finally, *finally*, refrigerate it. Cheesecake needs time to chill and set up properly – ideally overnight – before you even think about adding that gorgeous caramel.
Cooling Stages for Perfect Cheesecake
- In the oven with door ajar: 1-2 hours (gentle cooling)
- On a wire rack: Until completely cool to the touch (room temperature)
- In the refrigerator: At least 4 hours, preferably overnight (setting and firming)
Delicious Twists and Storage Tips for Cheesecake Caramel
Delicious Twists and Storage Tips for Cheesecake Caramel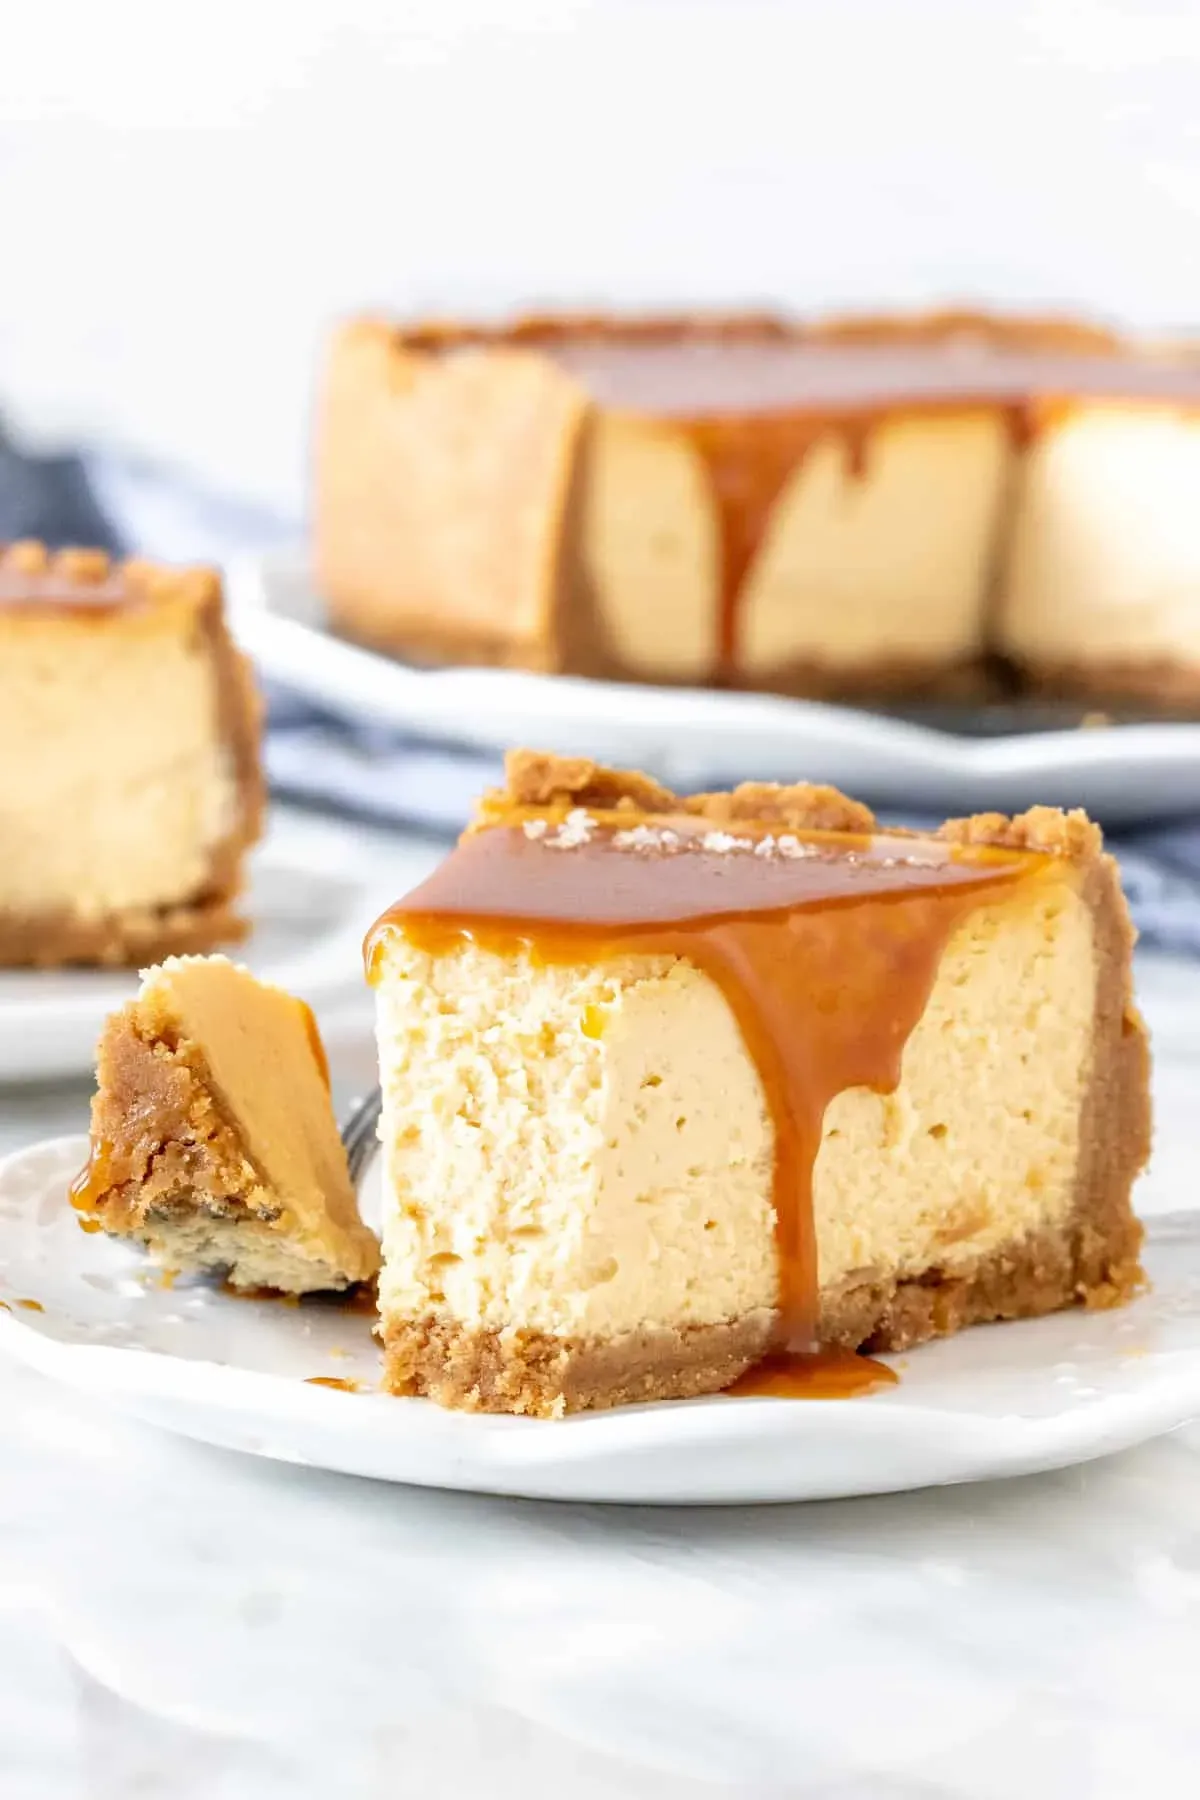
Beyond Basic: Adding Your Own Spin to Cheese Cake Caramel
so you've mastered the classic cheese cake caramel. It's smooth, it's creamy, the caramel is pourable gold. Now what? This is where you get to play. The beauty of a good cheese cake caramel is its versatility. Want more crunch? Fold some chopped pecans or walnuts into the crust mixture before pressing it in. Feeling fruity? A layer of thinly sliced apples tossed with a little cinnamon and brown sugar baked under the filling turns it into a caramel apple cheesecake hybrid that's seriously addictive. You can also play with the caramel itself – add a pinch of sea salt *after* it's cooked for a salted caramel version that cuts through the sweetness beautifully. Or swirl some melted chocolate into the caramel for a mocha twist. Don't be afraid to experiment; the base is solid, so it can handle some creative additions.
Keeping Your Creation Fresh: Storing Cheese Cake Caramel
Let's face it, a whole cheese cake caramel is a commitment, even for the most dedicated dessert enthusiast. So, how do you keep that masterpiece tasting its best? Refrigeration is your first line of defense. Keep the cheesecake covered tightly with plastic wrap or stored in an airtight container. This prevents it from drying out and absorbing weird fridge smells (nobody wants onion-flavored cheesecake). It should last happily in the refrigerator for about 4 to 5 days. If you've added the caramel topping, it's best to store the caramel separately and add it just before serving, as the moisture from the caramel can sometimes make the crust soggy over time. Unless, of course, you *like* a soggy crust, which, frankly, is a culinary sin.
Tips for Storing Your Cheesecake Caramel
- Always refrigerate cheesecake after it's fully cooled.
- Wrap tightly in plastic wrap or use an airtight container.
- Store caramel sauce separately if possible.
- Best enjoyed within 4-5 days of baking.
Freezing Your Cheese Cake Caramel for Later Enjoyment
Planning ahead or just have way too much leftover (is that even possible)? Freezing is your friend. For best results, freeze the cheesecake without the caramel topping. Make sure it's completely chilled in the refrigerator first. Then, wrap the entire cheesecake (or individual slices) tightly in plastic wrap, followed by a layer of aluminum foil. This double layer is crucial to prevent freezer burn. Properly wrapped, your cheese cake caramel can last in the freezer for up to 1-2 months. Thaw it in the refrigerator overnight before adding the caramel sauce and serving. It's a little bit of effort upfront, but future you will thank you when you have a slice of deliciousness ready to go on a whim.
Your Caramel Cheesecake Victory Lap
So there you have it. You've navigated the crust, conquered the creamy filling, and mastered the art of caramel. No longer is that perfect cheese cake caramel just a dream behind bakery glass. You've put in the work, followed the steps, and now you've got the proof cooling on your counter. Sure, maybe the first one isn't picture-perfect, but trust me, the taste will more than make up for any wobbly edges or slightly-less-than-ideal caramel swirl. This isn't about unattainable perfection; it's about making something real, something delicious, and something that says, "Yeah, I made this awesome cheese cake caramel." Go ahead, grab a fork. You've earned it.