Table of Contents
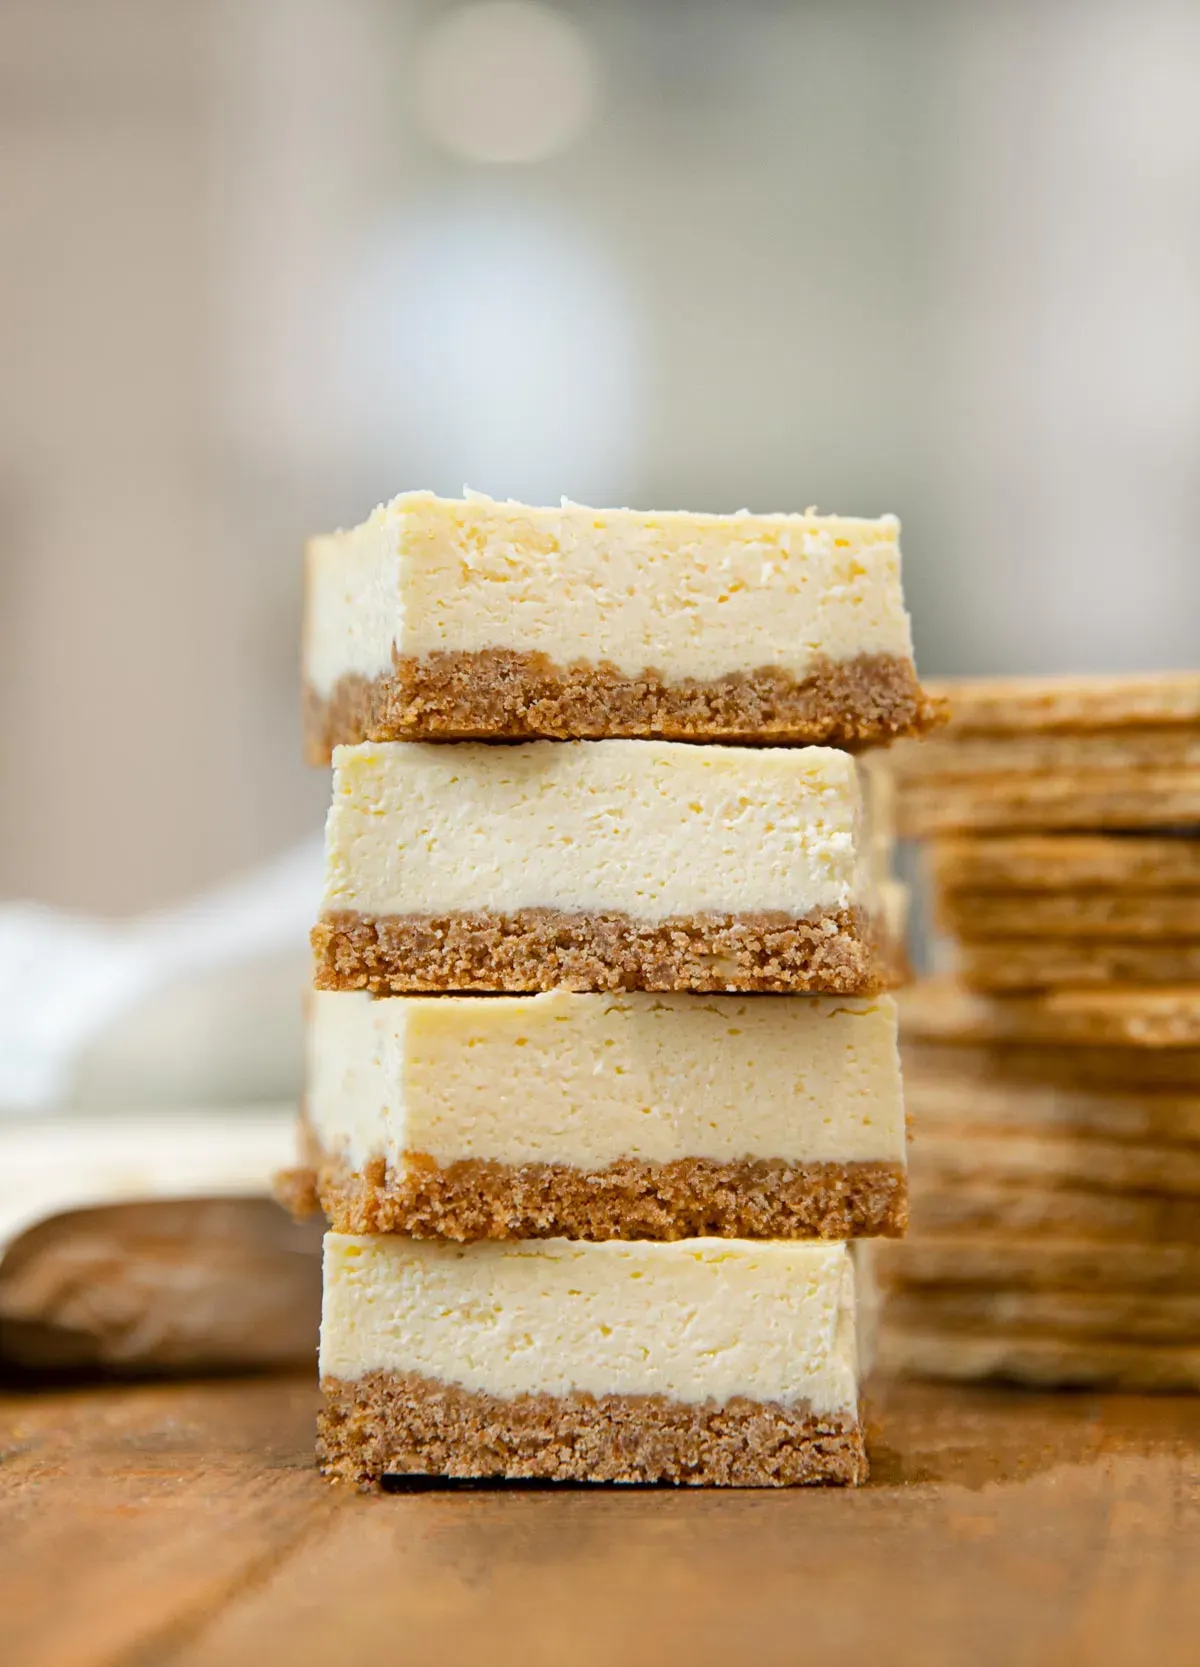
Let's be honest, a classic cheesecake is fantastic, but sometimes it feels like a whole production. Water baths, potential cracks, the sheer anxiety of unmolding the thing. What if you want that rich, creamy goodness without the drama? Enter the humble hero: the **cheesecake bar**. These little squares of joy deliver all the flavor you crave but are way easier to tackle. Think portable, less fussy, and just as delicious. This article will walk you through making your own perfect **cheesecake bar**. We'll cover exactly what you need in your pantry and kitchen, break down the steps so they're easy to follow, and even toss in some ideas for making them your own. Ready to skip the stress and get straight to the sweet stuff? Let's get baking.
Why Everyone Loves Cheesecake Bars
Why Everyone Loves Cheesecake Bars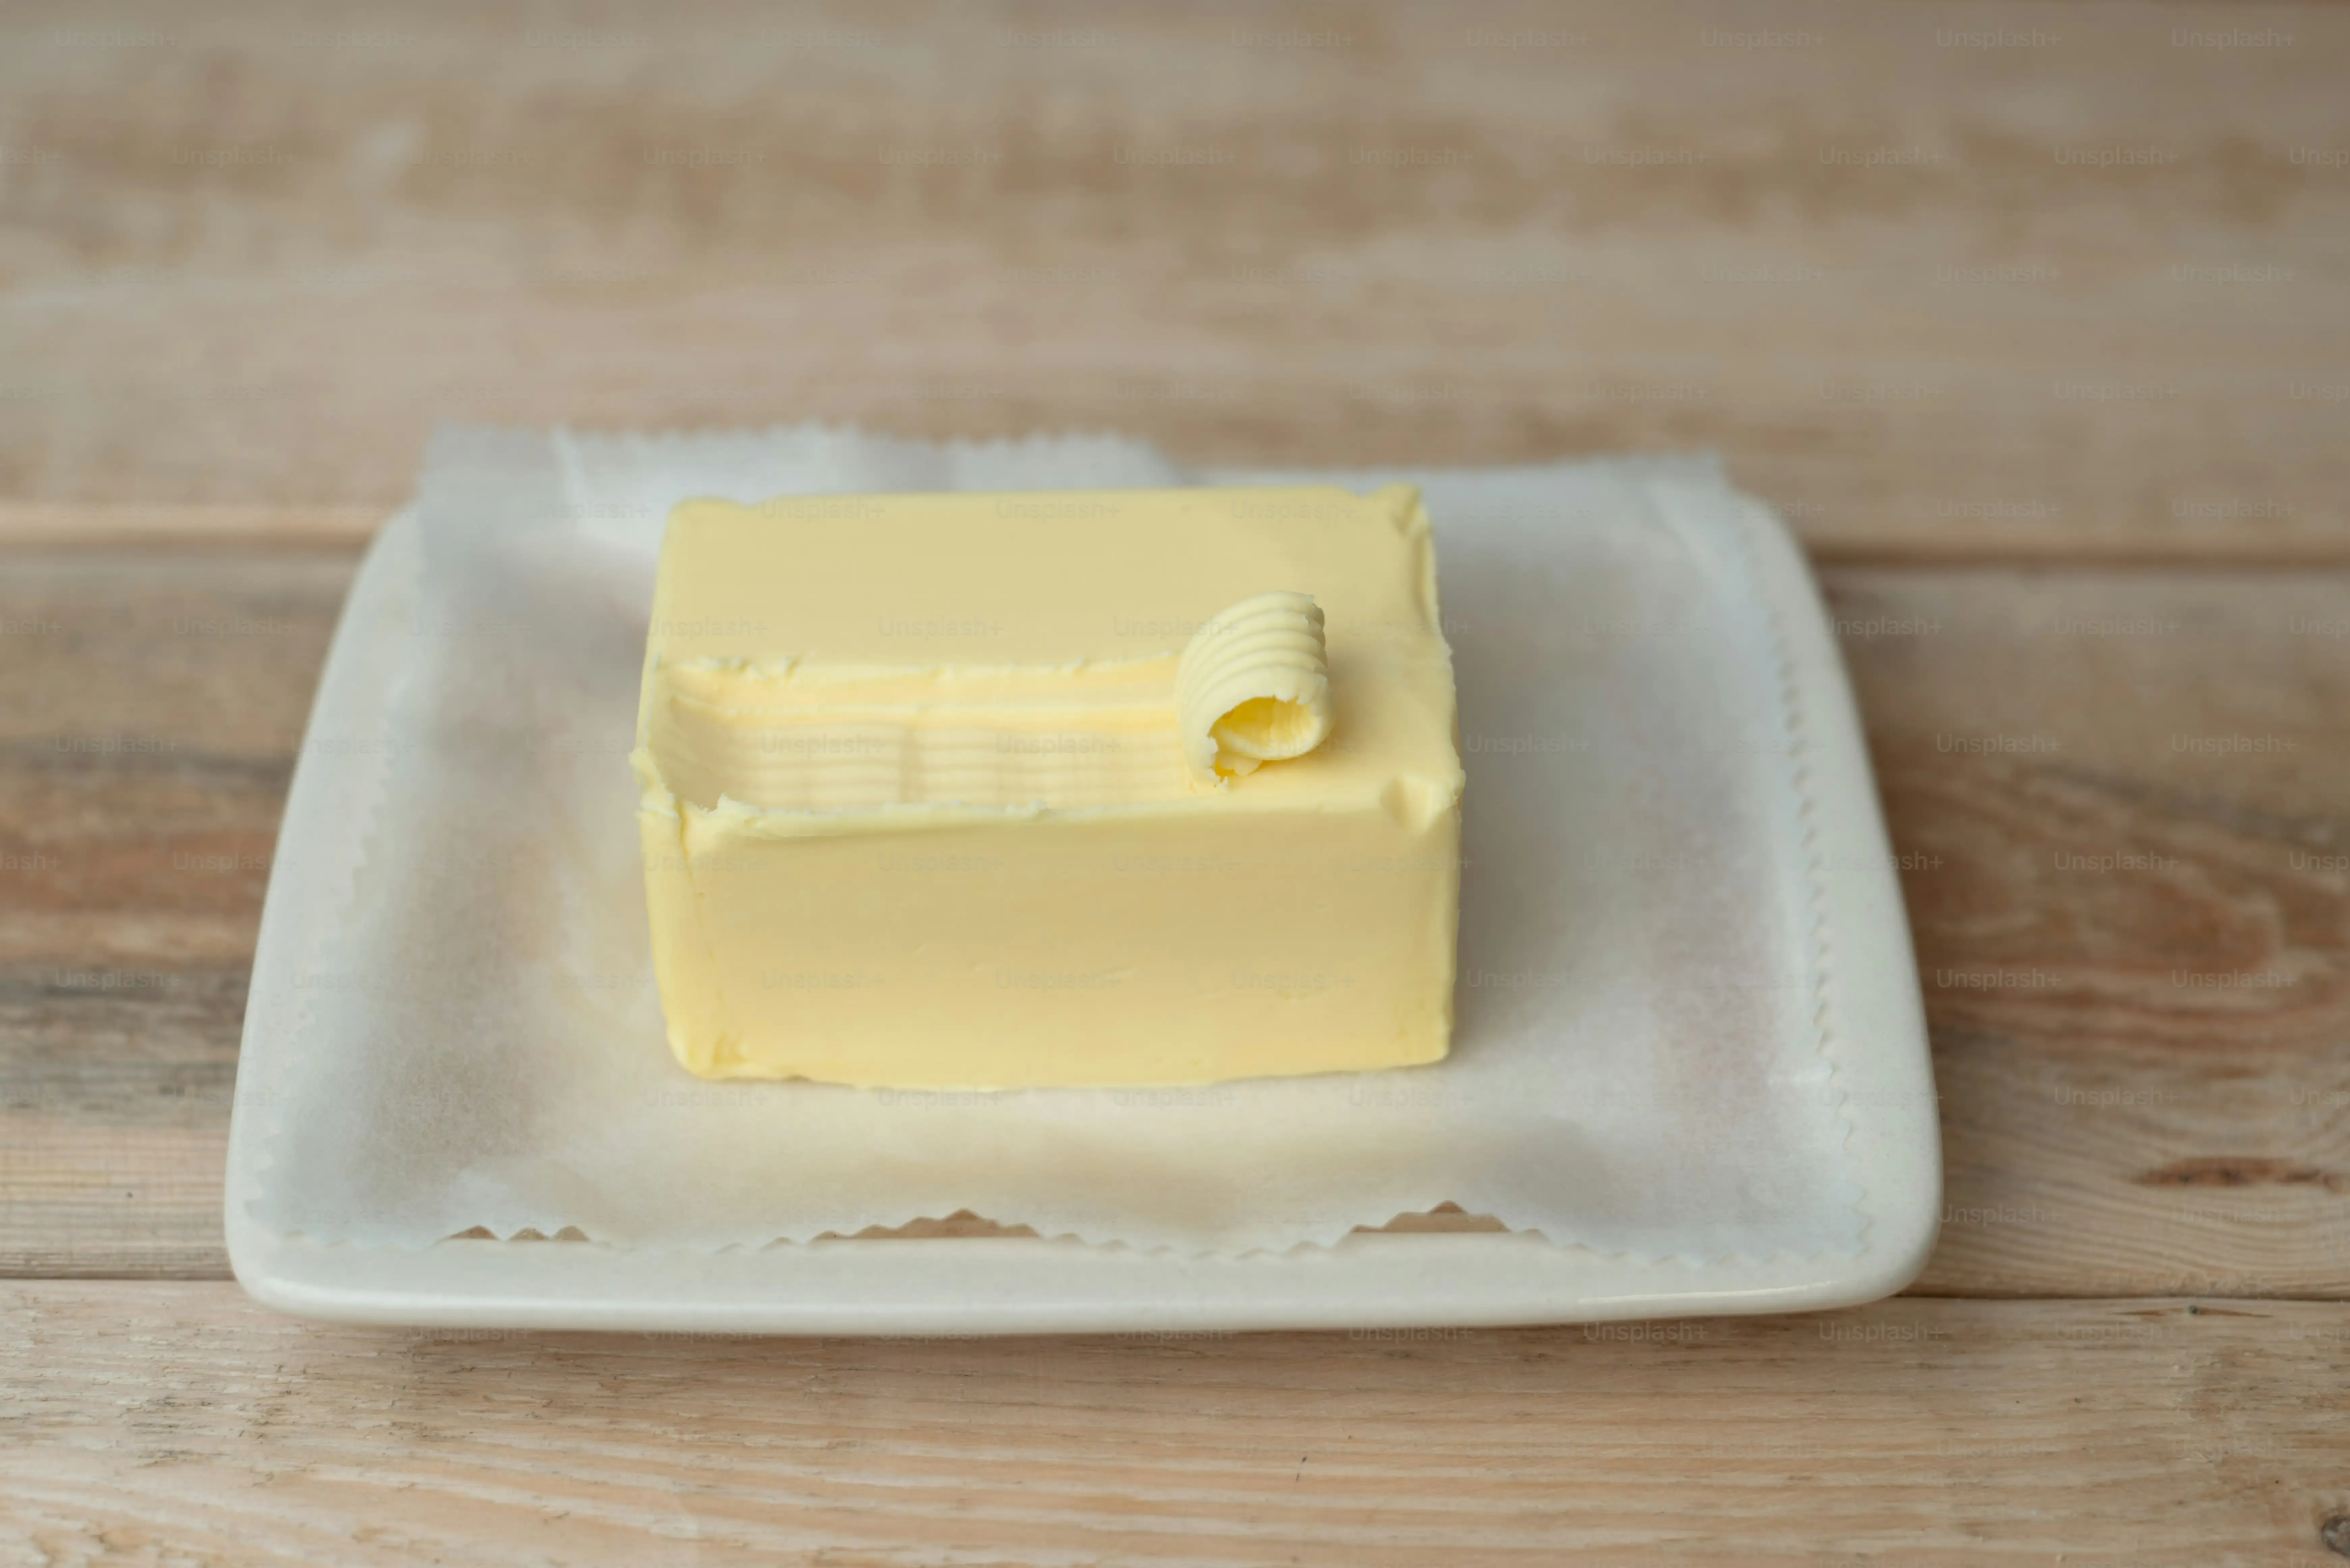
So, why exactly does everyone gravitate towards cheesecake bars instead of the full-blown cake? It boils down to practicality and perfection. A whole cheesecake requires a commitment – special pans, that dreaded water bath, the agonizing wait for it to chill without cracking. Cheesecake bars, on the other hand, are the chill cousin. You bake them in a simple square pan, they cool down faster, and slicing them is a breeze. No delicate unmolding required; just lift, cut, and serve. They’re inherently more portable, making them ideal for sharing without the structural integrity fears of a wobbly round cake. That's Why Everyone Loves Cheesecake Bars – they deliver that unmistakable creamy, tangy flavor with a fraction of the fuss, proving sometimes, less really is more.
Gather Your Gear: Ingredients and Equipment for Cheesecake Bars
Gather Your Gear: Ingredients and Equipment for Cheesecake Bars
Alright, let's talk shopping list and kitchen raid for your cheesecake bar adventure. You don't need a ton of fancy gadgets, just the basics. First up, the stars of the show: cream cheese. Make sure it's full-fat and softened, unless you enjoy fighting cold, stubborn blocks. You'll also need sugar, eggs, and a dollop of sour cream for that essential tang and creamy texture – don't skip the sour cream, it's a game changer. For the crust, grab some graham crackers and butter; nothing complicated there. If you're going for that fudgy topping, snag some good quality chocolate and a bit more butter or cream. Equipment-wise, a standard 9x9 inch baking pan is your best friend here. A hand mixer or stand mixer makes the filling smooth, but a whisk and some elbow grease work too. You'll need mixing bowls, measuring cups, and spoons. See? Nothing that requires a second mortgage.
Mixing and Baking Your Perfect Cheesecake Bars
Mixing and Baking Your Perfect Cheesecake Bars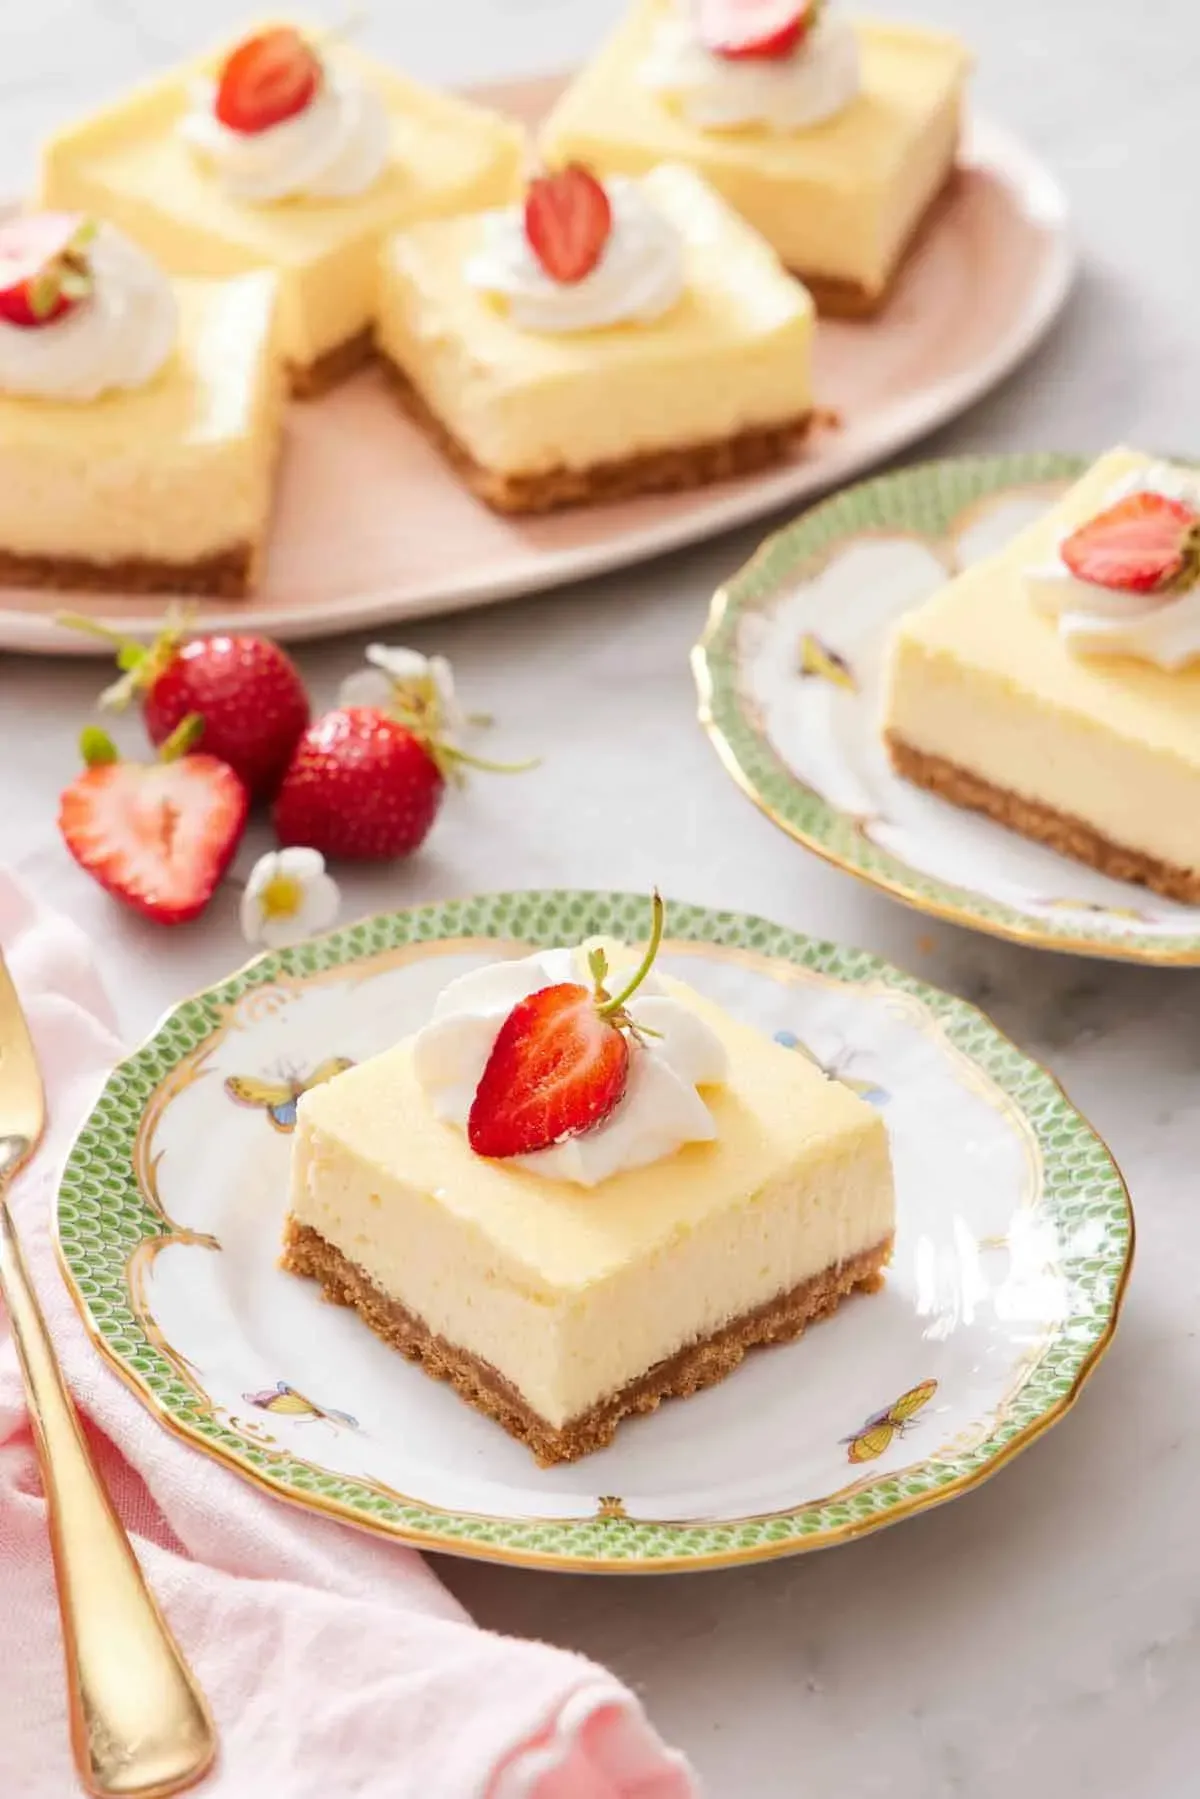
Crust Prep and Creamy Base
Alright, oven mitts on, let's get this cheesecake bar party started. First things first, the crust. Crush those graham crackers into fine crumbs. You can use a food processor, a zip-top bag and a rolling pin, or just channel some aggression. Mix the crumbs with melted butter and a pinch of sugar, if you like a sweeter crust. Press this mixture firmly into the bottom of your prepared 9x9 inch pan. Really get in there and compact it – this is the foundation, don't be shy. Pop that crust into the oven for about 8-10 minutes at 350°F (175°C) just to get it slightly golden and sturdy. While that's happening, grab your softened cream cheese. Beat it until it's smooth and free of lumps. Nobody wants a lumpy cheesecake bar. Add the sugar and beat until just combined, then mix in the sour cream and vanilla extract until everything looks homogenous and lovely. Don't overmix at this stage.
Incorporating Eggs and the Bake
Now, the eggs. This is where you need to be gentle. Add the eggs one at a time, mixing on low speed just until each one is incorporated. Seriously, *just* until. Overbeating eggs introduces too much air, and air bubbles mean cracks later. And while a crack doesn't ruin the taste of your cheesecake bar, it does mess with the aesthetics, and we're aiming for perfection here, right? Pour the creamy filling over your slightly baked crust. Smooth the top with a spatula. Place the pan in the preheated oven. Bake for 30-40 minutes, or until the edges are set but the center still has a slight wobble. It shouldn't look totally liquid, but it won't be firm like cake either. Trust the wobble.
As the late, great Julia Child probably would have said about baking, "Find something you're passionate about and keep tremendously interested in it." Or maybe she'd just say, "Don't crowd the pan." Either way, focus matters.
Cooling Down and Topping Off
Once your cheesecake bars are out of the oven, resist the urge to dive in immediately. This is crucial. Let them cool on a wire rack at room temperature for about an hour. They'll continue to set as they cool. Then, the hard part: into the refrigerator they go. For at least 4 hours, but ideally overnight. This chilling time is non-negotiable for achieving that dense, creamy texture you expect from a good cheesecake bar. Trying to cut them warm is a messy disaster. Once they're thoroughly chilled, you can add your topping. If you're doing the chocolate ganache, melt your chocolate and cream together until smooth and glossy, then pour it over the chilled cheesecake layer. Let the ganache set up in the fridge for another 30-60 minutes before slicing. Slice into squares using a sharp knife wiped clean between cuts for the cleanest lines. Now, finally, you can enjoy your perfect homemade cheesecake bar.
Make Them Yours: Tips and Variations for Cheesecake Bars
Make Them Yours: Tips and Variations for Cheesecake Bars
Getting That Perfect Cheesecake Bar Texture
so you've mastered the basic bake. Now, let's talk about making your cheesecake bars truly sing. The texture is key, right? Nobody wants a rubbery mess or a crumbly disaster. A big tip I learned early on: make sure your cream cheese and eggs are *completely* at room temperature. Seriously. Cold ingredients fight with each other and lead to lumps and uneven mixing. Beat the cream cheese first until it's super smooth before adding anything else. And when you add those eggs? Low speed, just until they disappear into the mix. Think "barely combined," not "whipped into oblivion." Overmixing equals too much air, and air equals cracks and a less dense, creamy texture. Also, don't rush the chilling. That time in the fridge is where the magic happens, firming everything up into that perfect sliceable bar.
Switching Up the Crust Game
The graham cracker crust is classic for a reason, it works. But who says you have to stick to the script every single time you make cheesecake bars? You can totally swap out the type of cookie. Ever tried using crushed Oreos? Instant chocolate cheesecake bars. Vanilla wafers work great too, offering a milder flavor. Shortbread cookies? Absolutely. Even pretzels can make a surprisingly good salty-sweet base. Just crush them up, mix with melted butter like you would graham crackers, and press it in. It’s a simple change that opens up a whole new world of cheesecake bar possibilities.
- Oreo crumbs + melted butter = Chocolate crust
- Vanilla wafer crumbs + melted butter = Milder vanilla crust
- Shortbread crumbs + melted butter = Buttery, tender crust
- Crushed pretzels + melted butter = Salty-sweet crust
Endless Topping Adventures
Once your cheesecake bars are chilled and sliced, the fun really begins with toppings. The chocolate ganache is a winner, sure, but think beyond that. A simple fruit sauce, like blueberry or cherry, spooned over the top is always a hit. Caramel sauce with a sprinkle of sea salt? Decadent. A dollop of whipped cream just before serving adds lightness. Lemon curd brings a bright, tangy contrast. You can even get fancy with a swirl of raspberry puree through the cheesecake filling before baking, or sprinkle mini chocolate chips on top. The cheesecake bar is a blank canvas; go wild with your favorite flavors.
Wrapping Up Your Cheesecake Bar Adventure
So there you have it. Cheesecake bars, the low-stress, high-reward dessert solution. No need for fancy equipment or advanced pastry degrees. Just simple ingredients, straightforward steps, and a seriously satisfying result. Whether you stick to the classic or go wild with toppings, you've now got the power to whip up these creamy delights whenever the craving strikes. Ditch the cheesecake anxiety and embrace the bar life. Your taste buds will thank you, and frankly, so will your sanity.