Table of Contents
Look, sometimes you just want dessert without turning your kitchen into a sauna or pulling your hair out over finicky ovens. We’ve all been there, staring at a complicated recipe, wondering if it’s truly worth the effort. What if there was a way to get that creamy, sweet satisfaction, especially something like a luscious blueberry cheese dessert, without the fuss?
Whipping Up Your NoBake Blueberry Cheese Dessert
Whipping Up Your NoBake Blueberry Cheese Dessert
The Sheer Joy of No-Bake
Alright, let's talk about the magic of whipping up your no-bake blueberry cheese dessert. Seriously, forget everything you thought you knew about complicated cheesecakes. This isn't that. This is the kind of project you tackle when you want something impressive but have zero desire to babysit an oven or worry about water baths cracking your carefully crafted dessert.
It's the culinary equivalent of putting on sweatpants after a long day – pure comfort and ease. You get all the creamy, dreamy goodness of cheesecake paired with bright, juicy blueberries, and the hardest part is waiting for it to chill. That's a win in my book.
Gathering Your Simple Arsenal
You don't need a pantry full of obscure ingredients to get started on whipping up your no-bake blueberry cheese dessert. The beauty here lies in its simplicity. We're talking basic stuff you likely already have or can grab without a special trip.
Cream cheese, obviously. Some powdered sugar for sweetness and structure. A little milk or cream to get the right consistency. Vanilla for that classic flavor. And, of course, the graham crackers and butter for the crust, plus your blueberries. That’s pretty much it. No fancy flours, no tempering eggs, nothing that screams "professional baker required."
- Cream Cheese
- Powdered Sugar
- Milk or Cream
- Vanilla Extract
- Graham Cracker Crumbs
- Melted Butter
- Blueberries (fresh or canned filling)
The Minimal Effort, Maximum Reward Ratio
The best part about whipping up your no-bake blueberry cheese dessert? The effort-to-reward ratio is wildly skewed in your favor. You spend maybe 15-20 minutes actively putting it together, and then the fridge does the heavy lifting.
Hours later, you pull out this beautiful, set dessert that looks like you slaved over it. Your friends and family will be impressed, and you can just smile, knowing the secret was minimal fuss and maximum chill time. It’s the perfect dessert for summer potlucks, easy weeknight treats, or just because you deserve something delicious without the drama.
Building the Base: The Graham Cracker Crust for Your Blueberry Cheese Dessert
Building the Base: The Graham Cracker Crust for Your Blueberry Cheese Dessert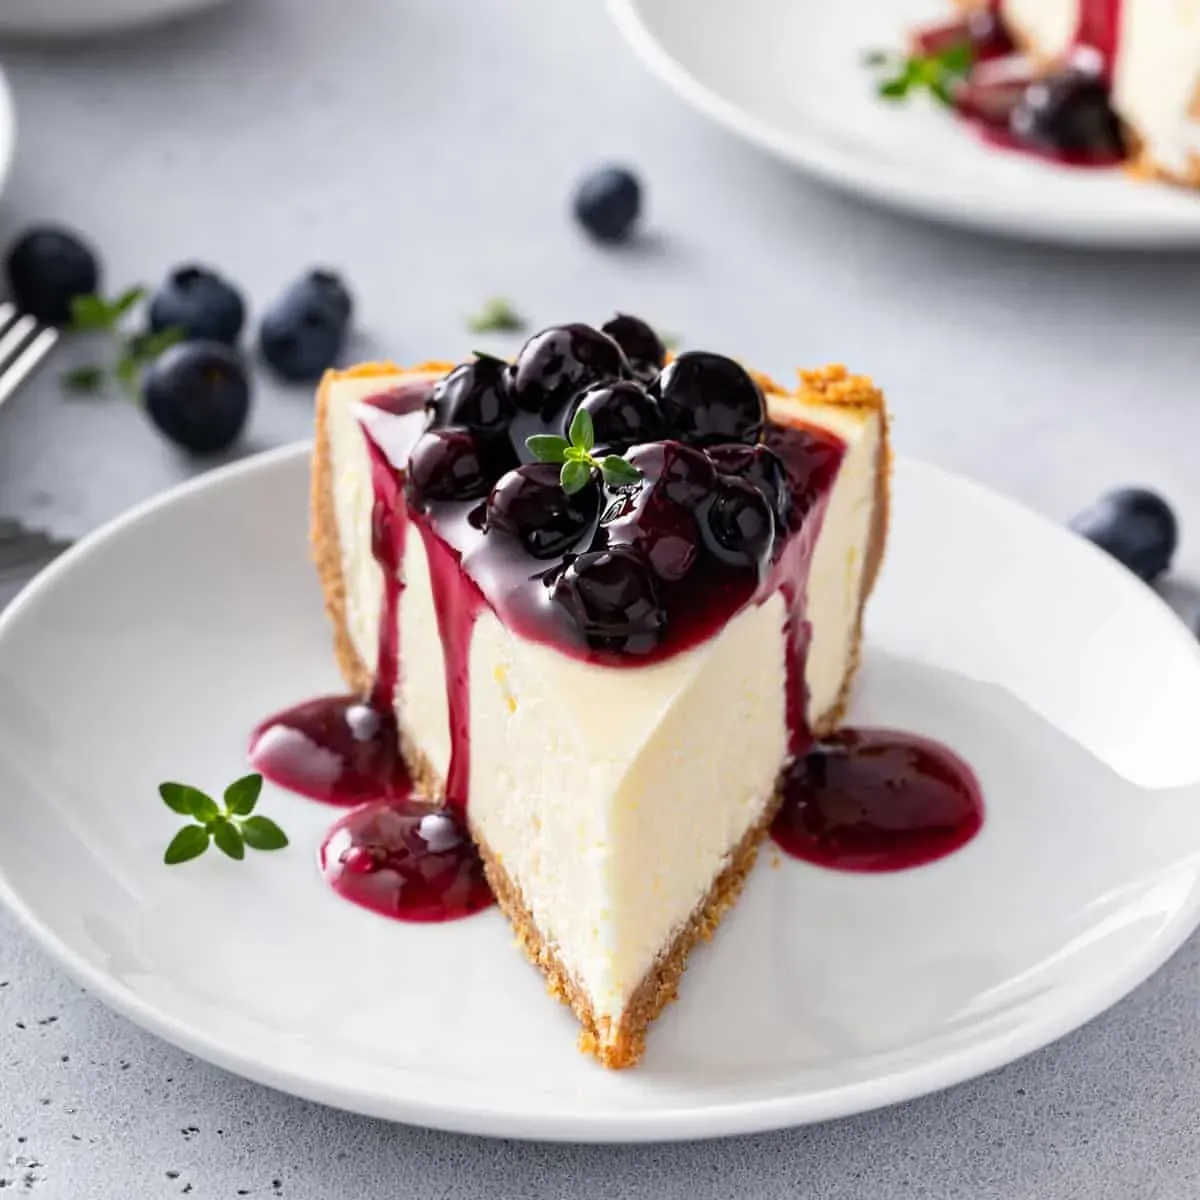
Why Graham Crackers Are Your Best Friend
When you're making a no-bake blueberry cheese dessert, the crust needs to be simple, sturdy, and delicious. That's where graham crackers come in. They crush easily, mix with butter beautifully, and provide that slightly sweet, sandy texture that's just perfect against the creamy filling. No worrying about pastry dough shrinking or getting tough. It’s the reliable workhorse of the no-bake world.
Think of it as the foundation of a good house. If the base is weak, the whole thing falls apart. A well-made graham cracker crust holds everything together, giving you a clean slice and a satisfying crunch in every bite of your blueberry cheese dessert.
Getting the Mix Just Right
Making the crust is ridiculously easy. You need graham cracker crumbs. You can buy them pre-crushed, or just toss full crackers into a food processor. A ziploc bag and a rolling pin work too, if you need to work out some frustration. Aim for fine crumbs, no big chunks.
Then, you mix those crumbs with melted butter and usually a little sugar. The butter is the glue that holds it all together. Too little, and it's crumbly dust. Too much, and it's a greasy mess. It’s a delicate balance, but thankfully, not one that requires a science degree. Just mix until it looks like wet sand.
- Use fine graham cracker crumbs for best texture.
- Melt the butter completely before mixing.
- Mix thoroughly until all crumbs are coated.
- A tablespoon or two of sugar adds extra sweetness, optional.
Pressing It Firmly into Place
Once your crumb mixture is ready, dump it into your pie plate or springform pan. Now comes the crucial step: pressing it down firmly. You want a compact, even layer. Use the bottom of a glass or a flat measuring cup to really pack it in, especially up the sides if you're making a pie.
A solid crust prevents the filling from leaking through and gives you a clean edge when you cut into your blueberry cheese dessert. After pressing, pop it in the fridge for at least 15-20 minutes. This helps the butter firm up and sets the crust before you add the filling. Don't skip this chilling step; it makes a big difference.
The Creamy Dream: Making the Blueberry Cheese Dessert Filling
The Creamy Dream: Making the Blueberry Cheese Dessert Filling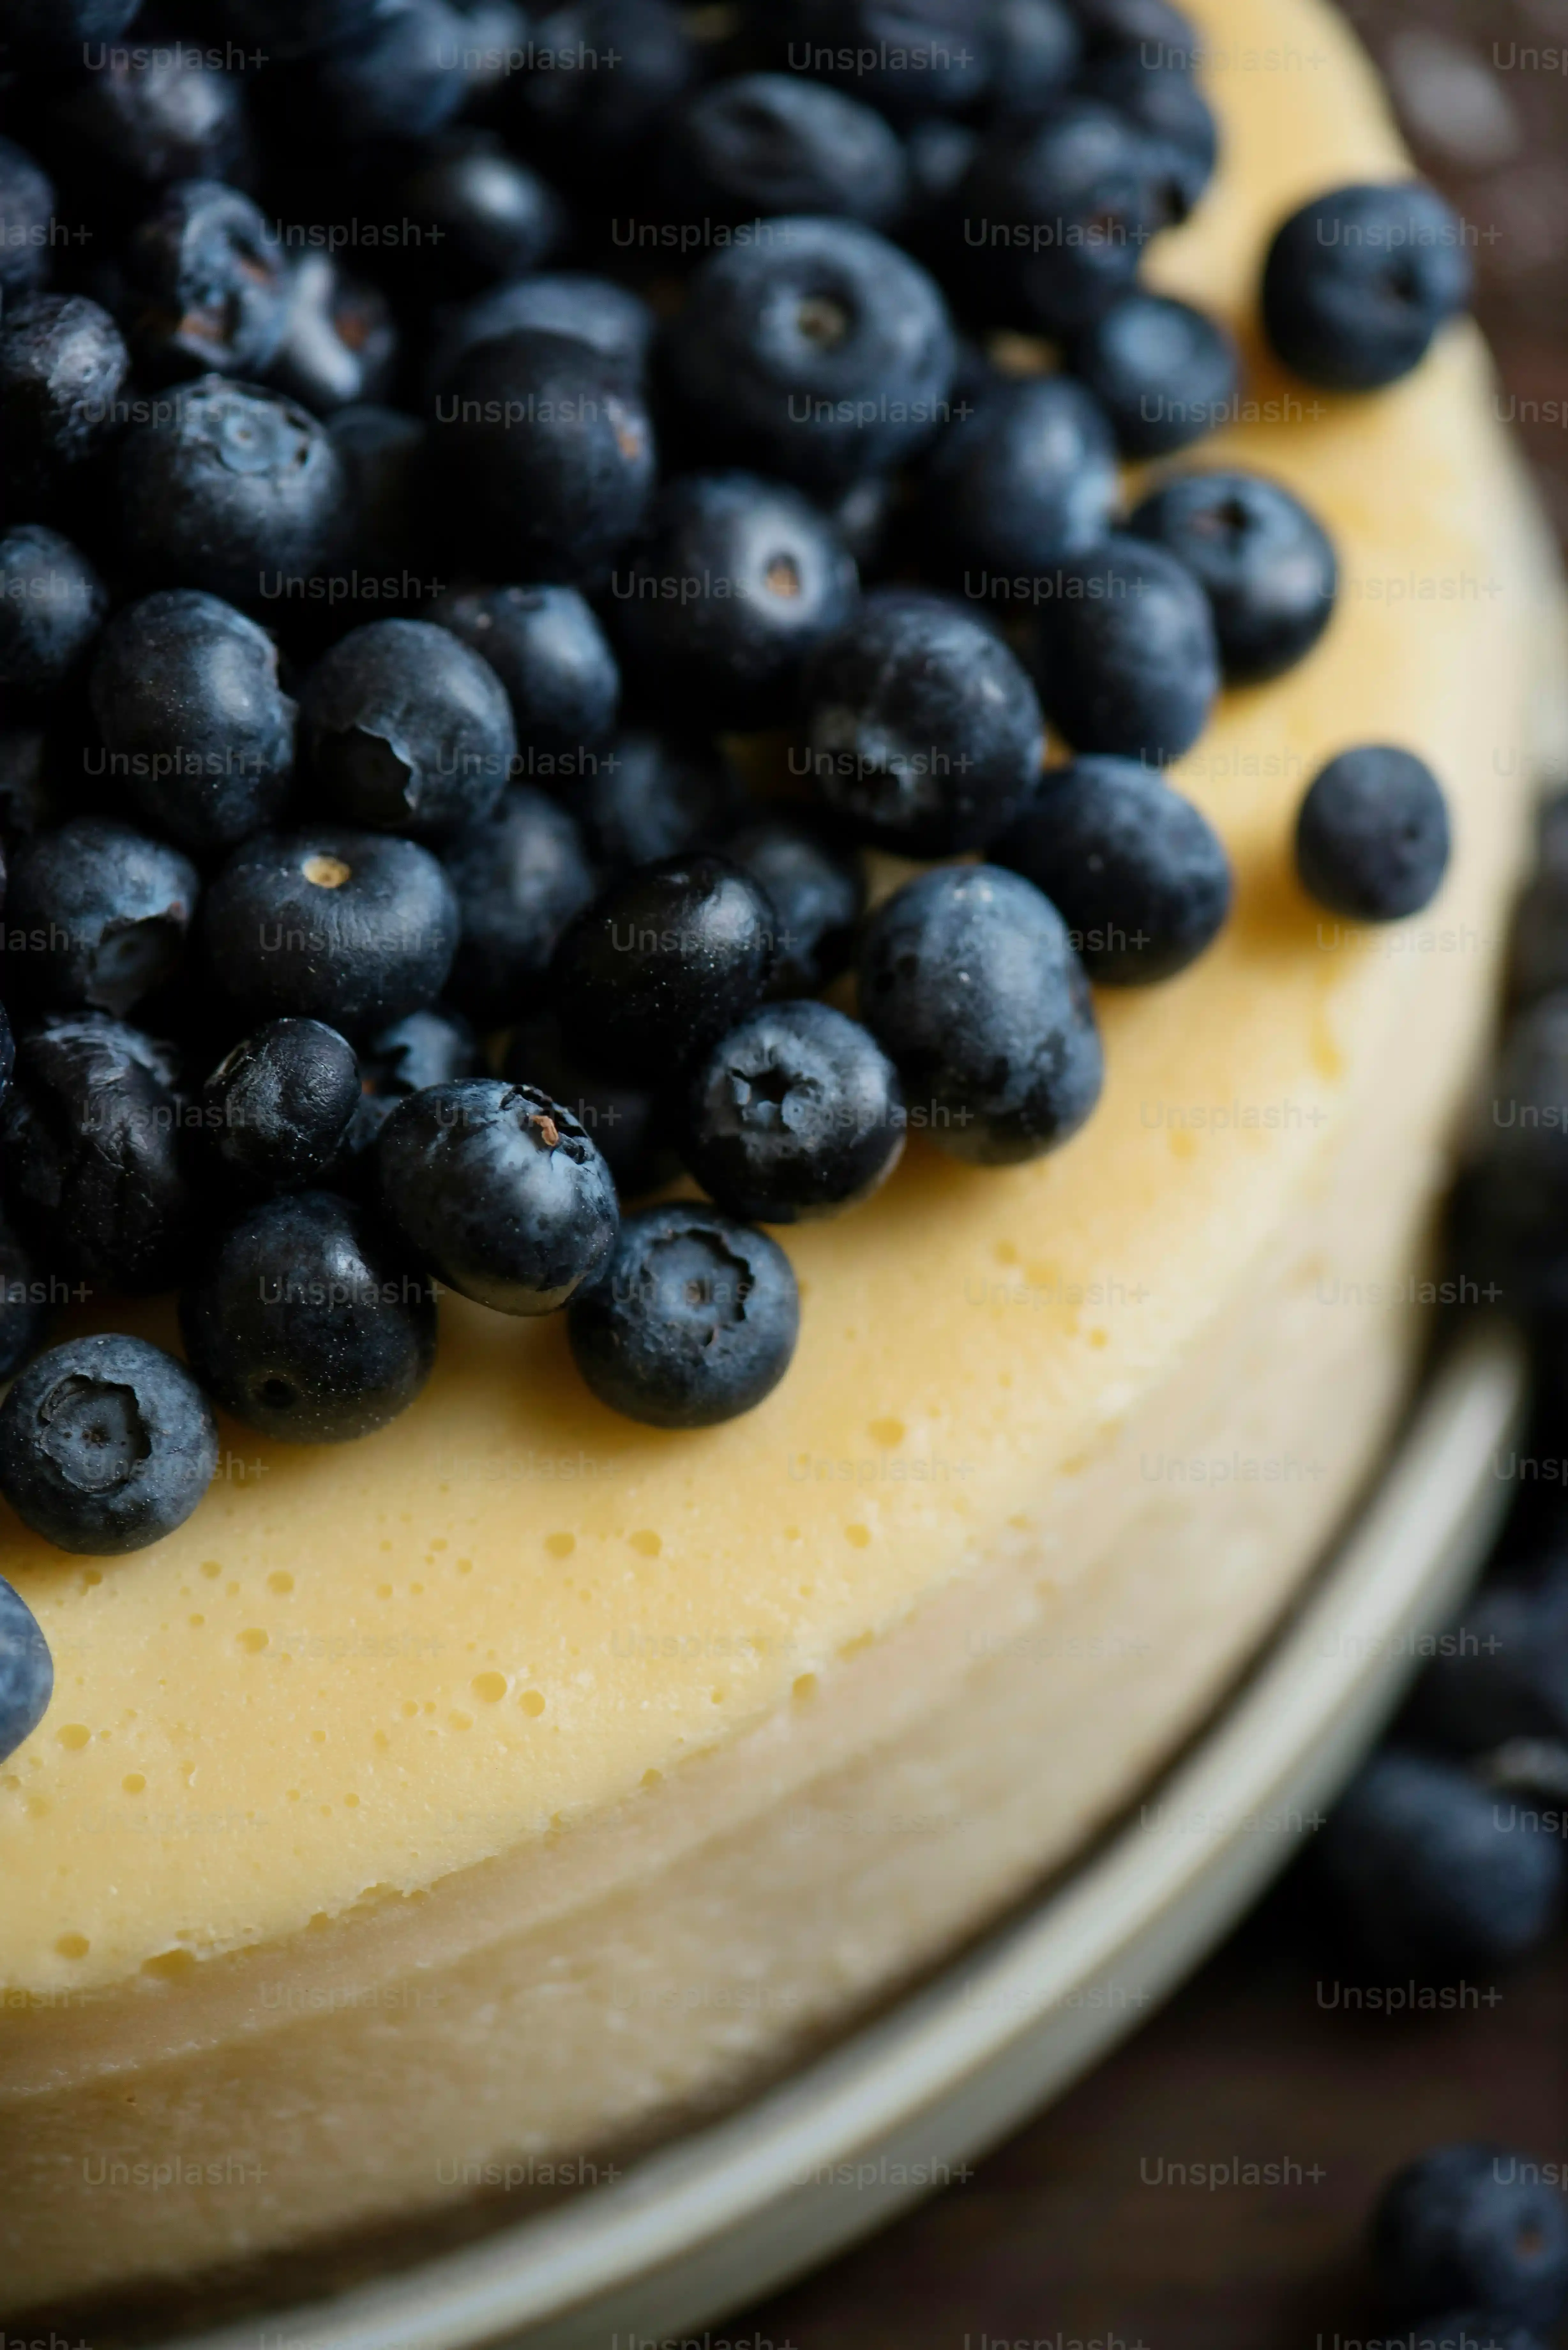
The Magic Starts with Cream Cheese
the crust is chilling, doing its thing. Now, let’s talk about the star of the show: the creamy filling for your blueberry cheese dessert. This is where the magic really happens, transforming simple ingredients into that smooth, rich layer everyone craves. You start with softened cream cheese. And I mean *softened*. If it's cold and hard, you'll get lumps, and nobody wants lumpy cheesecake. Let it sit on the counter for a good hour, maybe two, depending on how warm your kitchen is. Seriously, patience is key here.
Once it’s properly soft, you beat it until it’s smooth and fluffy. A hand mixer works wonders here, or a stand mixer if you’re feeling fancy. No bits, no bumps, just pure, creamy potential. This is the foundation, so make it count. Beat it well before you add anything else.
Sweetening the Deal and Getting the Right Texture
Next up is powdered sugar. This is different from granulated sugar; the fine texture helps keep the filling smooth and prevents graininess. Gradually add it to your cream cheese, mixing on low speed at first to avoid a powdered sugar cloud explosion (trust me on this). Once it's incorporated, crank up the speed and beat until everything is well combined and the mixture is even lighter and fluffier.
Now, for consistency, you add a little milk or cream and some vanilla extract. Start with a small amount of liquid and add more only if needed to reach a smooth, spreadable texture. You don't want it runny, but you also don't want it so stiff it tears the crust when you spread it. Some recipes call for folding in whipped topping or homemade whipped cream at this stage for extra airiness. If you go that route, be gentle; you want to keep that fluffy volume.
What's the secret to *really* smooth filling?
- Use full-fat block cream cheese, not the whipped or spreadable kind.
- Ensure the cream cheese is completely softened.
- Sift your powdered sugar if it's clumpy.
- Don't overmix once the liquid is added; just combine until smooth.
Finishing Touches and Chilling Your Blueberry Cheese Dessert
Adding that Burst of Blueberry Brilliance
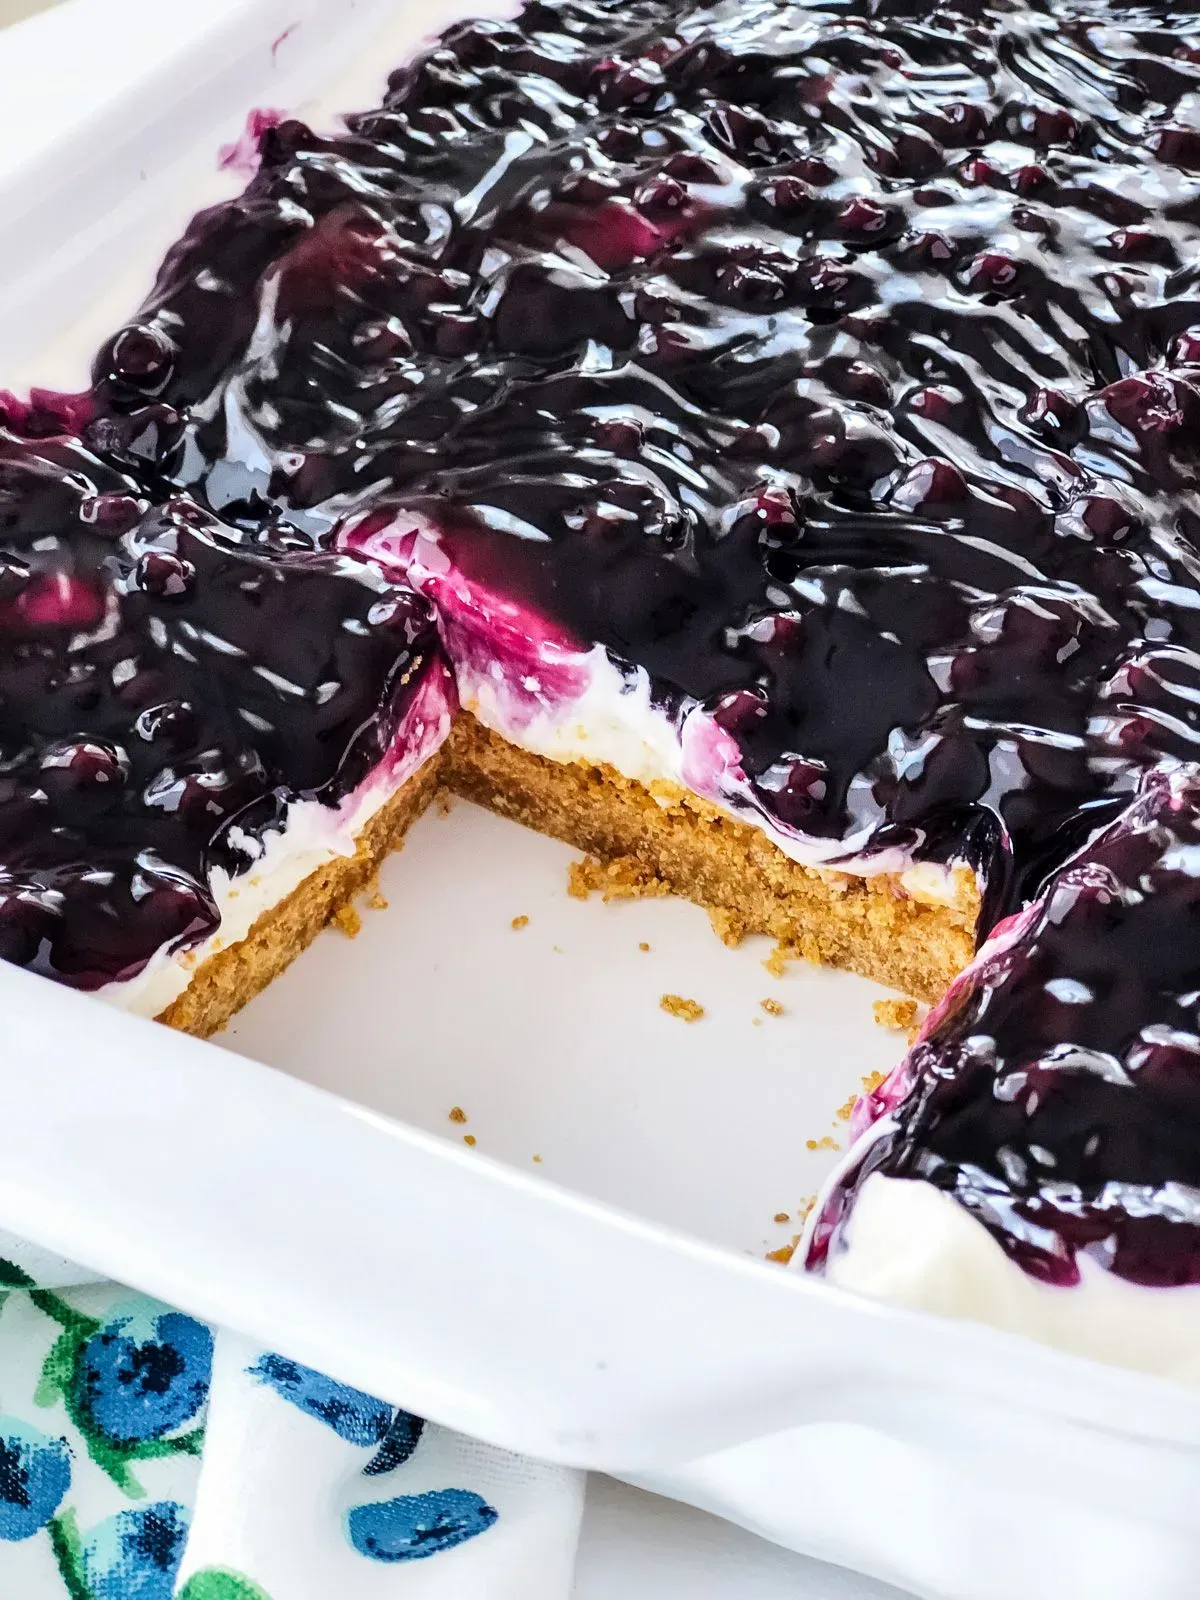
Alright, you’ve got your perfectly pressed crust and your impossibly smooth creamy filling. Now for the part that really makes it a *blueberry* cheese dessert: the topping. You’ve got options here. You can use canned blueberry pie filling – no judgment, it’s easy and tastes just fine. Or, if you're feeling ambitious, whip up a quick homemade blueberry sauce. Just cook down some fresh or frozen blueberries with a little sugar and maybe a squeeze of lemon juice until it thickens. Let it cool completely before you even *think* about putting it on the cheese layer.
The key is to spread the blueberry topping gently over the set or mostly set cheese layer. Don't just dump it in the middle; spread it out to the edges. It doesn't have to be perfectly smooth, a little rustic charm is fine. The vibrant purple-blue color is going to pop against that creamy white, making your blueberry cheese dessert look as good as it tastes.
Smoothing the Top and Preparing for the Fridge
Before you add the blueberries, make sure your cream cheese layer is smoothed out nicely. Use an offset spatula or the back of a spoon. Get it as level as you can, because whatever bumps are there now will likely still be there after chilling. A smooth surface makes a better canvas for your blueberry topping.
Once the blueberry layer is on, resist the urge to poke at it. Cover your beautiful blueberry cheese dessert loosely with plastic wrap. Don't let the plastic touch the top if you can help it, or you'll end up with a sticky mess when you peel it off. Sometimes I use toothpicks stuck into the dessert edges to tent the plastic wrap.
What's the best way to get a perfectly smooth top?
- Use an offset spatula dipped in hot water and wiped dry.
- Work quickly before the filling warms up too much.
- Start from the center and smooth outwards.
The Long Wait: Chilling Your Way to Dessert Perfection
This is arguably the most critical step for your no-bake blueberry cheese dessert. It needs time in the fridge. We're not talking an hour. We're talking a minimum of six hours, and honestly, overnight is even better. This chilling time isn't just to make it cold; it's essential for the filling to set properly and the flavors to meld.
If you cut into it too soon, you'll have a sad, slumping mess. It won't hold its shape, and the textures will be all wrong. The longer it chills, the firmer and more sliceable it becomes. Trust the process. Go do something else. Read a book, watch a terrible reality show, stare blankly at a wall. Just leave the blueberry cheese dessert in the fridge until it's truly ready. Your patience will be rewarded with clean slices and a dessert that holds its form beautifully.
The Final Scoop on Your Blueberry Cheese Dessert
So there you have it. No oven required, no frantic checking of internal temperatures, just a straightforward path to a seriously good blueberry cheese dessert. You followed a few simple steps, let the fridge do the heavy lifting, and now you’ve got a dessert that looks impressive and tastes even better. It’s proof that sometimes, the easiest route gets you exactly where you want to be – face-first in something delicious. Go ahead, grab a fork. You earned it.