Table of Contents
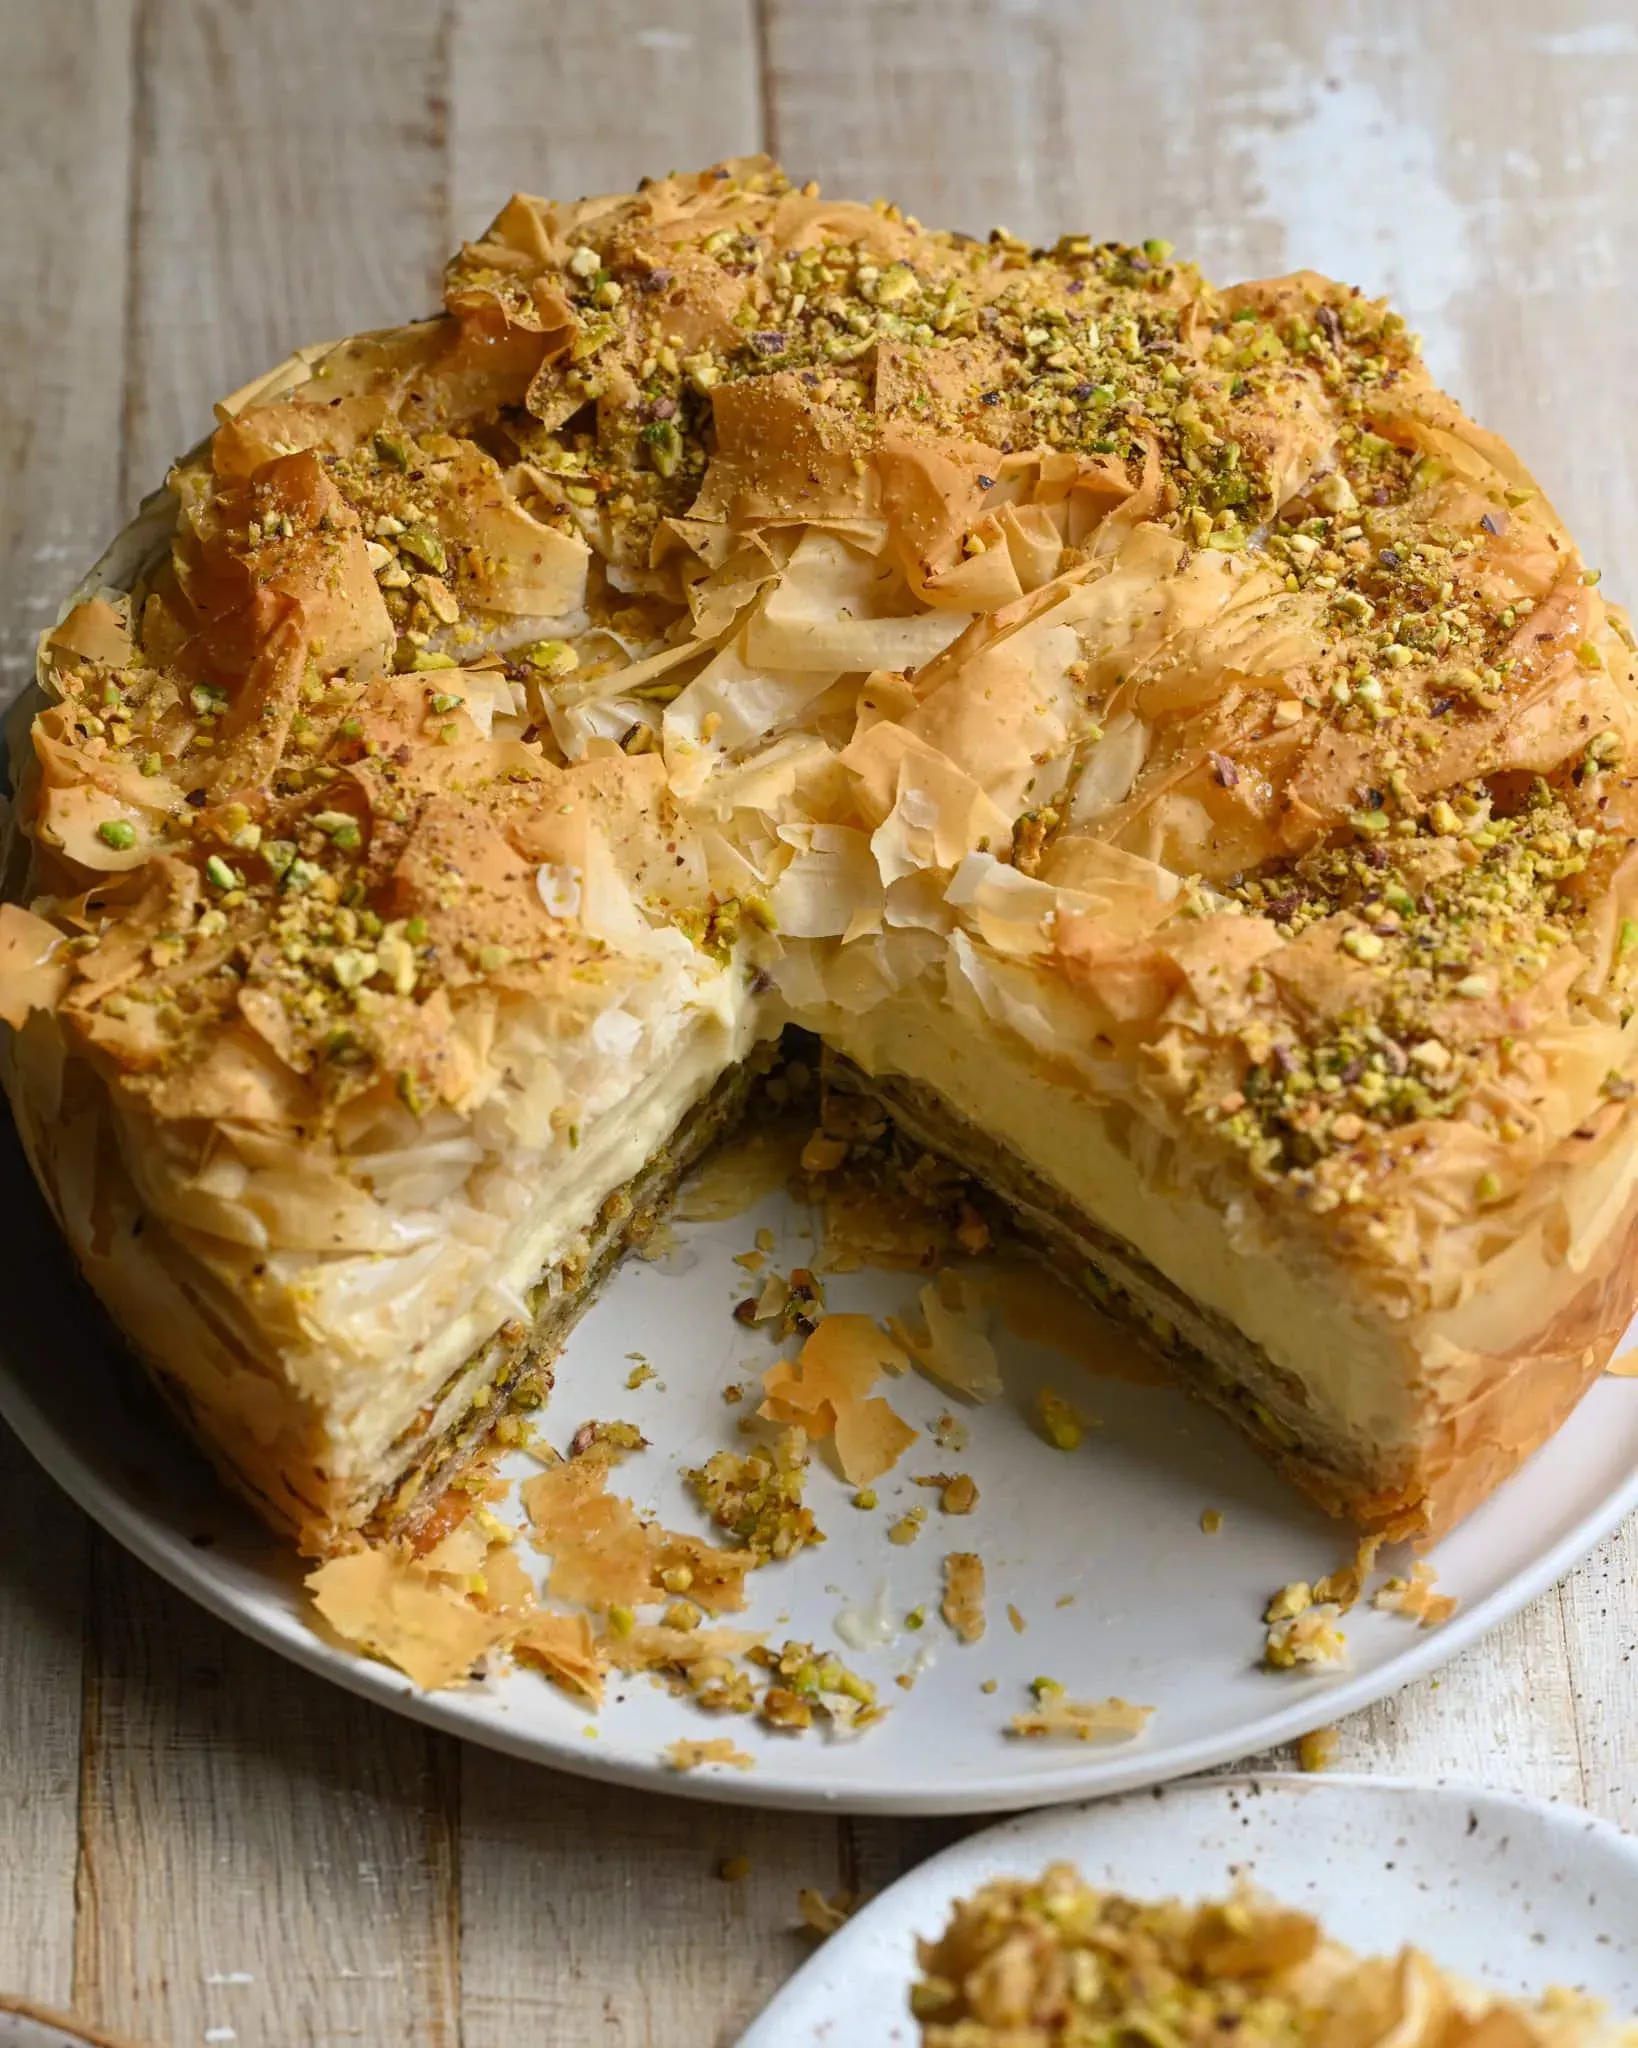
Let's be honest, choosing between desserts is often the hardest part of any meal. Do you go for something rich and creamy, or flaky and dripping with syrup? It's a first-world problem, sure, but a problem nonetheless. Now, imagine not having to choose. Imagine a dessert that takes the best of both worlds, a true fusion masterpiece. That's where the magic of baklava cheesecake comes in. It's exactly what it sounds like: the delicate, honey-soaked layers of classic baklava meeting the smooth, tangy embrace of a perfectly baked cheesecake. Sounds complicated? Maybe a little daunting? Don't sweat it. This article is your roadmap to creating this showstopper. We're going to break down everything you need to know, from gathering your supplies and understanding the layers that make this dessert tick, to walking you through the baking process step-by-step. We'll even cover how to keep it fresh and serve it like a pro. By the time you're done, you'll have the confidence to tackle your own baklava cheesecake and impress everyone you know. Ready to ditch the dessert indecision?
Why Baklava Cheesecake is Your Next Baking Obsession
Why Baklava Cheesecake is Your Next Baking Obsession
Beyond the Basic Dessert Menu
Let's face it, you've probably made a classic cheesecake. You've likely tackled brownies or cookies more times than you can count. But how often do you bake something that genuinely stops people in their tracks? Something that gets immediate "ooohs" and "aaahs" before they even take a bite? That's the power of baklava cheesecake. It’s not just another dessert; it’s an event. You're taking two universally loved, but distinct, sweet icons and smashing them together in the most delicious way possible. The flaky, buttery layers of phyllo dough, fragrant with spices and honey, provide a textural contrast that a graham cracker crust can only dream of. This is about elevating your baking game and surprising everyone, including yourself, with what you can create.
Impress Without Intimidation (Mostly)
maybe "without intimidation" is a slight exaggeration, but hear me out. While a truly stunning baklava cheesecake looks incredibly complex, the core components are manageable. You're working with phyllo, yes, which requires a gentle touch, but it's more about patience than advanced technique. The cheesecake filling itself is standard practice if you've ever made one before. The real magic happens when these elements converge. The result is a dessert that screams "effort" and "skill," even if you followed the steps calmly and didn't have a kitchen meltdown (we hope). Making a baklava cheesecake isn't just about the taste; it's about the statement it makes when you set it down on the table. It says, "Yeah, I did that. And it's amazing." What makes baklava cheesecake such a unique standout?
- Unexpected flavor combination
- Dramatic textural contrast (crispy phyllo vs. creamy filling)
- Visually stunning presentation
- Combines familiar favorites in a novel way
- It's a conversation starter
Building the Perfect Baklava Cheesecake: Ingredients & Prep
Building the Perfect Baklava Cheesecake: Ingredients & Prep
Gathering Your Arsenal: More Than Just Flour and Sugar
Alright, let's talk turkey, or rather, let's talk phyllo and nuts. Making a stellar baklava cheesecake isn't just about following a recipe; it's about respecting the components. Think of it like building a tiny edible skyscraper. Each layer matters. You need good quality ingredients because they really do shine through. Don't skimp on the butter – and yes, it needs to be unsalted so you control the saltiness yourself. The honey is crucial; a cheap, flavorless honey will leave your syrup tasting thin and sad. Go for something fragrant, maybe orange blossom or a good wildflower honey. And the nuts? Walnuts are traditional for baklava, but feel free to mix in some pistachios for color and a slightly different flavor profile. Toasting your nuts beforehand? Absolutely non-negotiable for maximum flavor.
The Delicate Dance of Phyllo and Nuts
Phyllo dough can be intimidating. It's thin, it dries out fast, and sometimes it feels like handling edible tissue paper. But it's not the enemy. The key is to keep it covered with a damp towel while you work. Use plenty of melted butter between those layers. Seriously, don't be shy. That's what gives you that incredible crispness. For the nut layer, grind them up but leave a little texture. You don't want nut powder; you want small pieces that provide a slight chew. Mix your ground nuts with spices – cinnamon, maybe a pinch of clove or cardamom. Some recipes call for a little sugar in the nut mix, others rely solely on the syrup for sweetness. I usually add a touch of sugar and spice right into the nuts; it helps distribute the flavor evenly. What's the biggest mistake with phyllo dough?
Letting it dry out!
Crafting the Creamy Heart: Cheesecake Filling Essentials
Now for the cheesecake part, the creamy core of this glorious mashup. This isn't the time for low-fat cream cheese. You need the full-fat stuff, softened to room temperature. This is critical for a smooth, lump-free filling. Mascarpone is often added for extra richness and a slightly different tang; it pairs beautifully with the honey syrup. Beat your cream cheese and mascarpone until it's super smooth before adding anything else. Sugar, a little flour or cornstarch (to prevent cracking), vanilla extract, and then the eggs, added one at a time and mixed just until combined. Overmixing after the eggs go in can incorporate too much air, leading to cracks. Remember, we're aiming for a dense, luxurious filling that contrasts perfectly with the crisp phyllo.
StepbyStep Guide to Baking Baklava Cheesecake
StepbyStep Guide to Baking Baklava Cheesecake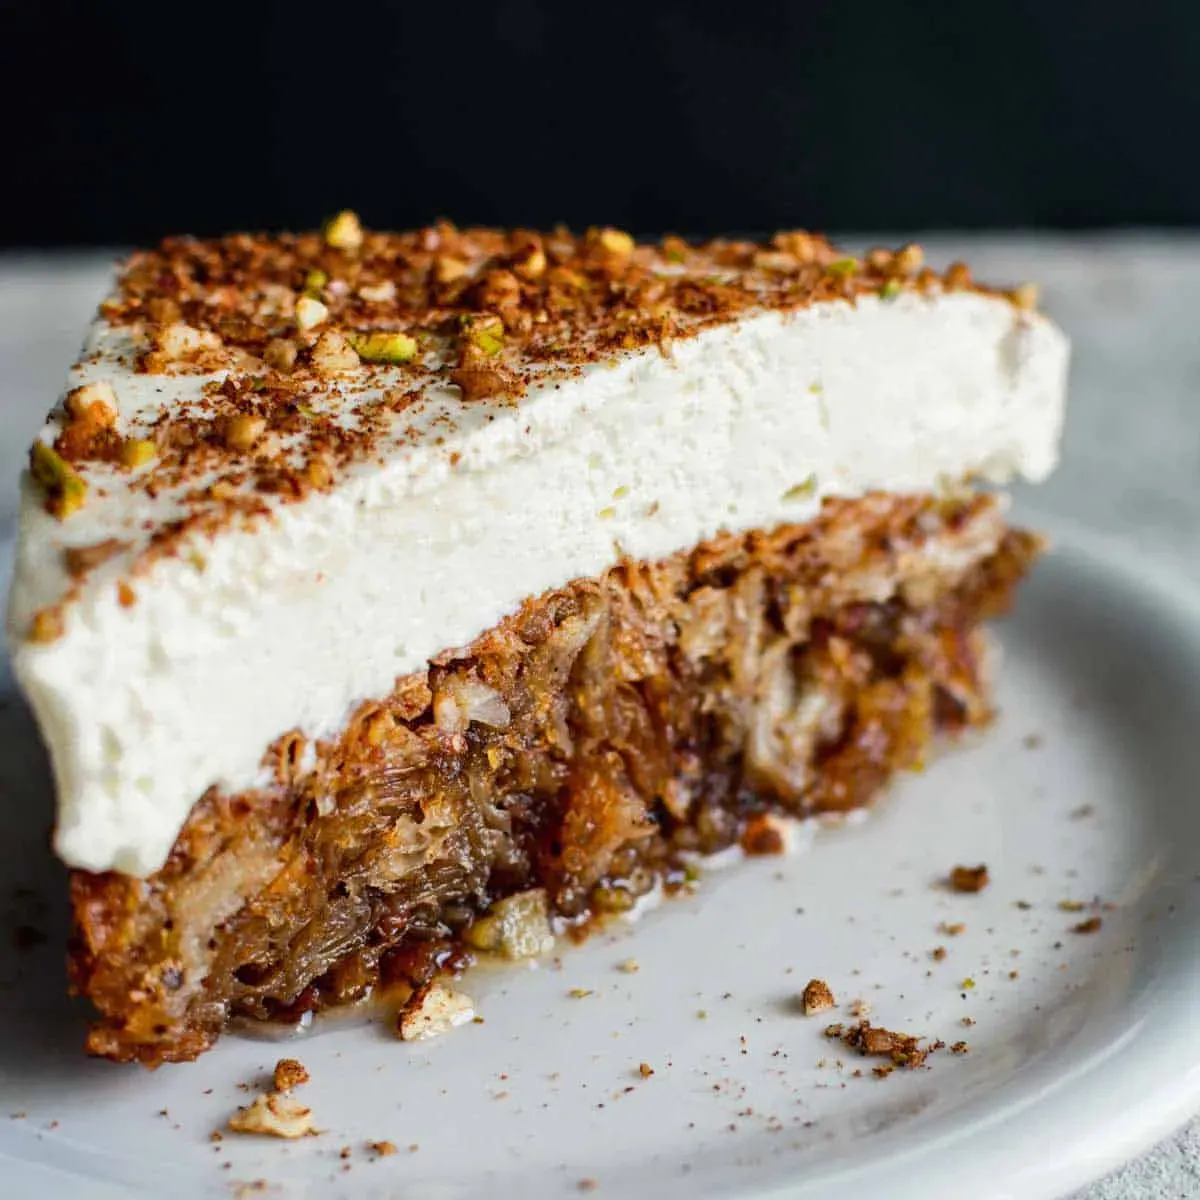
Assembling Your Edible Masterpiece
Alright, oven's preheated, ingredients are prepped, and your sanity is, hopefully, still intact. This is where the magic starts to happen for your baklava cheesecake. You've got those delicate phyllo sheets, shimmering with melted butter, laid out like a golden carpet in your springform pan. Now comes the nut layer, sprinkled evenly over that buttery foundation. Don't just dump it; spread it out nicely so every slice gets a good nutty crunch. Then, carefully pour that smooth, creamy cheesecake filling right on top of the nuts. Level it out gently with a spatula – no need to be rough, we're trying to avoid air bubbles and cracks. Now, the tricky part: folding those overhanging phyllo edges neatly over the filling. It's like tucking in a very fancy, very fragile blanket. This seals everything in and creates that beautiful top crust. What's the ideal temperature for baking the cheesecake part?
Lower and slower is often the way to go to prevent cracks.
Serving, Storing, and Enjoying Your Baklava Cheesecake
Serving, Storing, and Enjoying Your Baklava Cheesecake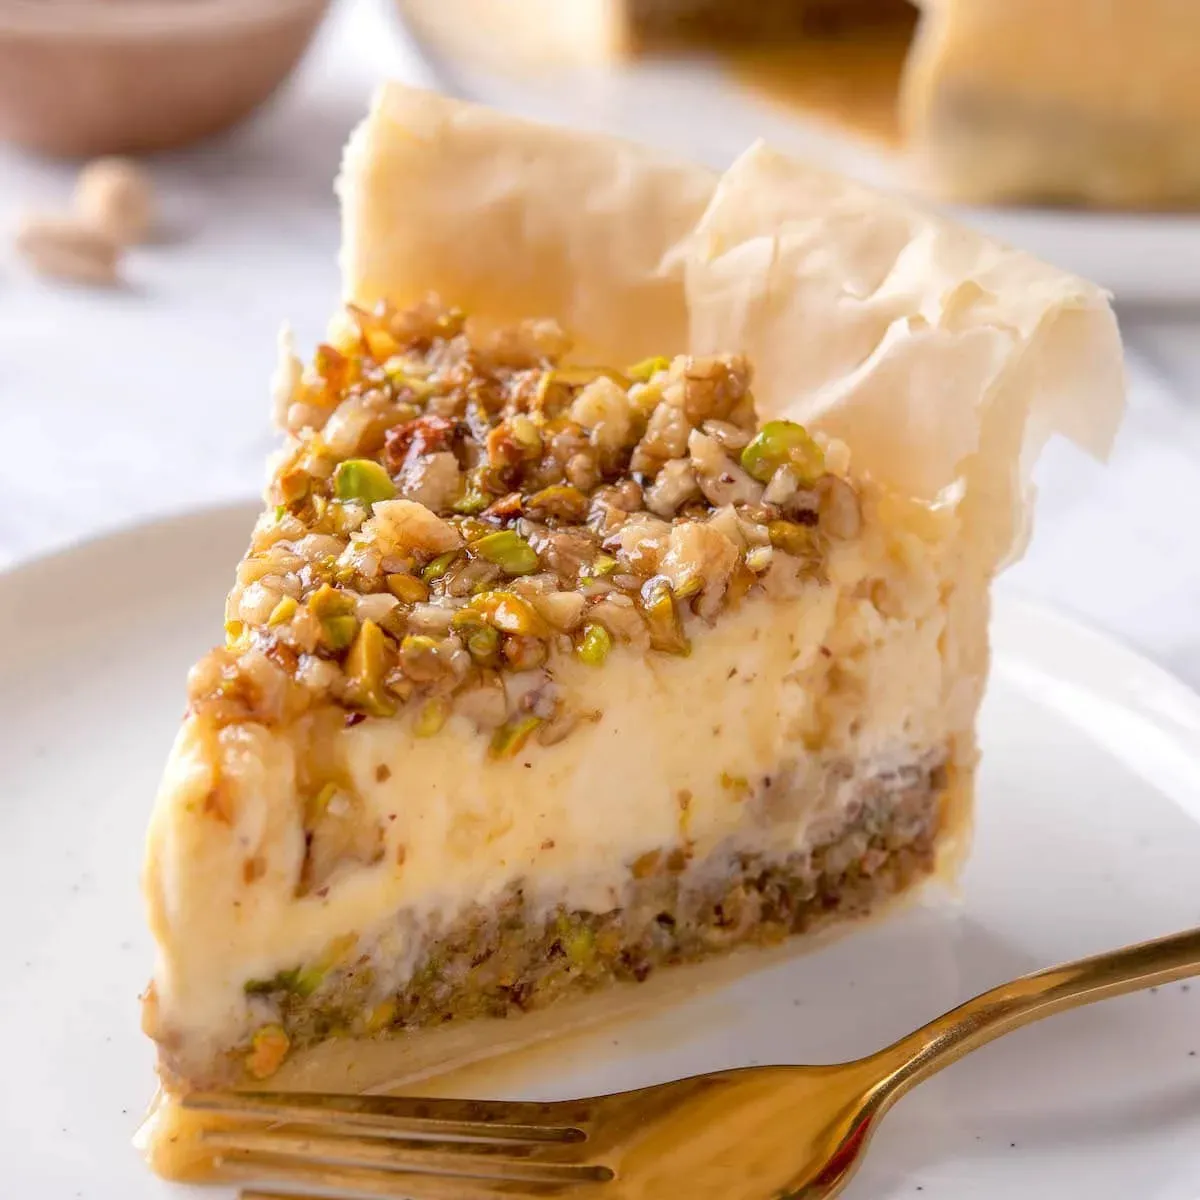
Presenting Your Baklava Cheesecake Masterpiece
you've done it. You've wrestled the phyllo, perfected the filling, and patiently waited while it chilled overnight. Now comes the payoff: serving this glorious baklava cheesecake. This isn't some casual weeknight dessert you just plop on a plate. This deserves a little fanfare. Make sure your knife is sharp and run it under hot water between slices for the cleanest cut through those crisp phyllo layers. A drizzle of extra honey syrup right before serving is never a bad idea. Garnish is your friend here – a sprinkle of chopped pistachios adds color and reinforces the baklava theme. Think about pairing it. A strong Greek coffee cuts through the sweetness nicely, or maybe a glass of something bubbly. This is your moment; let the baklava cheesecake shine.
Keeping Your Creation Fresh
So, you have leftovers of your baklava cheesecake. Frankly, I'm impressed you didn't eat the whole thing in one sitting. Storing it properly is key to keeping that beautiful texture contrast. The biggest enemy is air and moisture. Wrap any remaining cheesecake tightly in plastic wrap, then maybe another layer of foil or pop it into an airtight container. Keep it in the fridge. It should stay good for about 3-4 days. The phyllo might lose a *tiny* bit of its initial crispness over time, but the flavor only deepens. Freezing is also an option if you want to hoard slices for later. Wrap individual slices or the whole remaining piece the same way, then freeze for up to a couple of months. Thaw it slowly in the fridge overnight before serving. What makes baklava cheesecake leftovers almost as good as the first slice?
Your Baklava Cheesecake Triumph
So there you have it. You've navigated the sometimes-fussy world of phyllo, wrangled the rich cheesecake filling, and brought together two dessert titans into one glorious creation. Making a baklava cheesecake isn't exactly throwing together a box of brownies, and anyone who tells you otherwise is probably lying or a baking savant. There's butter, there's honey syrup, there's the careful handling of those paper-thin sheets. But the payoff? Absolutely worth the sticky fingers and the slight anxiety over whether the phyllo will crisp just right. You've built something impressive, something that tells guests you went the extra mile – or maybe just really couldn't decide between baklava and cheesecake. Either way, you've earned that slice. Go ahead, pour yourself a cup of coffee, cut into that beauty, and enjoy the sweet, flaky, creamy victory.