Table of Contents
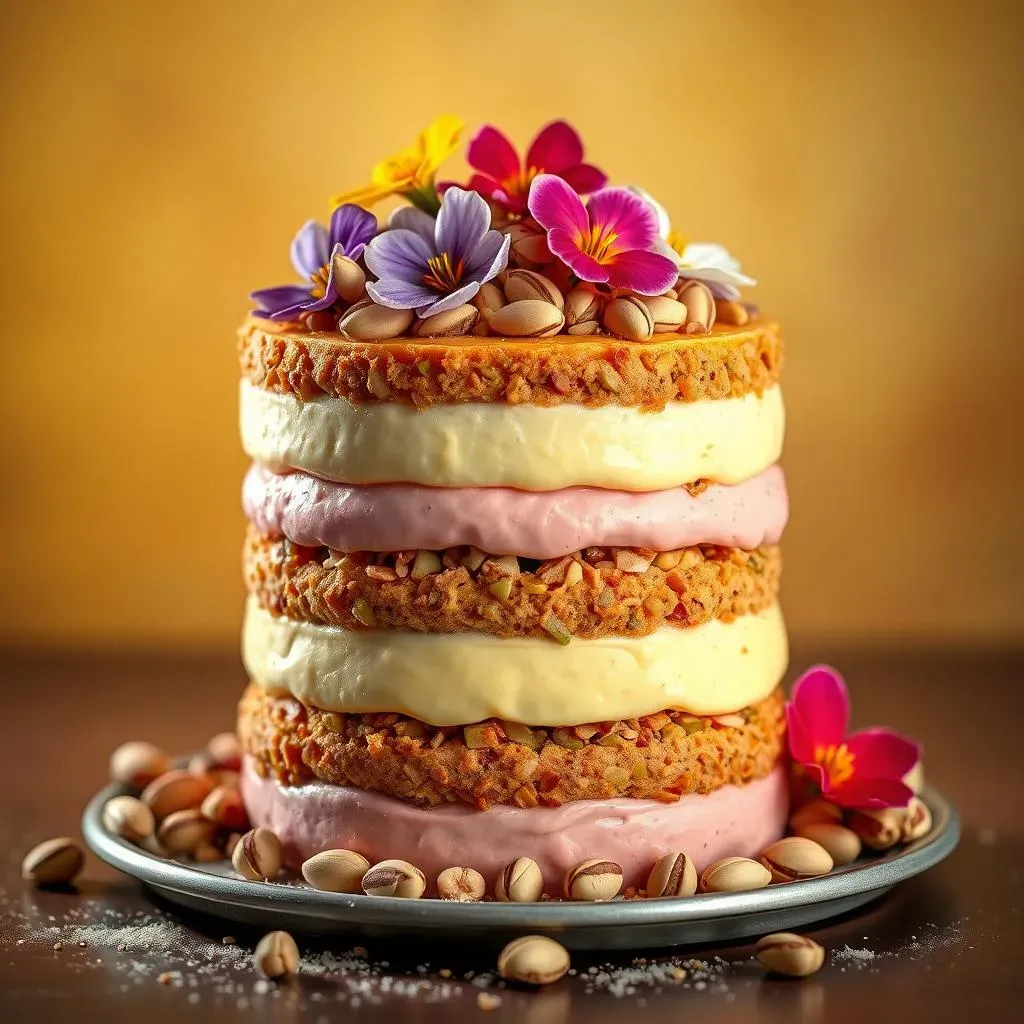
Ever find yourself dreaming of a dessert that’s both easy to make and a total crowd-pleaser? Well, get ready to meet your new best friend: the 4 layer pistachio dessert recipe. This isn’t just another recipe; it’s a journey through textures and flavors that will leave everyone asking for seconds. We’re talking about a buttery, crunchy crust that gives way to a smooth, tangy cheesecake layer, followed by a luscious pistachio pudding, all topped off with a cool, creamy finish. This recipe is your ticket to becoming the star baker at any gathering. Whether you're planning a family dinner, a potluck, or just want a sweet treat to brighten your day, this 4 layer pistachio dessert recipe is guaranteed to impress, and the best part? It’s surprisingly simple to put together. So, let’s get started, I'll walk you through each layer, giving you tips and tricks to make this dessert a masterpiece every time. Get ready to bake!
Crafting the Perfect Crust for Your 4 Layer Pistachio Dessert
Crafting the Perfect Crust for Your 4 Layer Pistachio Dessert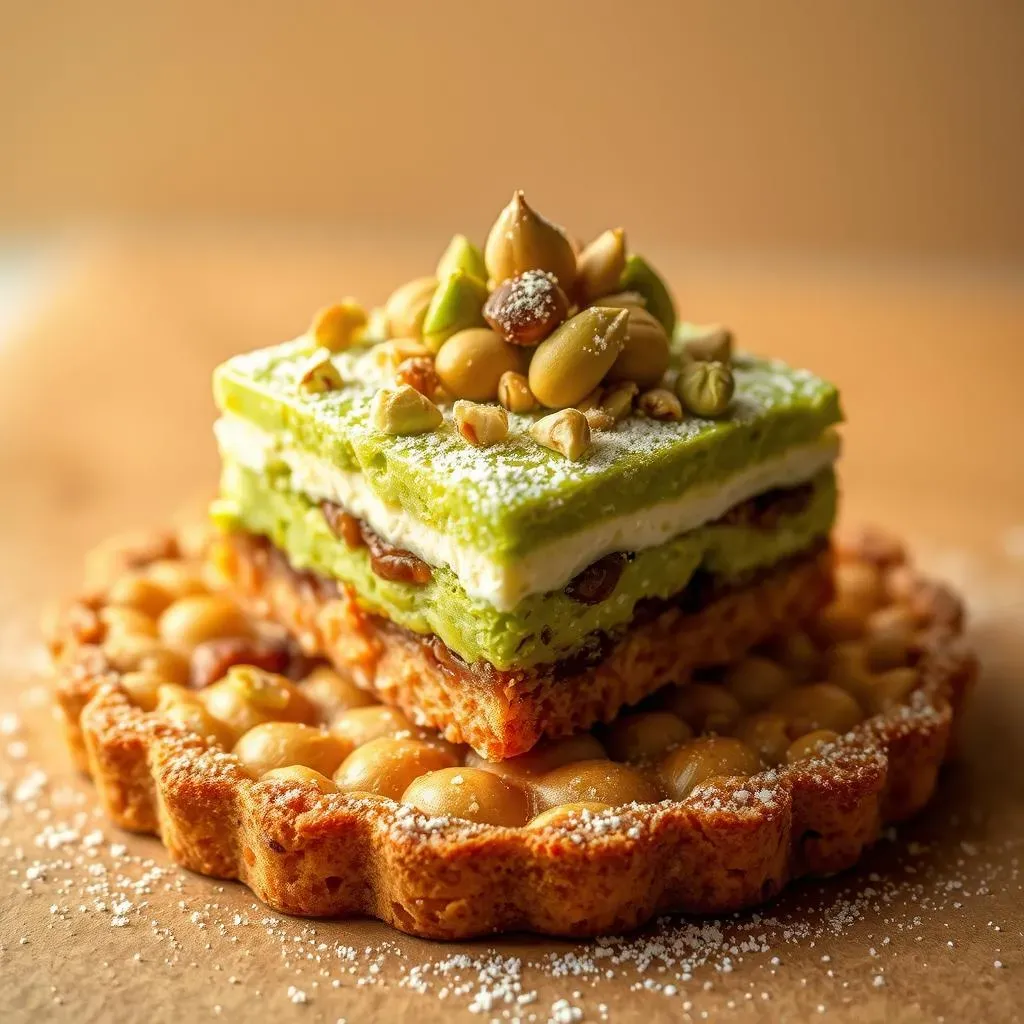
let's talk crusts, because, honestly, a good dessert starts from the bottom up! For our 4 layer pistachio dessert recipe, we're not going for anything fussy. Think simple, buttery, and a little bit nutty. I'm talking about a classic pecan shortbread crust. It's seriously easy and gives the perfect base for all those creamy layers to come. We’re going to mix some melted butter with flour and chopped pecans, then press it into a baking dish. No rolling pins, no fancy techniques, just a solid base that's gonna hold everything together and add a nice little crunch. I always like to use a glass baking dish, it helps me keep an eye on the crust while it's baking, so I know when it's that perfect golden-brown. It's like a warm hug for your dessert!
Mixing the Creamy Cheesecake Layer of Your Pistachio Dessert
Mixing the Creamy Cheesecake Layer of Your Pistachio Dessert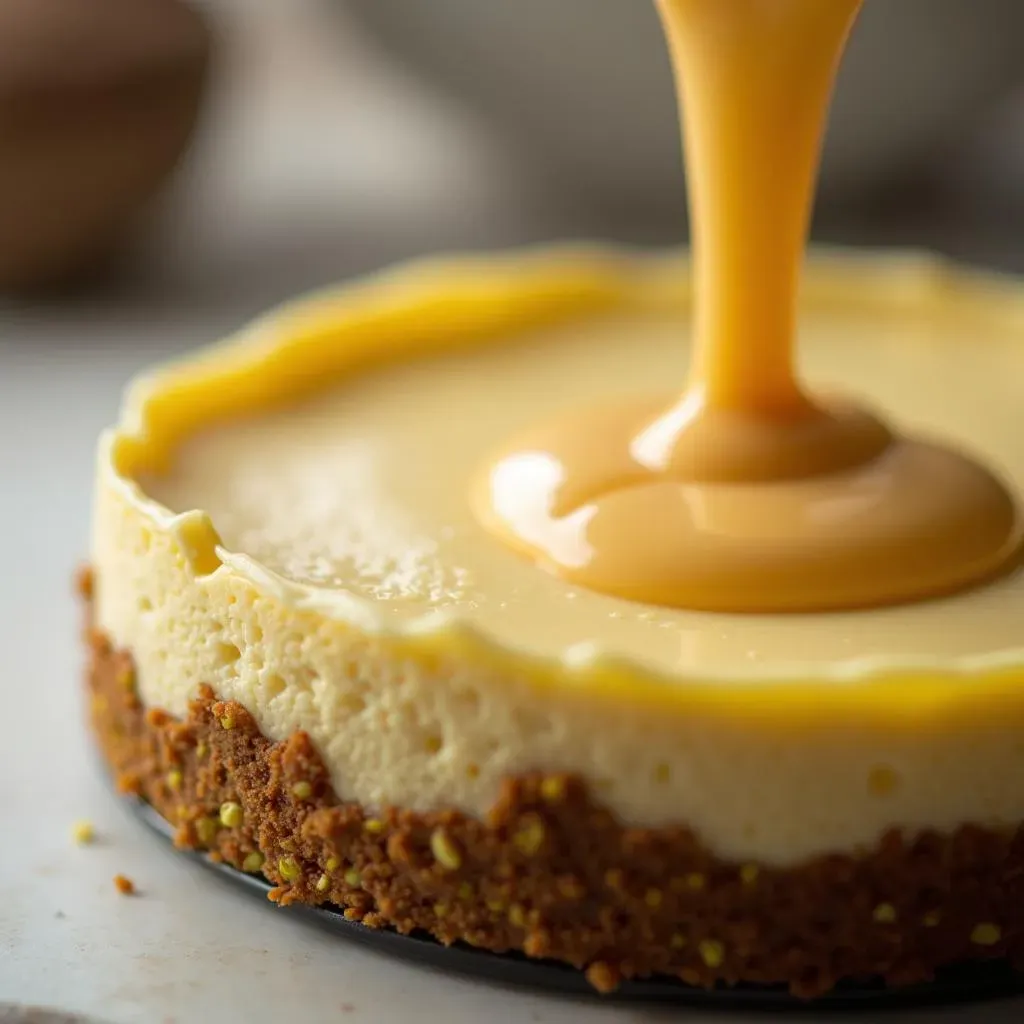
The Base of the Creaminess
Now that we’ve got our crust chilling out, it’s time to whip up the cheesecake layer. This part is like the smooth, dreamy heart of our 4 layer pistachio dessert recipe. We’re not aiming for a super dense cheesecake here, but something lighter and more melt-in-your-mouth. Think of it as a creamy cloud that’s going to complement the other layers perfectly. The secret here is using softened cream cheese, it's super important. If it’s too cold, you’ll end up with lumps, and nobody wants that. So, leave it out for a bit before you get started, or you can even nuke it in the microwave for 30 seconds if you're in a rush.
After you have softened the cream cheese, we’re going to beat it with some powdered sugar until it's super smooth and fluffy. This step is crucial for that light texture we’re after. Don’t skimp on the beating! If you do this step right, you'll be rewarded with a cheesecake layer that is so smooth that it will make you want to eat it straight from the bowl. But don't, we have a dessert to make!
Adding the Tang
Next, we're going to add in a touch of vanilla extract, because vanilla makes everything better, right? And a bit of sour cream, this will give our cheesecake layer a little tang, balancing out the sweetness. If you don't have sour cream, you can substitute it with greek yogurt, it will work perfectly fine. I once tried using creme fraiche, and while it was good, it made the cheesecake a bit too rich, so I wouldn't recommend it. This mixture should now be light, fluffy, and creamy, just waiting for the next layer.
Ingredient | Amount |
|---|---|
Softened Cream Cheese | 8 ounces |
Powdered Sugar | 1 cup |
Vanilla Extract | 1 teaspoon |
Sour Cream | 1/2 cup |
The Final Touch
Now, before we pour this creamy goodness over the crust, we need to make sure it's all perfectly smooth. Give it one last mix to make sure everything is fully incorporated. You should now have a beautiful, velvety cheesecake mixture that’s ready to be layered. Once you have this layer ready, gently spread it over the cooled crust, making sure it’s even. Don't worry if it's not perfect, it's going to be covered by the next layer anyway. But a good even layer will help to make sure you get an equal amount of cheesecake in each bite. Now that the cheesecake layer is done, time to get to the pistachio layer, which is also super easy to make.
Creating the Pistachio Layer for Your 4 Layer Dessert
Creating the Pistachio Layer for Your 4 Layer Dessert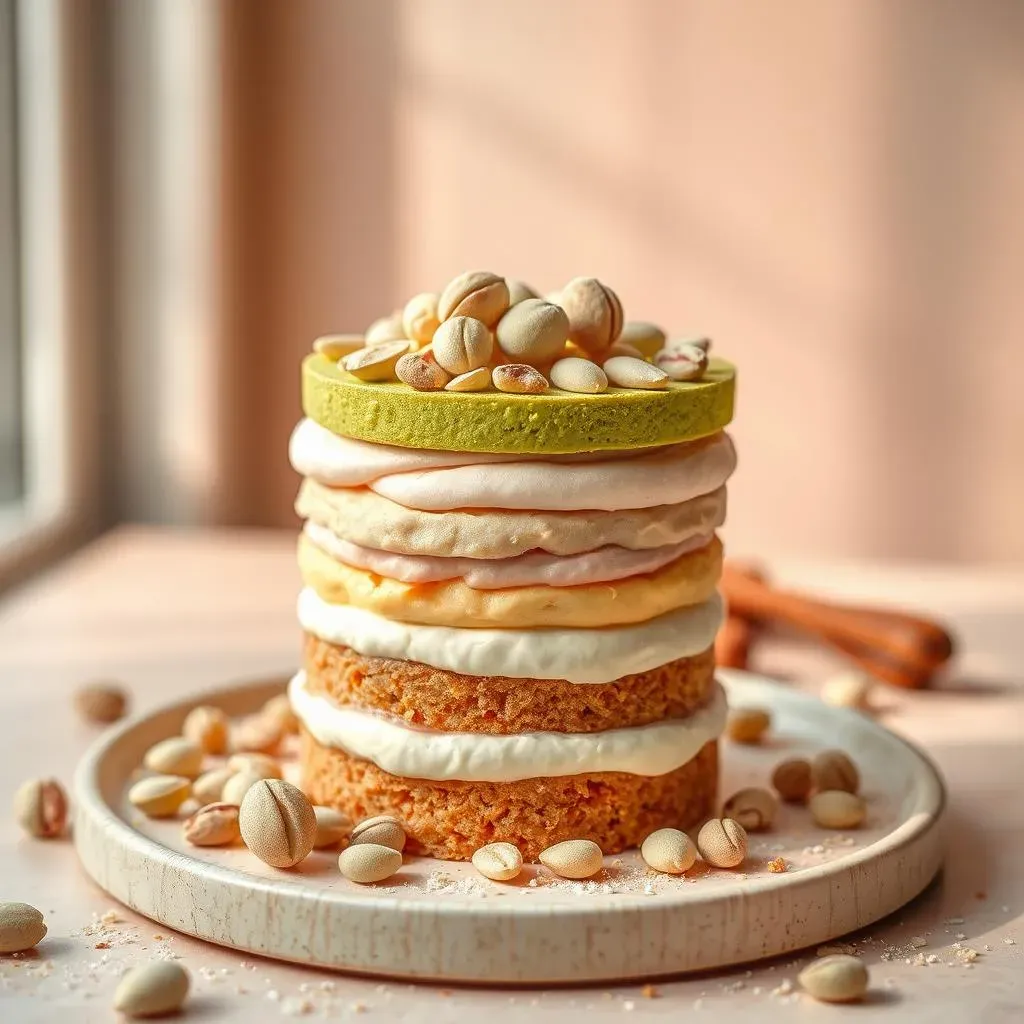
The Magic of Instant Pudding
Alright, now for the star of the show, the pistachio layer! This is where that beautiful green color and nutty flavor comes in. The secret to this layer? Instant pistachio pudding mix. It's seriously a game-changer. I know some people might think using a mix is cheating, but trust me, it makes this dessert so much easier and consistently delicious. Plus, it gives us that perfect pudding texture every single time. We're going to whisk the pudding mix with some cold milk until it starts to thicken up. It’s almost like magic watching it transform into a creamy, dreamy base for our pistachio layer. Don't over-mix it though, just until it's smooth and there are no lumps. We want it to be nice and fluffy, not dense and gloopy.
Once your pudding is ready, we’re going to gently fold in some Cool Whip. This is what gives it that light, airy texture. Remember to fold, not stir, to keep that air in. It’s like when you’re making a soufflé; you want to be gentle. I once tried stirring it, and the pudding ended up being really dense and not as light as it should be. So, learn from my mistakes and go for the fold. The mixture should be a lovely light green color with a creamy, fluffy texture. It’s so tempting to taste it, and honestly, I usually do, just to make sure it’s perfect. But remember, we have to resist, because we have one more layer to go!
Layering it Up
Now that you have this amazing pistachio mixture, gently spread it over the cheesecake layer. Again, don’t worry if it’s not perfectly even, just get it as smooth as you can. It's like creating a landscape, you know, with different textures and heights. This layer is what's going to give our dessert that signature pistachio flavor and that gorgeous green color. It is now starting to look like a real 4 layer dessert. You’re doing great! We're almost at the finish line. It's time to add the final touch, which is the topping.
I always love this part because it's so satisfying to see all of the layers come together. The creamy white cheesecake, the vibrant green pistachio, and now the final topping. It's like a painting, but edible. And the best part is, it tastes just as good as it looks. I promise, once you've made this, you'll be making it again and again. So, let's get to the last step, and then we can finally chill it and enjoy our creation.
Ingredient | Amount |
|---|---|
Instant Pistachio Pudding Mix | 3.4 ounces |
Cold Milk | 2 cups |
Cool Whip | 8 ounces |
Assembling and Chilling Your Dreamy 4 Layer Pistachio Dessert
Assembling and Chilling Your Dreamy 4 Layer Pistachio Dessert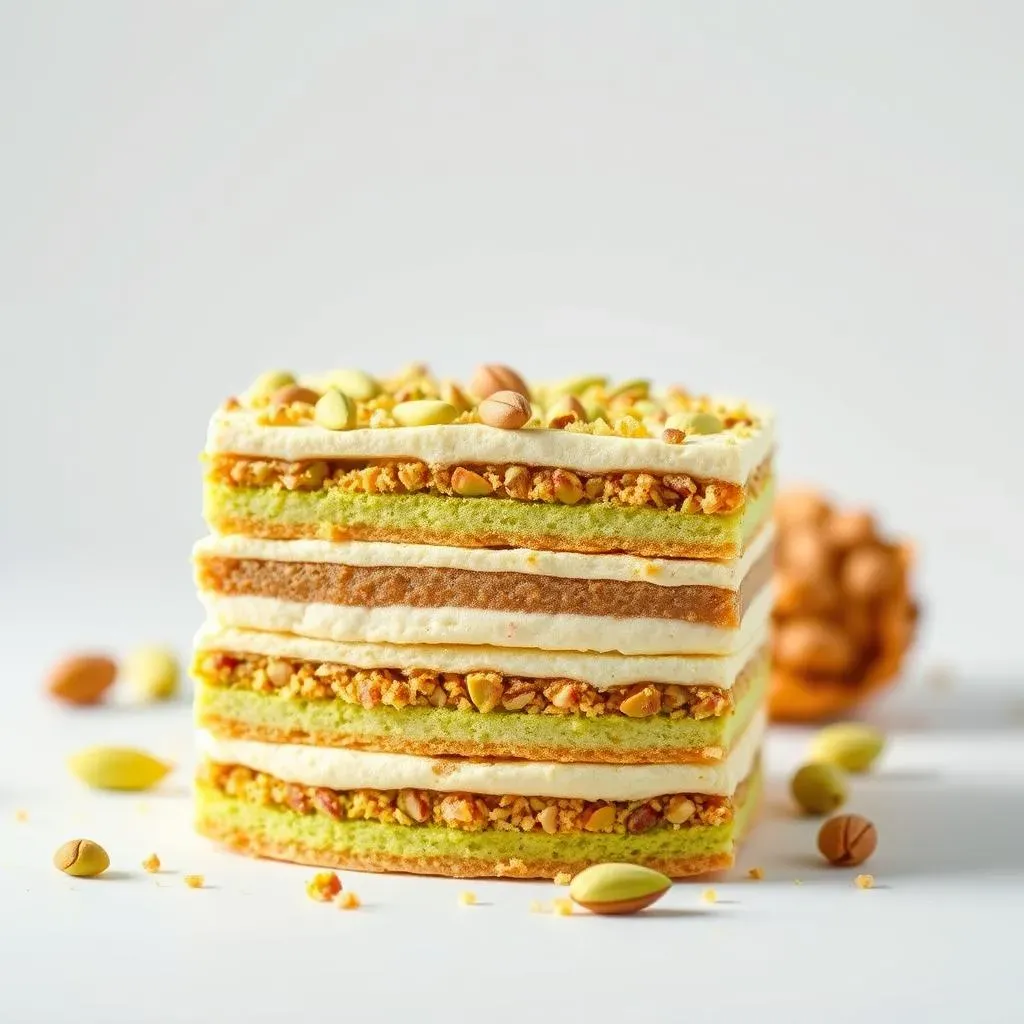
The Final Layer: Cool Whip
we’re at the home stretch! For the final layer of our 4 layer pistachio dessert recipe, we’re going with a simple, but oh-so-satisfying topping: more Cool Whip. Yes, you heard right, more of that fluffy, creamy goodness. I know, it might seem simple, but trust me, it’s the perfect way to finish off this dessert. It adds a light, cloud-like texture that contrasts beautifully with the other layers. Just spread it evenly over the pistachio pudding layer. Don't worry about making it perfectly smooth, a few swirls and peaks look great and it makes it look like a professional baker made it. I sometimes like to use a spatula to create some fun patterns, but honestly, just a simple spread works wonders.
If you’re feeling fancy, you can sprinkle some chopped pistachios on top for an extra touch of elegance and a pop of color. I love the way the green nuts look against the white whipped cream, and it adds an extra layer of flavor. You can also use other nuts, like pecans or almonds, if you're not a big fan of pistachios, but for me, it has to be pistachios. This is the part where you can really get creative and make this dessert your own. But remember, less is more. Don't overdo it with the toppings, we want the layers to shine.
The Importance of Chilling
Now, the most crucial part of our 4 layer pistachio dessert recipe: chilling. Once you've assembled all those lovely layers, it's time to pop it into the fridge for at least two hours, but ideally, overnight. This is not just a suggestion; it’s a must. Chilling allows all the layers to set and meld together, creating that perfect texture and flavor. It also makes it so much easier to slice and serve. I’ve made the mistake of trying to cut into it too soon, and let me tell you, it was a mess. The layers were sliding all over the place, and it didn't look pretty. So, learn from my mistakes, and be patient. The wait is totally worth it.
Think of it like marinating meat; the flavors need time to get to know each other. The same goes for our dessert. The cold will firm up the pudding and the cheesecake, making it so much more enjoyable. Plus, a cold dessert is just so refreshing, especially after a big meal or on a hot day. So, find a spot in your fridge, cover the dish with some plastic wrap, and let it chill out. While it's chilling, you can start thinking about how you're going to present this masterpiece. Maybe a nice cake stand? Or some cute dessert plates? The possibilities are endless.
Layer | Description | Chilling Time |
|---|---|---|
Crust | Buttery pecan shortbread | While preparing the other layers |
Cheesecake | Creamy, tangy, and smooth | Minimum 2 hours, ideally overnight |
Pistachio | Light, fluffy, and nutty | Minimum 2 hours, ideally overnight |
Topping | Cool Whip and chopped pistachios | Minimum 2 hours, ideally overnight |
Serving and Enjoying Your Creation
Finally, the moment we've all been waiting for: serving and enjoying our 4 layer pistachio dessert recipe! Once it's properly chilled, carefully slice it into squares and get ready to bask in the glory of your creation. You’ll see those beautiful layers, and you’ll know that all your hard work has paid off. I always like to take a moment to admire it before I dig in. It's like a piece of art, but one you can eat. It's the perfect dessert for any occasion, from a casual family dinner to a fancy party. And the best part is, everyone will love it, guaranteed.
And there you have it, a 4 layer pistachio dessert that's not only delicious but also pretty easy to make. Remember, the key is to take your time, follow the steps, and most importantly, have fun. Baking should be a joy, not a chore. And if you mess up, don't worry about it. It's just a dessert, after all. You can always try again. But I'm sure you're going to nail it the first time. So, go ahead, make this dessert, share it with your friends and family, and enjoy every single bite. You deserve it!
Sweet Success: Your 4 Layer Pistachio Dessert Awaits
So, there you have it – a 4 layer pistachio dessert recipe that’s as impressive as it is delicious. From the buttery crust to the creamy topping, each layer plays its part in creating a symphony of flavors and textures. This dessert isn't just about following a recipe; it's about enjoying the process and sharing the joy of a homemade treat with those you love. Whether you're a seasoned baker or just starting out, this recipe is designed to be easy and fun, ensuring a show-stopping dessert every single time. Now, go ahead, bake it, share it, and most importantly, enjoy every single bite of your magnificent 4 layer pistachio dessert.